
React Basics: What Is a React Component and How to Create One

Summarize with AI:
Components are essential building blocks in a React application since they allow us to break down our application into smaller, reusable pieces. In this article, we’ll discuss what makes a React component and what it takes to create one.
React is a popular JavaScript library maintained by a worldwide community of developers and is used by countless companies and organizations. React’s main goal is to provide a way for developers to build complex user interfaces using a simple, declarative syntax. One of the ways React meets this goal is by providing the capability to build webpages with a concept known as components.
In this article, we will be focusing on the basics of React components and how to create them.
HTML & JavaScript
When working in a standard HTML setting, we often build markup (i.e., code) to create the structure and layout of a webpage or elements in a webpage. For example, we can have markup like the following to create the template of a form:
<form>
  <label for="name">Name:</label>
  <input type="text" id="name" name="name" />

  <label for="email">Email:</label>
  <input type="email" id="email" name="email" />

  <input type="submit" value="Submit" />
</form>
When it comes to introducing interactivity, JavaScript can then be used. With JavaScript, we need to access DOM elements in our HTML (with query selectors and event listeners) to introduce the interactivity that we would want.
Here is an example of how we can use native JavaScript to interact with the form template shared above:
let form = document.querySelector("form");
let nameInput = form.querySelector("#name");
let emailInput = form.querySelector("#email");

form.addEventListener("submit", function (e) {
  e.preventDefault();
  let name = nameInput.value;
  let email = emailInput.value;
  console.log(`Name: ${name}, Email: ${email}`);
});
The above code adds an event listener to the form which listens for a submit event. When the form is submitted, the code retrieves the values entered in the input elements and logs them to the console.
Try out the above on Stackblitz here.
As the complexity of a webpage increases, it can become increasingly difficult to manage the interactivity of the page using native JavaScript alone. This is where a library like React comes in. React provides a more organized way of managing the state and interactivity of elements and one major way it does this is by allowing us to create components.
Components
A React component is a self-contained piece of code that defines a specific piece of the user interface. React components are the building blocks of React applications by allowing us to couple markup (HTML), logic (JS) and styles (CSS) within them.
Components are written as JavaScript functions. When creating a component, we first need to define a function to describe the component name. As an example, we can define a function name of Form() to describe that we’re
building a form component.
function Form() {}
Note: React component names should always start with a capital letter!
To make a function a React component, it needs to return markup. With React, we’re able to do this with JSX, a syntax extension for JavaScript that allows us to write HTML elements within our JavaScript code.
Here’s how we can have our Form() function return the markup of an HTML form.
function Form() {
  return (
    <form>
      <label for="name">Name:</label>
      <input type="text" id="name" name="name" />

      <label for="email">Email:</label>
      <input type="email" id="email" name="email" />

      <input type="submit" value="Submit" />
    </form>
  );
}
With that, we’ve created our React component!
Prefer to Learn via Video?
You can also check out our Learning with Hetali video “What Are React Components & How Do You Create One?”:
We saw earlier, in our standard JavaScript example, how we have to use query selectors and event listeners to add interactivity to our web elements. With React, however, we can achieve this by using state and props to manage the data and interactivity of our components.
State is an object that represents the data or information that a component needs to maintain and update. It allows a component to keep track of changes and respond to user interactions. We’ll look to replicate the form behavior we created in standard HTML and JavaScript in our React component with the help of component state.
For our Form component, we can create a state object labeled formData to track the value entered in the inputs of our form. We’ll do this with the help of the useState() function hook that will give us a formData object and setFormData() function that we can use to update state.
function Form() {
  // creating state object
  const [formData, setFormData] = React.useState({ name: "", email: "" });

  return (
    <form>
      <label for="name">Name:</label>
      <input type="text" id="name" name="name" />

      <label for="email">Email:</label>
      <input type="email" id="email" name="email" />

      <input type="submit" value="Submit" />
    </form>
  );
}
Within our component, we can define two new functions:
handleChange(): this will be used to update the values of the input fields in our form.handleSubmit(): this will be used to submit the form.
function Form() {
  // creating state object
  const [formData, setFormData] = React.useState({ name: "", email: "" });

  // handle change in our form inputs
  function handleChange(e) {
    setFormData({ ...formData, [e.target.name]: e.target.value });
  }

  // handle form submit
  function handleSubmit(e) {
    e.preventDefault();
    console.log(formData);
  }

  return (
    <form>
      <label for="name">Name:</label>
      <input type="text" id="name" name="name" />

      <label for="email">Email:</label>
      <input type="email" id="email" name="email" />

      <input type="submit" value="Submit" />
    </form>
  );
}
Finally, we can reference the JavaScript objects and functions in our component within the component markup. This is because we’re using JSX (not traditional HTML), and with JSX we can use curly braces ({}) to reference
JavaScript values directly in our markup.
In our <form> element, we’ll have the submit event trigger the handleSubmit() function in our component. In our <input /> elements, we’ll have their values reference the values in the formData state object and we’ll have their change events trigger the handleChange() function in our component.
function Form() {
  // creating state object
  const [formData, setFormData] = React.useState({ name: "", email: "" });

  // handle change in our form inputs
  function handleChange(e) {
    setFormData({ ...formData, [e.target.name]: e.target.value });
  }

  // handle form submit
  function handleSubmit(e) {
    e.preventDefault();
    console.log(formData);
  }

  // update markup access JavaScript object and functions
  return (
    <form onSubmit={handleSubmit}>
      <label>
        Name:
        <input
          type="text"
          name="name"
          value={formData.name}
          onChange={handleChange}
        />
      </label>

      <label>
        Email:
        <input
          type="email"
          name="email"
          value={formData.email}
          onChange={handleChange}
        />
      </label>

      <input type="submit" value="Submit" />
    </form>
  );
}
Our <Form /> component now behaves as we expect.

Try out the above on Stackblitz here.
Our form written in React behaves almost identically to the form we created earlier with standard JavaScript and HTML. However, there is a key distinction as to how we’ve implemented each form. With standard JavaScript and HTML, we used query selectors and event listeners to add interactivity to our form. With React, we achieved this by building our JavaScript logic into our component since components allow us to couple HTML and JavaScript together!
In the next few sections, we’ll address some important topics to keep in mind when working with React components.
Rendering Components
Components can be reused throughout a React application. This means that once we’ve created a component, we can use it in multiple places in our app without having to rewrite the same code multiple times. This can be done since React allows us to nest components within one another. One component resembles a single building block, but, when grouped, they can make up an overall application.
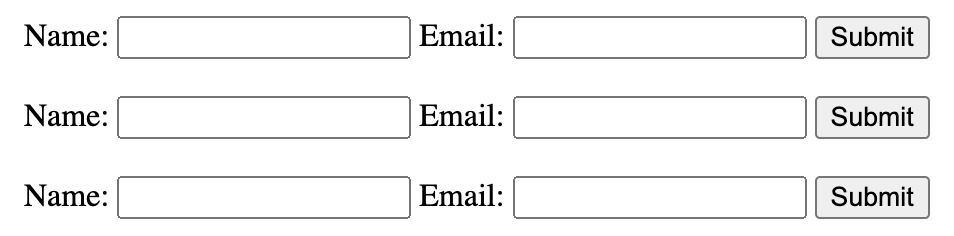
As an example, we can have our <Form /> component rendered multiple times within a parent component called <App />.
function Form() {
  /* ... */
}

function App() {
  return (
    <div>
      <Form />
      <Form />
      <Form />
    </div>
  );
}
Note: React requires that all JSX returned from a component be contained within a single element!
The above code will now have multiple forms shown on our webpage.
Try out the above on Stackblitz here.
Data Can Only Flow in One Direction (Parent to Child)
We spoke earlier about how components can maintain and update the data within themselves through a concept known as state. Props is another important topic to understand when working with components.
Props, short for properties, are used to pass data from a parent component to a child component. Props are read-only and data can only flow in one direction, from parent to child. This is known as the “one-way data flow” in React.
For example, let’s say we have a parent component called <App /> and a child component called <Form /> as we’ve seen in the example above. We can pass the state
of the <App /> component down to the <Form /> component as a prop, and the <Form /> component can then use and update that data.
In the <App /> component, we can pass state as props like this:
function App() {
  const [formData, setFormData] = React.useState({ name: "", email: "" });

  return (
    <div>
      <Form formData={formData} setFormData={setFormData} />
    </div>
  );
}
And in the <Form /> component, we can access the props as arguments being passed into the function:
function Form({ formData, setFormData }) {
  function handleChange(e) {
    setFormData({ ...formData, [e.target.name]: e.target.value });
  }

  function handleSubmit(e) {
    e.preventDefault();
    console.log(formData);
  }

  return (
    <form onSubmit={handleSubmit} autoComplete="off">
      <label>
        Name:
        <input
          type="text"
          name="name"
          value={formData.name}
          onChange={handleChange}
        />
      </label>

      <label>
        Email:
        <input
          type="email"
          name="email"
          value={formData.email}
          onChange={handleChange}
        />
      </label>

      <input type="submit" value="Submit" />
    </form>
  );
}
In this example, the <App /> component is passing down the formData state object and the setFormData() function as props to the <Form /> component. The <Form /> component uses the prop data to update the input fields values and respond to user interactions.
Try out the above on Stackblitz here.
Our app behaves the way it did before but our <Form /> component now updates the state from its parent and not its own.
It is important to always remember that the flow of data is always one way, from parent to child. React does this to ensure that the state of the application is predictable and easy to debug.
Component Re-rendering
React also makes use of a concept called “re-rendering" to update the component’s view when the component’s state or props have changed. When a component’s state or props are updated, React will re-render that component and all of its child components to reflect the changes in the view.
We can try and see an example of this in our earlier <Form /> component. Assume that when the form is submitted, we trigger the setFormData() function to reset the form state properties
back to empty strings.
function Form() {
  const [formData, setFormData] = React.useState({ name: "", email: "" });

  // ...
  // ...

  function handleSubmit(e) {
    // ...

    // set formData state back to initial values
    setFormData({ name: "", email: ""})
  }

  return (
    // form markup
  )
}
With this change, we’ll notice our form gets cleared the moment the user clicks the Submit button.
Try out the above on Stackblitz here.
Our React component re-renders the moment its state is updated. This allows for fast and smooth updates to the user interface, without the need for manual DOM manipulation!
This re-rendering process is efficient and optimized, only updating the components that have changed, rather than re-rendering the entire application.
KendoReact
We’ve seen how a React component can be created by going through an example of building a simple form element. React components can be used to display all kinds of HTML elements that include:
- Buttons
- Dialogs
- Sections
- Text
- Images
- Links
- Etc.
How we structure and build components depends on the use case of what we’re building and how we want to build it. However, in addition to building our own components, we can also use pre-built components from external libraries. These libraries can save us a lot of time and effort as they often provide a wide range of commonly used components that we can easily drop into our application.
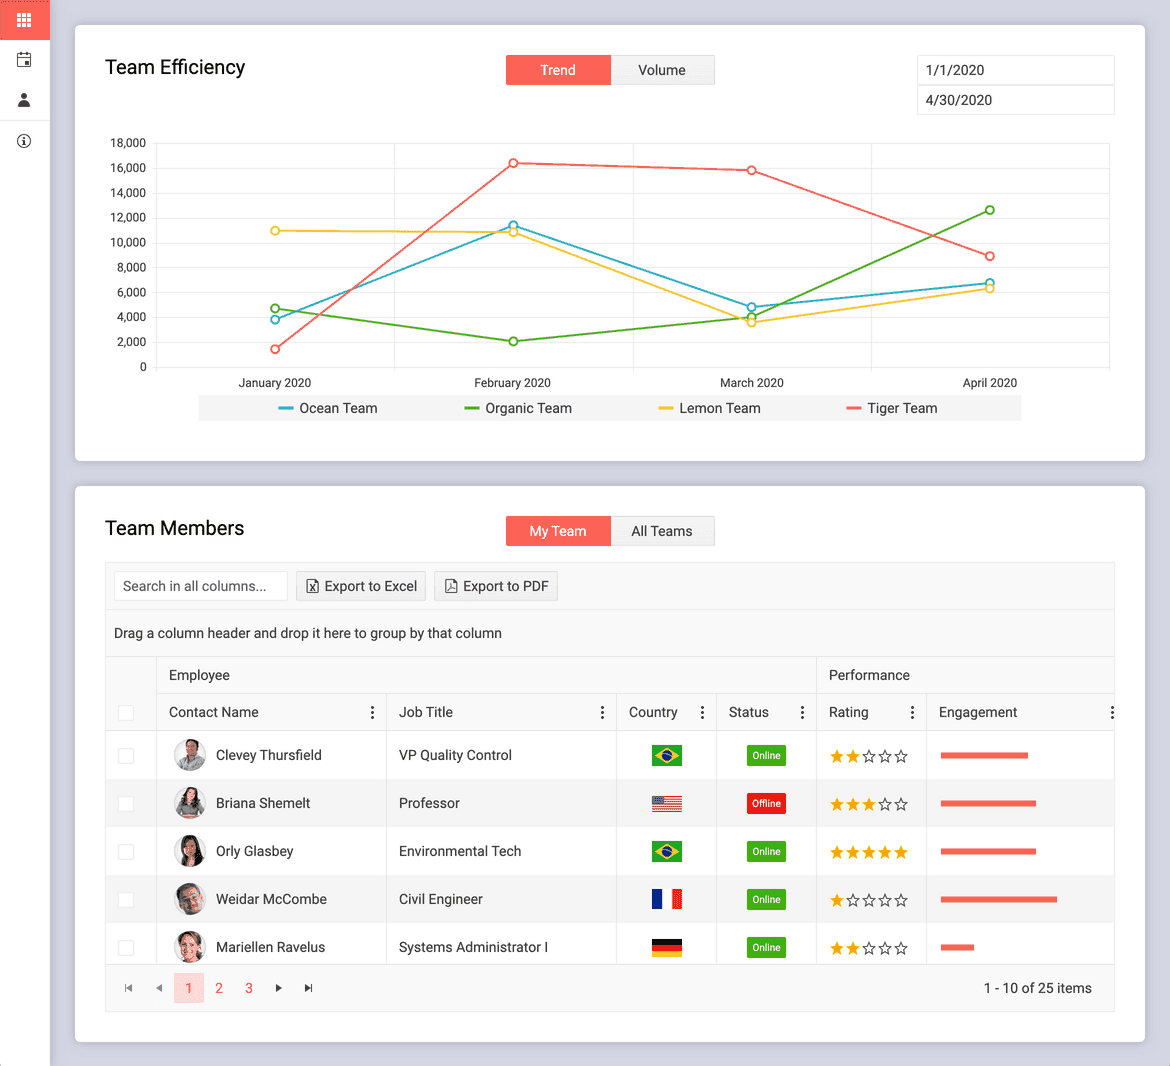
One such React component library is from Progress KendoReact, which is a set of professional UI components built for React. KendoReact includes a wide range of components such as Data Grids, Charts, Inputs and a lot more. These components are designed to be highly customizable and easy to use.
KendoReact also offers a set of themes that allow us to easily change the look and feel of our components, as well as a set of tools for building responsive and accessible applications.
Using KendoReact can help us focus on the logic unique to our app without having to spend time building out common functionality, such as forms and data grids, from scratch. Be sure to check out the official documentation for more details!
Wrap-up
In this article, we’ve come to understand how components are essential building blocks to a React application since they allow us to break down our app into smaller, reusable pieces. Components accept props and output JSX and can be nested within one another to create complex user interfaces. The one-way data flow and re-rendering capabilities of React make it easy to manage and update the state of our components. This leads to a more organized and efficient codebase.

Hassan Djirdeh
Hassan is a senior frontend engineer and has helped build large production applications at-scale at organizations like Doordash, Instacart and Shopify. Hassan is also a published author and course instructor where he’s helped thousands of students learn in-depth frontend engineering skills like React, Vue, TypeScript, and GraphQL.
Related Posts
Comments
All articles
Topics
Web MobileMobile
Desktop
Design
Productivity
People
