Manual Accessibility Testing: Keyboard and Screen Reader Navigation

Summarize with AI:
Some aspects of accessibility can be tested with tooling but others, such as keyboard navigation, are better tested manually. Let's walk through best practices for keyboard navigation testing and explore navigation with VoiceOver, a popular screen reader.
When we talk about accessibility in the context of the web, we talk about building sites and apps that everyone can navigate and interact with. Many developers treat accessibility as an afterthought, thinking that only a minority of their userbase would benefit from the effort. They don’t realize that 15% of the world’s population lives with some form of disability. That’s one billion potential customers you’re turning away.
While some aspects of accessibility can be tested automatically with tooling, others, such as keyboard navigation or compatibility with various assistive technologies, are better tested manually. In this article, we’ll describe how to navigate our apps using the keyboard, and how to use VoiceOver, a popular screen reader that comes built into Apple’s iOS and macOS operating systems.
Navigating with the Keyboard
Why would someone navigate our app using the keyboard exclusively? Users with motor disabilities may not be able to rely on mice or trackpads to interact with their computer, because those devices require fine finger control. Users with visual disabilities may not be able to locate the cursor on the screen. You can probably think of other scenarios where navigating using the keyboard is preferred.
Navigating a web app using the keyboard is relatively straightforward:
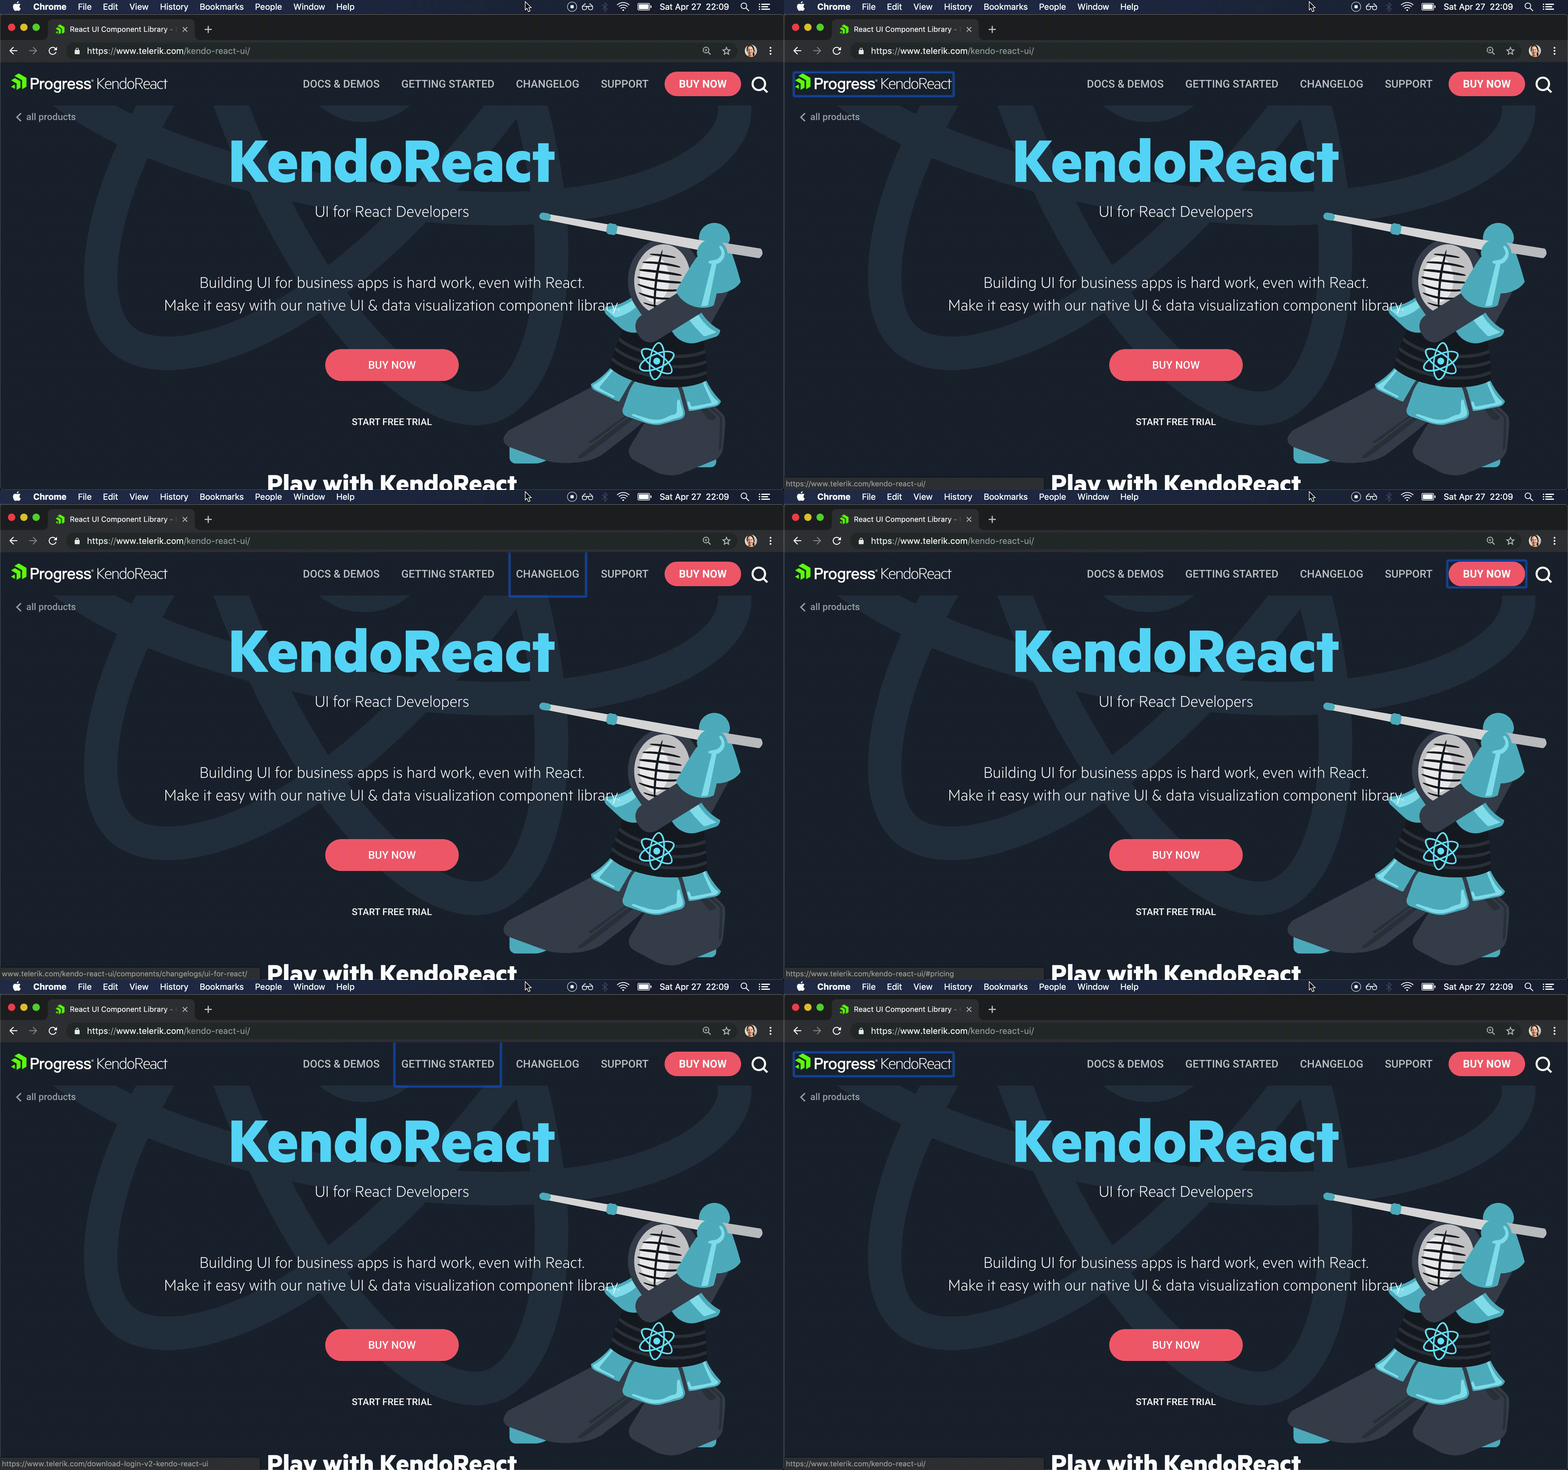
- Press Tab to move the focus through links and form controls, and Shift + Tab to move the focus backward.
- Press Enter while focused on a link or button to interact with it.
- Press Space while focused on a checkbox or dropdown to interact with it.
- Press ↑, ↓, ←, and → to scroll vertically and horizontally, or to cycle through lists of options.
- Press Escape to dismiss dialogs.

Here are the main things to watch out for when building our app so that we don’t break keyboard navigation:
- Make sure it’s clear which element currently has focus. Sighted users rely on some kind of visual indicator to know where their focus is.
- Avoid removing the default outline of focusable elements with things like
outline: 0oroutline: none.
- Avoid removing the default outline of focusable elements with things like
- Make sure all items on the page can be reached. Use the right tag for the job.
- Use
<a>for navigation links. - Use
<button>for actions that don’t take the user to a new page. - Use
<input>,<textarea>,<select>and friends for form controls. - Avoid building custom interactive controls using catch-all tags like
<div>or<span>, unless you really know what you’re doing.
- Use
- Make sure all sections of the page can be navigated to and from.
- Be careful when implementing dialogs and popups. Make sure they trap focus, and can be dismissed with the Escape key.
- Be careful when implementing features like infinite scroll. If you have an infinitely scrolling feed in the middle of the page, and a sidebar on the right, keyboard users may get trapped in the feed, and not be able to reach the sidebar.
- Make sure the user can skip directly to the main content, especially if you have a lengthy navigation section. Keyboard users have to press the Tab key to navigate all interactive elements before they can get to the content they want. If all your app has a lengthy navigation, that experience can be extremely frustrating.
- Provide a link at the beginning of your app to skip to the main content.
- Provide ARIA landmarks by using tags like
<header>,<nav>and<main>, or by using theroleattribute.
Navigating with a Screen Reader
A screen reader is a tool that reads out loud the contents being displayed on the screen. Visually impaired users rely on screen readers to be able to interact with their devices.
There’s quite a few screen readers in the market, but the top three players are JAWS, NVDA, and VoiceOver. The first two work on Windows, while the third one is included as part of Apple’s operating systems, such as iOS and macOS.
Screen readers are very complex tools, and becoming proficient with them can take a long time, but I want to give you a taste of what it’s like to consume a web app through a screen reader. We’ll be using VoiceOver on macOS in this article, but feel free to read the documentation for your screen reader of choice, and follow along.
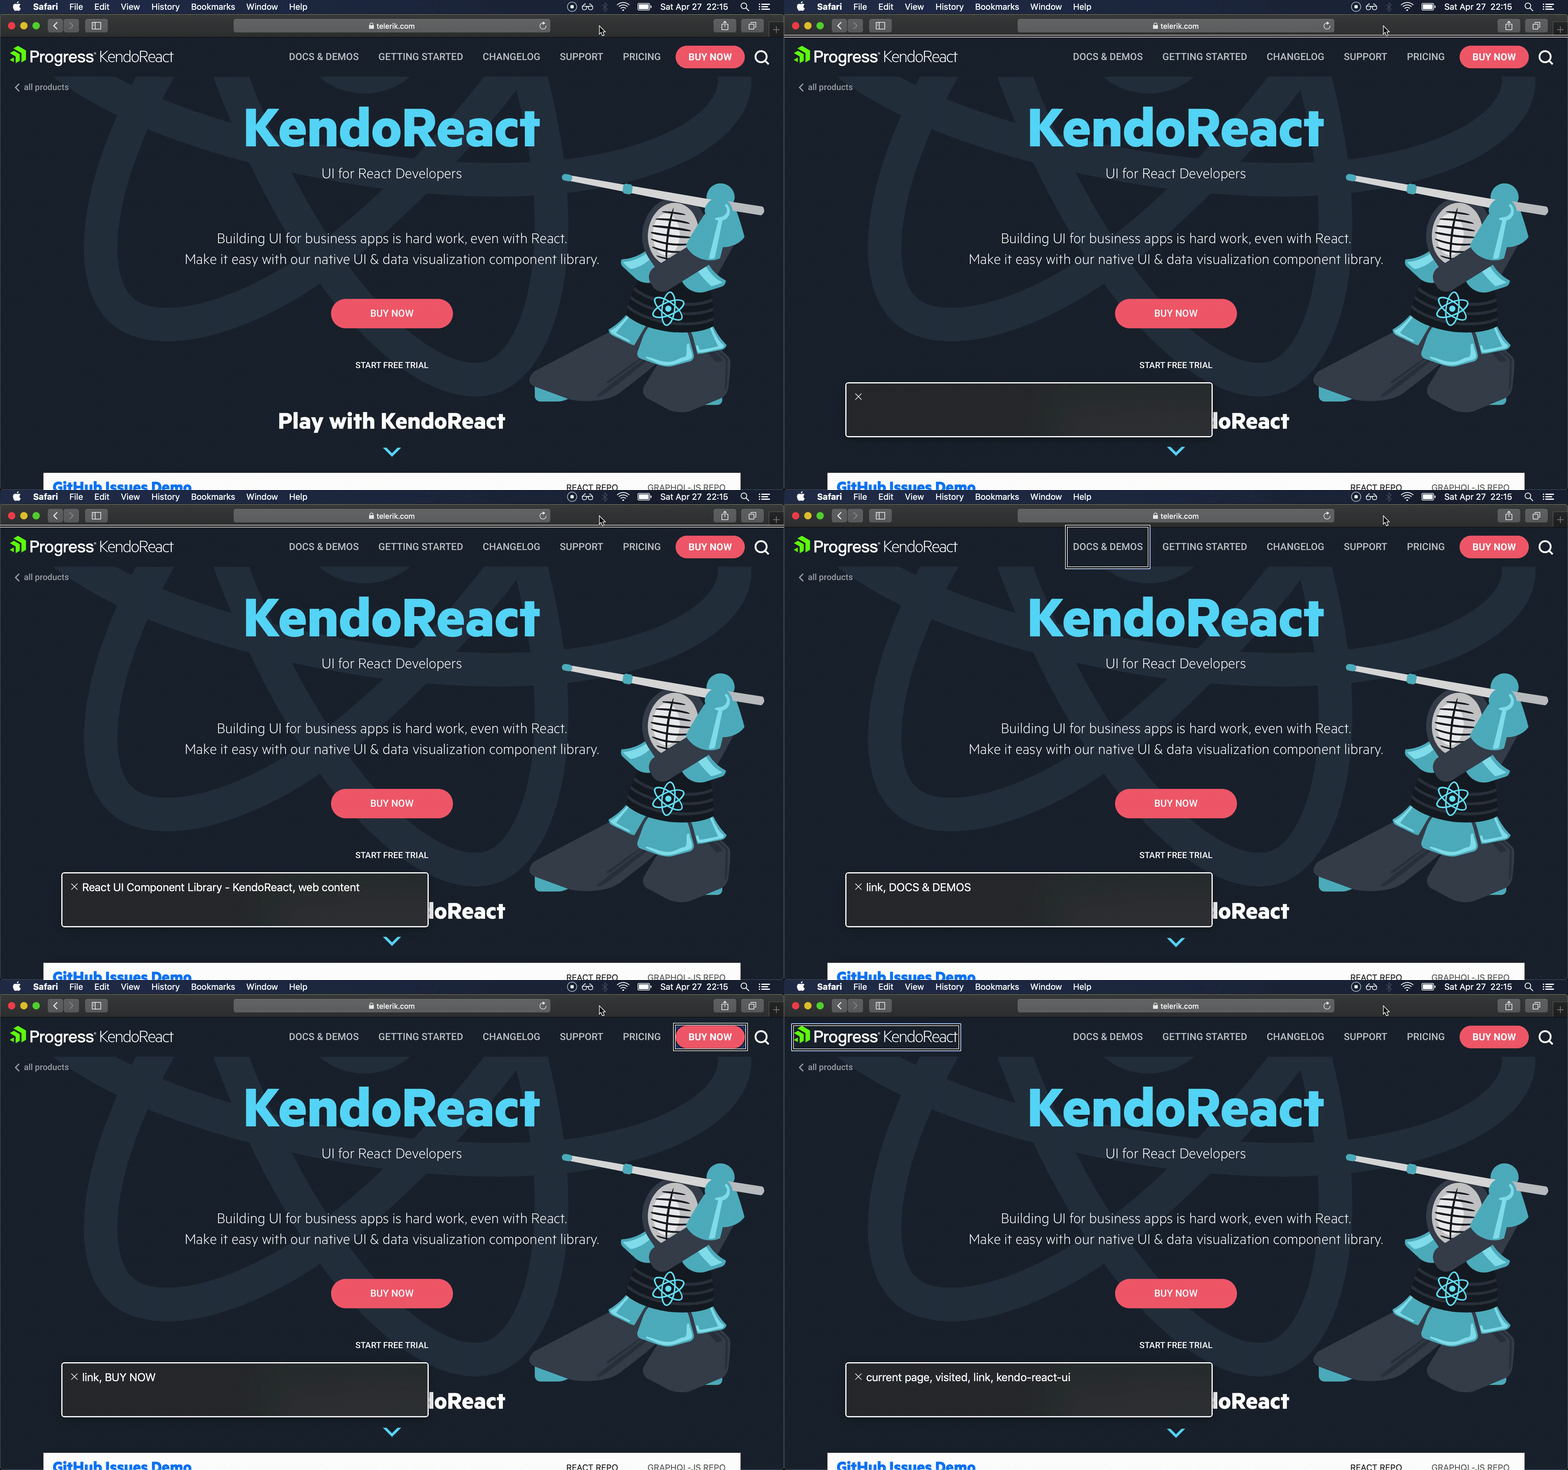
The first thing we need to do is turn VoiceOver on by pressing Cmd + F5 (you may need to press Cmd + fn + F5 if you’re on a laptop). VoiceOver will start reading the contents of the active window. If you’ve never done this before, it can be an overwhelming experience, so know that you can turn it off by pressing the same key combination we used to turn it on.
Ok, now that you know how to turn it on and off, here are’s the most common shortcuts you’ll want to use to navigate a web app:
- Press Ctrl + Alt + A to start reading content.
- Press Ctrl to stop reading content.
- Press Ctrl + Alt + → to read the next item, and Ctrl + Alt + ← to read the previous item.
- Press Ctrl + Alt + Space to interact with the current item (e.g. click on a link).
- Press Ctrl + Alt + Shift + ↓ to go into objects (e.g. sections of content, iframes), and Ctrl + Alt + Shift + ↑ to go out.
- Press Ctrl + Alt + Cmd + H to jump to the next heading.
- Press Ctrl + Alt + Cmd + L to jump to the next link.

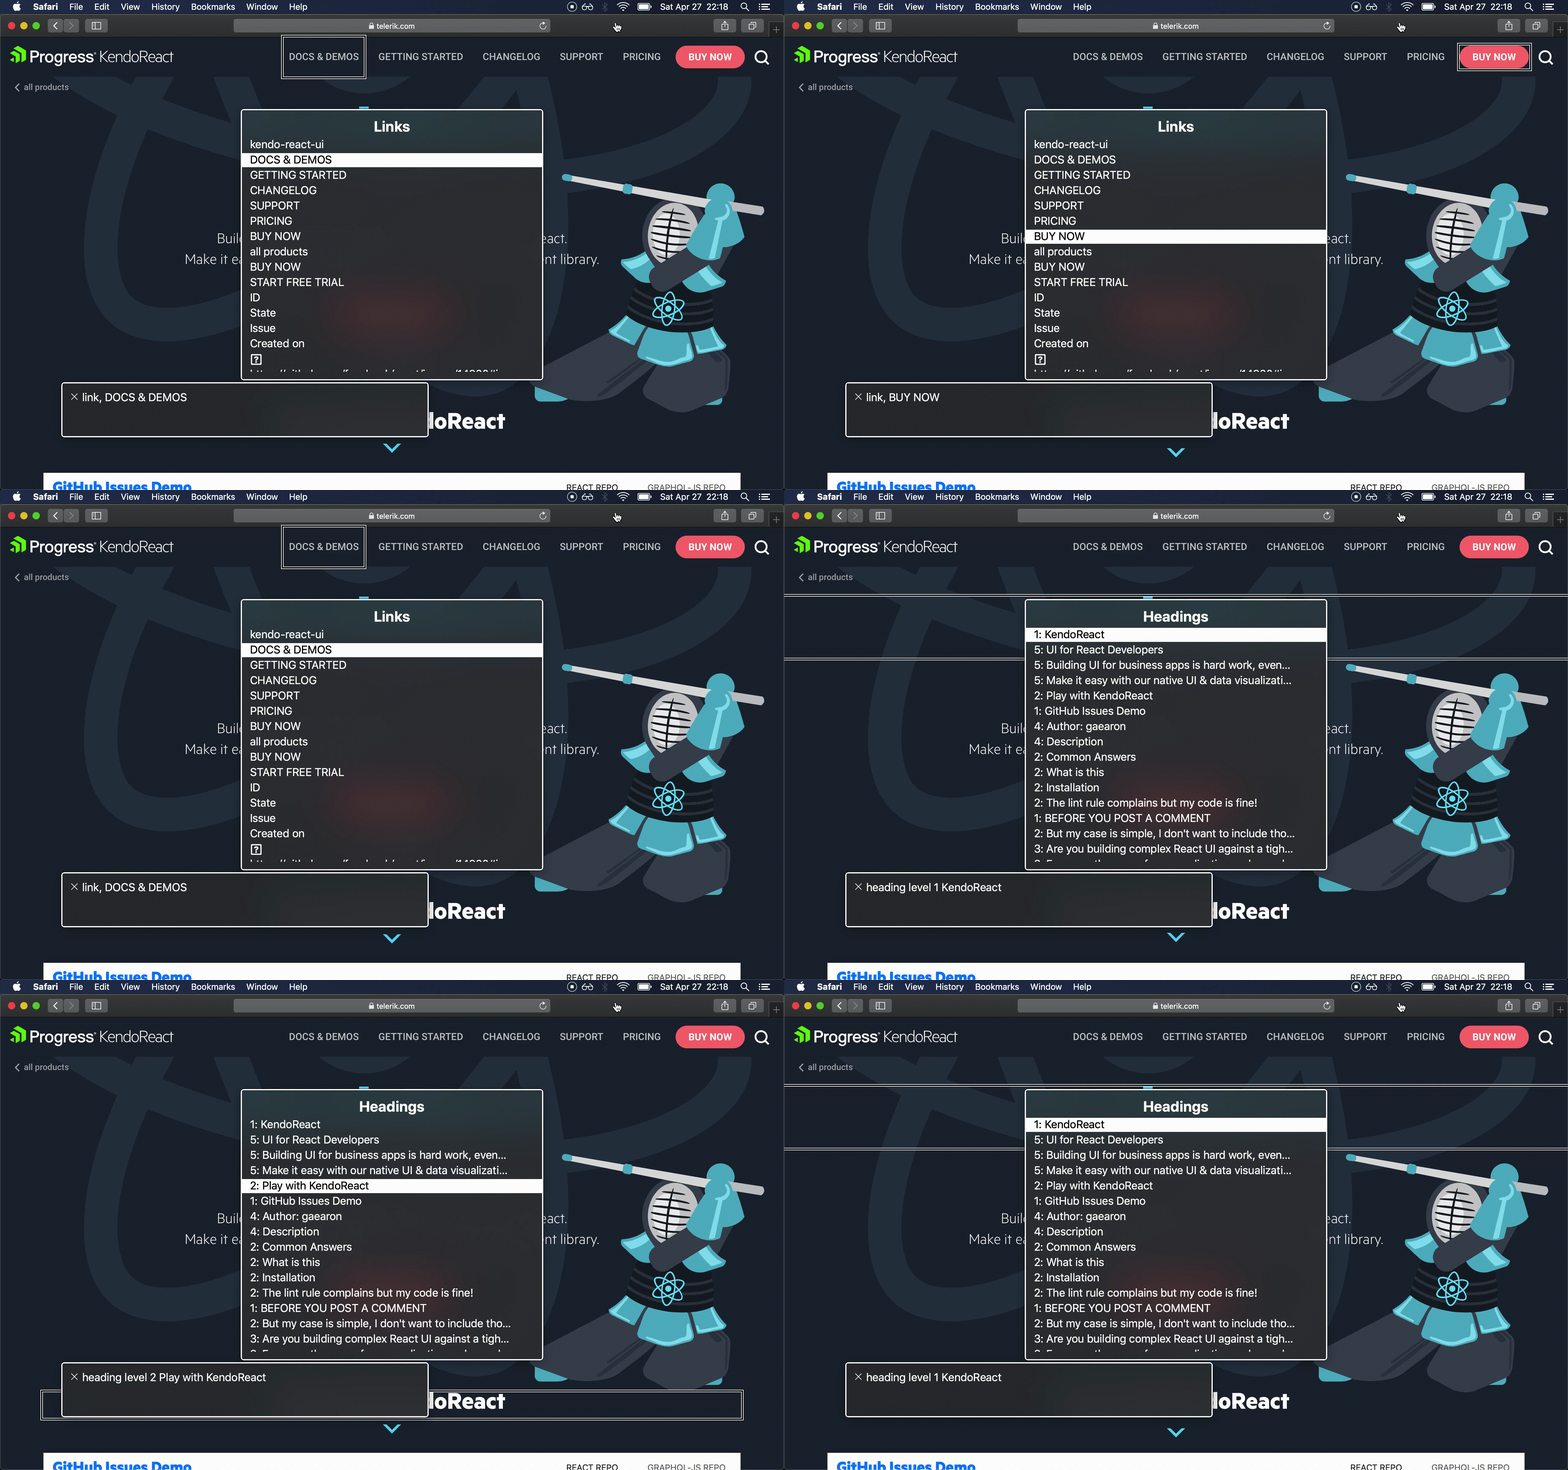
VoiceOver has one cool feature called the rotor. It’s a dialog that allows you to navigate content by type (links, headings, landmarks, etc.). You can open the rotor by pressing Ctrl + Alt + U. You can rotate between content types with ← and →, and you can select an item by pressing ↑ and ↓, and then pressing Enter.

Using a screen reader as a sighted user doesn’t quite compare to how a real user would use it, but it can help us understand how our app is being consumed by part of our userbase.
Conclusion
By manually testing our web sites and apps for keyboard and screen reader navigation, we’re making sure we’re building an inclusive experience that can reach the widest audience possible. We also get a better understanding of the different ways in which our users consume the experiences we build, and we can think of options to improve them.
Learn More about Accessibility
We have created a comprehensive whitepaper on accessibility for developers that covers everything from laws to coding to testing.
Download the whitepaper: Accessibility for Developers
Adding Accessibility to Your Apps
One easy way to make sure that you are creating accessible web apps is to start with components from the Kendo UI libraries. Our components are all WCAG complaint and give you great functionality from grids and charts to schedulers and pickers. Get a head start on your app's UI and a head start on accessibility compliance at the same time.
Learn more about: Kendo UI

Blanca Mendizábal Perelló
Blanca is a full-stack software developer, currently focused on JavaScript and modern frontend technologies such as React. Blanca can be reached at her blog https://groundberry.github.io/ or @blanca_mendi on Twitter.
