
Building Intelligent Applications with OpenAI and C#: A Step-by-Step Guide to Get Started

Summarize with AI:
Here’s a brief guide to setting up OpenAI with C# so you can try out this AI tool in a Blazor app.
In today’s world, artificial intelligence (AI) has become an essential part of many businesses and industries. OpenAI offers a range of powerful AI models and tools that can be used to create intelligent applications. In this article, we’ll explore how to get started using OpenAI with C#.
What is OpenAI?
OpenAI is a research organization founded in 2015 that aims to develop artificial intelligence in a safe and beneficial manner. OpenAI’s mission is to ensure that AI is used for the benefit of humanity, and not just for the benefit of a select few. OpenAI conducts research in a wide range of AI-related areas, including natural language processing, computer vision and robotics.
In addition to conducting research, OpenAI offers a range of powerful AI models and tools that developers can use to create intelligent applications. These models include GPT-3, a state-of-the-art language model that can be used for a wide range of natural language processing tasks, and DALL-E, an AI model that can generate images from textual descriptions.
By making these models and tools available to developers, OpenAI is helping to democratize access to AI and enable more people to build intelligent applications that can benefit society.
Prerequisites
Before we get started, there are a few prerequisites you’ll need to install:
- .NET SDK – You can download and install the .NET Core SDK from Microsoft’s website: https://dotnet.microsoft.com/download.
- OpenAI API key – You’ll need to create an account on the OpenAI website and obtain an API key to access the OpenAI API.
Step-by-Step Guide
Step 1: Sign up for OpenAI
The first step is to sign up for an OpenAI account. Go to https://openai.com/ and click on the “Sign up” button in the top right corner. Follow the prompts to create an account.
Step 2: Install OpenAI API
Next, you’ll need to install the OpenAI API in your C# project. OpenAI provides a NuGet package that you can install using the following command in the Package Manager Console:
Install-Package OpenAI.Api
Note that this package is not from Microsoft, it is a wrapper created on top of OpenAI. More details here: https://www.nuget.org/packages/OpenAI/.
Step 3: Get an API Key
To use the OpenAI API, you’ll need an API key. Go to the OpenAI dashboard and click on “API Keys” in the left-hand navigation menu. Follow the prompts to create a new API key.
Note that once you sign up, you will get $5 free to experiment and try out different things.
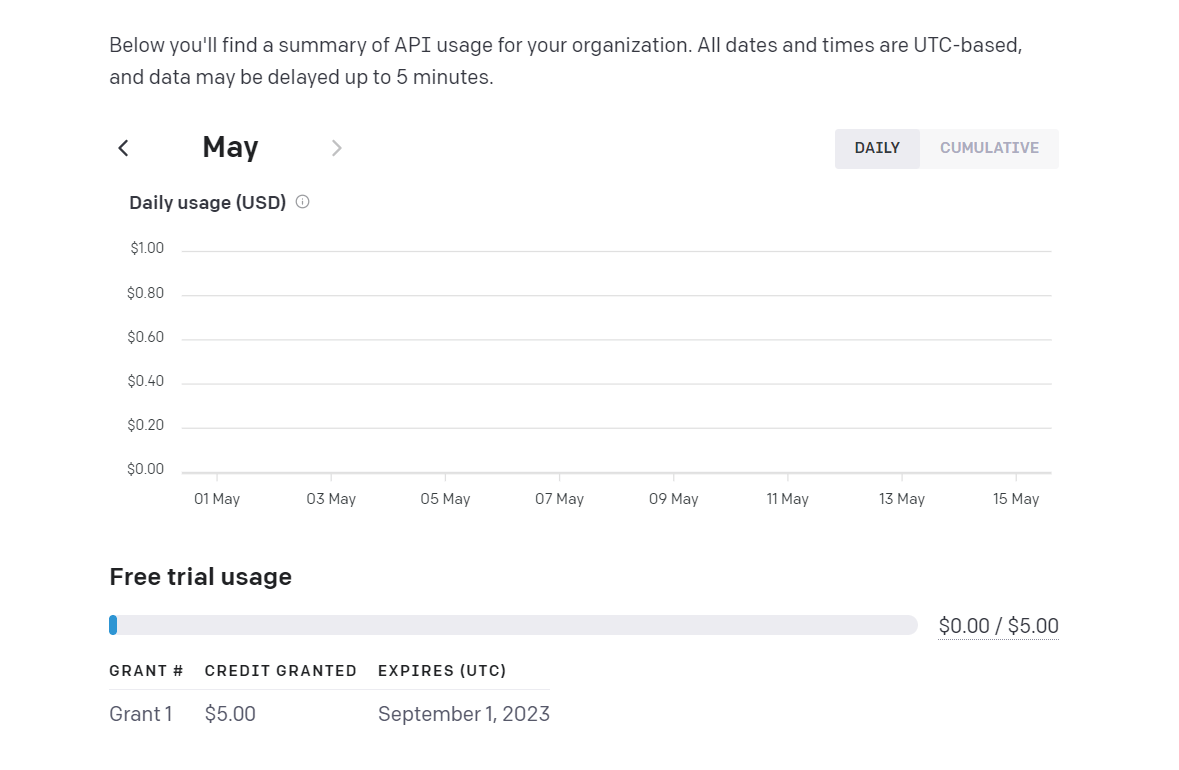
Note: This offer may change in the future.
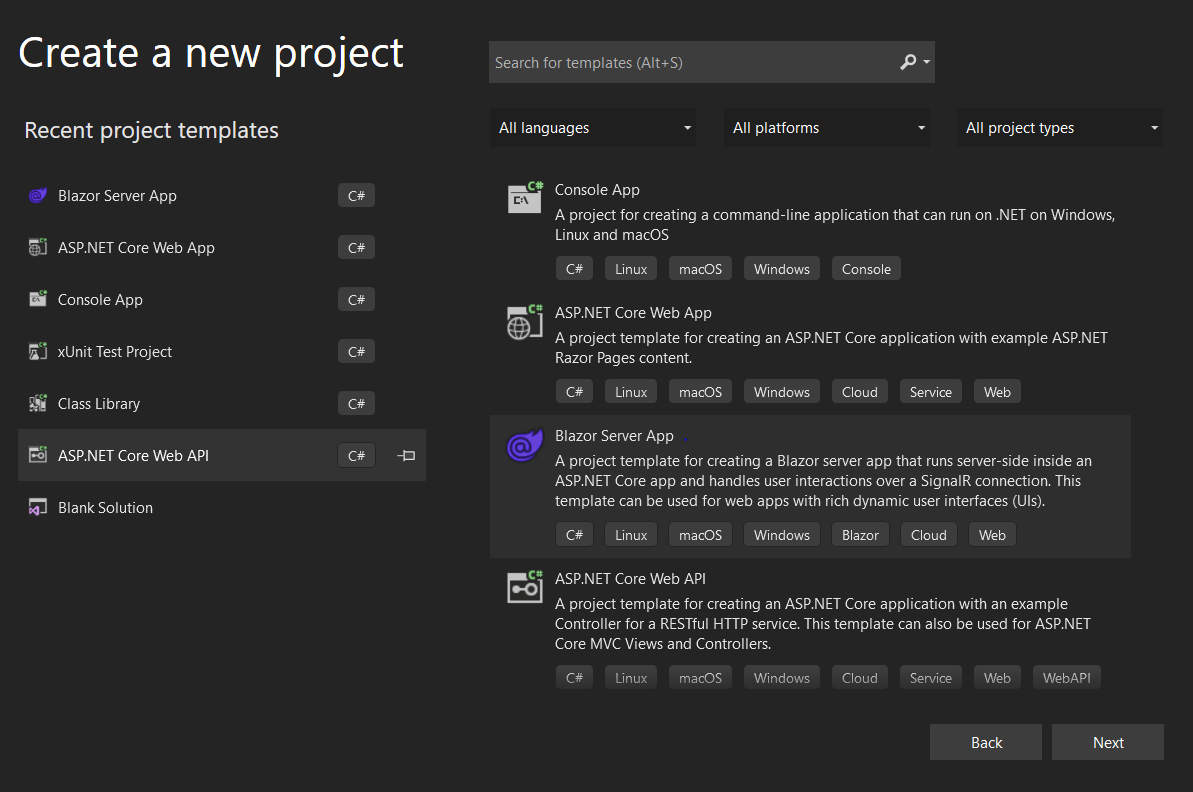
Step 4: Create a New Blazor Application
Open Visual Studio and create a new Blazor application project using a template. You can name it whatever you like.
Step 5: Add the OpenAI API Key to the Project
In order to use the OpenAI API, you’ll need to add your API key to the project. Create a new file in the project called “appsettings.json” and add the following JSON code to it:
{
  "OpenAI": {
    "ApiKey": "YOUR_API_KEY_HERE"
  }
}
Replace “YOUR_API_KEY_HERE” with your actual API key.
Step 6: Use the OpenAI API to Generate Text
Now that you have an API key, you can start using the OpenAI API in your Blazor project. Here’s an example of how to use the API to generate text:
@page "/openai"
@using OpenAI_API
@using OpenAI_API.Completions

@inject IConfiguration Configuration

<h3>OpenAI Text Generation</h3>

<div>
    <label for="prompt">Enter a prompt:</label>
    <input type="text" id="prompt" @bind="promptText" />
    <button @onclick="GenerateText">Generate Text</button>
</div>

<div>
    <label for="result">Generated Text:</label>
    <pre>
        <code>@generatedText</code>
    </pre>
</div>

@code {
    private OpenAIAPI client;
    private string promptText;
    private string generatedText;

    private string apiKey;

    protected override void OnInitialized()
    {
        apiKey = Configuration.GetValue<string>("OpenAI:ApiKey");

        client = new OpenAIAPI(apiKey);
    }

    private async Task GenerateText()
    {
        var parameters = new CompletionRequest
        {
            Model = "text-davinci-002",
            Prompt = promptText,
            Temperature = 0.7,
            MaxTokens = 100
        };

        var response = await client.Completions.CreateCompletionAsync(parameters);

        generatedText = response.Completions[0].Text;
    }
}
This code uses the OpenAIApi class to instantiate a new client with your API key. It then defines a prompt and the parameters for the text generation, including the model to use, the temperature and the maximum number of tokens. Finally, it generates the text and displays it in the console.
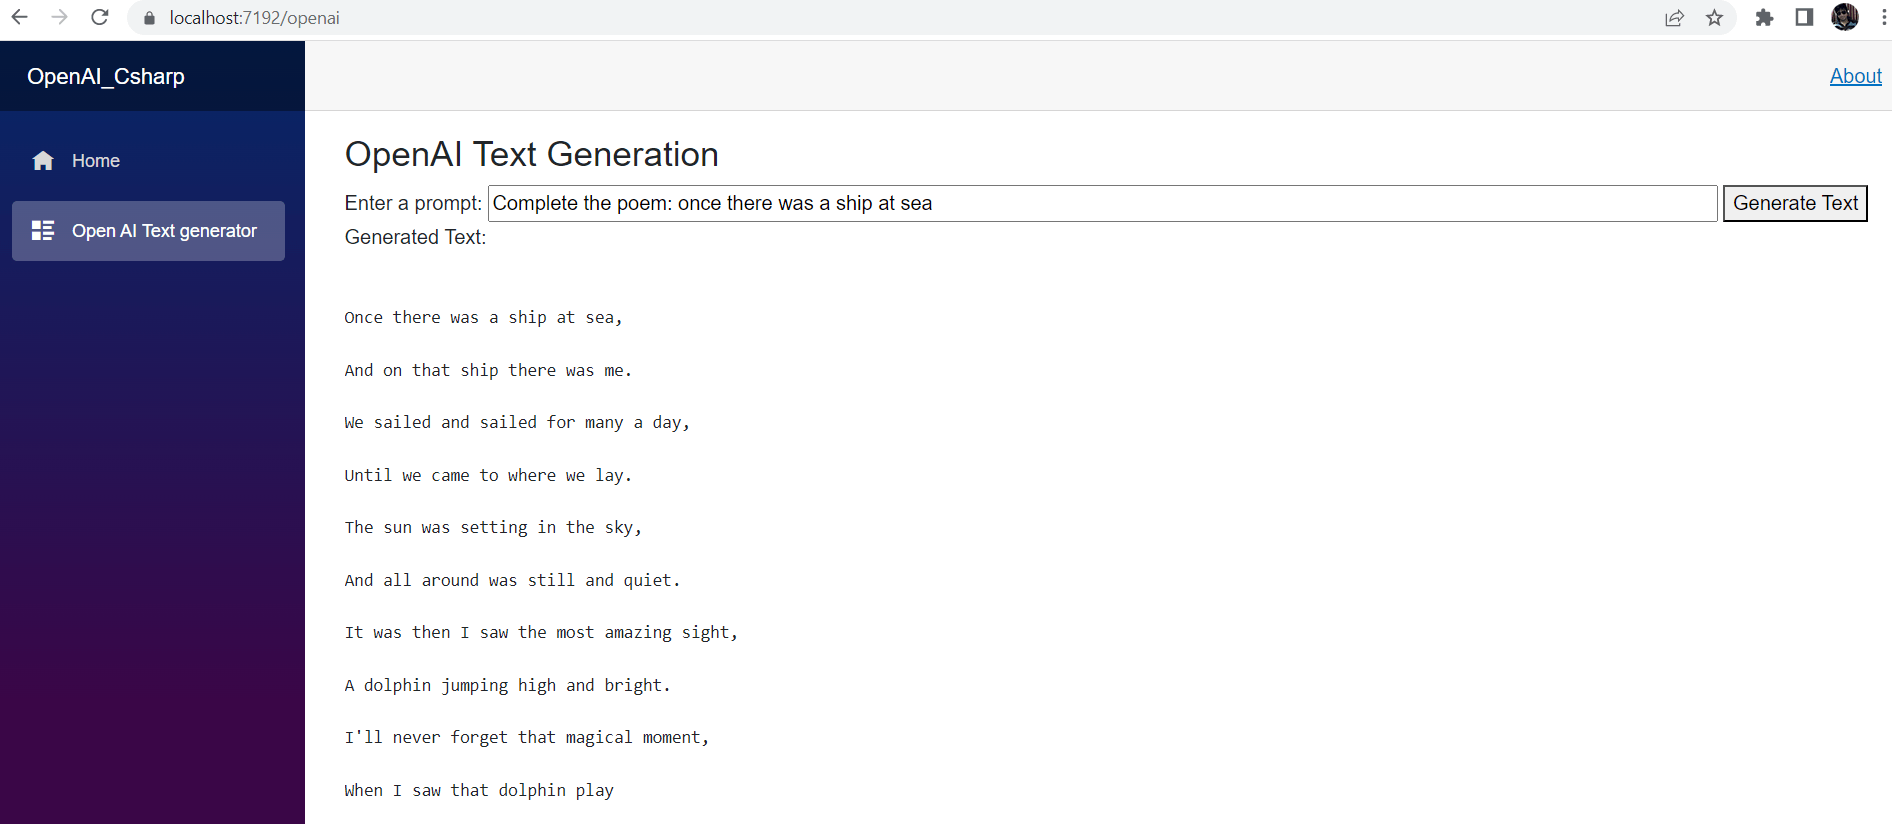
Step 6: Run the App and Explore
Once you add the above code to your Blazor app, run the application and try different combinations.
Some examples I tried:
Advanced reasoning

Poem
Food suggestions
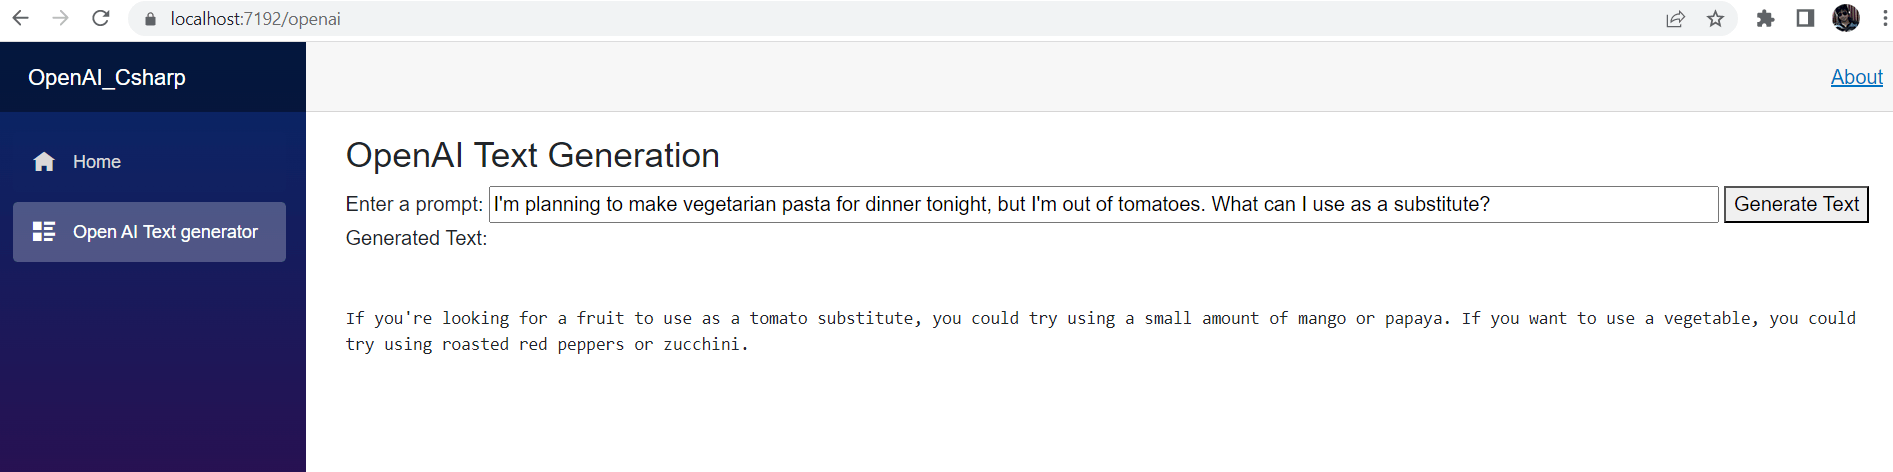
Code

As you can see above, there are many ways to use the text generation tool.
Step 7: Explore the OpenAI API
The OpenAI API is a powerful tool for building intelligent systems in C#. There are many other features and models that you can explore, including natural language processing, question answering and more.
To learn more, check out the OpenAI documentation at https://beta.openai.com/docs/.
Conclusion
In this article, we’ve seen how to get started using OpenAI with C#. We’ve covered how to create an OpenAI client, add the API key and use the GPT-3 model to generate text. With the power of OpenAI and C#, the possibilities for intelligent applications are endless.
Dive deep into your favorite frameworks and reconnect with the developer community! With an unconference vibe, you’ll have access to industry leaders, unique hallway tracks, and outdoor space suitable for refueling. Learn more about DevReach—October 25-26, 2023, in Sofia, Bulgaria!

Neel Bhatt
Neel is a tech enthusiast, blogger, writer, speaker and solutions architect. He has more than 10 years of professional experience. Apart from being a developer, he is an award-winning tech blogger. He likes to stay up-to-date with the latest technology stack, and he likes to share his knowledge with the community. He is a DZone MVB and Top 3% overall on the Stack Overflow site. He is currently working on the Number 1 Dutch weather platform. You can find him at his site: https://neelbhatt.com
Related Posts
Comments
All articles
Topics
Web MobileMobile
Desktop
Design
Productivity
People
