
Adding Data and Text to Your Report in the Telerik Web Report Designer

Summarize with AI:
The ideal report is a) available from the application where you need the report’s information and b) contains exactly the data that you need to support what you’re doing with the application. And, while the developers who created your application are very nice people, they don’t understand what data you need as well as you do. So, to get the ideal report you’ll probably need to create it yourself.
When the Web Report Designer from Progress Telerik is embedded in your application, you can do that: From within your application, you can create your report and, when you return to your application, you’ll find your report waiting for you to view it.
The critical step, after you’ve started creating a report in the designer, is adding the data you want to your report (along with labels, headings, calculated fields and other cool stuff).
In a blank report, you’ll see that your report page is divided into three sections: A page header, a detail and a page footer section. If you’re modifying an existing report, you will almost certainly have the same three sections (and may even have more if it includes a report header and footer or group headers and footers).
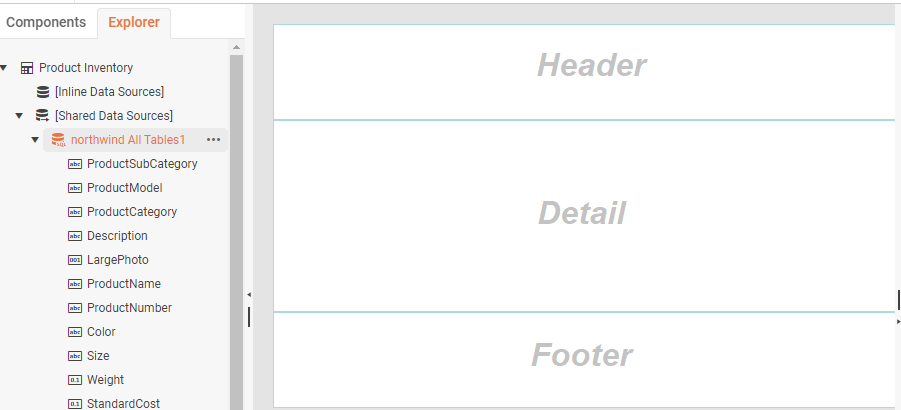
The detail section is the part you’re most interested in because the detail section is displayed once for every row of data in a data source—the detail section is where you’ll add the data that your report will display.
Hint: Clicking in a report’s section causes one of the lines that separates the sections to display as a dotted line with a circle in the middle. If you click on the circle then you can drag the line up or down to change the size of the section.
Adding Data
The easiest way to start adding data to your detail section is to use the Explorer tab on the left side of the Report Designer: Expand the Shared Data Sources section, expand one of your data sources, click on a field in the data source and drag it into your report’s detail section.
When you let go of your mouse button, the field from the data source will turn into a TextBox component in your report. Well, actually, it will probably turn into a TextBox.
![A graphic of the Explorer TreeView on the left with a field named ProductName under the Northwind All Tables node highlight. A curved line leads from it to the right, up to a floating box containing the text ProductName and down to the middle section of the report area where a TextBox containing =[Fields.ProductName] appears in the report.](https://d585tldpucybw.cloudfront.net/sfimages/default-source/blogs/2023/2023-05/embedded-designer-user-guide-10-drag-drop-field.png?sfvrsn=121c0faf_3)
You won’t always get a TextBox because the report designer will decide what kind of component to add to your report, based on the type of data in the field. If, for example, you drag an image field onto your report, then the designer will add a PictureBox to your report.
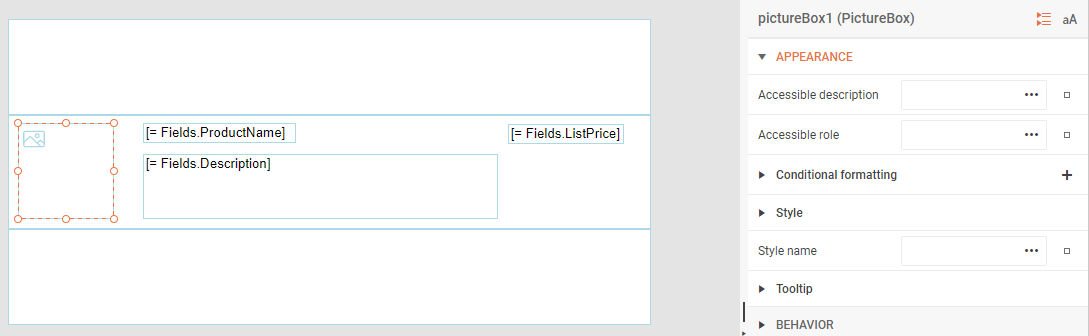
Hint: If you want more control over how fields are added to your report, you can click on the Components tab on the left side of the designer, and drag the component you want into your details section. Then, in the panel right side of the designer, you can expand the Appearance section, find the Value property and use that to bind your selected component to a field in your data source.
Once your component is added to your report, you can use the panel on the right side the designer to modify the settings (properties) for the component that was created from the field you dragged onto your report.
Adding Labels
You’ll probably want to add some labels to identify the data in your report. You can add labels to the:
- Page Header (top) section of your report to create column headers that display at the top of each page in your report
- Details (middle) section to position labels beside the data your report is displaying
- Page Footer (bottom) section if there’s something you want to display at the end of each page in your report
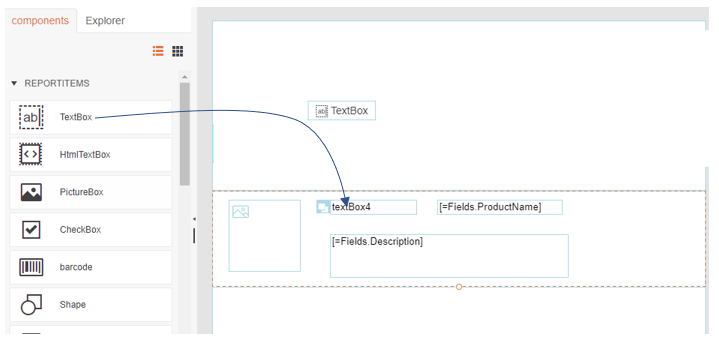
To add a label, click on the Components tab at the top of the panel on the left side of the designer. From the list of components, find the TextBox component and click on it to select it. Once you’ve selected the TextBox, drag the TextBox onto your report where you want to add your label and drop it.
Hint: If you can’t select the TextBox in the Components tab, it’s probably because you’ve got something selected in your report—just click anywhere in the Details section of your report before going back to the Components tab to drag your component onto your report.
Your next step is to set the text displayed in your label so that it identifies the data on your report. To set that text, you’ll first need to switch to the panel on the right side of the designer where the properties for the currently selected component are displayed (in this case, the currently selected component will be the TextBox you just dropped onto your report). In the panel on the right, expand the Appearance section and scroll down to find the Value property. Once you’ve found the Value property, enter the text you want to display in your label.
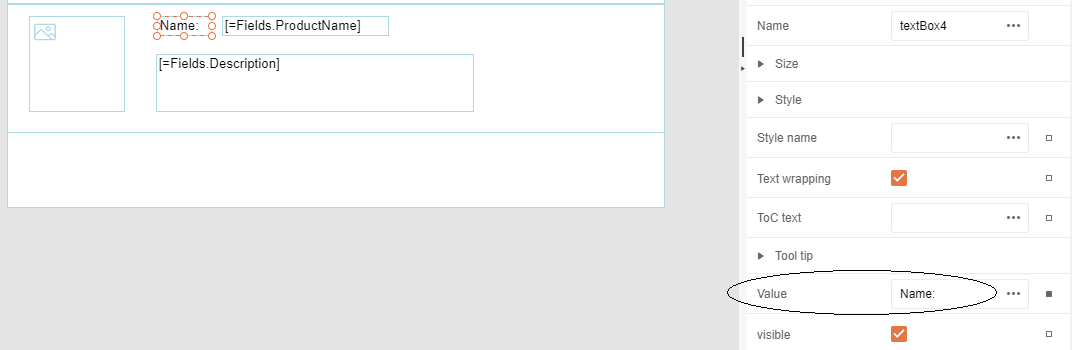
Hint: If the Value property’s textbox isn’t big enough for you to see what you’re typing in, click on the three dots to the right of the Value textbox to get a much bigger editing dialog box to work in.
You’re not restricted to entering static text—you can also use some predefined values provided by the designer. If, for example, you want to display a page count in your Page Header, you can set the TextBox’s Value property to something like this:
Page {[PageNumber]} of {[PageCount]} pages
Hint: There’s more on using predefined functions and values later on in the section on Calculated Fields.
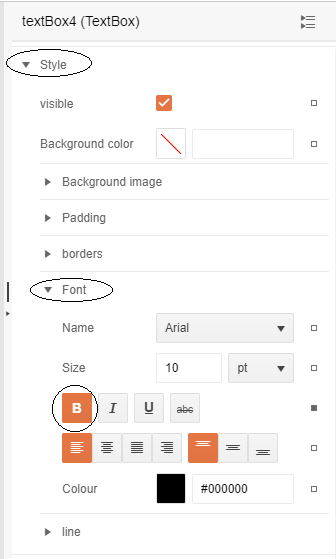
You’ll probably also want your label to stand out from your data by, for example, displaying your label’s text in boldface. To make that happen, in the panel on the right, scroll up in the Appearance section until you find the Style entry and expand it.
In the Style section, you’ll find several ways to format what’s displayed in your TextBox—so many, in fact, that the options been organized into sub-sections. For example, if you want your label to be in boldface, scroll down to the Style’s Font sub-section and expand it. Under Font, you’ll find the Bold icon that you can toggle to have your label’s TextBox display in boldface.
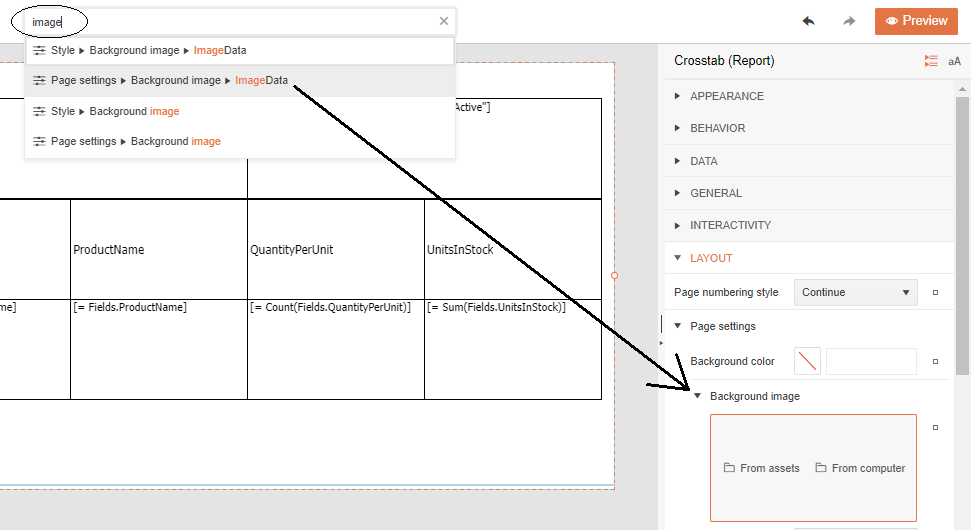
Hint: You’ve probably noticed that there are a ton of options that you can take advantage of in the report designer. Finding the one you want can be … challenging. And, after you’ve found the option you want and using it in one report, finding your way back to that option in a different report (or in the same report because you want to change it) can be equally challenging.
Your friend here is the search box at the top of the designer. Type some text in that textbox and you’ll get a list of all the options where that text appears. If, for example, you wanted to put an image in your report, typing “image” into the search textbox will give you a list of all the options available to you. Clicking on one of the options will open that option in the panel on the right, ready for you to use.
Adding Calculated Fields
Not all the data you want to display in your report may be in the data source that you’re using. If so, you can calculate and display new data by adding a component to your report and setting that component’s Value property to a formula that calculates the data you need.
For example, in the sample report used in these graphics, each product has a UnitsInStock field and a UnitPrice field … but not a “ValueInStock” field that shows the total value of all the items in stock. That ValueInStock value, though, could be calculated by multiplying the UnitsInStock field by the UnitPrice field.
To create at calculated field, drag a TextBox onto your report from the Components tab on the left to your Details section. Once you’ve added the TextBox, find its Value property in the Appearance section in panel on the right. Click on the three dots by the Value’s textbox to display the EditValue dialog. Then, in the list of items in the bottom right of the EditValue dialog, click on the Fields item to display all the fields from Explorer.
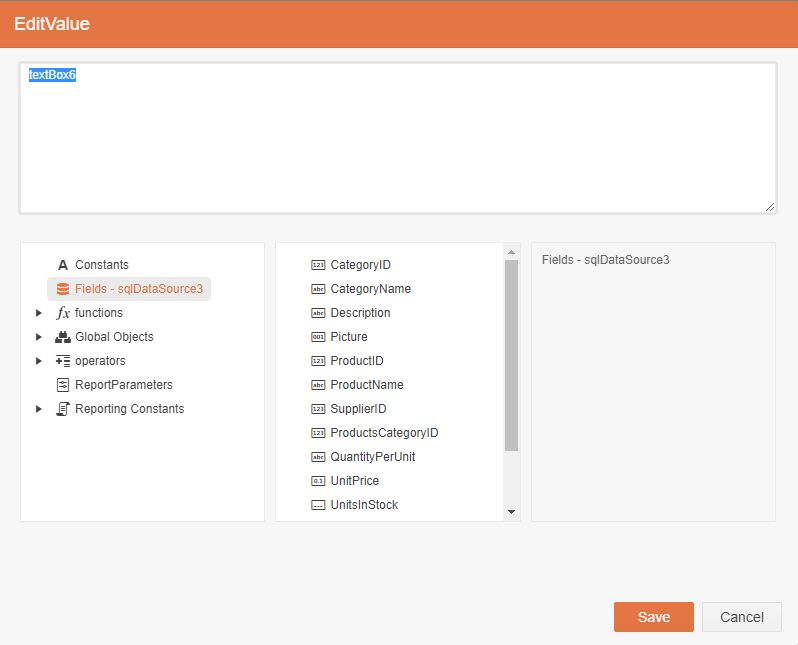
You can now add fields from that list to your TextBox’s Value property just by double-clicking on the field you want. You can also insert operators—for example, the multiplication operator (*) to create a calculated
result.
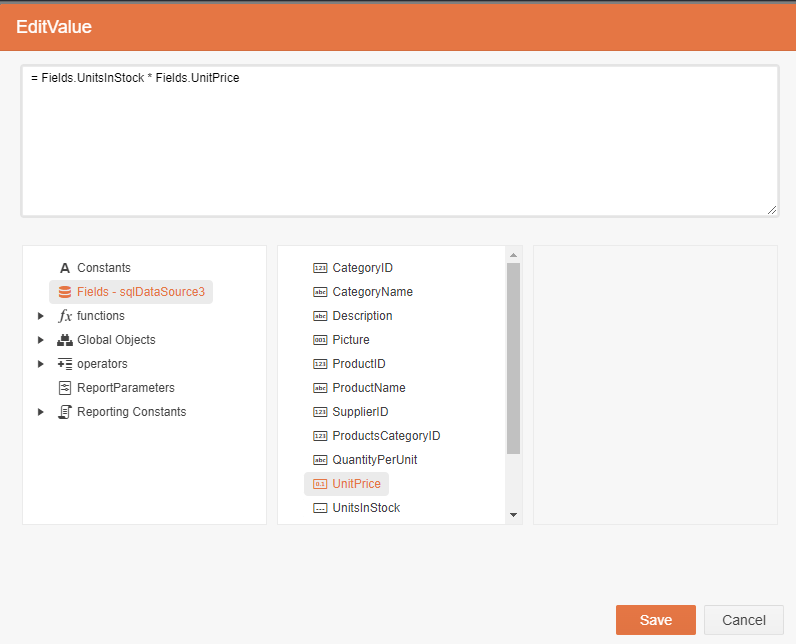
For example, to create a formula to calculate a ValueInStock by multiplying UnitsInStock and UnitPrice, double-click on the UnitsInStock field to add it to your formulate in the textbox at the top. Next, type an asterisk in the textbox, and, finally, double-click on the UnitPrice field to add it to the value property. The result would look something like this:
= Fields.UnitsInStock * Fields.UnitPrice
When you’re done creating your formula, just click the Save button at the bottom of the EditValue dialog to update your TextBox’s Value property with your formula. When you view your report the TextBox will display the result of your calculation.
Next Steps
Since this is a report you’re creating for your own use, you’re probably more interested in getting the data right than making the report “look pretty.”
However, you could also experiment with improving the appearance of your data by using the style properties on the components you’ve added to your report.
For example, the Conditional Formatting property in the panel on the right of the designer allows you to control how data in a component is displayed, based on the data’s value. Conditional Formatting will let you highlight values that require attention (if you’ve used conditional formatting in Excel, this feature will sound familiar to you).
You can also return to your Components tab and add a Report Header and Footer to your report (before you try this, make sure that, in the Explorer tab, you’ve selected the name of your report at the top of the Explorer tab). In the Report Header, for example, you might add a TextBox and set its Value to display a name for your report. In the Report Footer, you might want to add some legalese to protect your work.
Whatever you do, you’re well on your way to creating the report you want in the application where you need it—which is, after all, the ideal report.
Ready to Take Advantage of Embedded Reporting?
Progress Telerik Reporting provides all the tools you need to embed the rich, interactive reports your users need in order to analyze and understand their data right into your users’ applications (including letting your users export the results into more than 15 formats, either to distribute or integrate with other analysis tools). Telerik Reporting then lets you go further and empower your users with a fully functional Web Report Designer to create the reports they want without ever leaving the applications where they’ll use their reports.
You can leverage these easy-to-use tools in both any client-side web application environment (HTML5/JS, Angular, React, Vue or Blazor) and any .NET application (web or desktop: ASP. NET Core, ASP. NET MVC, ASP. NET AJAX, WinForms and UWP).
If you still have not tried it, you can start a free trial to take a closer look. A renowned support service and an array of resources will help you along the way.

Peter Vogel
Peter Vogel is both the author of the Coding Azure series and the instructor for Coding Azure in the Classroom. Peter’s company provides full-stack development from UX design through object modeling to database design. Peter holds multiple certifications in Azure administration, architecture, development and security and is a Microsoft Certified Trainer.
Related Posts
Comments
All articles
Topics
Web MobileMobile
Desktop
Design
Productivity
People
