
7 Tweaks to Make the Telerik UI for ASP.NET Core Editor Your Own

Summarize with AI:
Configure and customize the Editor from Telerik UI for ASP.NET Core so this WYSIWYG component fits your exact needs.
The Progress Telerik UI for ASP.NET Core Editor is a versatile WYSIWYG (what you see is what you get) component that enables you to create, visualize and edit HTML. It is a fairly complex component that has multiple built-in features, most of which you can find showcased in its official demos.
In this blog post, we will focus on seven ways you can configure and customize the Editor, so that it better fits different use cases. We will cover the following topics:
- Default and custom tools
- Styling the Editor’s content
- New line options
- Snippets
- Encoding
- Immutable elements
- PDF export options
Default and Custom Tools
You can initialize the Editor with a minimal configuration by setting only its Name option:
@(Html.Kendo().Editor()
  .Name("editor")
)
Even with no additional configuration, the Editor will be fully functional and will display a set of default tools in its toolbar. If you want to add more of the built-in tools, you can do so by using the Tools collection and listing the tools you want the component to show.
In the snippet below Pdf and Print are added to the Editor’s Tools configuration.
@(Html.Kendo().Editor()
  .Name("editor")
  .Tools(tools => {
    //list the tools...
    tools.Pdf();
    tools.Print();
  })
)
Note that this will add the listed tools after the tools the Editor displays by default.
You may want to remove the default tools and instead show only the tools you’ve listed in the Tools configuration. To do that, add the Clear tool and then list the tools you want:
@(Html.Kendo().Editor()
  .Name("editor")
  .Tools(tools =>
  {
    tools.Clear();
    tools.Bold().Italic().Underline().Strikethrough();
    tools.Pdf();
    tools.Print();
  })
)
Custom tools can also be added to the toolbar through the CustomButton option. The example below shows how to include a custom tool that adds a horizontal rule (<hr />) in the content of the Editor.
@(Html.Kendo().Editor()
  .Name("editor")
  .Tools(tools => tools
    .CustomButton(cb => cb.Name("custom").ToolTip("Insert a horizontal rule").Exec(@<text>
      function(e) {
        var editor = $("#editor").data("kendoEditor");
        editor.exec("insertHtml", { value: "<hr  />" });
      }
    </text>))
  )
)
The CustomButton tool has an Exec option that allows you to attach a handler, in which you can execute your custom logic. In this case, the logic uses the Editor’s API to insert a horizontal rule.
Styling the Editor’s Content
The Editor renders its content in an iframe; thus, custom CSS added to the view cannot target the content. Fortunately, the Editor offers an option to import a style sheet into the iframe. This allows you to customize the appearance of the HTML rendered in the content.
Let’s look at an example.
We want a bigger font size of text in the Editor’s content and also the bullets of the unordered lists should be red.
- First, we will add a style sheet in the project with the following name and location: Content/Editor/editorStyles.css. In the style sheet we will add a couple of custom CSS rules with the changes to the font size and bullet color that we want:
body {
  font-size: 16px;
}
li::marker {
  color: red;
}
- Next, we set the StyleSheets configuration in the Editor and point at the style sheet file we added to the project in the previous step:
@(Html.Kendo().Editor()
  .Name("editor")
  .StyleSheets(css => css
    .Add(Url.Content("~/Content/Editor/editorStyles.css"))
  )
  .Value(@<text>
    <ul>
      <li>List item 1</li>
      <li>List item 2</li>
      <li>List item 3</li>
    </ul>
  </text>)
)
In addition to setting the StyleSheets configuration, we pass an exemplary unordered list as value of the component.
- The screenshot below demonstrates the result.
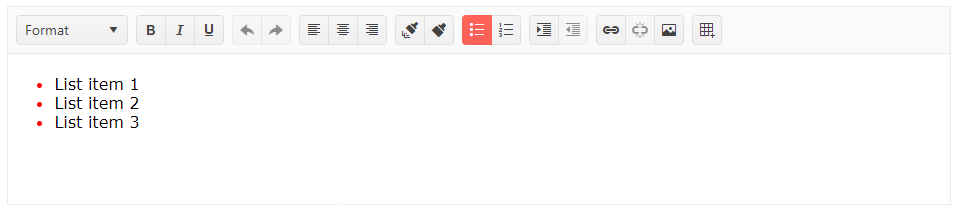
Both CSS rules added to the editorStyles.css style sheet are in effect: the font size of the list item’s text is 16px and the bullets are red.
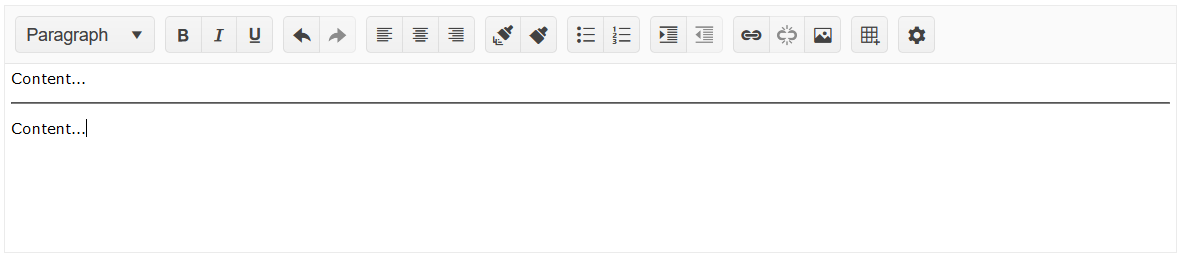
New Line Options
When the mouse caret is on a line of text in the Editor and you hit the Enter key, the Editor creates a new line. By default, the new line is wrapped in a paragraph (<p>) element. A possible
alternative is the Editor to insert a line break (<br>) element, instead of a paragraph.
There is no configuration option that allows you to toggle this behavior in the Editor’s declaration, but it can be achieved with a few lines of JavaScript. Here’s how:
<script>
  var defaultTools = kendo.ui.Editor.defaultTools;

  defaultTools["insertLineBreak"].options.shift = false;
  delete defaultTools["insertParagraph"].options;
</script>

@(Html.Kendo().Editor()
  .Name("editor")
)
Snippets
Snippets is a special type of tool that you can configure in the Editor’s Tools collection. It enables you to quickly add predefined snippets of HTML in the Editor’s content. It is helpful in scenarios that involve adding content that doesn’t change, especially when the user must add it multiple times, or add a set of repetitive snippets of HTML.
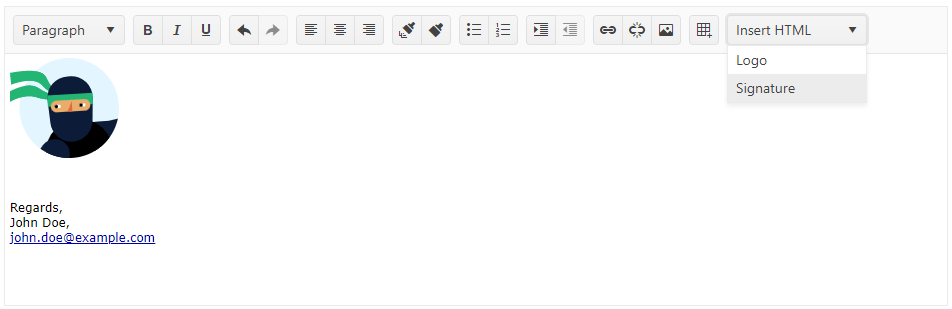
In the example below we’ve included two snippets: the first one contains the HTML of an image (e.g., a company logo), and the second one, the HTML of a sample signature.
@(Html.Kendo().Editor()
  .Name("editor")
  .Tools(tools => tools
    .Snippets(snippets => snippets
      .Add("Logo", "<img loading='lazy' src='https://demos.telerik.com/aspnet-core/shared/images/site/devcraft-ninja-small.svg' alt='devcraft ninja image'>")
    .Add("Signature", "<p>Regards,<br /> John Doe,<br /><a href='mailto:john.doe@example.com'>john.doe@example.com</a></p>")
    )
  )

  .HtmlAttributes(new { style = "height:300px" })
)
The screenshot below shows the added image and signature. The user doesn’t have to type in HTML. It is added automatically on selecting the respective option in the Insert HTML tool’s dropdown.
Encoding
When you submit the value of the Editor to the server, when you are using it in a form, you will notice that by default the HTML tags in the value are sent to the server encoded. The Encode options enables/disables the encoding of the value. Let’s see the difference:
@(Html.Kendo().Editor()
  .Name("editor")
  .Value("<p>some text</p>")
)
The Editor above has encoding enabled (by default) and its value will be submitted encoded: <p>some text</p>.
If you don’t want the value to be submitted encoded, disable the Encode option:
@(Html.Kendo().Editor()
  .Name("editor")
  .Encode(false)
  .Value("<p>some text</p>")
)
With encoding disabled, the value will be submitted unencoded: <p>some text</p>.
Immutable Elements
Certain use cases may require the users to be limited in their ability to edit parts of a document. The Immutable Elements feature can help you with that task.
Enable the Immutables option and declare the content of the Editor:
@(Html.Kendo().Editor()
  .Name("editor")
  .Immutables(true)
  .Value(@<text>
    <div  contenteditable="false"  style="background-color: lightgray">
      <h3>Company Name</h3>
      (immutable content)
    </div>
    <div>You can edit the content of this div element</div>
  </text>)
)
To prevent the users from editing the content of specific elements, set their contenteditable DOM attribute to false. In the example above, the content of the first div element is not editable.
PDF Export Options
In the Default and Custom Tools section we added the PDF export tool to the Editor’s toolbar. The Editor has a dedicated Pdf configuration on its root level, which allows further customization of the exported PDF document.
@(Html.Kendo().Editor()
  .Name("editor")
  .Tools(tools =>
  {
      tools.Pdf();
  })
  .Value("<a href='https://www.telerik.com'>Visit telerik.com!</a> ")
  .Pdf(pdf => pdf
    .Author("John Doe")
    .Title("My Pdf Document")
    .Margin(20, 20, 20, 20)
    .PaperSize("A4")
    .JpegQuality(1)
    .AvoidLinks(false)
    .ForceProxy(true)
    .ProxyURL(Url.Action("Pdf_Export_Save", "Home"))
  )
)
Here are some of the PDF-related options you can configure:
- Author and Title set the properties with the same names in the generated PDF document.
- Margin specifies the top, right, bottom and left margins. This option accepts string or double values.
- PaperSize is set to “auto” by default, which means that the paper size will be determined by the size of the exported content, but you can configure a pre-defined size value, such as “A4” or “A3”.
- JpegQuality is a useful option that you can set, if you want to increase or decrease the quality of the images in the exported document. It accepts values from 0 to 1 and the default quality is 0.92.
- Enabling the AvoidLinks option ensures that links that work in the Editor’s content will not be exported as actual working links in the PDF document.
- The ForceProxy and the ProxyURL options usually go together. The latter is used to specify the URL of the server-side proxy responsible for saving the PDF file on the server. The former ensures that the content will be sent to the proxy URL, even if the browser supports saving files locally. The modern browsers support saving files locally and this is the default way of saving the files the Editor uses, so to force the server export, set both options.
This was a peak at some of the customization options of the Editor. The component has multiple features and HTML editing capabilities, as well as an extensive API that you can explore and take advantage of, to achieve the desired scenario.
Try out the Telerik UI for ASP.NET Core Editor Today
If you like what you’ve read and want to start taking advantage of the ASP.NET Core Editor, or any of the other 110+ ready-made components, we invite you to start a free trial today. Experience firsthand that building rich interactive applications for half the time is just a click away.
Try Telerik UI for ASP.NET Core
Sharing is Caring
Once you try the Telerik UI for ASP.NET Core Editor, don’t forget to share your experience and ideas in the comments sections below or by visiting the Telerik UI for ASP.NET Core Feedback Portal. Your input makes a difference!

Ivan Danchev
Ivan Danchev is a Product Owner at Progress for the Telerik UI for ASP.NET MVC components. He joined the company in 2015 as a Technical Support Engineer in the AJAX team. Outside work, fast cars are one of Ivan’s greatest passions. As a devoted car enthusiast, he craves the adrenaline that racing and spirited driving generate.
Related Posts
Comments
All articles
Topics
Web MobileMobile
Desktop
Design
Productivity
People
