Using Cloudflare Pages To Host Your Kendo UI for Angular App

Summarize with AI:
In this post, we are going to be building and deploying an Angular project on Cloudflare Pages.
What Is Cloudflare Pages?

There are a lot of platforms you can use to deploy your apps for free, such as Netlify, Firebase, GitHub Pages, and today we are looking to use Cloudflare Pages.
Cloudflare Pages is a Jamstack platform for developers to easily deploy their projects in record time. The team calls it “grab your repo and go,” signifying how fast deployment can be and how you do not have to worry about configs anymore—you just have to focus on building and pushing the code. This deploy service uses the robust Cloudflare edge network and ships with dynamic functionality with Cloudflare workers.
What Is Kendo UI?
Kendo UI is a JavaScript library by Progress Telerik that helps you build great user interfaces for your web applications with ease. It contains tons of components that are interactive and accessible and saves you time by already implementing key UI functionalities inside components.
Kendo UI has support for all your favorite JS frameworks including Angular, React, Vue and jQuery, so no extra integration is needed to use it. Kendo UI is also the only UI library that provides extensive support for data management on your user interface, so you have access to spreadsheets, data grids, various kinds of charts, and a lot more.
Note: Kendo UI for Angular is a commercial UI component library, and as a part of this you will need to provide a license key when you use the components in your Angular projects. You can snag a license key through a free trial or by owning a commercial license. For more information, you can head over to the Kendo UI for Angular Licensing page.
Before We Start
This post is suited for all levels of frontend developers who use Angular, so being conversant with beginner concepts and installation processes is not assumed. Here are a few prerequisites you should already have before you start to follow along with this article’s demonstration:
- VS Code for your integrated development environment
- Node version 11.0 installed on your machine
- Node Package Manager version 6.7 (it usually ships with Node installation)
- Angular CLI version 8.0 or above
- A recent version of Angular (this post uses version 12)
Other nice-to-haves include:
- Working knowledge of the Angular framework at a beginner level
Getting Started
The easiest way to set up an Angular project with Kendo UI is through the Kendo UI Template Wizard. This is the IDE extension built by the Kendo UI team to make it super easy for you to scaffold Angular apps in a few minutes with a click-through prompt.
Open your VS Code and navigate to the Extensions tab and search for Kendo UI Template Wizard. install it and reload your VS Code application. Now you have the wizard, so let’s get to work!
To use the wizard inside the VS Code app, go to the and select the Kendo UI Wizard and it should open up this prompt below:
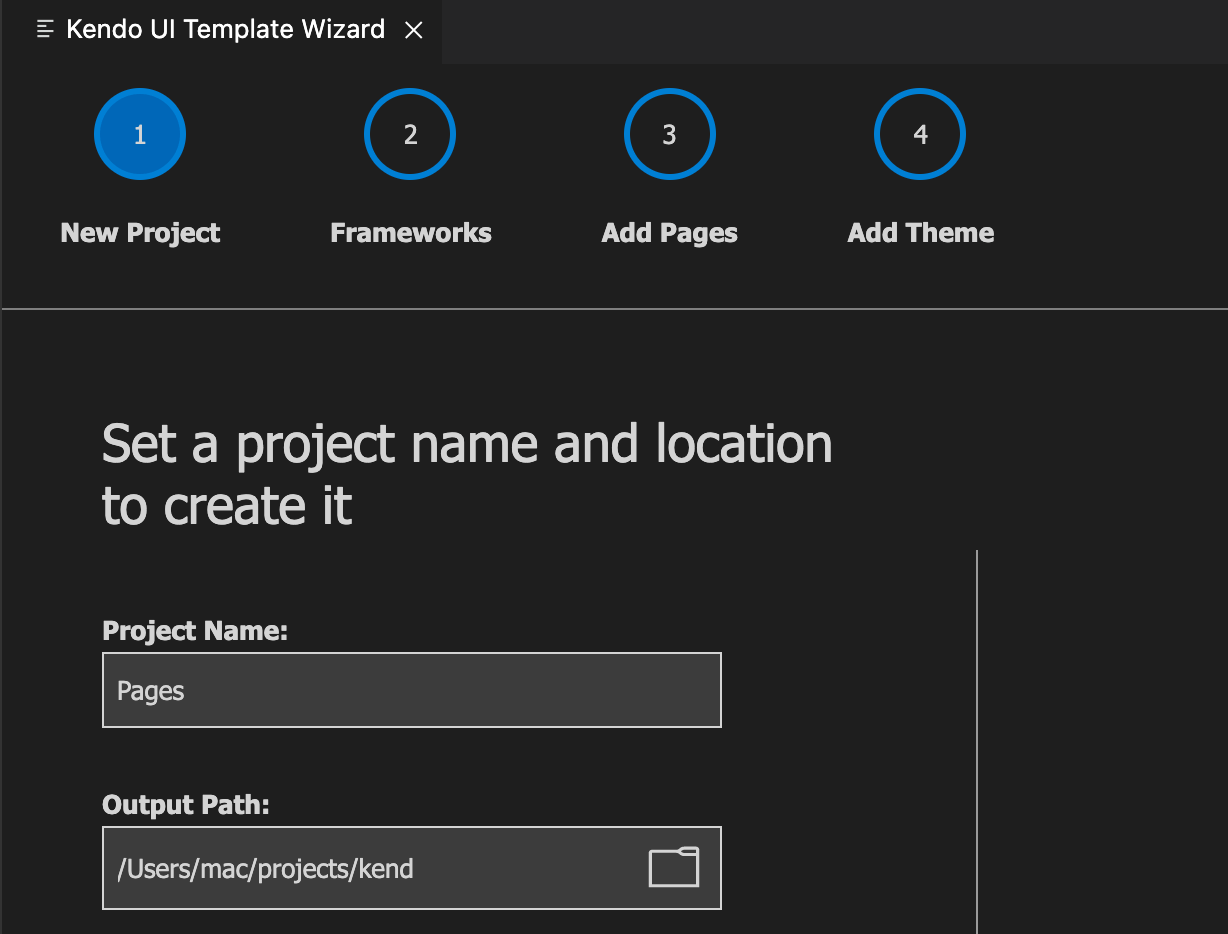
I called my project Pages, but you can call it any name of your choosing. It will also ask you where in your machine you want to have this project generated for you.
After you specify that, click the Next button and you will be brought to a new prompt that asks you what framework you want to build.
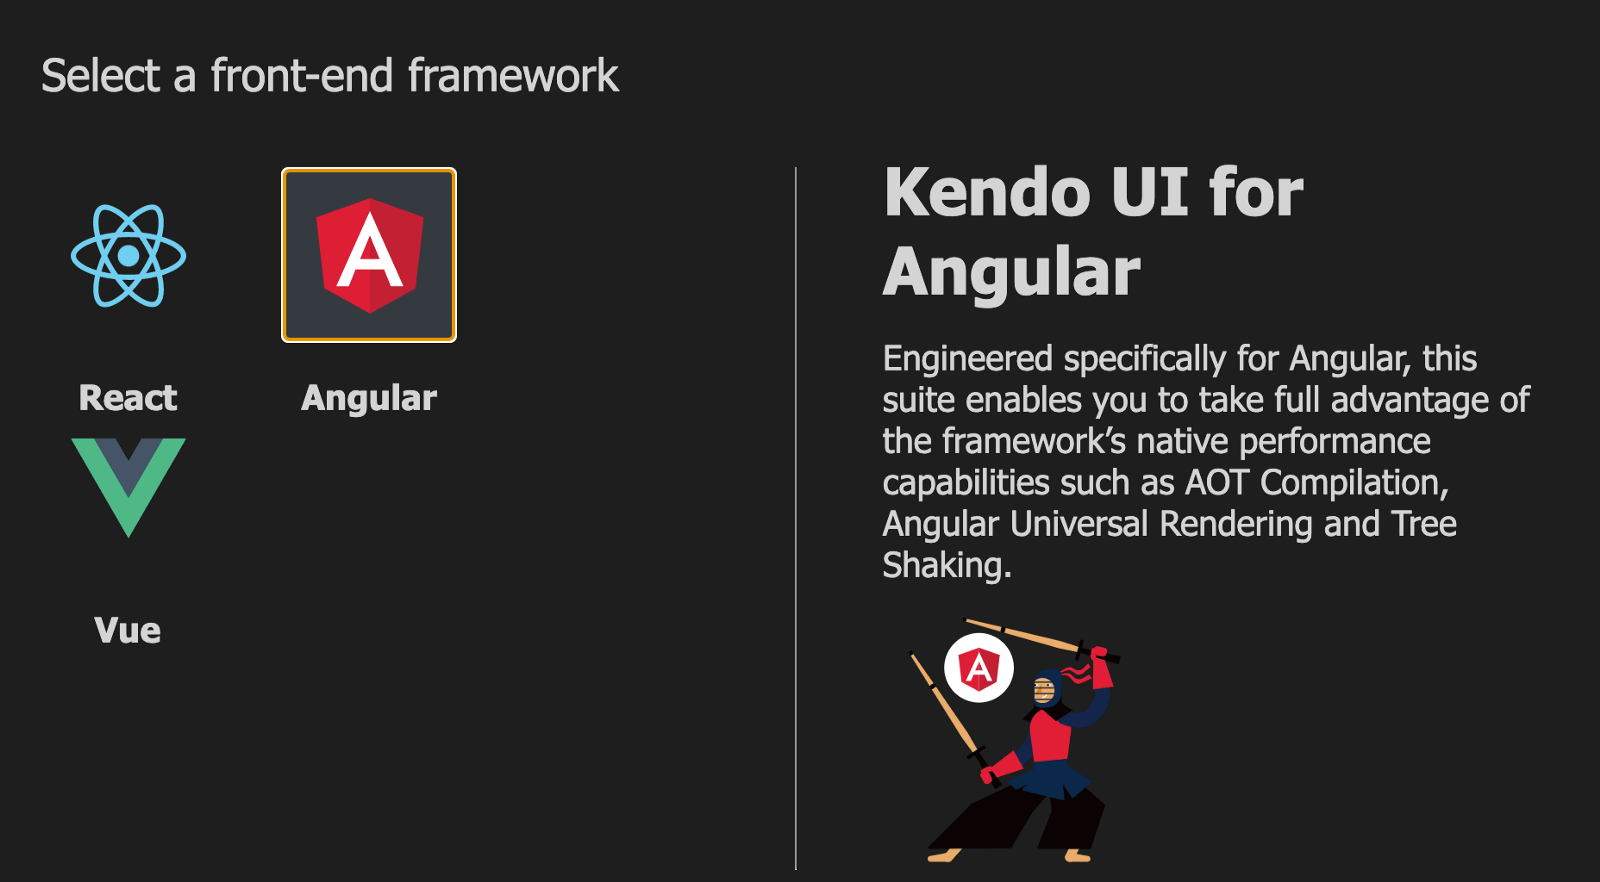
Choose Angular and click Next. The next prompt that shows wants to know the structure you want your app to be in. I want a homepage and another blank page I can route to, so I choose 1 blank page.
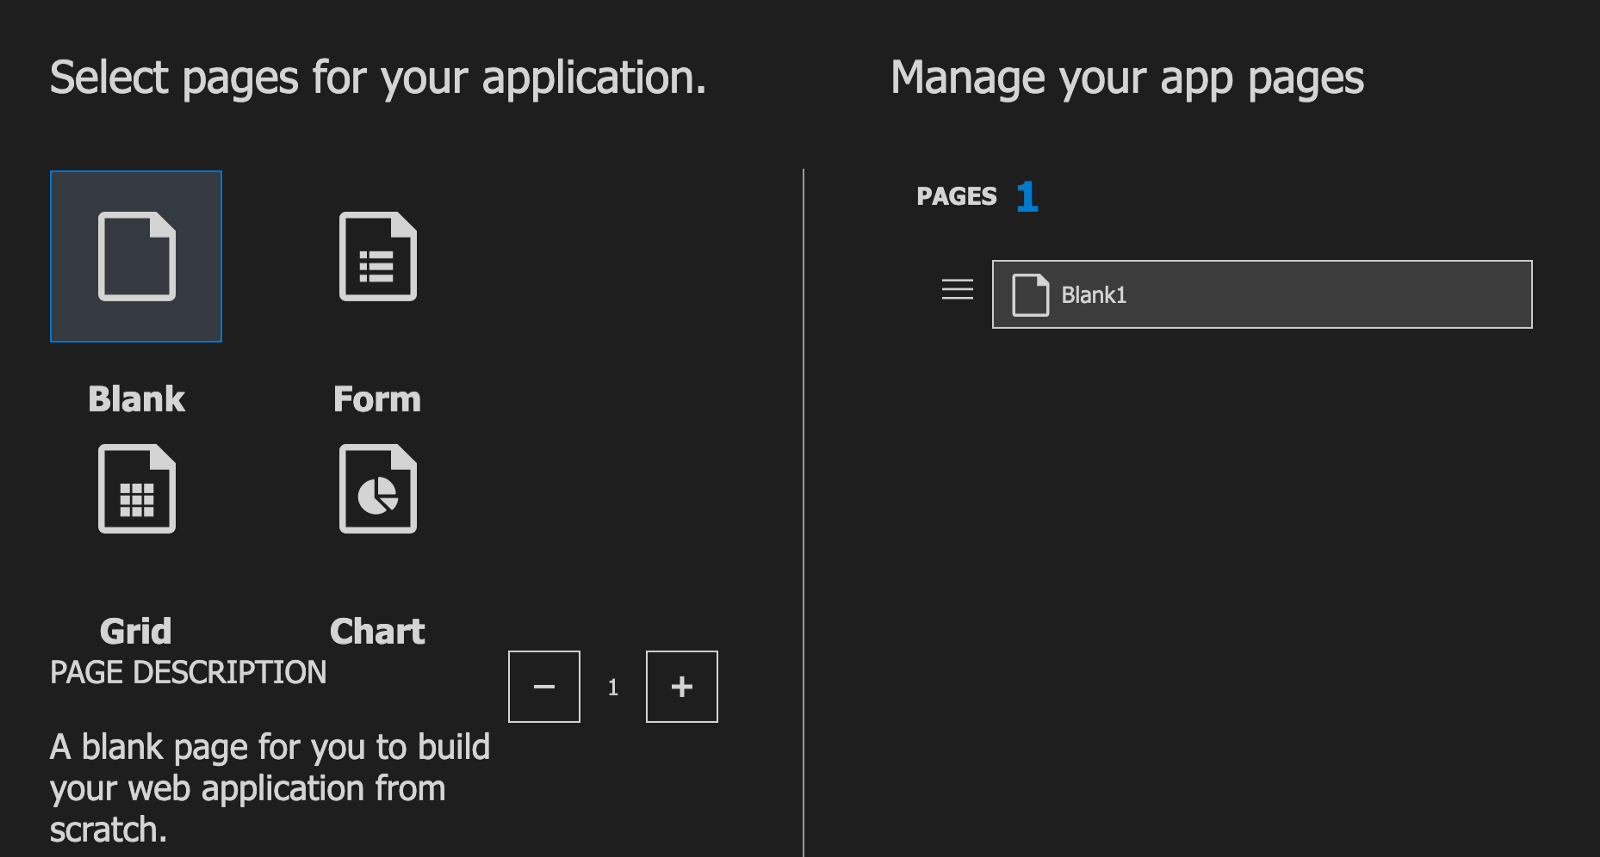
You can play around with different structures to see how it is generated. After you have chosen the structure you want, click the Next button.
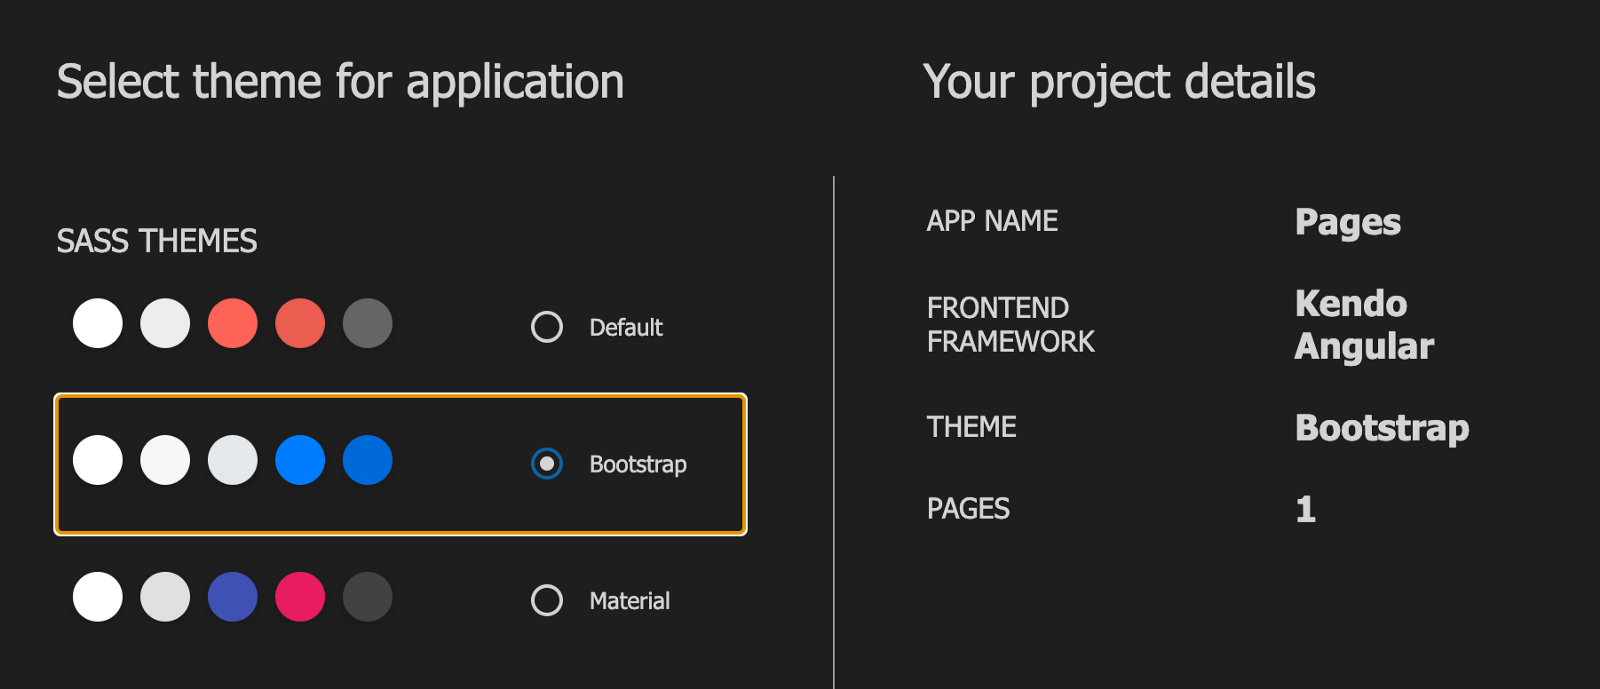
This final prompt asks about styling, so Kendo UI by default can kickstart your project with a basic CSS style or Bootstrap or Material design. I picked Bootstrap and, on the right, you can see the project details summary you have.
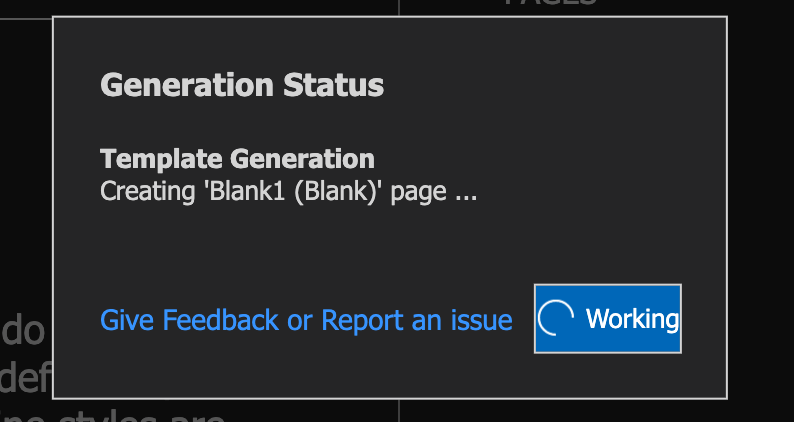
Now your application has been generated, just like that. Open the project in VS Code and open up a new terminal and run the command below to install all the packages with their latest versions.
npm install
After the installation is complete, let us test out if we got everything right. Run the Angular development server with this command:
ng serve
Open your browser to http://localhost:4200/home and it should look like this:

Navigate into the components folder and make sure your home component is exactly like this:
<div class="container mt-5">
    <div class='row'>
        <div class='col-12'>
            <h1 class='welcome mb-0'>Welcome to Kendo UI for Angular</h1>
            <h2 class='sub-header mt-0'>Focus on the core of your application and spend less time sweating over the
                UI</h2>
        </div>
    </div>
    <div class='row'>
        <div class='col-12'>
            <h1 class='get-started'>Get Started</h1>
        </div>
    </div>
    <div class='row justify-content-center'>
        <div class='col-4 text-right'>
        </div>
        <div class='col-4 components-list'>
            <p>
                <a href='https://www.telerik.com/kendo-angular-ui/components/'>Components</a>
            </p>
            <p>
                <a href='https://www.telerik.com/kendo-angular-ui/components/styling/theme-default/'>Default theme
                    overview</a>
            </p>
            <p>
                <a href='https://www.telerik.com/blogs/tag/kendo-ui-for-angular/'>Blog Posts</a>
            </p>
        </div>
    </div>
</div>
Now let us deploy the app using Cloudflare Pages.
Pushing to GitHub
The first thing to do is to create a new GitHub repository and then copy the repository link. Inside your VS Code app, open the terminal and run the command below:
git init
An empty git repository will be initialized. Click on the Source Control tab in the left sidebar and commit the files with your chosen commit message.
To push the project to GitHub, run the command below in your terminal:
git remote add origin repo-link.git
Make sure to replace “repo-link” with the actual repository link you created on GitHub. Now click on the Publish button (you can also find a publish icon at the footer of the VS Code app).
Setting Up Cloudflare Pages
Navigate to Cloudflare and create an account if you do not already have one. After creating an account, log in with that account and click on Pages in the sidebar on the left.
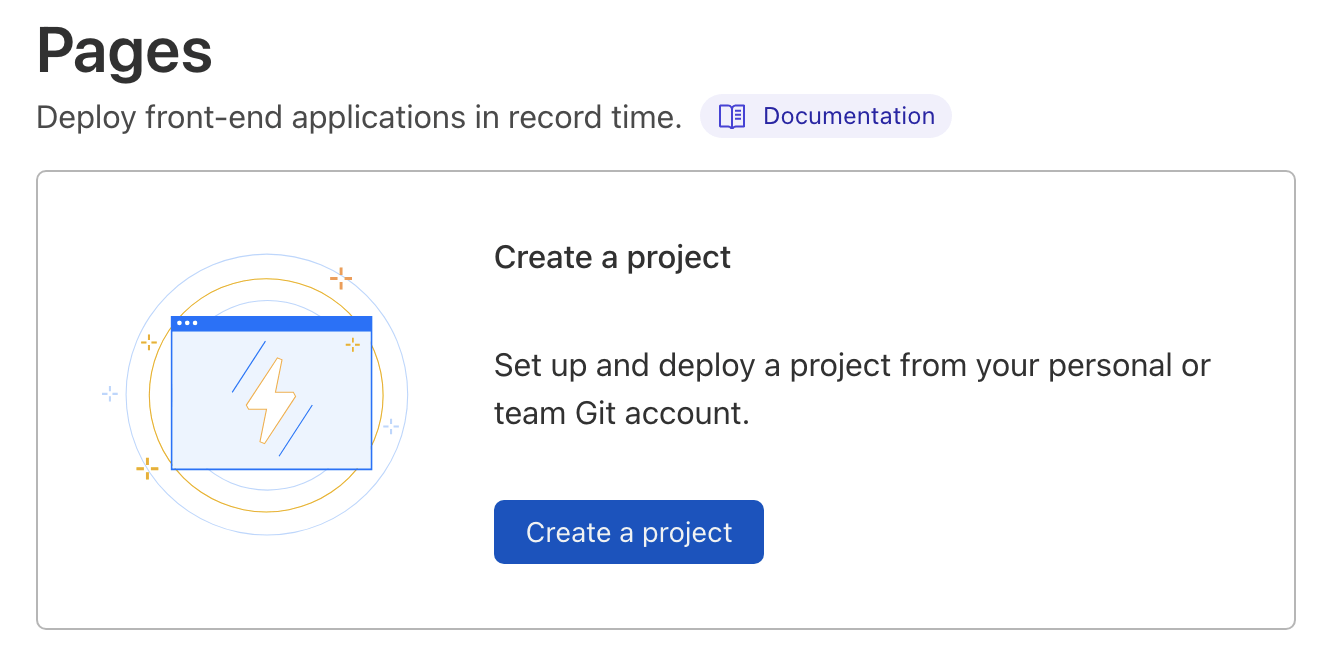
Click on “Create a project” and connect your GitHub account to Cloudflare Pages.
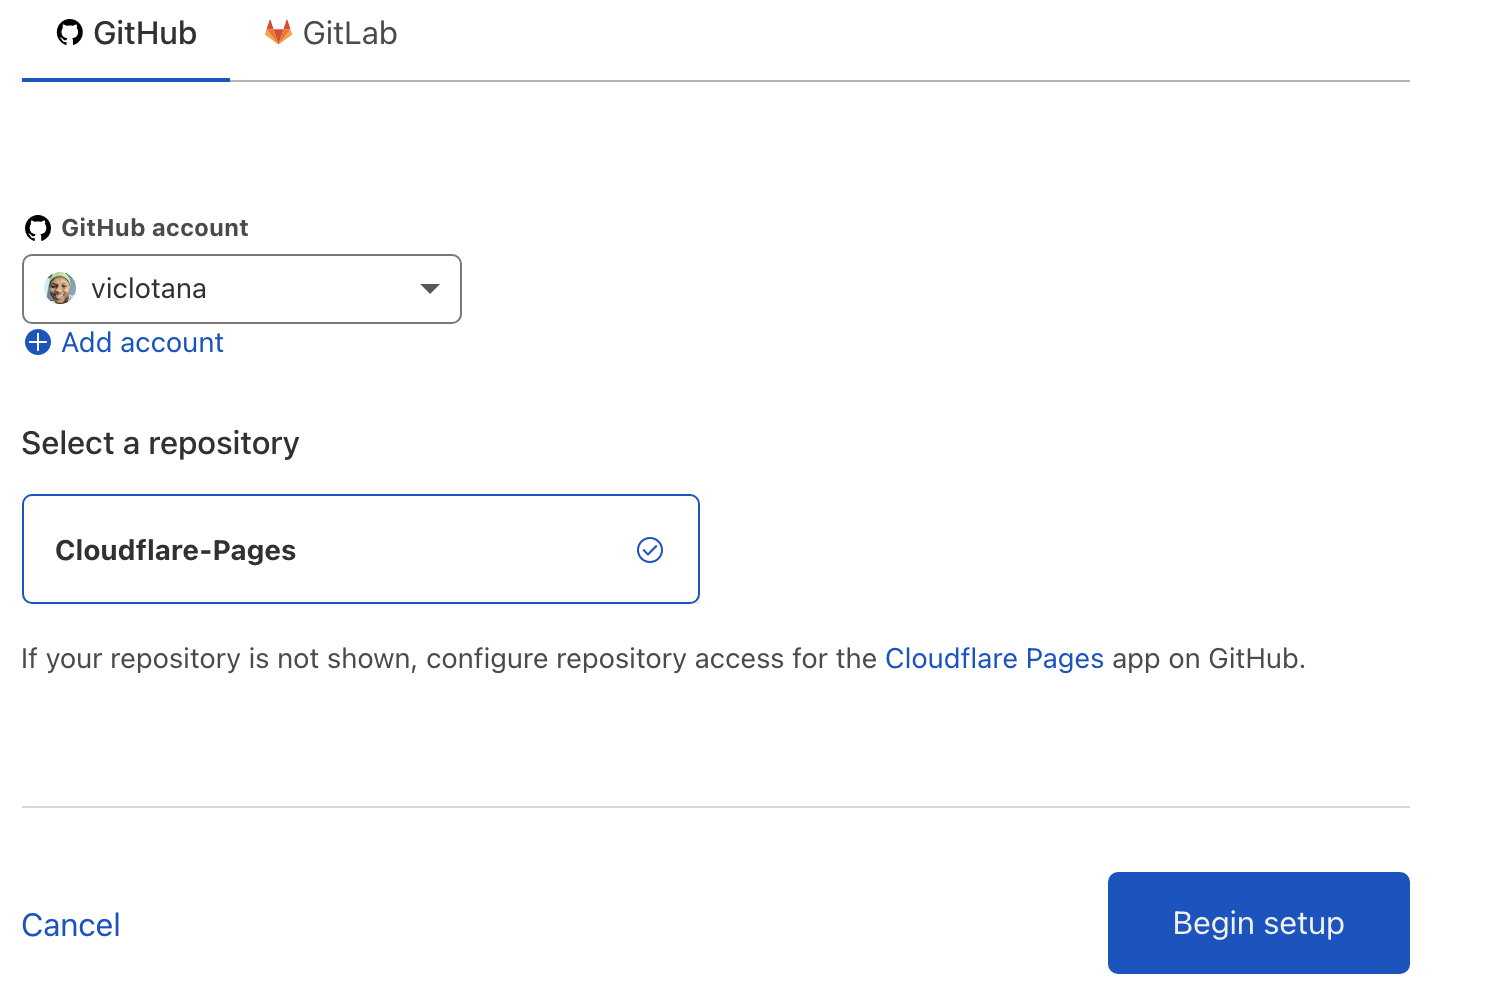
Now select the exact repository you created on GitHub—in my case, it is Cloudflare-Pages—and click on “Begin setup.”
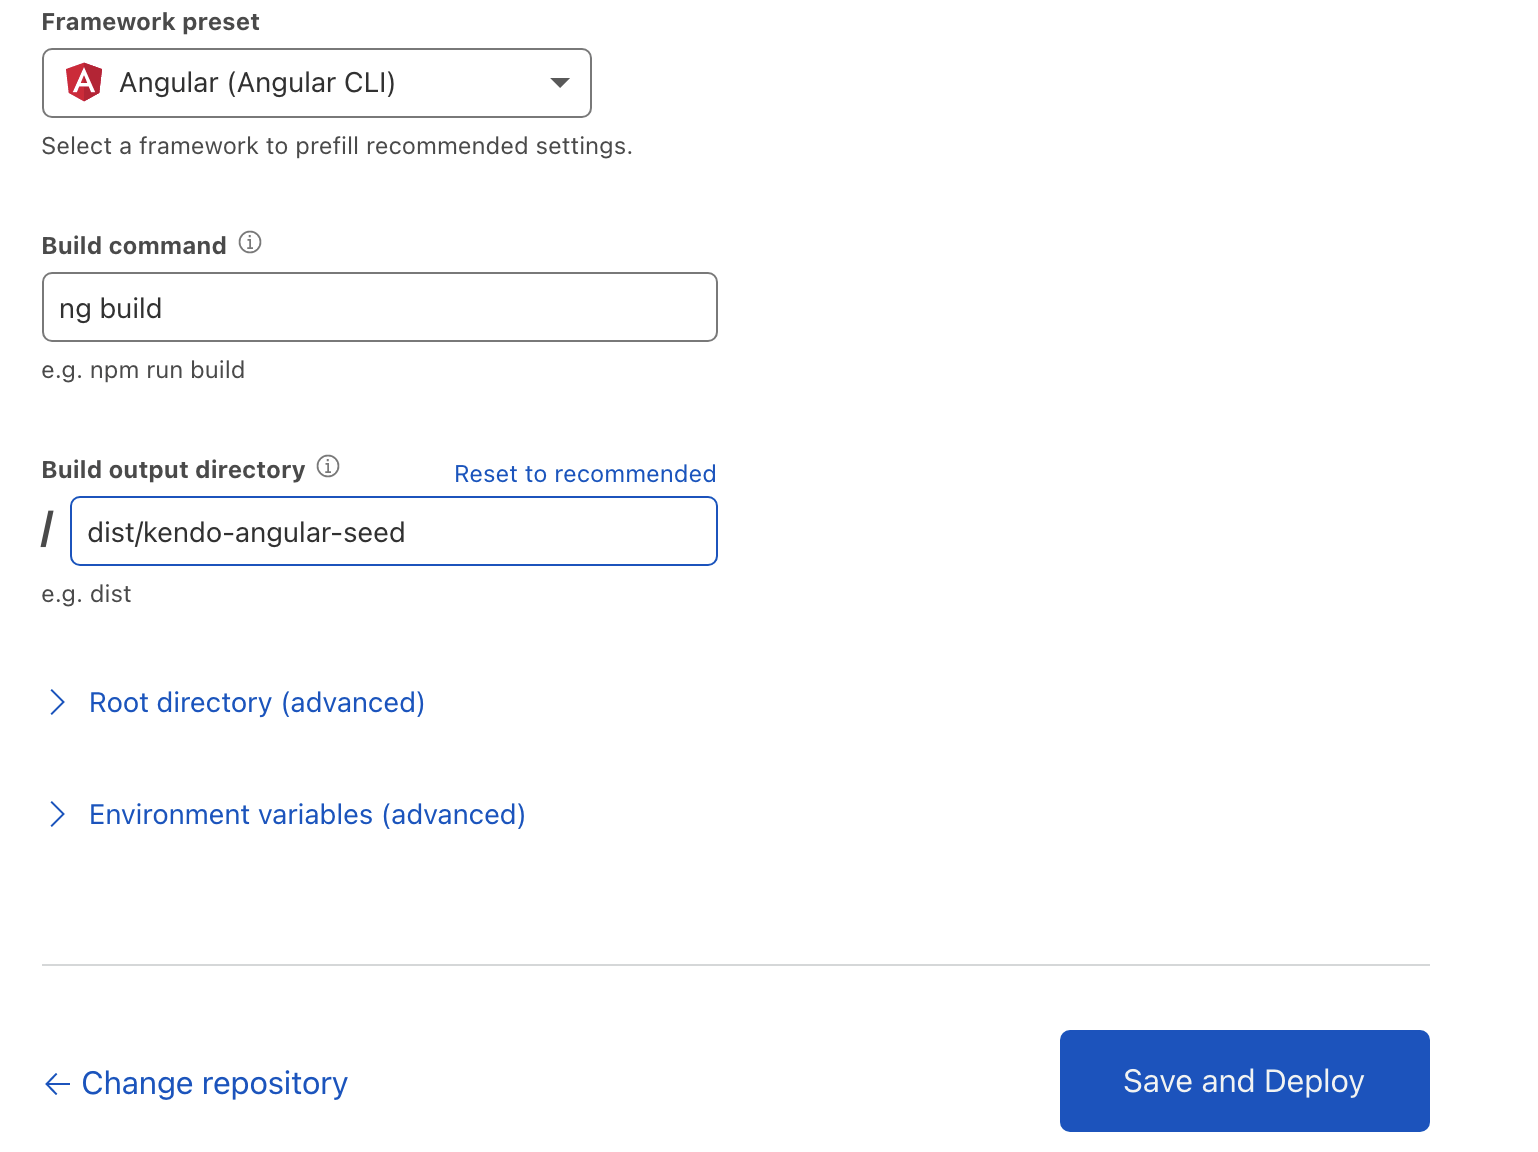
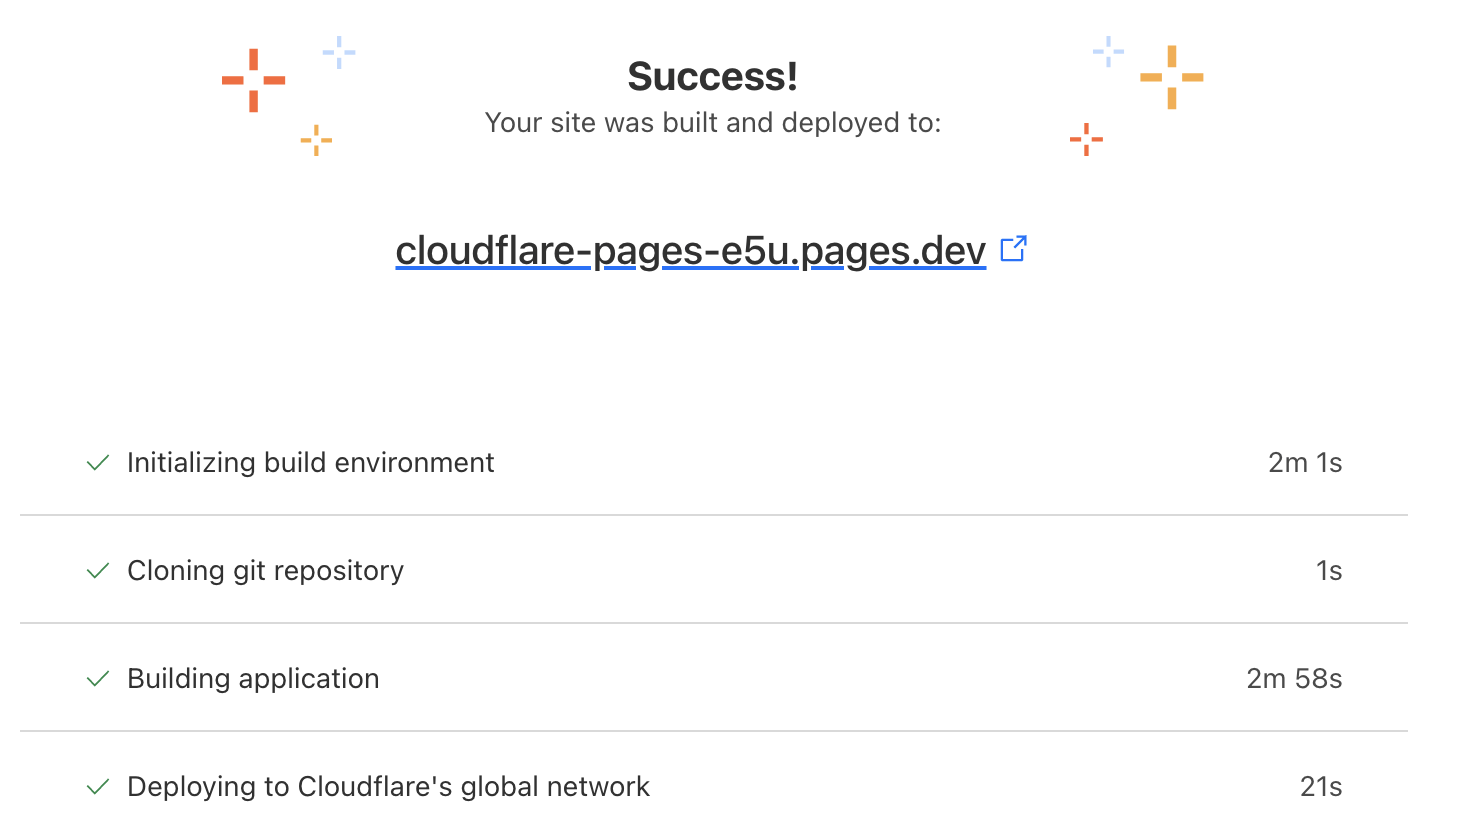
Open your angular.json file and make sure that the output directory corresponds to the one you put in here before you save and deploy. The deploy takes a few minutes and your app is hosted successfully.
Conclusion
In this post, we have seen how to easily scaffold a new Angular application using the Kendo UI VS Code Wizard extension. We also learned about Cloudflare Pages and how our apps can be deployed using the platform easily. And finally we deployed our first Angular application using CloudFlare Pages. Happy hacking!

Nwose Lotanna Victor
Nwose Lotanna Victor is a web technology enthusiast who documents his learning process with technical articles and tutorials. He is a freelance frontend web developer based in Lagos, Nigeria. Passionate about inclusion, community-building and movies in Africa, he enjoys learning new things and traveling.
