Deploying an Angular App on GitHub Pages

Summarize with AI:
In this piece, we will be building an Angular application with Kendo UI for Angular and then deploying it online with GitHub Pages.
Kendo UI
Kendo UI is a JavaScript library by Progress Telerik that helps you build great user interfaces for your web applications with ease. It contains tons of components that are interactive and accessible and saves you time by already implementing key UI functionalities inside components. Kendo UI has support for all your favorite JS frameworks including Angular, so no extra integration needed to use it.
Kendo UI is also the only UI library that provides extensive support for data management on your user interface, so you have access to spreadsheets, data grids, various kinds of charts and a lot more.
Before We Start
This post is suited for all levels of frontend developers that use Angular, so being conversant with beginner concepts and installation processes is not assumed.
To be able to follow along through this article’s demonstration, you should have:
- VS Code as your integrated development environment
- Node version 11.0 installed on your machine
- Node Package Manager version 6.7 (it usually ships with Node installation)
- Angular CLI version 8.0 or above
- Angular (This example uses version 12)
Other nice-to-haves include:
- Working knowledge of the Angular framework at a beginner level
What Is GitHub Pages?
GitHub Pages is the official static-site hosting platform from GitHub. The whole idea is to make sure developers focus on building and let GitHub handle even deploy needs from the same place you do version control and host your files.
You can have GitHub pages set up for yourself as a user—this is mostly targeted at personal branding pages like portfolios. This lets you deploy to yourGitHubUsername.github.io.
To do this, you have to create a new repository on GitHub and call it:
<Your username>.github.io
After you save the repository, it automatically creates a GitHub page for you using the HTML at the root of the project. You can also set up GitHub pages for any new repository or another repository you already have on GitHub. Today, we will be using an npm package to set up GitHub pages for our Angular project.
Getting Started
The easiest way to set up an Angular project with Kendo UI for Angular is through the Kendo UI Template Wizard. This is the IDE extension built by the Kendo UI team to make it super easy for you to scaffold Angular apps in a few minutes with a click-through prompt.
Open your VS Code and navigate to the Extensions tab and search for Kendo UI Template Wizard, install it and reload your VS Code application. Now, you have the wizard. Let’s get to work!
To use the wizard inside the VS Code app, open the Command Palette. Either go to View -> Command Palette, or use shortcut Command + Shift + P for Mac or Ctrl + Shift + P on a PC. Select the Kendo UI Wizard and it will open up this prompt:
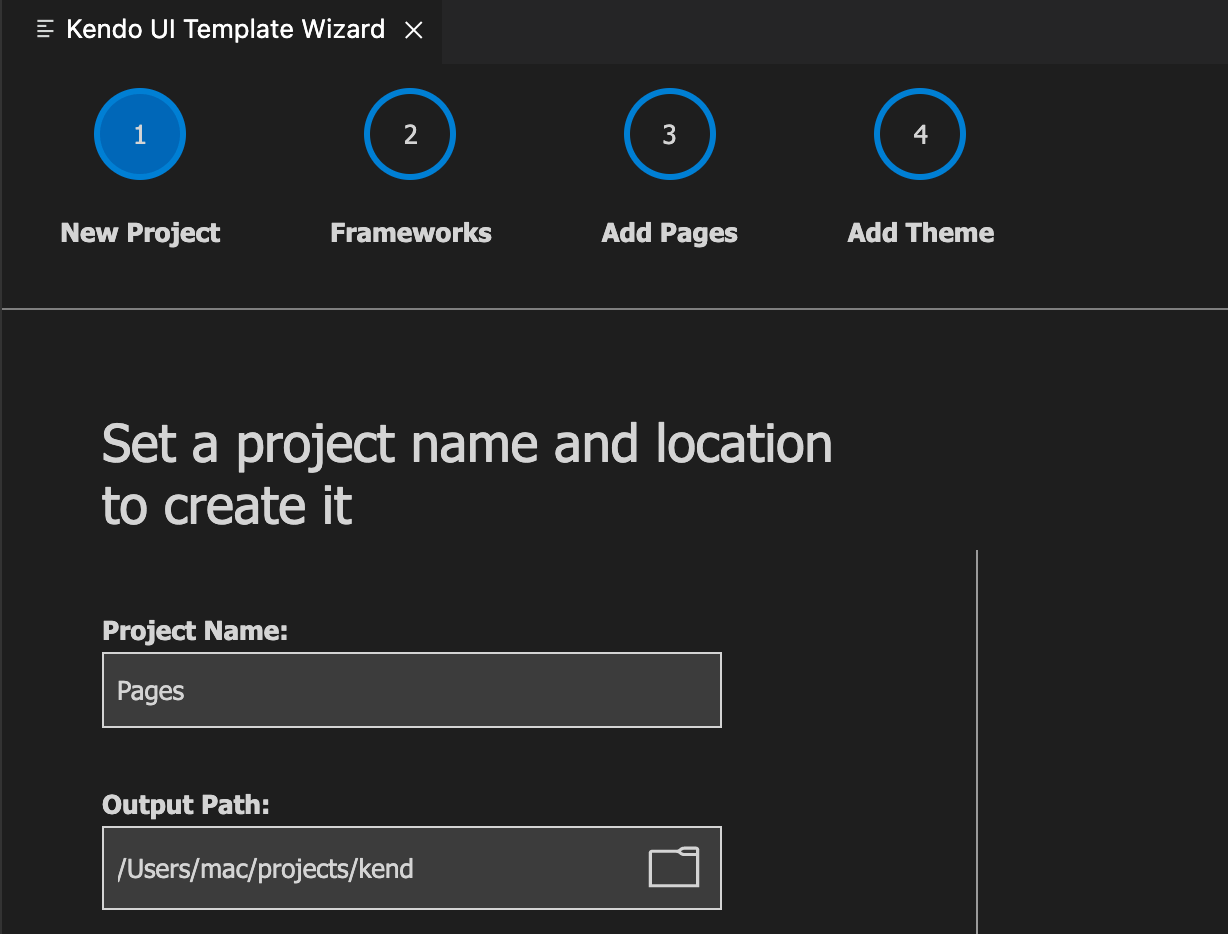
I called my project Pages, but you can call it any name of your choosing. It will also ask you where in your machine you want to have this project generated for you.
After you specify that, click the “Next” button and you’ll be given a new prompt that asks you what framework you want to build with.
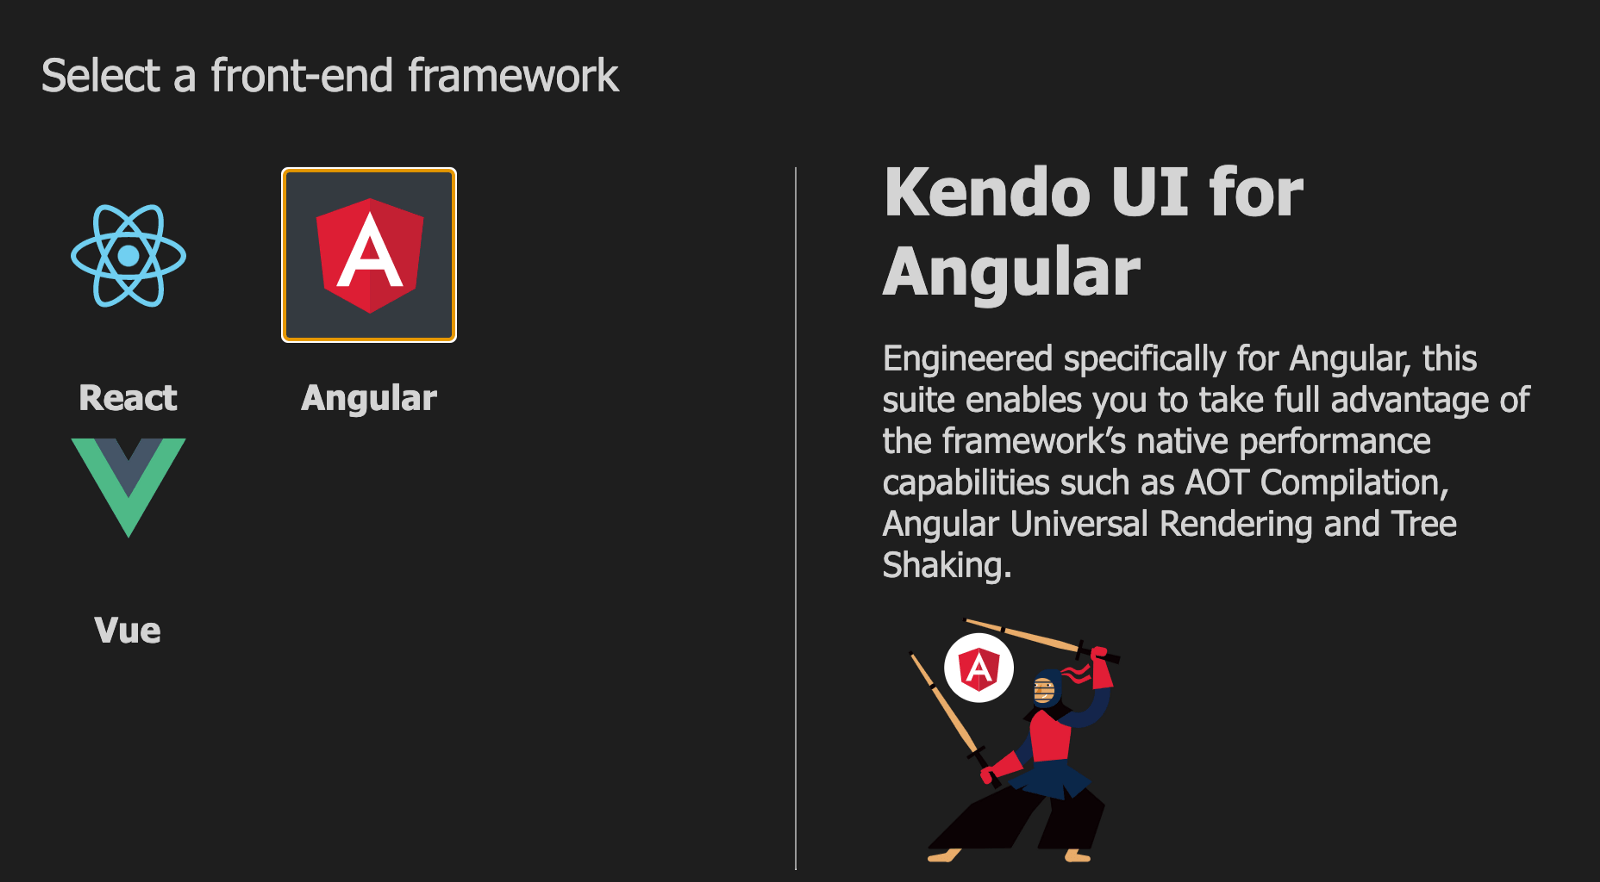
Choose Angular and click “Next.” The next prompt wants to know the structure you want your app to be in. I want a homepage and another blank page I can route to, so I choose 1 blank page:
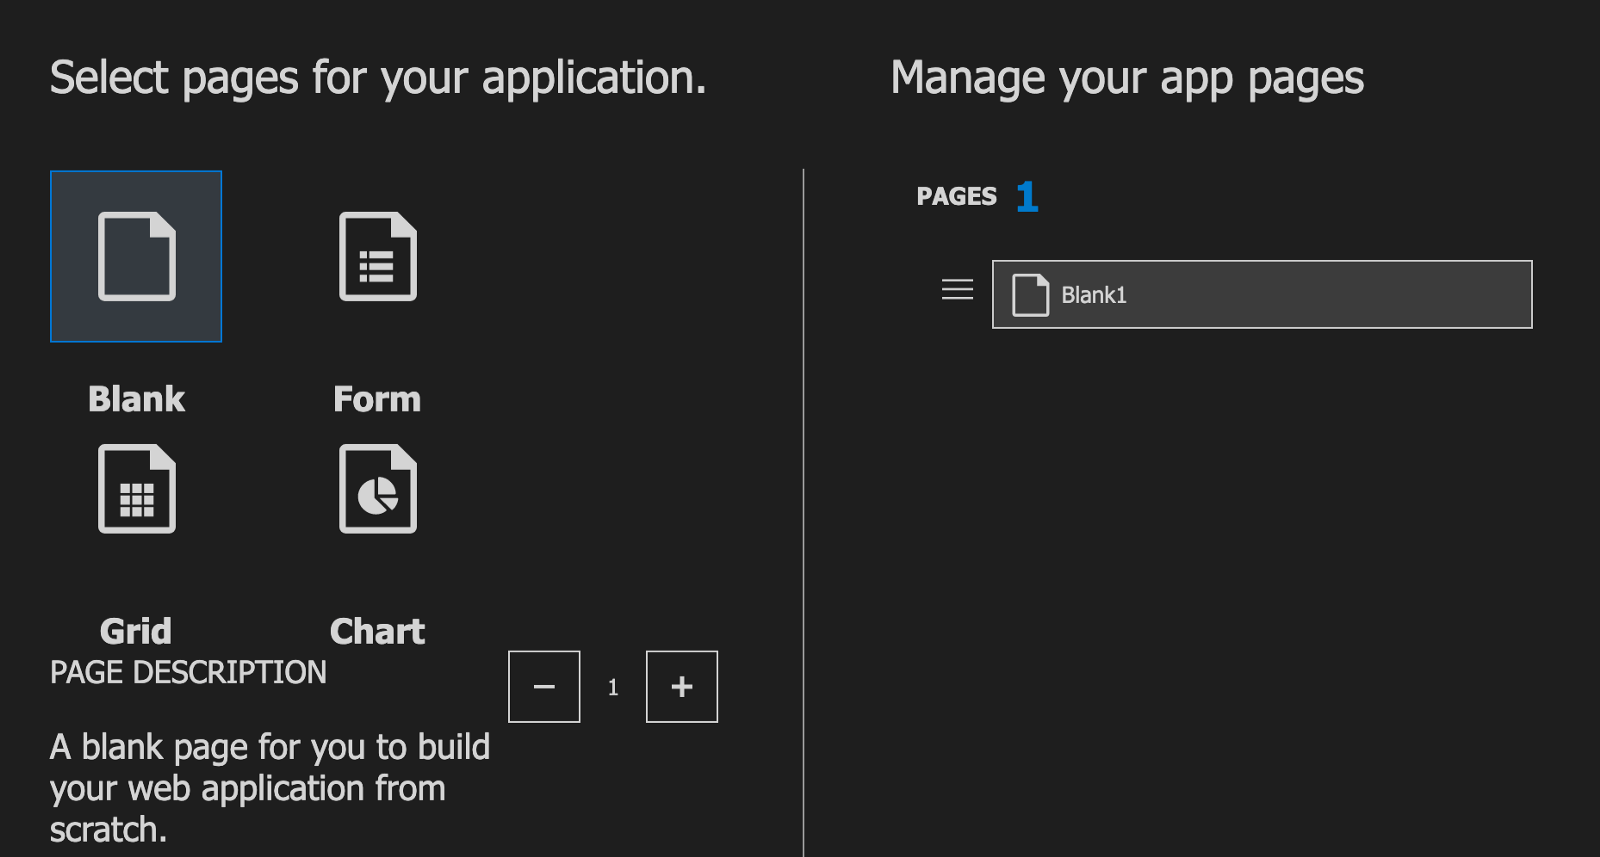
You can play around with different structures to see how it is being generated. After you have chosen the structure you want, click the “Next” button.
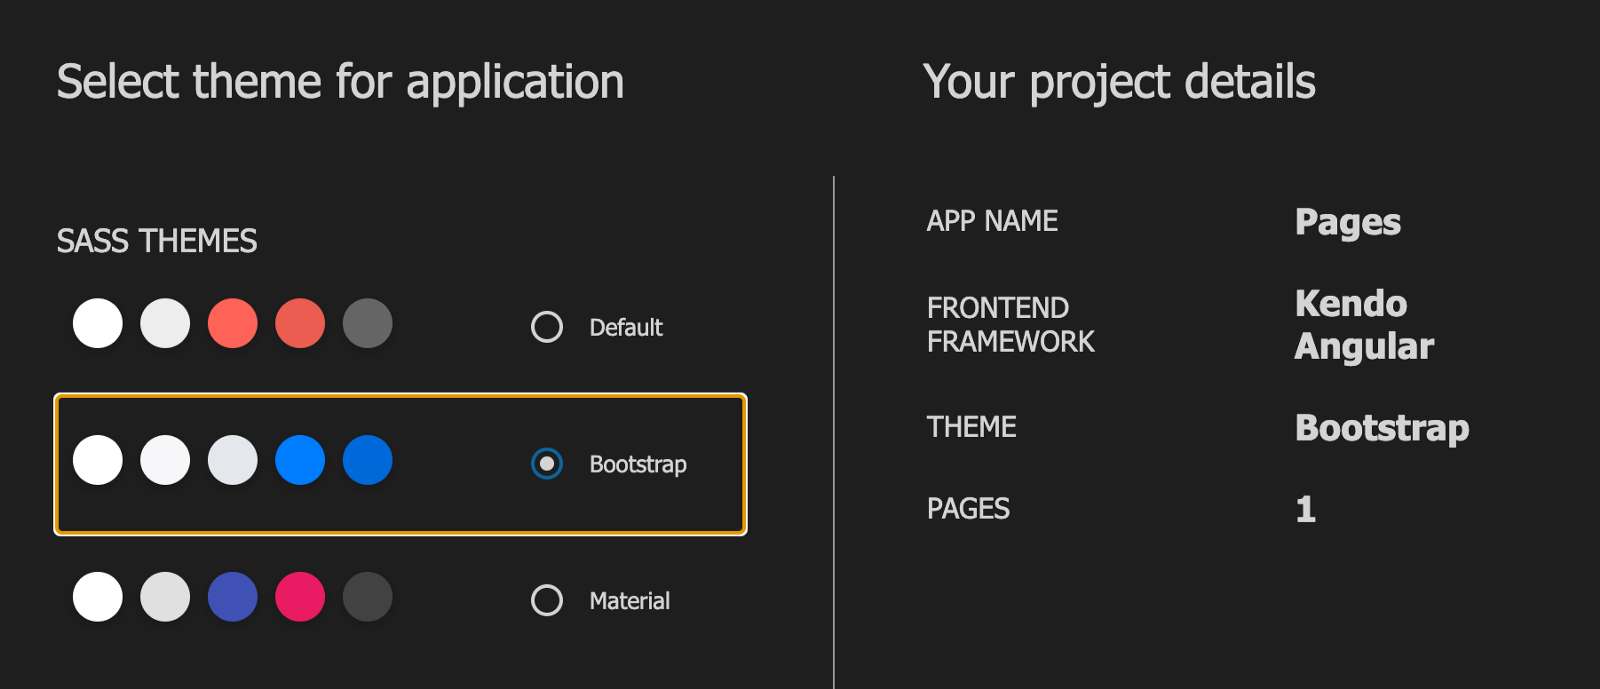
This final prompt asks about styling, so Kendo UI by default can kickstart your project with a basic CSS style or Bootstrap or Material design. I picked Bootstrap, and on the right, you can see the project details summary.
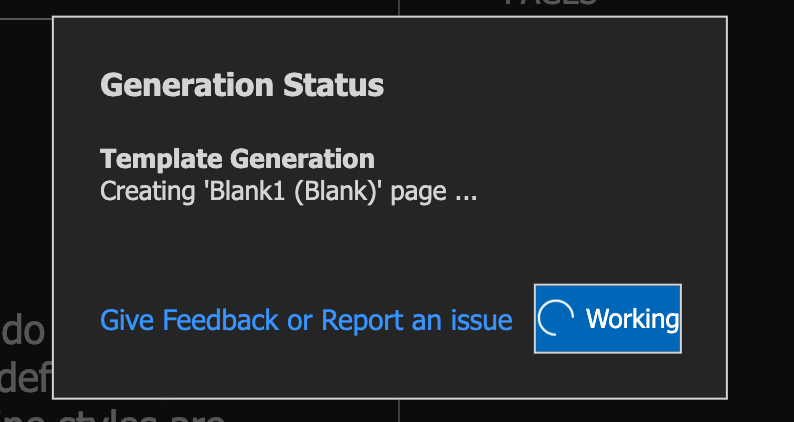
Now your application has been generated, just like that. Open the project in VS Code and open up a new terminal. Run the command below to install all the packages with their latest versions.
npm install
After the installation is complete, let’s test out if we got everything right. Run the Angular development server with this command:
ng serve
Open your browser to http://localhost:4200/home and you should see this:

Navigate into the components folder and make sure your home component is exactly like this:
<div class="container mt-5">
    <div class='row'>
        <div class='col-12'>
            <h1 class='welcome mb-0'>Welcome to Kendo UI for Angular</h1>
            <h2 class='sub-header mt-0'>Focus on the core of your application and spend less time sweating over the
                UI</h2>
        </div>
    </div>
    <div class='row'>
        <div class='col-12'>
            <h1 class='get-started'>Get Started</h1>
        </div>
    </div>
    <div class='row justify-content-center'>
        <div class='col-4 text-right'>
        </div>
        <div class='col-4 components-list'>
            <p>
                <a href='https://www.telerik.com/kendo-angular-ui/components/'>Components</a>
            </p>
            <p>
                <a href='https://www.telerik.com/kendo-angular-ui/components/styling/theme-default/'>Default theme
                    overview</a>
            </p>
            <p>
                <a href='https://www.telerik.com/blogs/tag/kendo-ui-for-angular/'>Blog Posts</a>
            </p>
        </div>
    </div>
</div>
Now let us deploy the app using GitHub Pages.
Setting Up Deployment
The first thing we have to do is to create a repo on GitHub for this app so we can deploy it. Initialize a new repository, call it Pages and push it to GitHub. You can find an easy-to-use guide here to do so.
Now that we have created a pages repository, we will use an npm package to do the work of deployment. Take note of the repository name because it is very useful.
Angular CLI GHPages
This package helps us push our Angular apps to production and host them publicly on GitHub Pages, all through one command in the Angular CLI. Cool, right?
Let’s install this package in our project. Open the terminal in your VS Code and run this command:
ng add angular-cli-ghpages
Angular will install this package directly from npm and we are ready to go. Now we have only one thing to do: deploy our application! This is done using one command:
ng deploy --base-href=Pages
It will take a while for your app to be compiled and bundled and then you’ll see a success message.
📦 Building “kendo-angular-seed”
📦 Build target “kendo-angular-seed:build:production”
Generating ES5 bundles for differential loading…
ES5 bundle generation complete.
🚀 Uploading via git, please wait…
🌟 Successfully published via angular-cli-ghpages! Have a nice day!
Congratulations, your app has now been deployed on GitHub Pages. To find the link, go to your GitHub account, open the Pages repo, and go to the settings tab—and voila!

Conclusion
In this post, we have seen what Kendo UI is and how we can use it in our Angular applications to make our life even easier. We also saw how we use the Kendo UI Template Wizard and, finally, how we can deploy our applications from the same place we host projects: GitHub. Happy hacking! I cannot wait to see what you build with what you have learned.

Nwose Lotanna Victor
Nwose Lotanna Victor is a web technology enthusiast who documents his learning process with technical articles and tutorials. He is a freelance frontend web developer based in Lagos, Nigeria. Passionate about inclusion, community-building and movies in Africa, he enjoys learning new things and traveling.
