
Save for Later Feature in Forms Using LocalStorage

Summarize with AI:
Forms are an integral part of the web, but filling them can be strenuous—especially with long forms. Let's learn how to build a "save for later" feature for forms using HTML5 LocalStorage. Users will be able to continue filling a form from where they left off even after closing it, and when returning to the page, the form is pre-filled with their previously entered information.
Forms are a very integral part of the web. They are one of the major ways in which data of every kind is acquired.
While forms are great, several reasons exist for why users shy away from filling out forms, especially with long registration forms and surveys.
To encourage users to fill out forms so we can get the necessary data from them, we need to make filling forms more convenient for users. One way to achieve this is by implementing a “save for later” feature in forms.
This is a technique that ensures users don’t mistakenly lose already filled form data and can also conveniently fill long forms.
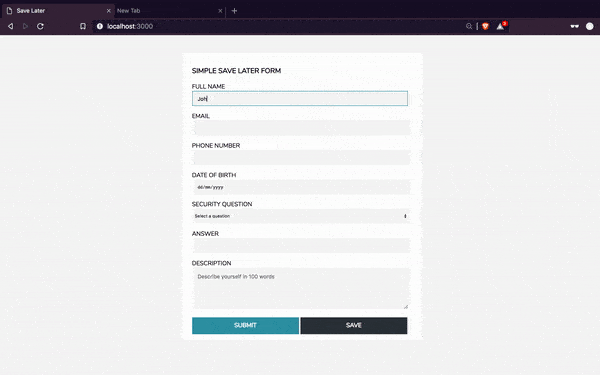
In this article, we’ll be implementing a “save for later” feature using LocalStorage. Below is a sneak peek of what we’ll be building:
Prerequisites
To follow this tutorial, basic HTML, CSS and JavaScript knowledge is required.
Application Setup
To set up our application, create a directory and, in it, create three files:
index.htmlform.cssform.js
Fire up your favorite editor and add the following markup to your index.html file:
<!-- index.html -->
<!DOCTYPE html>
<html lang="en">
  <head>
    <meta charset="UTF-8" />
    <meta name="viewport" content="width=device-width, initial-scale=1.0" />
    <meta http-equiv="X-UA-Compatible" content="ie=edge" />
    <link rel="stylesheet" href="form.css" />
    <title>Save Later</title>
  </head>
  <body>
    <div class="alert"></div>
    <form id="save-later-form">
      <h3>Simple Save Later Form</h3>
      <label for="full-name">Full Name</label>
      <input type="text" name="full-name" id="full-name" />
      <label for="email">Email</label>
      <input type="email" name="email" id="email" />
      <label for="phone">Phone Number</label>
      <input type="tel" name="phone" id="phone" maxlength="11" />
      <label for="dob">Date Of Birth</label>
      <input type="date" name="dob" id="dob" />
      <label for="security">Security Question</label>
      <select name="security" id="security" tabindex="0">
        <option value="">Select a question</option>
        <option value="best-friend">What's your best friend's name?</option>
        <option value="pet">What's the name of your first pet?</option>
        <option value="spouse">Where did you meet your spouse?</option>
      </select>
      <label for="security-answer">Answer</label>
      <input type="text" name="security-answer" id="security-answer" />
      <label for="description">Description</label>
      <textarea
        name="description"
        id="description"
        placeholder="Describe yourself in 100 words"
      ></textarea>
      <button type="submit" id="submit">SUBMIT</button>
      <button type="submit" id="save">SAVE</button>
    </form>
  </body>
  <script src="form.js"></script>
</html>
In the code above, we declare a HTML5 document, and in the body of the document, we have a level-3 heading and a form containing several input elements.
In your form.css, add the following styles to make our form look presentable:
/* form.css */
@import url("https://fonts.googleapis.com/css?family=Nunito");

*,
*:before,
*:after {
  box-sizing: border-box;
}

body {
  background-color: whitesmoke;
  font-family: "Nunito", sans-serif;
}

h3,
label {
  text-transform: uppercase;
}

.alert {
  width: 80vw;
  margin: 2rem auto;
  background-color: #d4edda;
  color: #155724;
  padding: 0.75rem 1.25rem;
  border-radius: 0.25rem;
  display: none;
}

#save-later-form {
  position: relative;
  width: 80vw;
  margin: 3rem auto;
  background-color: white;
  padding: 1rem 2rem;
  border-radius: 3px;
}

label {
  margin: 1rem 0 0;
  display: block;
}

input {
  font-size: 0.875em;
  width: 100%;
  height: 40px;
  padding: 0px 15px 0px 15px;
  background: whitesmoke;
  outline: none;
  color: #000;
  border: none;
  border-radius: 3px;
}

input:hover {
  background: whitesmoke;
  color: black;
}

button[type="submit"] {
  background-color: #349bab;
  width: calc((100% / 2) - 3px);
  display: inline-block;
  color: white;
  font-weight: 600;
  height: 2.8rem;
  border: none;
  font-family: Nunito;
  font-size: 1rem;
  cursor: pointer;
  outline: none;
}

#save {
  background-color: #30383f;
}

select {
  width: 100%;
  height: 40px;
  background: whitesmoke;
  border: none;
  padding: 0 0 0 0.5rem;
  outline: none;
}

select:focus,
input:focus,
textarea:focus {
  outline: #349bab solid 1px;
}

textarea {
  width: 100%;
  max-width: 100%;
  height: 110px;
  max-height: 110px;
  padding: 15px;
  margin: 0 0 1rem 0;
  background: whitesmoke;
  outline: none;
  color: black;
  font-size: 0.875em;
  border: none;
}
/* ========MEDIA QUERIES======== */
@media screen and (min-width: 768px) {
  #save-later-form,
  .alert {
    width: 60vw;
  }
}

@media screen and (min-width: 992px) {
  #save-later-form,
  .alert {
    width: 40vw;
  }
}
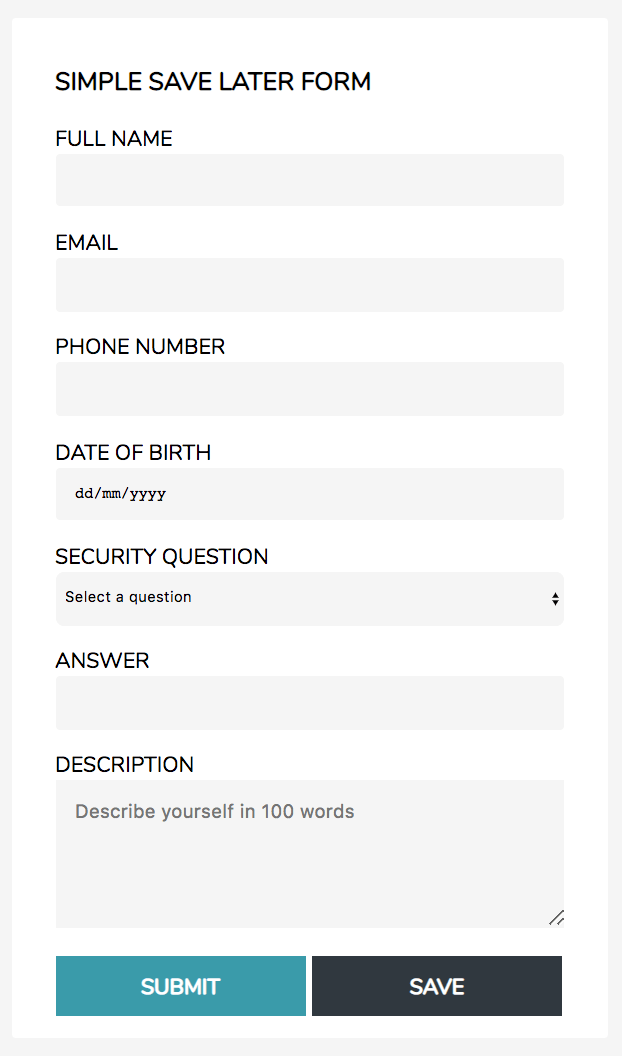
In the code above, we declared some styles for our form, including some media queries to make it look good on large screen sizes. If you load your index.html file in any browser of your choice, you should have something like this:
Implementing the “Save for Later” Feature
Implementing the “save for later” feature using LocalStorage involves storing the form’s values in LocalStorage and using them to pre-populate the form whenever needed.
Add the following code in your form.js file:
// form.js

const formId = "save-later-form"; // ID of the form
const url = location.href; //  href for the page
const formIdentifier = `${url} ${formId}`; // Identifier used to identify the form
const saveButton = document.querySelector("#save"); // select save button
const alertBox = document.querySelector(".alert"); // select alert display div
let form = document.querySelector(`#${formId}`); // select form
let formElements = form.elements; // get the elements in the form
In the code above, we select all the elements we need to interact with including our form, alert box and save button.
On line 3, we declared a formIdentifier constant, which is basically a combination of the page’s URL and the id of the form. This identifier serves as the key for storing our form data in LocalStorage. It helps us identify data that belongs to our form in case there are several form data saved in LocalStorage.
To get and save the values in our form, we’ll attach an event listener to the Save button. This can also be achieved by other means, like whenever a form input is blurred or by running the function every ‘x’ seconds.
In the event listener, we call a function that returns an object containing the form data. This object is then saved as a JSON object in LocalStorage.
Add the following to the end of your form.js file:
// form.js
...

/**
 * This function gets the values in the form
 * and returns them as an object with the
 * [formIdentifier] as the object key
 * @returns {Object}
 */
const getFormData = () => {
  let data = { [formIdentifier]: {} }; // create an empty object with the formIdentifier as the key and an empty object as its value
  for (const element of formElements) {
    if (element.name.length > 0) {
      data[formIdentifier][element.name] = element.value;
    }
  }
  return data;
};

saveButton.onclick = event => {
  event.preventDefault();
  data = getFormData();
  localStorage.setItem(formIdentifier, JSON.stringify(data[formIdentifier]));
  const message = "Form draft has been saved!";
  displayAlert(message);
};

/**
 * This function displays a message
 * on the page for 1 second
 *
 * @param {String} message
 */
const displayAlert = message => {
  alertBox.innerText = message; // add the message into the alert box
  alertBox.style.display = "block"; // make the alert box visible
  setTimeout(function() {
    alertBox.style.display = "none"; // hide the alert box after 1 second
  }, 1000);
};
In the code above, with the getFormData, we instantiate a new object with the formIdentifier as the key and an empty object as its value. Next, we loop through the elements in our form and save their name and value as a key/value pair in our object and return the object.
On line 20, we add a click event listener to our saveButton. Whenever it is clicked, it gets the form data from the getFormData function. And on line 23, we save a JSON string of that data to LocalStorage. Lastly, we display a message letting the user know their form data has been saved.
Knowing that data stored in LocalStorage is accessible to anyone, ensure you don’t save sensitive form data like passwords or credit card information. Your users are better off typing those again.
Pre-Populating the Form with Saved Data
Now that we have our users' form data stored in LocalStorage, we need to pre-fill their form with this data whenever they come back to the form.
Let’s add the code to achieve this to the end of our form.js file:
// form.js

...
/**
 * This function populates the form
 * with data from localStorage
 *
 */
const populateForm = () => {
  if (localStorage.key(formIdentifier)) {
    const savedData = JSON.parse(localStorage.getItem(formIdentifier)); // get and parse the saved data from localStorage
    for (const element of formElements) {
      if (element.name in savedData) {
        element.value = savedData[element.name];
      }
    }
    const message = "Form has been refilled with saved data!";
    displayAlert(message);
  }
};
document.onload = populateForm(); // populate the form when the document is loaded
In the code above, we have a populateForm function which is called on line 21 whenever the document has been loaded.
The populateForm function checks if data for the form exists in LocalStorage using the formIdentifier. If it exists, the data is retrieved and parsed into a JavaScript Object.
Next, we loop through the elements in our form and update its value with the saved data where the element’s name matches the key in our saved data object. This fills all the form elements with the saved data, and the user can continue from where they left off.
Bringing It All Together
If you’ve followed so far, your form.js file should look like this:
// form.js
const formId = "save-later-form"; // ID of the form
const url = location.href; //  href for the page
const formIdentifier = `${url} ${formId}`; // Identifier used to identify the form
const saveButton = document.querySelector("#save"); // select save button
const alertBox = document.querySelector(".alert"); // select alert display div
let form = document.querySelector(`#${formId}`); // select form
let formElements = form.elements; // get the elements in the form

/**
 * This function gets the values in the form
 * and returns them as an object with the
 * [formIdentifier] as the object key
 * @returns {Object}
 */
const getFormData = () => {
  let data = { [formIdentifier]: {} };
  for (const element of formElements) {
    if (element.name.length > 0) {
      data[formIdentifier][element.name] = element.value;
    }
  }
  return data;
};

saveButton.onclick = event => {
  event.preventDefault();
  data = getFormData();
  localStorage.setItem(formIdentifier, JSON.stringify(data[formIdentifier]));
  const message = "Form draft has been saved!";
  displayAlert(message);
};

/**
 * This function displays a message
 * on the page for 1 second
 *
 * @param {String} message
 */
const displayAlert = message => {
  alertBox.innerText = message;
  alertBox.style.display = "block";
  setTimeout(function() {
    alertBox.style.display = "none";
  }, 1000);
};

/**
 * This function populates the form
 * with data from localStorage
 *
 */
const populateForm = () => {
  if (localStorage.key(formIdentifier)) {
    const savedData = JSON.parse(localStorage.getItem(formIdentifier)); // get and parse the saved data from localStorage
    for (const element of formElements) {
      if (element.name in savedData) {
        element.value = savedData[element.name];
      }
    }
    const message = "Form has been refilled with saved data!";
    displayAlert(message);
  }
};

document.onload = populateForm(); // populate the form when the document is loaded
Go ahead and load your index.html file in the browser and try it out. You should be able to save data and get them pre-filled in your form when you visit the page again.
Conclusion
In this post, we have implemented a “save for later” feature in a form using LocalStorage. I hope you’ve found this article useful and that you use what you’ve learned to build awesome forms for your users.
For More Info on Building Great Web Apps
Want to learn more about creating great web apps? It all starts out with Kendo UI - the complete UI component library that allows you to quickly build high-quality, responsive apps. It includes everything you need, from grids and charts to dropdowns and gauges.

Christian Nwamba
Chris Nwamba is a Senior Developer Advocate at AWS focusing on AWS Amplify. He is also a teacher with years of experience building products and communities.