Playing with WPF / Silverlight ChartView Animations

Summarize with AI:
You can now create beautiful custom animations in your WPF and Silverlight charts. You can utilize numerous prepared animations, or simply customize your own.
With the R2 2018 Release of Telerik UI for WPF / Silverlight, we are glad to announce that our RadChartView enables series and point animations. They can be played automatically on load and later programmatically. Let's first see some cool chart animations and then go into details.
Examples
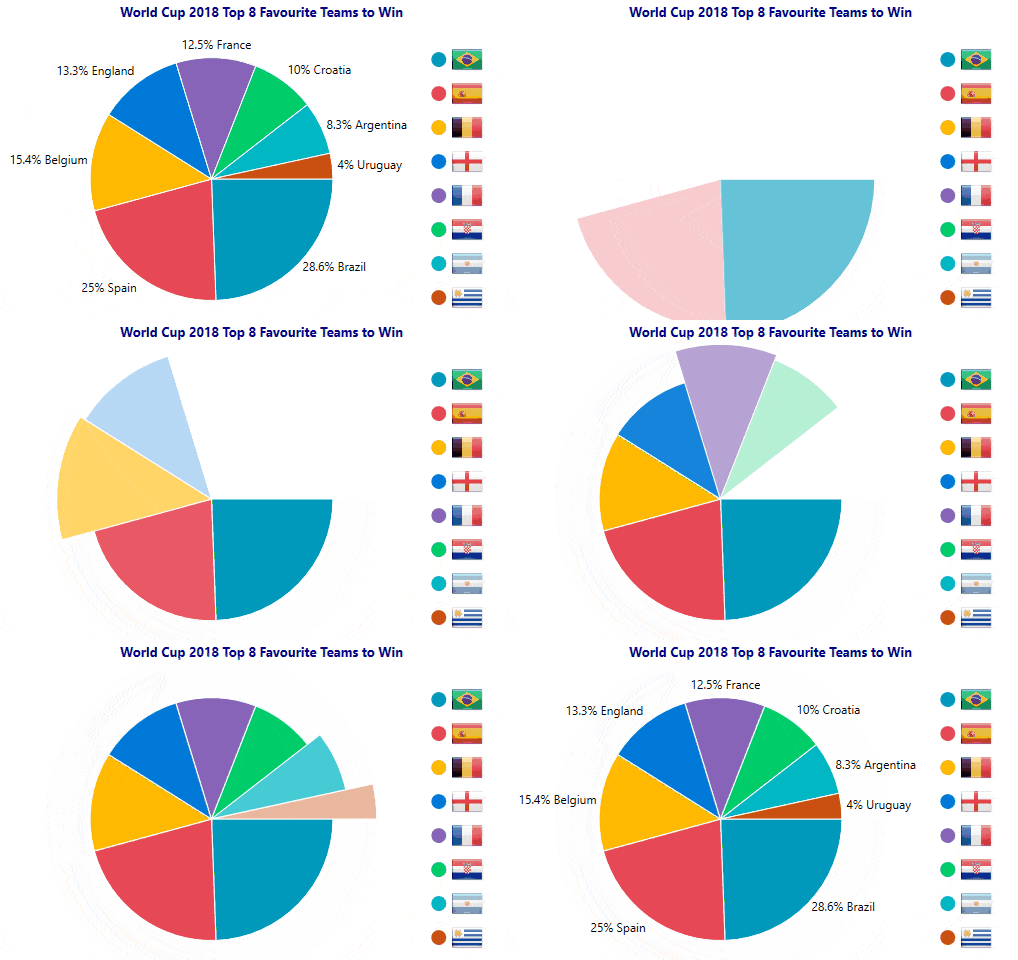
PieSeries with ChartScaleAnimation as PointAnimation:
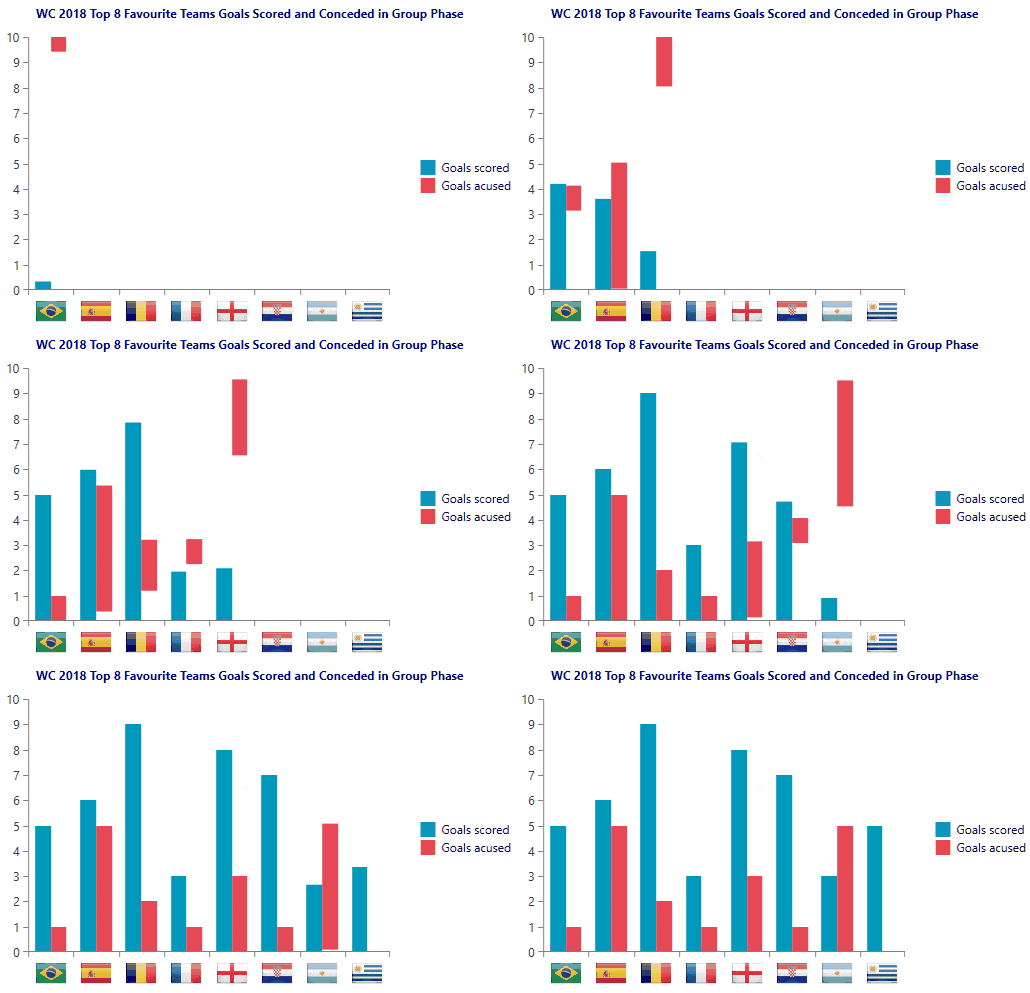
BarSeries with ChartMoveAnimation as PointAnimation:
AreaSeries with ChartRevealAnimation as SeriesAnimation:

Core API
To easily get started we encourage you to view the ChartView Animations help article – you will find all animation types and the API to configure them.
The three basic properties every chart animation has are Delay, Duration, and Easing. Delay is a key property which determines if the series or point animations will start simultaneously or consequently on load. In combination with Duration you control the overall speed of the chart animation. Typically (in web, mobile, desktop charts) the total animation duration is between 1s and 2s. Sometimes, you might need to perform action or show a legend (or labels or annotations) when a concrete animation finishes. For that purpose, you can use SeriesAnimationCompleted and PointAnimationsCompleted events.
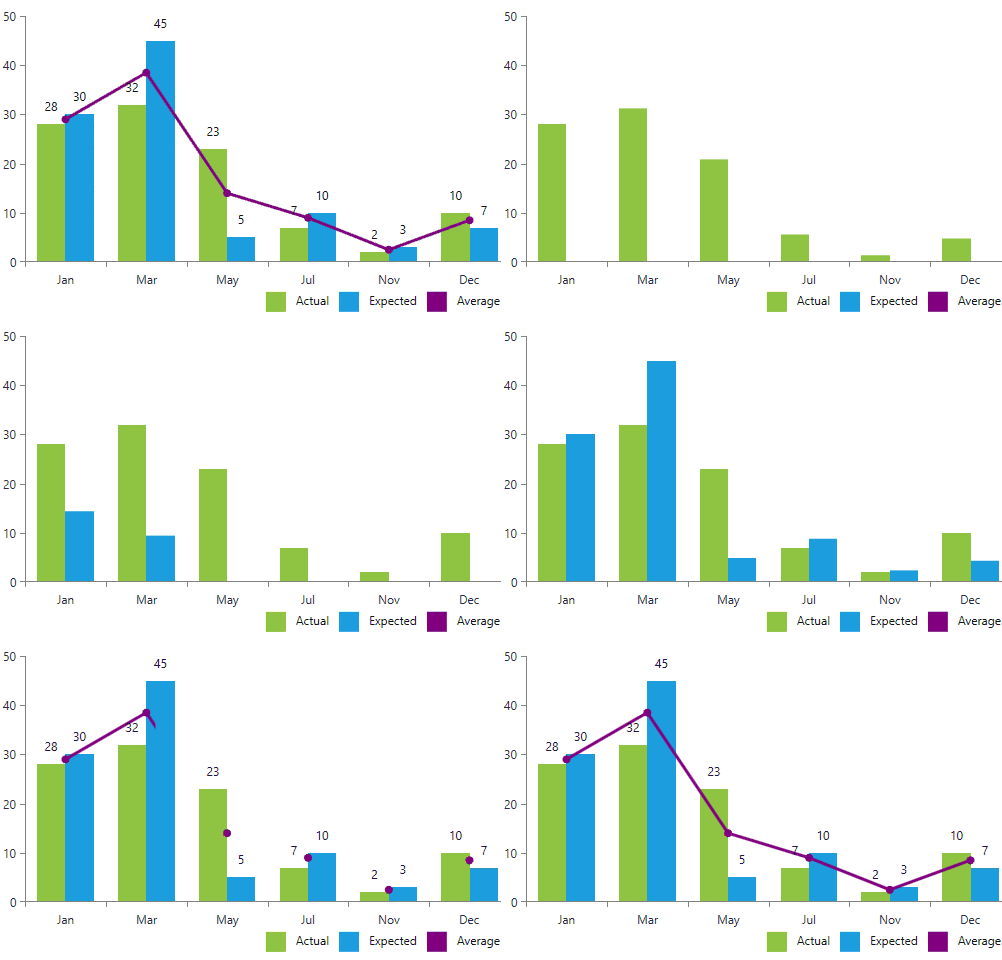
In the image (below), after the animation of the first bar series finishes, we start animating the second bar series. And afterwards, the labels are shown, third series (line) is made visible and animated (showing the average values of the previous series).
Consequent BarSeries and LineSeries animations:
This is achieved with the following XAML setup:
<telerik:RadCartesianChart.Series>
  <telerik:BarSeries x:Name="barSeries1" PointAnimationsCompleted="barSeries1_PointAnimationsCompleted" ShowLables="False">
    <-- bar series properties -->
  </telerik:BarSeries>
  <telerik:BarSeries x:Name="barSeries2" PointAnimationsCompleted="barSeries2_PointAnimationsCompleted" ShowLables="False" Visibility="Hidden">
    <-- bar series properties -->
  </telerik:BarSeries>
  <telerik:LineSeries x:Name="lineseries" Stroke="Purple" StrokeThickness="3" Visibility="Hidden">
    <-- line series properties -->
  </telerik:LineSeries>
</telerik:RadCartesianChart.Series>
On a button click, we can play the first bar series animation; when it completes, play the second bar series animation and again; when it completes, show the LineSeries and play its animation:
private void Button_Click(object sender, RoutedEventArgs e)
{
  this.barSeries1.PlayPointAnimations();
}

private void barSeries1_PointAnimationsCompleted(object sender, EventArgs e)
{
  this.barSeries2.Visibility = Visibility.Visible;
  this.barSeries2.PlayPointAnimations();
}

private void barSeries2_PointAnimationsCompleted(object sender, EventArgs e)
{
  this.barSeries1.ShowLabels = true;
  this.barSeries2.ShowLabels = true;
  this.lineseries.Visibility = Visibility.Visible;
  this.lineseries.PlaySeriesAnimation();
}
Easings
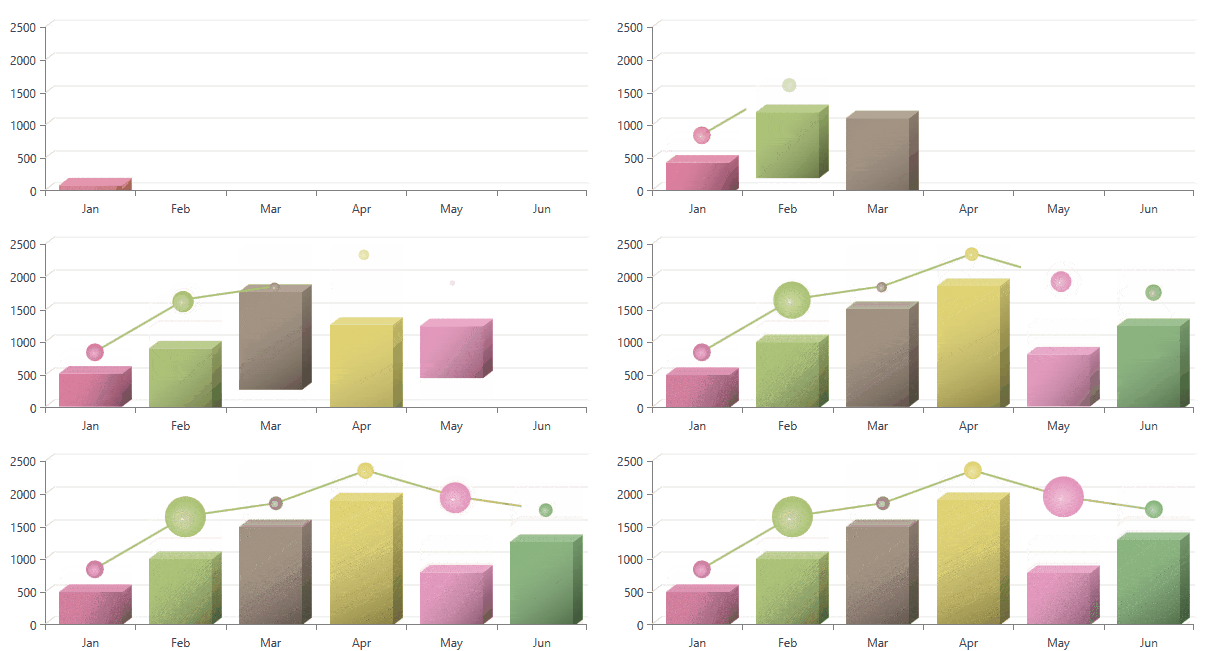
An Easing provides a great way to produce dozens of different animations through a single Animation type. When you sometimes wonder how to achieve faster-beginning-then-slower-end, or the opposite, or some kind of bouncing effect at the end – easing will do this magic for you. I personally lookup the easing types in this reference sheet (https://easings.net/) and then apply them in XAML:
<telerik:BarSeries.PointAnimation>
  <telerik:ChartMoveAnimation MoveAnimationType="Bottom" Duration="0:0:1" Delay="0:0:0.150">
    <telerik:ChartMoveAnimation.Easing>
      <ElasticEase EasingMode="EaseOut" />
    </telerik:ChartMoveAnimation.Easing>
  </telerik:ChartMoveAnimation>
</telerik:BarSeries.PointAnimation>
<telerik:BubbleSeries.PointAnimation>
  <telerik:ChartScaleAnimation Duration="0:0:1" Delay="0:0:0.150">
    <telerik:ChartScaleAnimation.Easing>
      <BounceEase EasingMode="EaseOut" />
    </telerik:ChartScaleAnimation.Easing>
  </telerik:ChartScaleAnimation>
</telerik:BubbleSeries.PointAnimation>
Elastic effect in BarSeries and bouncing effect in BubbleSeries:
Custom Animations
When you need animation that's a bit different than the available types, we have exposed protected methods you can override. Imagine you will render lots of points and you want to control the start point of the move animation to be the center of the plot area. Let's code this.
- Inherit
Telerik.Windows.Controls.ChartView.ChartAnimationBaseand override theBuildPointAnimationmethod. - Create
AnimationGroupand addFadeAnimationinstance.FadeAnimationis responsible for making the points visible when the actual move animation starts. Before start points are hidden because otherwise they will be rendered at their final positions. - Create
MoveAnimationand add it to the group. The tricky moment here is that the animated visual's final position is (0, 0), so as a start position we need to set the distance (positive or negative) a specific point will go from the plot area center to the destination position.
public class ExpandFromCenterAnimation : ChartAnimationBase
{
  protected override RadAnimation BuildPointAnimation(FrameworkElement visual, DataPoint point, RadRect plotAreaClip)
  {
    AnimationGroup g = new AnimationGroup();
    g.Children.Add(new FadeAnimation());

    MoveAnimation moveAnimation = new MoveAnimation()
    {
      Duration = this.Duration,
      Easing = this.Easing,
    };

    double width = plotAreaClip.Center.X - point.LayoutSlot.X;
    double height = plotAreaClip.Center.Y - point.LayoutSlot.Y;

    MoveAnimation.SetOldPosition(visual, new Point(width, height));
    MoveAnimation.SetCurrentPosition(visual, new Point(0, 0));

    g.Children.Add(moveAnimation);
    return g;
  }
}
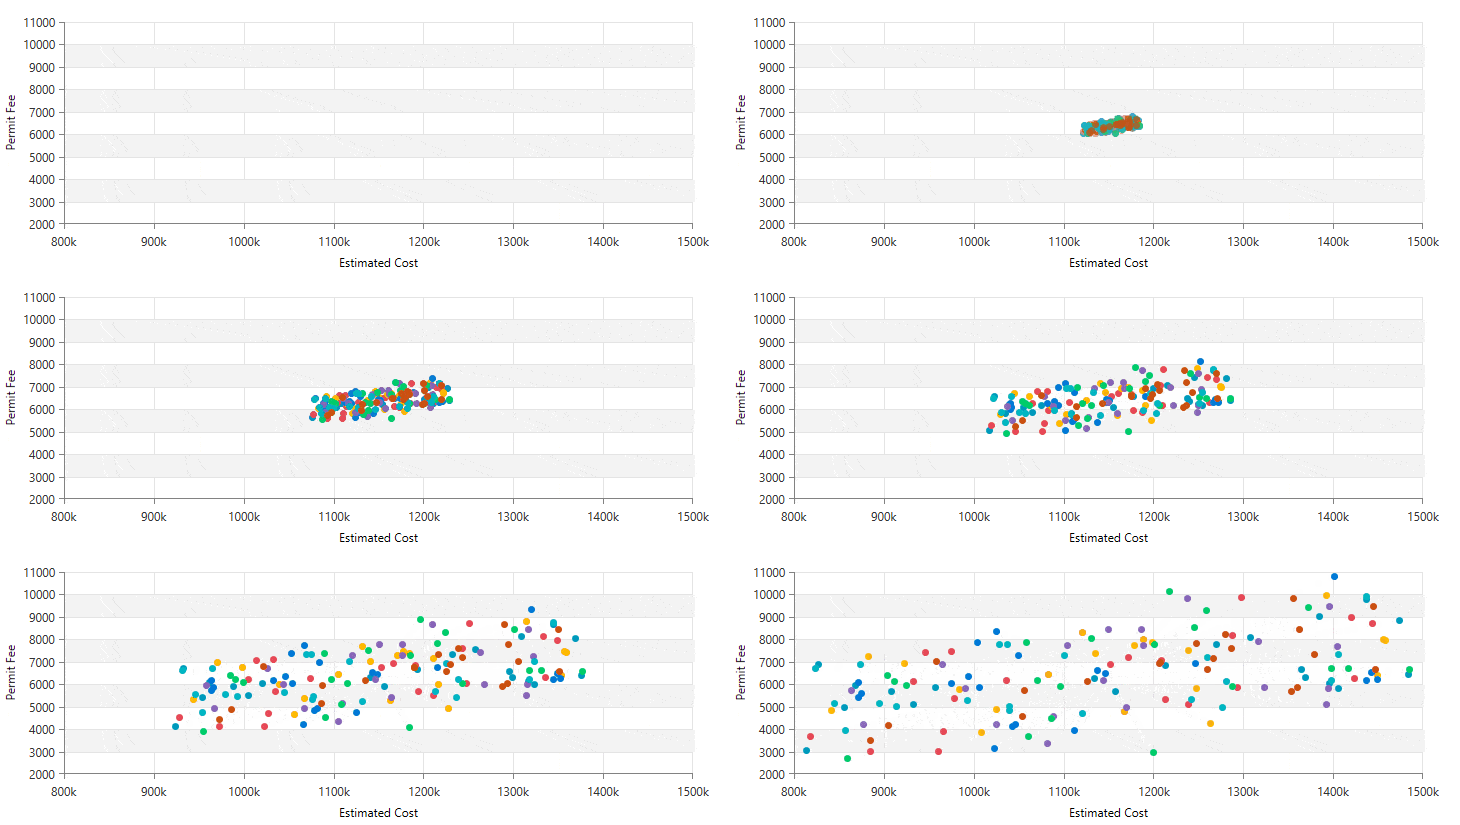
Now, we're ready to move some scatter points:
<telerik:ScatterSeriesDescriptor.Style>
  <Style TargetType="telerik:ScatterPointSeries">
    <Setter Property="PointSize" Value="7,7" />
    <Setter Property="PointAnimation">
      <Setter.Value>
        <local:ExpandFromCenterAnimation Duration="0:0:1.25">
          <local:ExpandFromCenterAnimation.Easing>
            <ExponentialEase EasingMode="EaseIn" />
          </local:ExpandFromCenterAnimation.Easing>
        </local:ExpandFromCenterAnimation>
      </Setter.Value>
    </Setter>
  </Style>
</telerik:ScatterSeriesDescriptor.Style>
ScatterSeries with custom move animation:
Try It Out and Let us Know What You Think
We hope these samples give you some fun ideas and you will bring them to life in your applications. If you haven't already, upgrade to latest version (R2'18) of Telerik UI for WPF or Silverlight to take advantage of these, and many other newly released features. If you are new to our Telerik UI tools, you can also download a trial to test them out.
Start Your Trial: WPF Silverlight
I would also like to encourage you to play with our WPF / Silverlight sample app, showing more than 100 different animation combinations.
We are open for ideas too and we are curious to know what other types of animations you will need in future or what you miss in the initial API. Feel free to reach out in the comments below or in our feedback portal.
Thanks and happy coding!

Petar Mladenov
Petar Mladenov is a XAML specialist on the Telerik WPF & Silverlight team located in Sofia, Bulgaria. During weekdays he creates a cool desktop UI components like dialogs, diagrams and charts. On weekends you will find him with a fishing rod in hand, skiing or just exploring some cool places.
