
Learning NestJS Part 3: Data Caching

Summarize with AI:
In this third part of the NestJS learning series, we will go over how to enable caching and integrating Azure Redis Cache.
This is the third part of the NestJS learning series.
- Read Part 1 here – Getting Started
- Read Part 2 here – Connecting to Database
In this part, we will learn about caching. This part of the series will cover the following topics:
- Enabling caching at the application level
- Enabling caching at the Route Level
- In-memory caching
- Integrating Azure Redis Cache
- Working with keys
NestJS offers a built-in CacheModule that enables easy integration of caching functionality. Caching can be applied at different levels:
- Application level
- Controller level
- Route level
It supports various caching stores, including:
- In-memory cache (default)
- External stores like Azure Redis Cache
By default, NestJS uses an in-memory cache. To get started with caching, begin by installing the cache manager package in your NestJS project.
npm install @nestjs/cache-manager cache-manager
After installing, to use the in-memory store, import and register CacheModule in AppModule.
import { CacheModule } from '@nestjs/cache-manager';
Next, import the CacheModule in the AppModule as shown below,
@Module({
  imports: [
    CacheModule.register({
      ttl:30000
    }),
  ],
  controllers: [AppController, ProductController, BookController],
  providers: [AppService, ProductService, BookService],
})
export class AppModule {}
Here, we’ve set the Time-To-Live (TTL) value to 30,000 milliseconds (30 seconds). This means NestJS will cache the data for that duration before sending a new request to the database.
Caching can be enabled at the route level by using the @UseInterceptors() decorator and passing CacheInterceptor as its argument.
    @Get()
    @UseInterceptors(CacheInterceptor)
    async findAll() {
        try {
            const books = await this.bookService.findAll();
            return books;
        } catch (error) {
           throw new Error('Error fetching books');
        }
    }
Now, instead of querying the database on every request, the /book endpoint caches the data for 30,000 milliseconds (30 seconds) and only makes a new database call after the cache expires.
Different Configuration Options
To customize caching behavior, various configurations can be set for the CacheModule. They are as follows:
ttl– Time to live for cache itemsmax– Maximum number of items in cacheisGlobal– If true, the cache is available globally in the applicationstore– The cache store to use; it could be in-memory or an external store
Besides the above properties, other settings, such as port and password, of the external store can also be configured here.
@Module({
  imports: [
    CacheModule.register({
      ttl:30000,
      max: 100,
      isGlobal: true,
      store: 'memory',
    }),

  ],
  controllers: [AppController, BookController],
  providers: [AppService, BookService],
})
export class AppModule {}
If required, you can override the global cache setting at the route level. For example, to override the TTL value, use the @CacheTTL() decorator.
  @Get()
    @UseInterceptors(CacheInterceptor)
    @CacheTTL(60)
    async findAll() {
        try {
            return await this.bookService.findAll();
        } catch (error) {
            throw new Error('Error fetching books');
        }
    }
Two important points you should keep in mind are that:
- Only
GET()endpoints are cached. - The routes that inject the native response object
@Res()cannot use the Cache Interceptor.
As the native response object @Res() cannot be used with caching and you are following the NestJS article series, make sure to update the BookController from Part 2 to avoid using @Res, as shown below:
import { Body, Controller, Delete, Get, HttpStatus, Param, Post, Put, Res, UseInterceptors } from '@nestjs/common';
import { BookService } from './book.service';
import { Book } from './book.entity';
import { CacheInterceptor, CacheTTL } from '@nestjs/cache-manager';

@Controller('book')
export class BookController {
    constructor(private readonly bookService: BookService) {}

    @Post()
    async create(@Body() bookData: Partial<Book>) {
        try {
            return await this.bookService.create(bookData);
        } catch (error) {
            throw new Error('Error creating book');
        }
    }

    @Get()
    @UseInterceptors(CacheInterceptor)
    @CacheTTL(60)
    async findAll() {
        try {
            return await this.bookService.findAll();
        } catch (error) {
            throw new Error('Error fetching books');
        }
    }

    @Get(':id')
    async findOne(@Param('id') id: string) {
        try {
            const book = await this.bookService.findOne(Number(id));
            if (book) {
                return book;
            } else {
                throw new Error('Book not found');
            }
        } catch (error) {
            throw new Error('Error fetching book');
        }
    }

    @Delete(':id')
    async remove(@Param('id') id: string) {
        try {
            const result = await this.bookService.remove(Number(id));
            if (result.affected && result.affected > 0) {
                return { message: 'Book deleted' };
            } else {
                throw new Error('Book not found');
            }
        } catch (error) {
            throw new Error('Error deleting book');
        }
    }

    @Put(':id')
    async update(
        @Param('id') id: string,
        @Body() updateData: Partial<Book>
    ) {
        try {
            const updatedBook = await this.bookService.update(Number(id), updateData);
            if (updatedBook) {
                return updatedBook;
            } else {
                throw new Error('Book not found');
            }
        } catch (error) {
            throw new Error('Error updating book');
        }
    }
}
If you do not update the BookController to avoid using the @Res object, caching may not work as expected.
Integrating Azure Cache for Redis
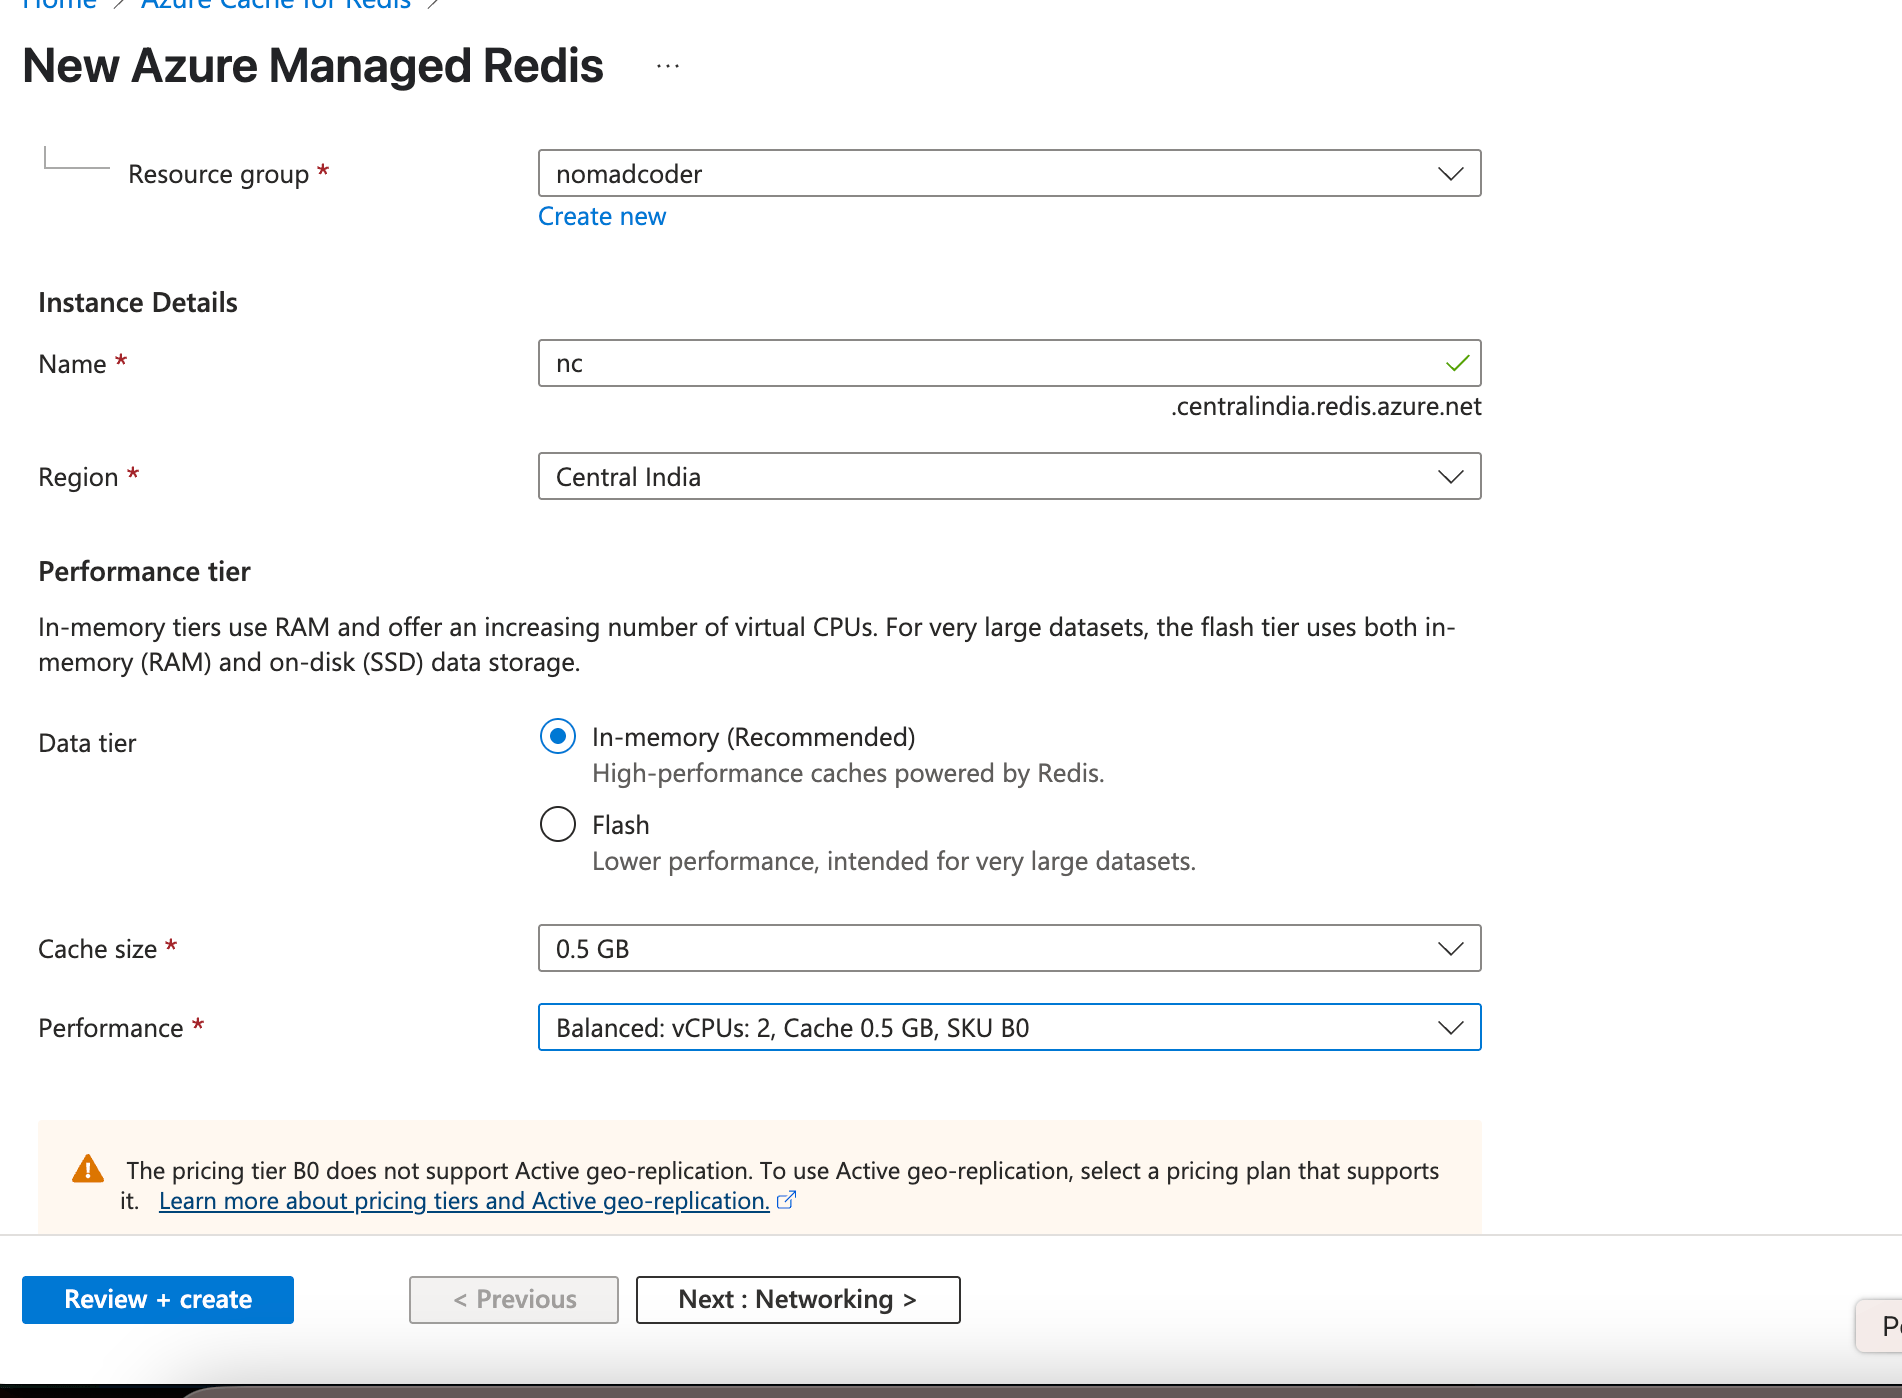
To integrate Azure Cache for Redis, configure Azure Cache for Redis in the Azure Portal.
You should have Redis cache configured as below:
You will need the following details:
- Host Name – Available on the Overview page in the Azure portal.
- Password – Found under Authentication in the Azure portal. This is the same as the Primary Key.
In the AppModule, register the CacheModule using the Azure Cache host name, port and password as shown below:
     CacheModule.register({
      store: 'redis',
      host: your host name ,
      port: 10000,
      password: primary key value',
      tls: {},
      ttl: 50000,
      isGlobal: false,
    }),
This is all the configuration you need to use Azure Redis Cache for caching data in a NestJS API.
Using Custom Keys
Until now, we have used default keys for caching. However, using custom keys offers several advantages.
- Fine-grained control – It is easy to access a specific piece of data with the key name.
- Easy invalidation – Whenever the underlying data changes, it is easy to invalidate cached data using the key name.
- Performance – Keys enable fast and direct access to cached data. Since Redis is optimized for key-based lookups, it delivers extremely quick read and write operations.
- Custom expiry – You can set different Time to Live (TTL) values for different keys.
Using keys in Redis provides precise, efficient and flexible control over cached data, helping your application run faster and remain easier to manage.
Let’s see how custom keys can be used for caching. We will modify the FindAll() method in the BookService to use a custom key for caching.
First, inject the CACHE_MANAGER in the BookService as shown below :
constructor(
        @Inject(CACHE_MANAGER) private cacheManager: Cache
    ) { }
Also, do not forget to import CacheManager and Cache in the BookService.
import { CACHE_MANAGER } from '@nestjs/cache-manager';
import { Cache } from 'cache-manager';
Next, define a variable for the custom key:
private readonly bookCacheKey = 'my_custom_books_key';
Next, modify the findAll() method to retrieve data from the cache, and if no cached data is available, read data from the database.
async findAll(): Promise<Book[]> {
        // Try to get from cache first
        let books = await this.cacheManager.get<Book[]>(this.bookCacheKey);
        if (books) {
            return books;
        }
        // If not cached, fetch from DB and cache it
        books = await this.bookRepository.find();
        await this.cacheManager.set(this.bookCacheKey, books, 1000);
        return books;
    }
In the BookController, to use updated FindAll() function from the service:
- Remove
@CacheKey() - Remove use of
CacheInterceptor
Since caching is now handled within the service, the BookController’s findAll() method becomes as simple as shown below:
    @Get()
    async findAll() {
        try {
            return await this.bookService.findAll();
        } catch (error) {
            throw new Error('Error fetching books');
        }
    }
In this way, you can use a custom key for the caching.
Summary
Caching is a powerful technique for enhancing API performance. In this article, you learned the fundamentals of implementing caching in NestJS, equipping you to integrate it into your API projects. I hope you found it helpful—thanks for reading!

Dhananjay Kumar
Dhananjay Kumar is the founder of nomadcoder, an AI-driven developer community and training platform in India. Through nomadcoder, he organizes leading tech conferences such as ng-India and AI-India. He partners with startups to rapidly build MVPs and ship production-ready applications. His expertise spans Angular, modern web architecture and AI agents, and he is available for training, consulting or product acceleration from Angular to API to agents.
Related Posts
Comments
All articles
Topics
Web MobileMobile
Desktop
Design
Productivity
People
