
Learning NestJS Part 1: Getting Started

Summarize with AI:
This series introduces developers to NestJS. Part 1 shows you how to build your first NestJS app; add a controller, model and service; and perform a POST operation.
In this section, we’ll begin working with NestJS. This part of the learning series covers the following topics:
- Installation
- Creating the First Controller
- Creating the First Service
- Adding a GET Endpoint
- Adding a POST Endpoint
For now, we will manage data using a JavaScript array. In future sections, we’ll learn how to connect to a database.
Installation
To begin developing with Nest, verify that the following items are installed on your development machine:
- NodeJS version 20 or above
- Nest CLI
To start developing with Nest on your local machine, make sure that the latest version of Node.js is installed. Whether Node.js is installed or not, you can find it using the command below on the terminal.
node -v
If Node.js is installed, you should get the version returned. If you do not get the version number, install Node.js on your local machine.
After the successful installation of Node.js, install Nest CLI by running the below command:
npm i -g @nestjs/cli
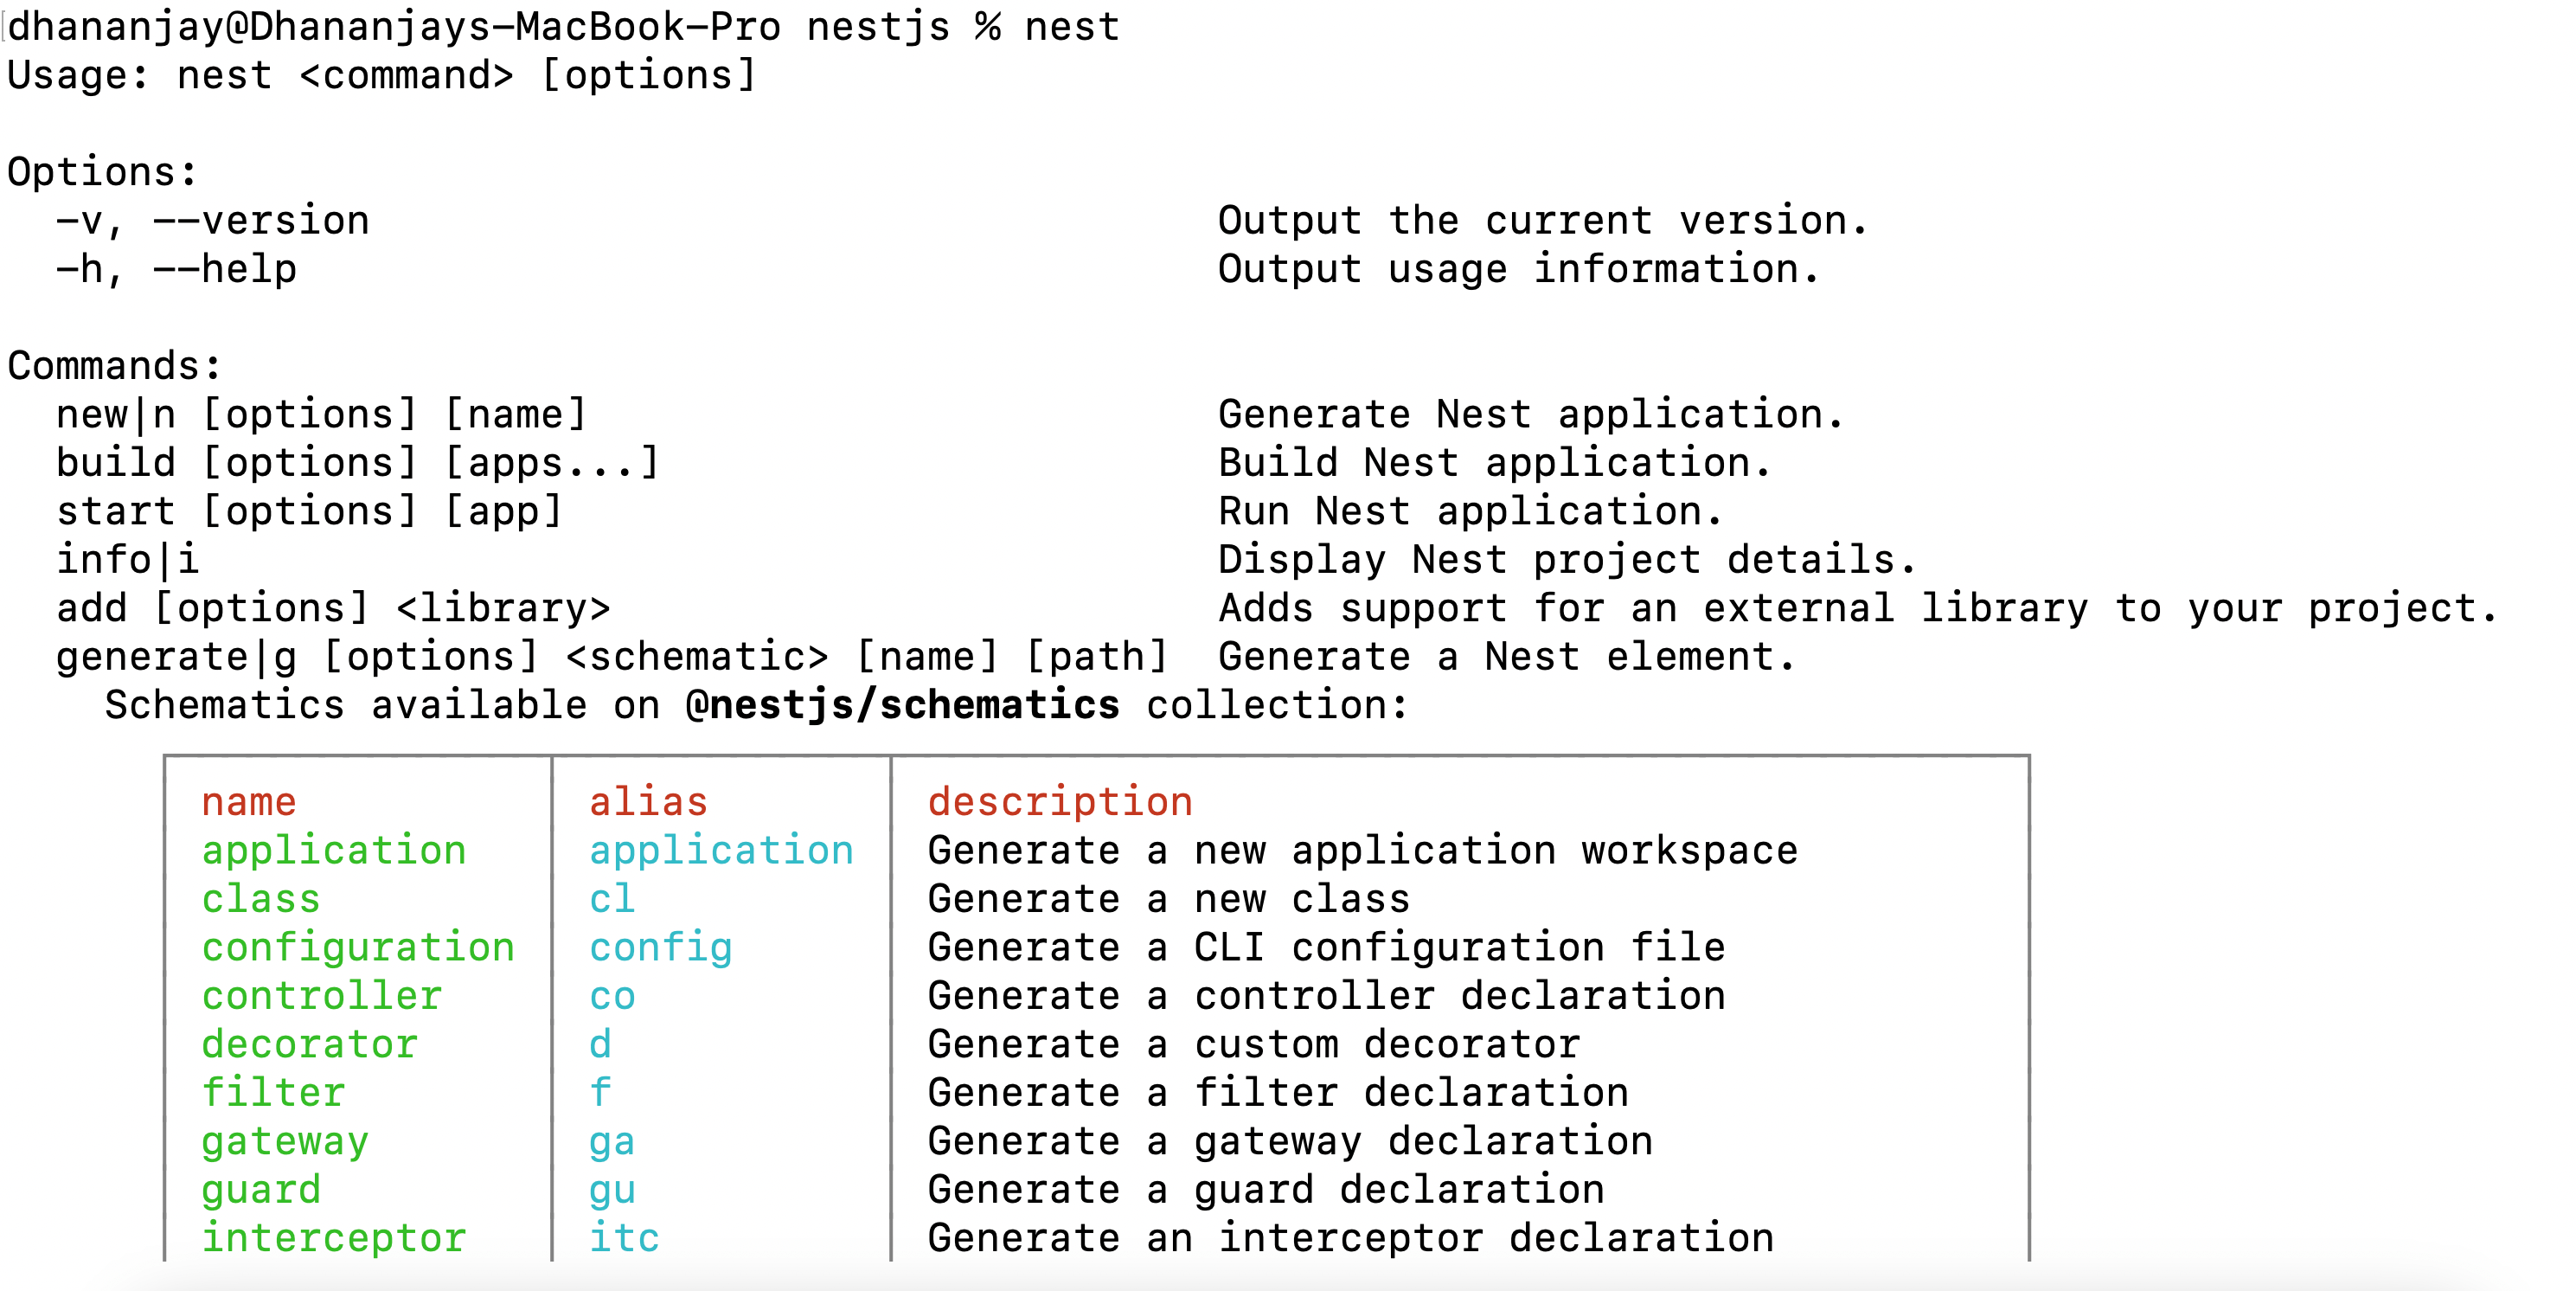
To validate whether Nest CLI is successfully installed, run the command nest in the terminal, and you should get the following output.
nest
Creating the Application
To create the first Nest application, run the Nest CLI command and select a package manager.
nest new api1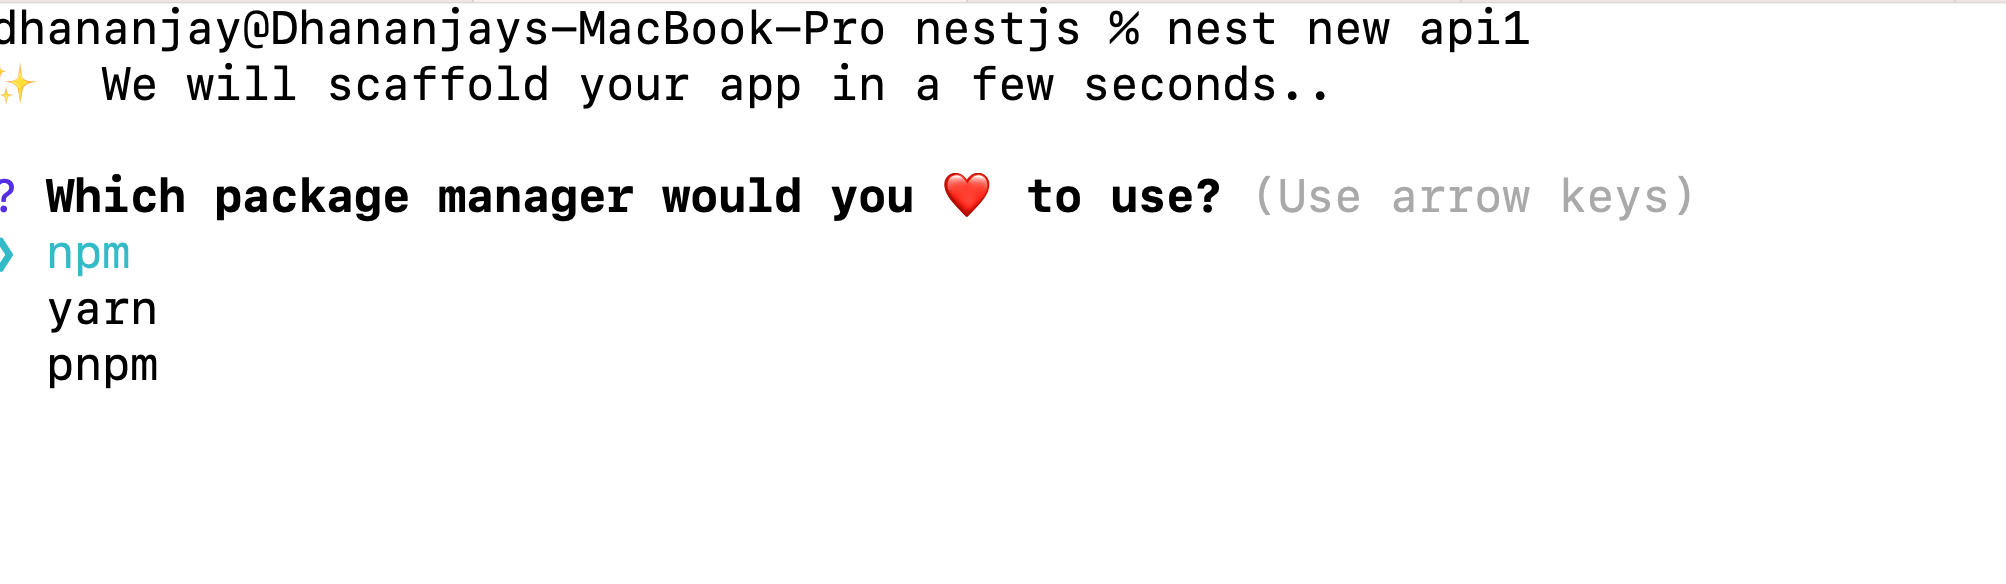
The above command should scaffold a basic Nest application, and you should be able to see the folder structure.
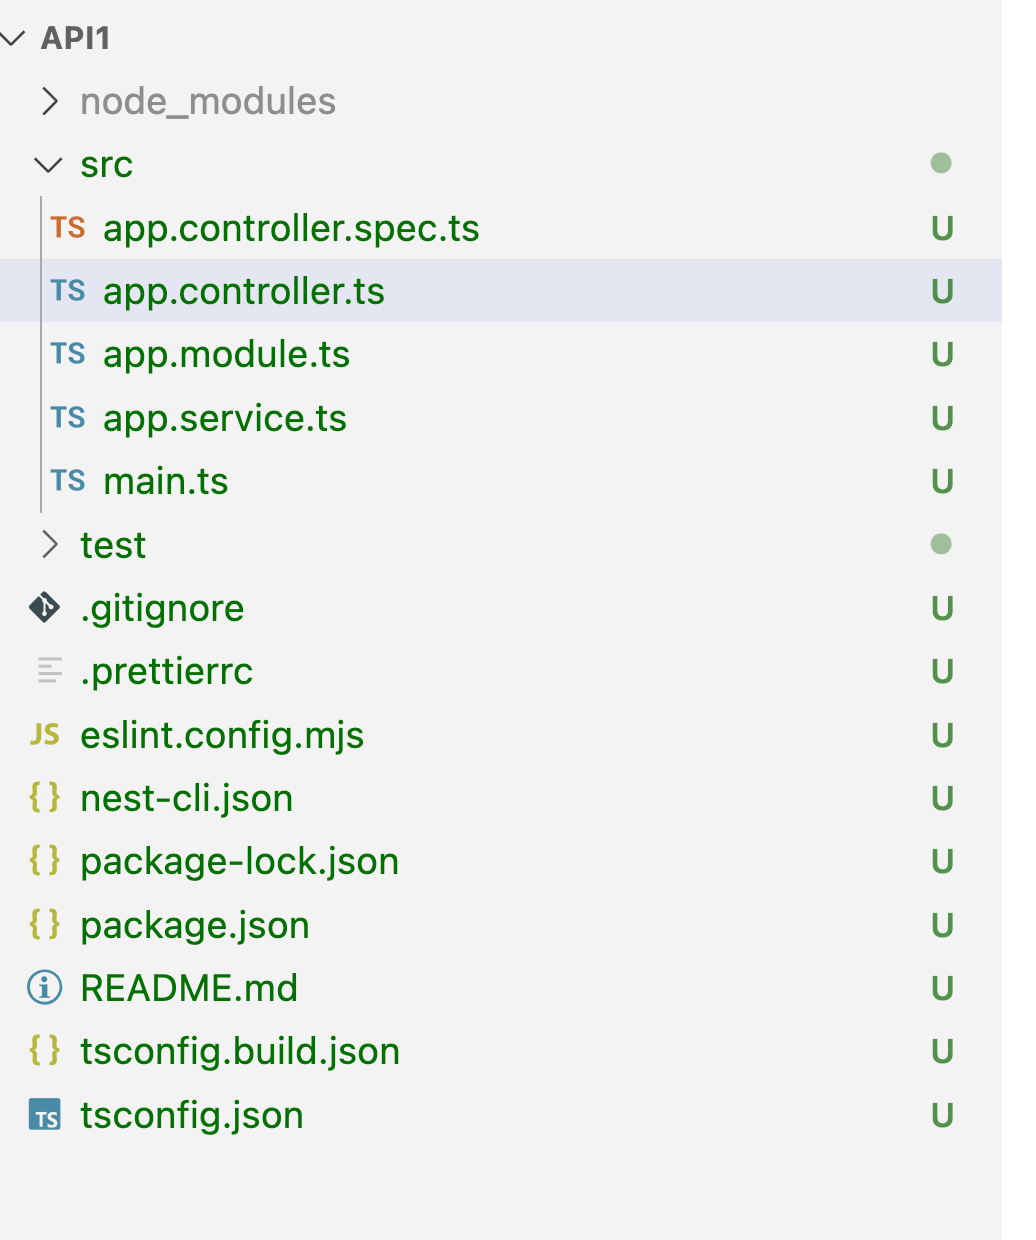
You should have:
- App Controller
- App Service
- App Module
- Main Controller
- Files related to unit testing
To validate the project’s successful creation, run the following command. You should have an API running.
npm run start
In the browser, navigate to http://localhost:3000/ and you should get hello world!
You have successfully installed the required software for Nest and scaffolded the API project using the CLI command.
Adding a Controller
To add a new controller in a NestJS application, use the following Nest CLI command:
nest generate controller book
After successfully running the command, a book folder containing two files should appear inside the src directory.
- book.controller.ts – the controller file
- book.controller.spec.ts – the unit test file
Also, you should see BookController added in the controllers array of the AppModule.
import { BookController } from './book/book.controller';

@Module({
  imports: [],
  controllers: [AppController, BookController],
  providers: [AppService],
})
export class AppModule {}
Once the BookController is generated, open the newly created file (e.g., book.controller.ts) and add a GET route, as shown in the following code listing:
@Controller('book')
export class BookController {

    @Get()
    findAll() {
        return 'This action returns all books';
    }

    @Get(':id')
    findOne(@Param('id') id: string) {
        return `This action returns a #${id} book`;
    }
}
After adding the GET route, you can access it in your browser by navigating to http://localhost:3000/book or http://localhost:3000/book/7.
Adding a Model
There is no CLI command to add a model to Nest, but you can manually add it. You can have either an interface or a class as a model. I prefer to use an interface as a model.
export interface IBook {
  id: number;
  title: string;
  author: string;
}
Adding a Service
To create a service in Nest, you can use the following CLI command:
nest generate service book
After successfully running the command, a book.service.ts file should appear inside the book directory. The above command adds the two files below in the book directory.
- book.service.ts – the service implementation
- book.service.spec.ts – the unit test file for the service
The book service is a class with @injectable() decorator.
@Injectable()
export class BookService {
}
In the service, you write code to share across multiple controllers. In the book service, we write code to fetch the book as shown in the code listing below.
@Injectable()
export class BookService {

    private books :IBook[] = [
        { id: 1, title: '1984', author: 'George Orwell' },
        { id: 2, title: 'To Kill a Mockingbird', author: 'Harper Lee' },
        { id: 3, title: 'The Great Gatsby', author: 'F. Scott Fitzgerald' },
    ];

    findAll(): IBook[] {
        return this.books;
    }

    findOne(id: number):IBook | undefined {
        return this.books.find(book => book.id === id);
    }
}
To use BookService in the BookController, inject it into the controller. You can do this by adding it to the BookController’s constructor, like this:
@Controller('book')
export class BookController {

    constructor(private readonly bookService: BookService) {

    }
}
After injecting the service, use it on different routes, as shown below.
@Get()
    findAll(): IBook[] {
      return this.bookService.findAll();
    }

    @Get(':id')
    findOne(@Param('id') id: string): IBook | undefined {
      return this.bookService.findOne(Number(id));
    }
In the browser, navigate to http://localhost:3000/book and you should get the books’ JSON array returned.
Performing a POST Operation
Like the GET operation, the POST operation requires adding a POST endpoint and a corresponding create function in the BookService.
You can define the create function in the BookService as shown below:
  create(book: IBook): void {
        this.books.push(book);
    }
Next, define a POST endpoint in the BookController, as shown below. On successful book addition, it returns a 201 status code. If an error occurs, it returns an Internal Server Error.
   @Post()
    create(@Body() book: IBook, @Res() res: Response): void {
        try {
            this.bookService.create(book);
            res.status(HttpStatus.CREATED).send({ message: 'Resource created successfully' });
          } catch (error) {
            res.status(HttpStatus.INTERNAL_SERVER_ERROR).send({ message: 'Internal Server Error' });
          }
    }
You can test the POST operation in Progress Telerik Fiddler Everywhere by sending a POST request with the Book JSON object included in the request body.
Summary
In this part of the multi-part NestJS learning series, you built your first NestJS application and implemented GET and POST endpoints using a simple JavaScript array for data storage. In the next part, you’ll learn how to connect to a database and perform full CRUD operations.

Dhananjay Kumar
Dhananjay Kumar is the founder of nomadcoder, an AI-driven developer community and training platform in India. Through nomadcoder, he organizes leading tech conferences such as ng-India and AI-India. He partners with startups to rapidly build MVPs and ship production-ready applications. His expertise spans Angular, modern web architecture and AI agents, and he is available for training, consulting or product acceleration from Angular to API to agents.
Related Posts
Comments
All articles
Topics
Web MobileMobile
Desktop
Design
Productivity
People
