
How to Build Your First LLM Application Using LangChain and TypeScript

Summarize with AI:
Learn the quick and easy steps to building your first LLM-powered TypeScript application using LangChain and the OpenAI model.
In this article, I will walk you through a step-by-step guide to building your first LLM-powered application using LangChain and the OpenAI model. I will be using TypeScript to build the app, and by the end you’ll have a working translator built with the OpenAI GPT-4 model and LangChain’s messaging package.
Set Up the Project
To start with, create a Node.js application and install the LangChain core library within it:
npm i langchain @langchain/core
We will be using TypeScript, so let’s configure the project to utilize it. To do that, install:
npm install -D typescript @types/node ts-node
Next, add the tsconfig.json file in the project by running this command:
npx tsc –init
Replace the tsconfig.json file with the configuration below.
{
  "compilerOptions": {
    "target": "ES2020",
    "module": "commonjs",
    "lib": ["ES2020"],
    "outDir": "./dist",
    "rootDir": "./src",
    "strict": true,
    "esModuleInterop": true,
    "skipLibCheck": true,
    "forceConsistentCasingInFileNames": true,
    "resolveJsonModule": true,
    "declaration": true,
    "declarationMap": true,
    "sourceMap": true
  },
  "include": ["src/**/*"],
  "exclude": ["node_modules", "dist"]
}
Next, update the package.json file to use TypeScript for building and running the application.
"scripts": {
    "build": "tsc",
    "start": "tsc && node dist/index.js"
  },
We are going to place project files in the src folder, so create a folder named src in your project directory and, inside it, add a file called index.ts.
Set Up the Environment
To use LangChain with various language models, you’ll need API keys. We’ll store these keys in an environment file. To work with the .env file, you’ll need to have installed the dotenv dependency:
npm install dotenv
Next, add the .env file to the project root and paste the information below inside the file.
OPENAI_API_KEY= "..."
export LANGSMITH_TRACING="true"
export LANGSMITH_API_KEY="..."

# Other common environment variables
NODE_ENV=development
PORT=3000
Lastly, we need to install the type for the environment variables, which can be done by running the following command:
npm install -D @types/dotenv
Now, in the index file, read environment variables as below:
import dotenv from 'dotenv';
dotenv.config();

const openaiApiKey: string | undefined = process.env.OPENAI_API_KEY;
const langChainKey: string | undefined = process.env.LANGSMITH_API_KEY;
const port: number = parseInt(process.env.PORT || '3000', 10);
console.log(`OpenAI API Key: ${openaiApiKey}`);
console.log(`LangChain API Key: ${langChainKey}`);
You should be able to print both your OpenAI and LangSmith keys. Replace these with the keys from your subscription in your project.
Working with the Model
We are going to use the OpenAI model. To use that, install the langchain openai dependency in the project:
npm i @langchain/openai
After installing the OpenAI library, let’s use it to translate text. First, import the following packages:
import { ChatOpenAI } from "@langchain/openai";
import { HumanMessage, SystemMessage } from "@langchain/core/messages";
After installation, create a model object and set the system and human messages using the LangChain messages package to translate the text.
const model = new ChatOpenAI({ model: "gpt-4" });
const messages = [
  new SystemMessage("Translate the following from English into Italian"),
  new HumanMessage("hi!"),
];

async function translate(){
 let m =   await model.invoke(messages);
 console.log(m);
}

translate();
To use the OpenAI model and translate the text:
- Set up the model
- Structure the message
- The system message acts as an instruction to set the context of the model
- The human message constructs the actual input message to be translated
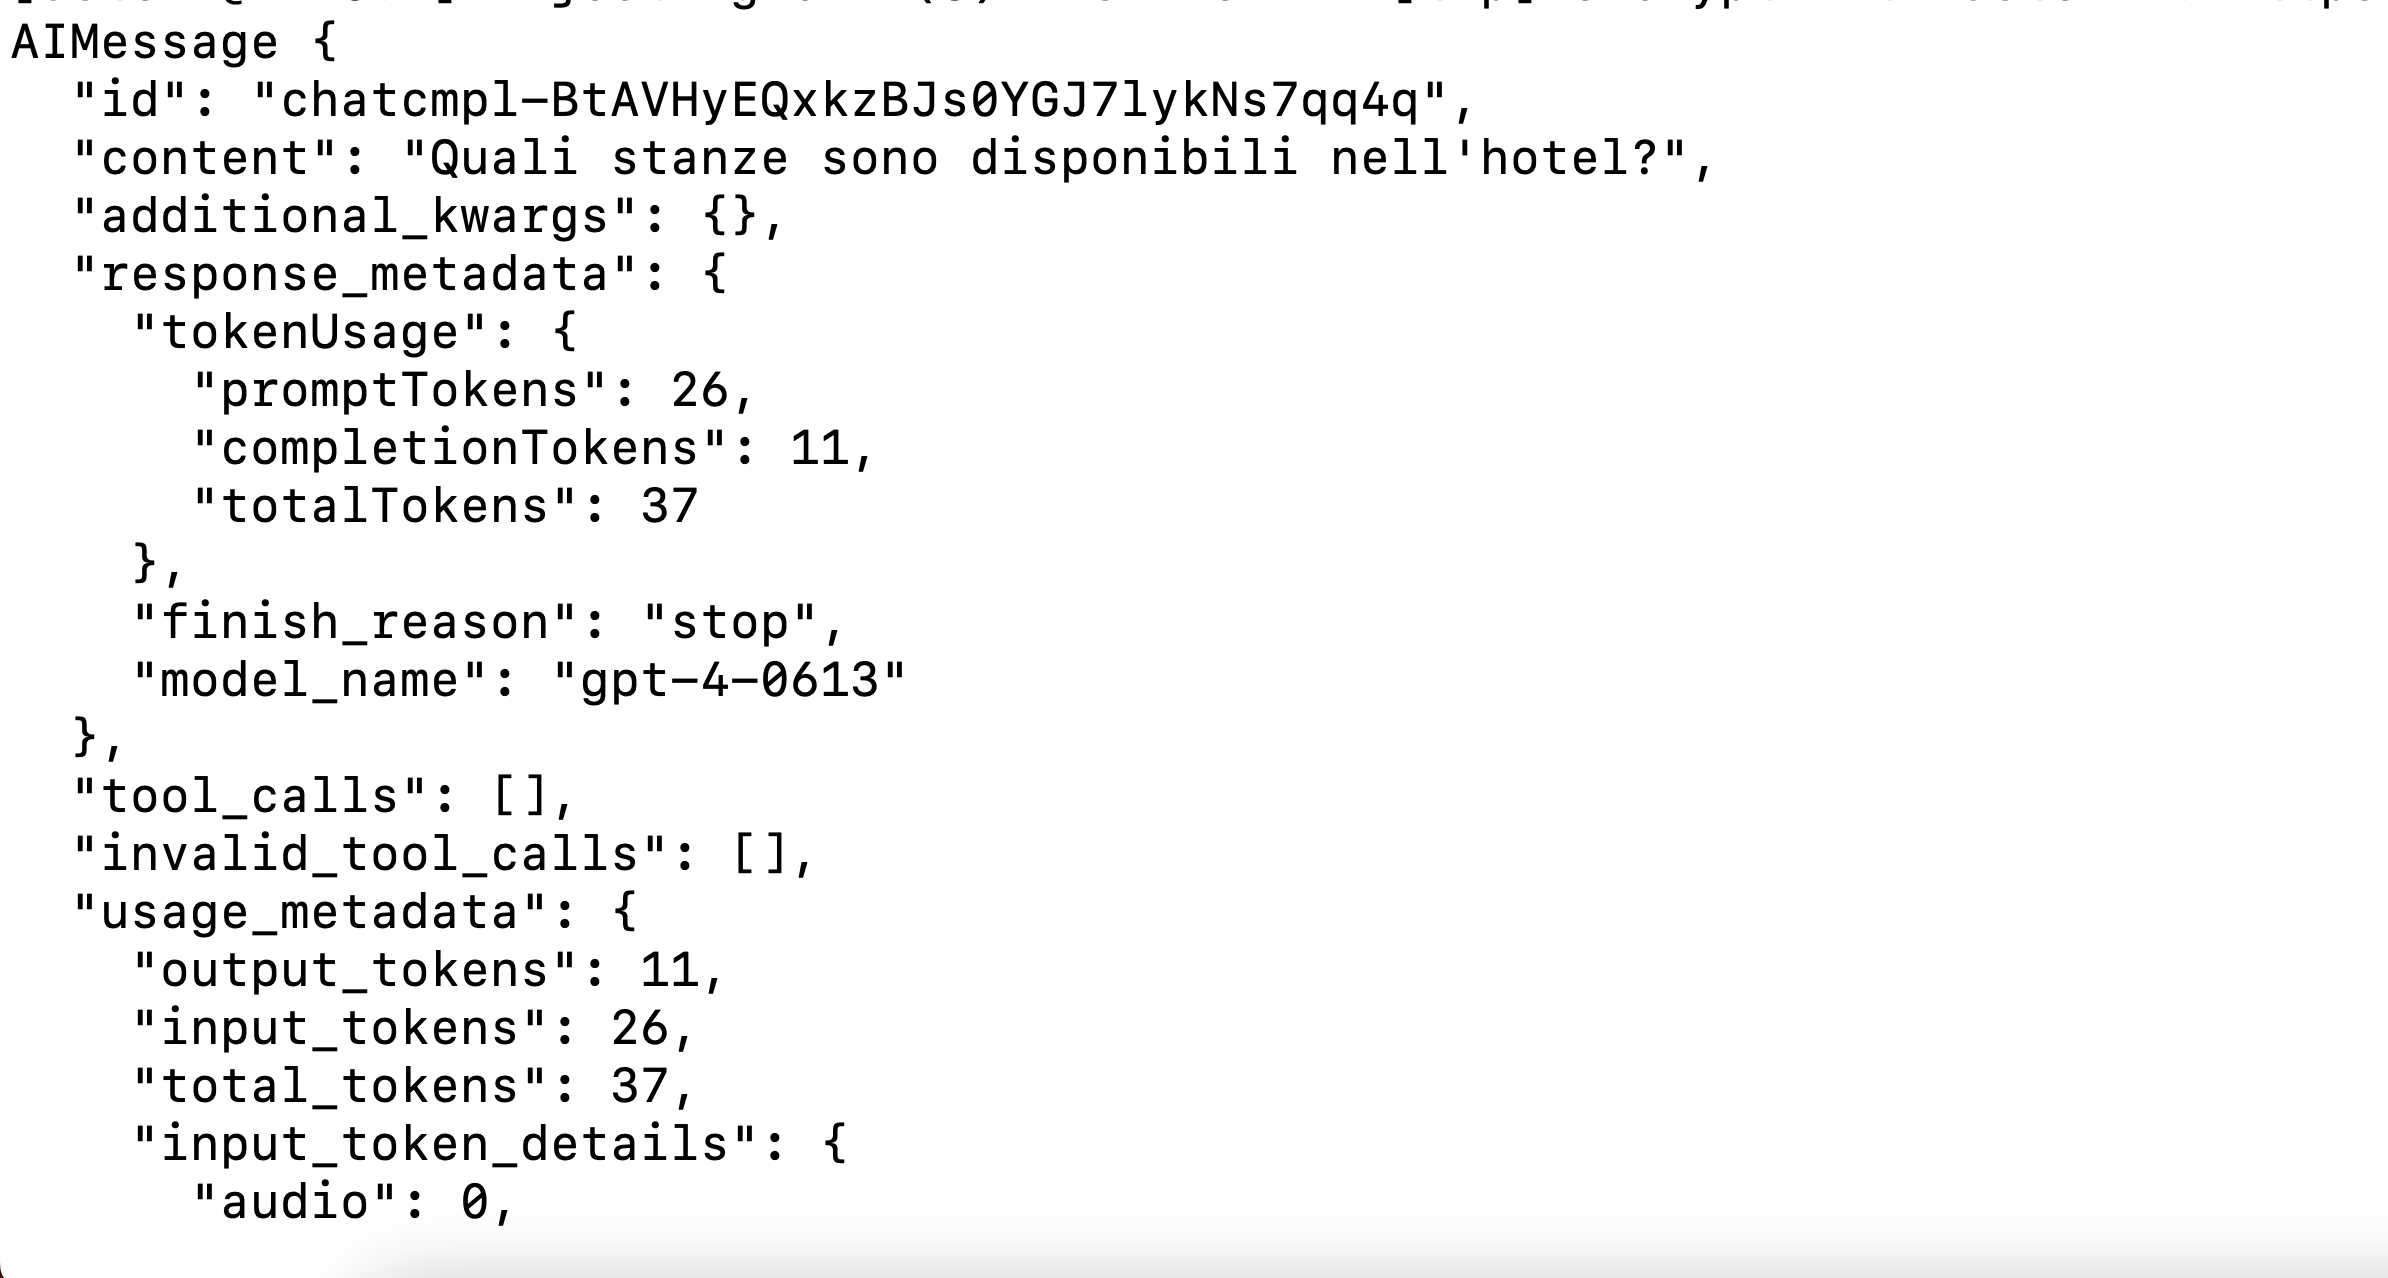
Putting everything together, a simple LLM application to translate the text should look like this:
import dotenv from 'dotenv';
import { ChatOpenAI } from "@langchain/openai";
import { HumanMessage, SystemMessage } from "@langchain/core/messages";

dotenv.config();

const openaiApiKey: string | undefined = process.env.OPENAI_API_KEY;
const langChainKey: string | undefined = process.env.LANGSMITH_API_KEY;

const model = new ChatOpenAI({ model: "gpt-4" });
const messages = [
  new SystemMessage("Translate the following from English into Italian"),
  new HumanMessage("What rooms are available in the hotel?"),
];

async function translate(){
 let m =   await model.invoke(messages);
 console.log(m);
}

translate();
You should get an output like this:
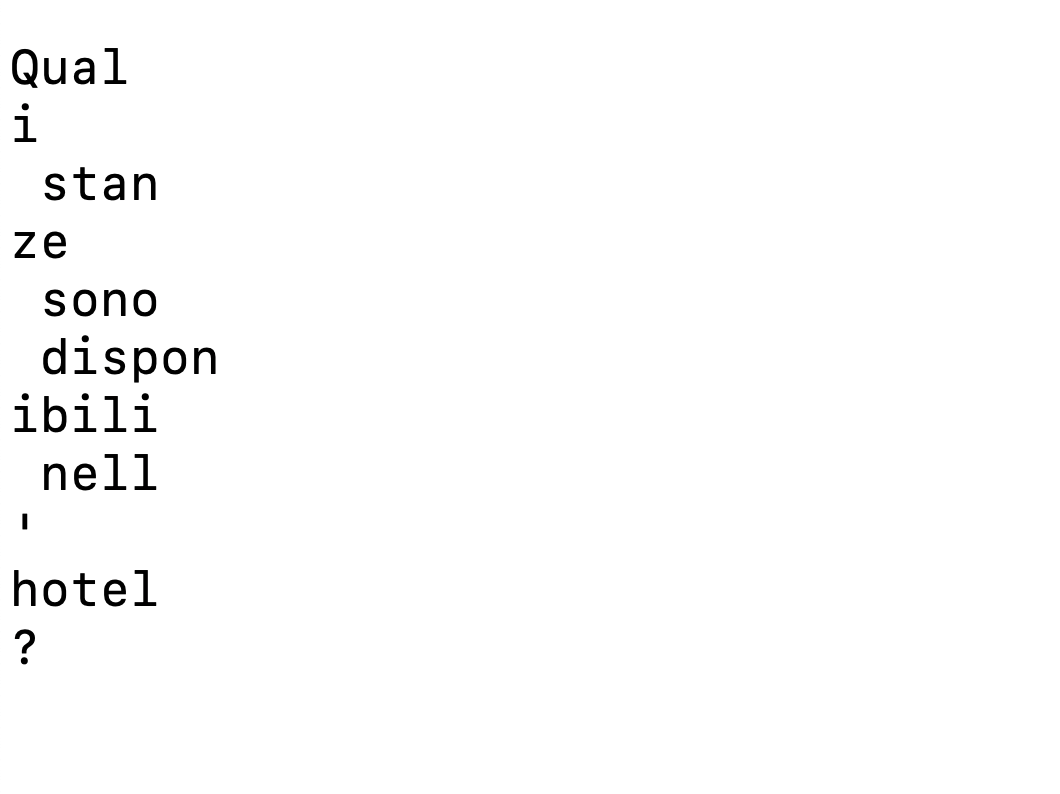
Since LangChain models are runnable, they also support streaming output. We can convert the above result into a streaming response as shown below:
async function translate(){
//  let m =   await model.invoke(messages);
 const stream = await model.stream(messages);
 for await (const chunk of stream) {
    console.log(chunk.content);
  }
 console.log('\n');
}

translate();
With streaming, you are basically keeping a live connection to the OpenAI model. It’s super helpful for longer translations or when you want to give users instant feedback. Instead of waiting for the whole thing to load, they can see the translation show up word by word—kind of like it’s being typed out in real time. You will get streaming output as shown below:
Now you know it is this easy to build your first LLM app using LangChain, OpenAI GPT-4 and TypeScript. I hope you find this helpful article. Thanks for reading.

Dhananjay Kumar
Dhananjay Kumar is the founder of nomadcoder, an AI-driven developer community and training platform in India. Through nomadcoder, he organizes leading tech conferences such as ng-India and AI-India. He partners with startups to rapidly build MVPs and ship production-ready applications. His expertise spans Angular, modern web architecture and AI agents, and he is available for training, consulting or product acceleration from Angular to API to agents.
Related Posts
Comments
All articles
Topics
Web MobileMobile
Desktop
Design
Productivity
People
