
Building a Schedule with Umbraco

Summarize with AI:
Umbraco 7 is an Open Source, content first, content management system built upon ASP.NET MVC. Having a platform built upon such a robust framework gives developers the option to use popular tools like the Telerik's UI for ASP.NET MVC.
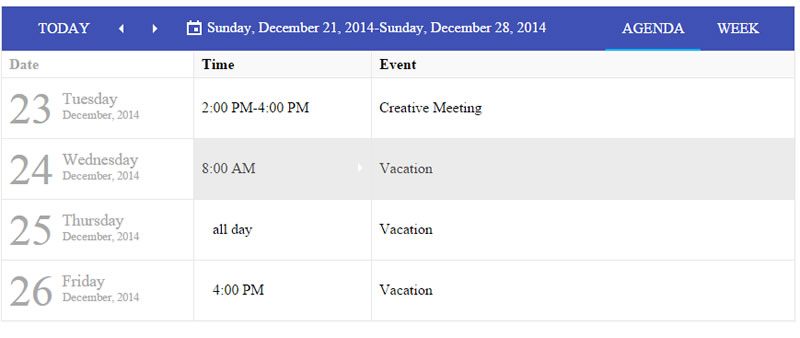
In this article we'll combine Umbraco and the Scheduler control to build a Material Design themed, mobile-responsive, schedule view. We'll start in the Umbraco back office and build a "document type" to hold our data. Next, we'll learn how to add the UI for ASP.NET MVC to an Umbraco site. Last, we'll create a simple class library for our view model and wire it up using Razor templates in Umbraco.
The Scheduler Control
The Scheduler control is a highly customizable component used to create displays for calendars, appointments, agendas and timelines. With built-in adaptive rendering, the Scheduler will work across all screens and can handle touch events as if triggered by a keyboard or a mouse.
While the Scheduler component itself is very robust, it is also very easy to setup. With just a few lines of fluent API code the Scheduler is ready to be used. In the following examples we'll learn how to create a Scheduler, add event items using the ISchedulerEvent interface, and configure view options.
Building a Scheduler interface
The Scheduler will bind to a collection of items that must implement the ISchedulerEvent interface. The minimal properties necessary to bind event items to the Scheduler include: Title, StartDate, EndDate, and Description.
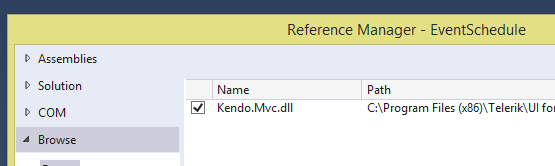
Let's create a new class library project in Visual Studio called EventSchedule. We'll need to add a reference to our project so we can access the interface ISchedulerEvent which is located in the Kendo.Mvc.UI library. To do this open the Reference Manager then browse and add Kendo.Mvc.dll from the UI for ASP.NET MVC install directory.
This is usually root:\Program Files (x86)\Telerik\UI for ASP.NET [version]\wrappers\aspnetmvc\Binaries\Mvc4
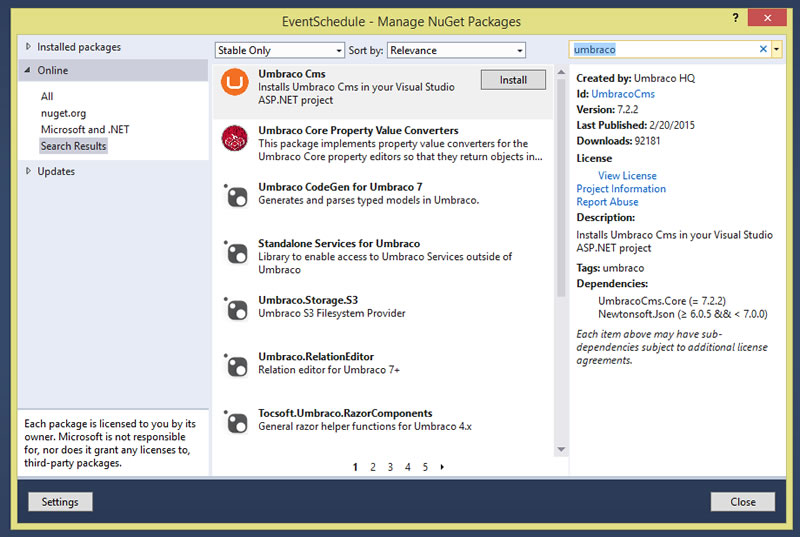
To work with Umbraco content we'll need to access the IPublishedContent interface from the Umbraco.Cms.Core namespace. Using NuGet, add the Umbraco.Cms.Core package, this package contains everything needed to work directly with Umbraco.
Now that we have the necessary references in place, we can begin writing a class to hold our event schedule data. We'll start by creating a new class named MyEvent and inherit from ISchedulerEvent, this is common practice for working with the Scheduler. MyEvent should implement all of the properties of the ISchedulerEvent interface.
public class MyEvent : ISchedulerEvent
  {
      public MyEvent(IPublishedContent node) { }
      public string Title { get; set; }
      public DateTime Start { get; set; }
      public DateTime End { get; set; }
      public string StartTimezone { get; set; }
      public string EndTimezone { get; set; }
      public string Description { get; set; }
      public bool IsAllDay { get; set; }
      public string Recurrence { get; set; }
      public string RecurrenceRule { get; set; }
      public string RecurrenceException { get; set; }
}IPublishedContent as an argument. In the constructor we'll map the data from Umbraco to the properties we implemented from ISchedulerEvent. For brevity we'll only be using the following properties: Title, IsAllDay, StartDate, EndDate and Description.
The Name property from IPublishedContent will map directly to Title. For the remaining properties, we'll need use the GetPropertyValue<T> helper method to retrieve strongly typed values from the Umbraco content node.
namespace EventSchedule
{
    public class MyEvent : ISchedulerEvent
    {
        public MyEvent(IPublishedContent node)
        {
            this.Title = node.Name;
            this.IsAllDay = node.GetPropertyValue<DateTime>("endDate").Equals(DateTime.MinValue);
            this.Start = node.GetPropertyValue<DateTime>("startDate");
            this.End = this.IsAllDay ? this.Start : node.GetPropertyValue<DateTime>("endDate");
            this.Description = node.GetPropertyValue<String>("eventDescription");
        }
        public string Title { get; set; }
        public DateTime Start { get; set; }
        public DateTime End { get; set; }
        public string StartTimezone { get; set; }
        public string EndTimezone { get; set; }
        public string Description { get; set; }
        public bool IsAllDay { get; set; }
        public string Recurrence { get; set; }
        public string RecurrenceRule { get; set; }
        public string RecurrenceException { get; set; }

    }
}MyEvent class is now complete, we can compile the library and deploy it to the bin directory of our Umbraco site.
Install UI for ASP.NET MVC
Adding the UI for ASP.NET MVC components to an Umbraco site requires just a few simple steps. First, we'll need to add the Kendo.Mvc.UI library to the bin directory of our Umbraco site. This will give us access to the fluent API needed to build the Scheduler component and satisfy our dependency for ISchedulerEvent. Copy the UI for ASP.NET MVC binaries from installation directory on your drive, to the bin folder of your Umbraco site.
This is usually root:\Program Files (x86)\Telerik\UI for ASP.NET [version]\wrappers\aspnetmvc\Binaries\Mvc4
In the head section of the site's HTML we'll add references to the Telerik CDN, these references will bring in the required CSS and JavaScript necessary to render the Scheduler component. In this example we will be using the new Material Design theme. The theme selection is determined by which CSS file references are used.
<!-- Use the Material Design theme -->
<link rel="stylesheet"
    href="http://cdn.kendostatic.com/2014.3.1119/styles/kendo.common-material.min.css" />
<link rel="stylesheet"
    href="http://cdn.kendostatic.com/2014.3.1119/styles/kendo.material.min.css" />
Create document types
Two document types will be needed to create a complete schedule, a schedule and event item. The schedule document type will have a single property used to set what date to begin displaying the schedule from. The event item document type will hold the values that correspond to the MyEvent view model.
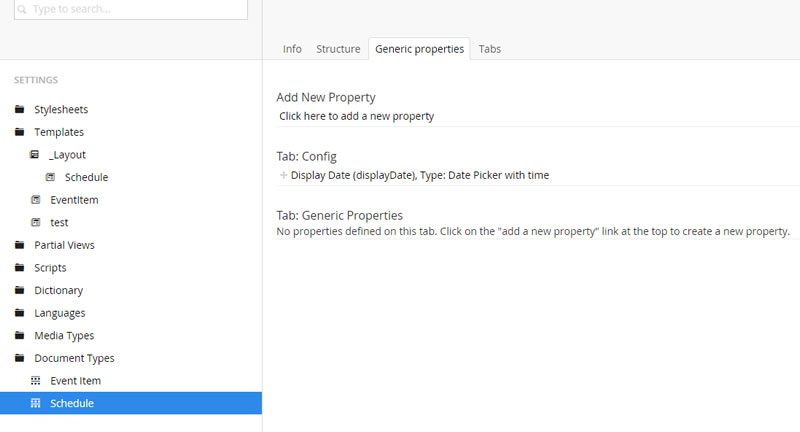
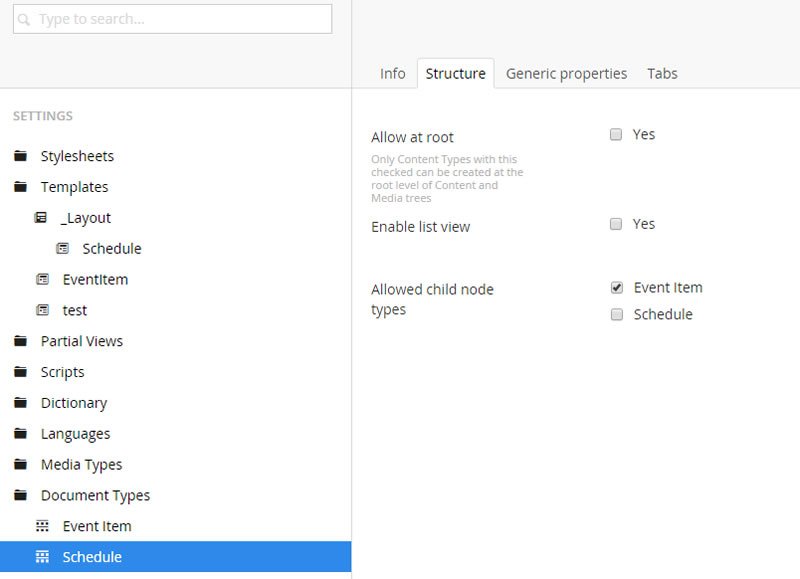
We'll create a Schedule document type and associated template using the standard Umbraco back-office features. In the Schedule document type add a property named Display Date and give it a type of Date Picker with time.
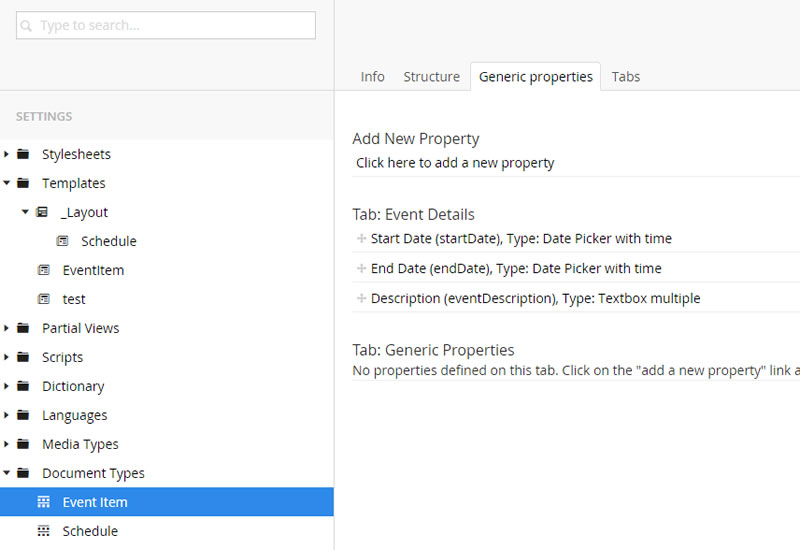
Next we'll add an Event Item document type, this time without an associated template. Since the schedule will display all of the event information, a template is not needed. For the Event document type, add the following properties: Start Date (Date Picker with time), End Date (Date Picker with time), and Description (textbox multiple).
Next, we need to allow the Schedule to contain Event Items, we'll need to add the Event Item to the "Allowed child node types" of the Schedule document type. This will give our Schedule a parent/child relationship with Event Items.
Create schedule template
Since Umbraco templates are MVC views we can build our template just as we would in an MVC application. Open the template we created while setting up our Schedule document type. The template should be pre-configured to inherit from Umbraco.Web.Mvc.UmbracoTemplatePage, this will give us access to the Umbraco content values passed in through the Model object.
We'll need to reference some dependencies to build our Schedule view, add a reference to Kendo.Mvc.UI and EventSchedule above the inheritance declaration.
@using Kendo.Mvc.UI;
@using EventSchedule;
@inherits Umbraco.Web.Mvc.UmbracoTemplatePagedisplayDate and get the value from the Schedule using the Umbraco strongly typed property value method .GetPropertyValue<T>(propertyName). Next we'll get all of the events belonging to the Schedule. Since the Event Items are all children of the Schedule they will be available in the Children property of the Schedule as an IEnumerable<IPublishedContent>.
Because our EventItem class has a constructor of IPublishedContent we can simply map the children to our custom view model using .Select(child => new MyEvent(child)). We'll use a variable called events and map the events.
@using Kendo.Mvc.UI;
@using EventSchedule;
@inherits Umbraco.Web.Mvc.UmbracoTemplatePage
@{

    Layout = "_Layout.cshtml";
    var scheduleDate = Model.Content.GetPropertyValue<DateTime>("displayDate");
    var events = Model.Content.Children.Select(child => new MyEvent(child));

}@(Html.Kendo().Scheduler<MyEvent>(), this will begin the fluent API chain. The methods that come next set up the configuration of the Scheduler.
@(Html.Kendo().Scheduler<MyEvent>()
)uScheduler.
@(Html.Kendo().Scheduler<MyEvent>()
    .Name("uSchedule")
)@(Html.Kendo().Scheduler<MyEvent>()
.Name("uSchedule")
.Editable(false)
)displayDate of the document.
@(Html.Kendo().Scheduler<MyEvent>()
    .Name("uSchedule")
        .Editable(false)
        .Date(scheduleDate)
)@(Html.Kendo().Scheduler<MyEvent>()
.Name("uSchedule")
.Editable(false)
.Date(scheduleDate)
.Timezone("Etc/UTC")
)@(Html.Kendo().Scheduler<MyEvent>()
.Name("uSchedule")
.Editable(false)
.Date(scheduleDate)
.Timezone("Etc/UTC")
.Views(views =>
{
views.AgendaView(agenda => agenda.Selected(true));
views.WeekView(wv => wv.ShowWorkHours(true));
})
)@(Html.Kendo().Scheduler<MyEvent>()
.Name("uSchedule")
.Editable(false)
.Date(scheduleDate)
.Timezone("Etc/UTC")
.Views(views =>
{
views.AgendaView(agenda => agenda.Selected(true));
views.WeekView(wv => wv.ShowWorkHours(true));
})
.BindTo(@events)
)

Wrap up
With just a few integration steps a feature-full, mobile-responsive, schedule UI can be added to your Umbraco site. Use this guide as a starting point and add more Scheduler features like: time line views, resource scheduling and others.

Ed Charbeneau
Ed