Breaking Down WPF Grid View vs. Virtual Grid

Summarize with AI:
With the official release of the Virtual Grid control for Telerik UI for WPF, let's take a moment to talk about when VirtualGrid is the best choice for a project and how it differs from GridView in UI for WPF.
Grid View vs Virtual Grid
Telerik UI for WPF’s RadGridView control is one of the best grid components for WPF applications on the market. It is very feature rich, easy to setup and does all the data shaping for you. It covers almost every grid scenario that you may have for your application needs.
At the same time, every now and then we face cases where our users want to display very large amounts of data in a grid control. I mean very large. Typically, as RadGridView creates the data model and handles all the data for you, it has all that data loaded in memory where it performs the different data manipulations. While this is a suitable approach for a couple million rows, if you have a gazillion data records, it may no longer be the most optimal way.
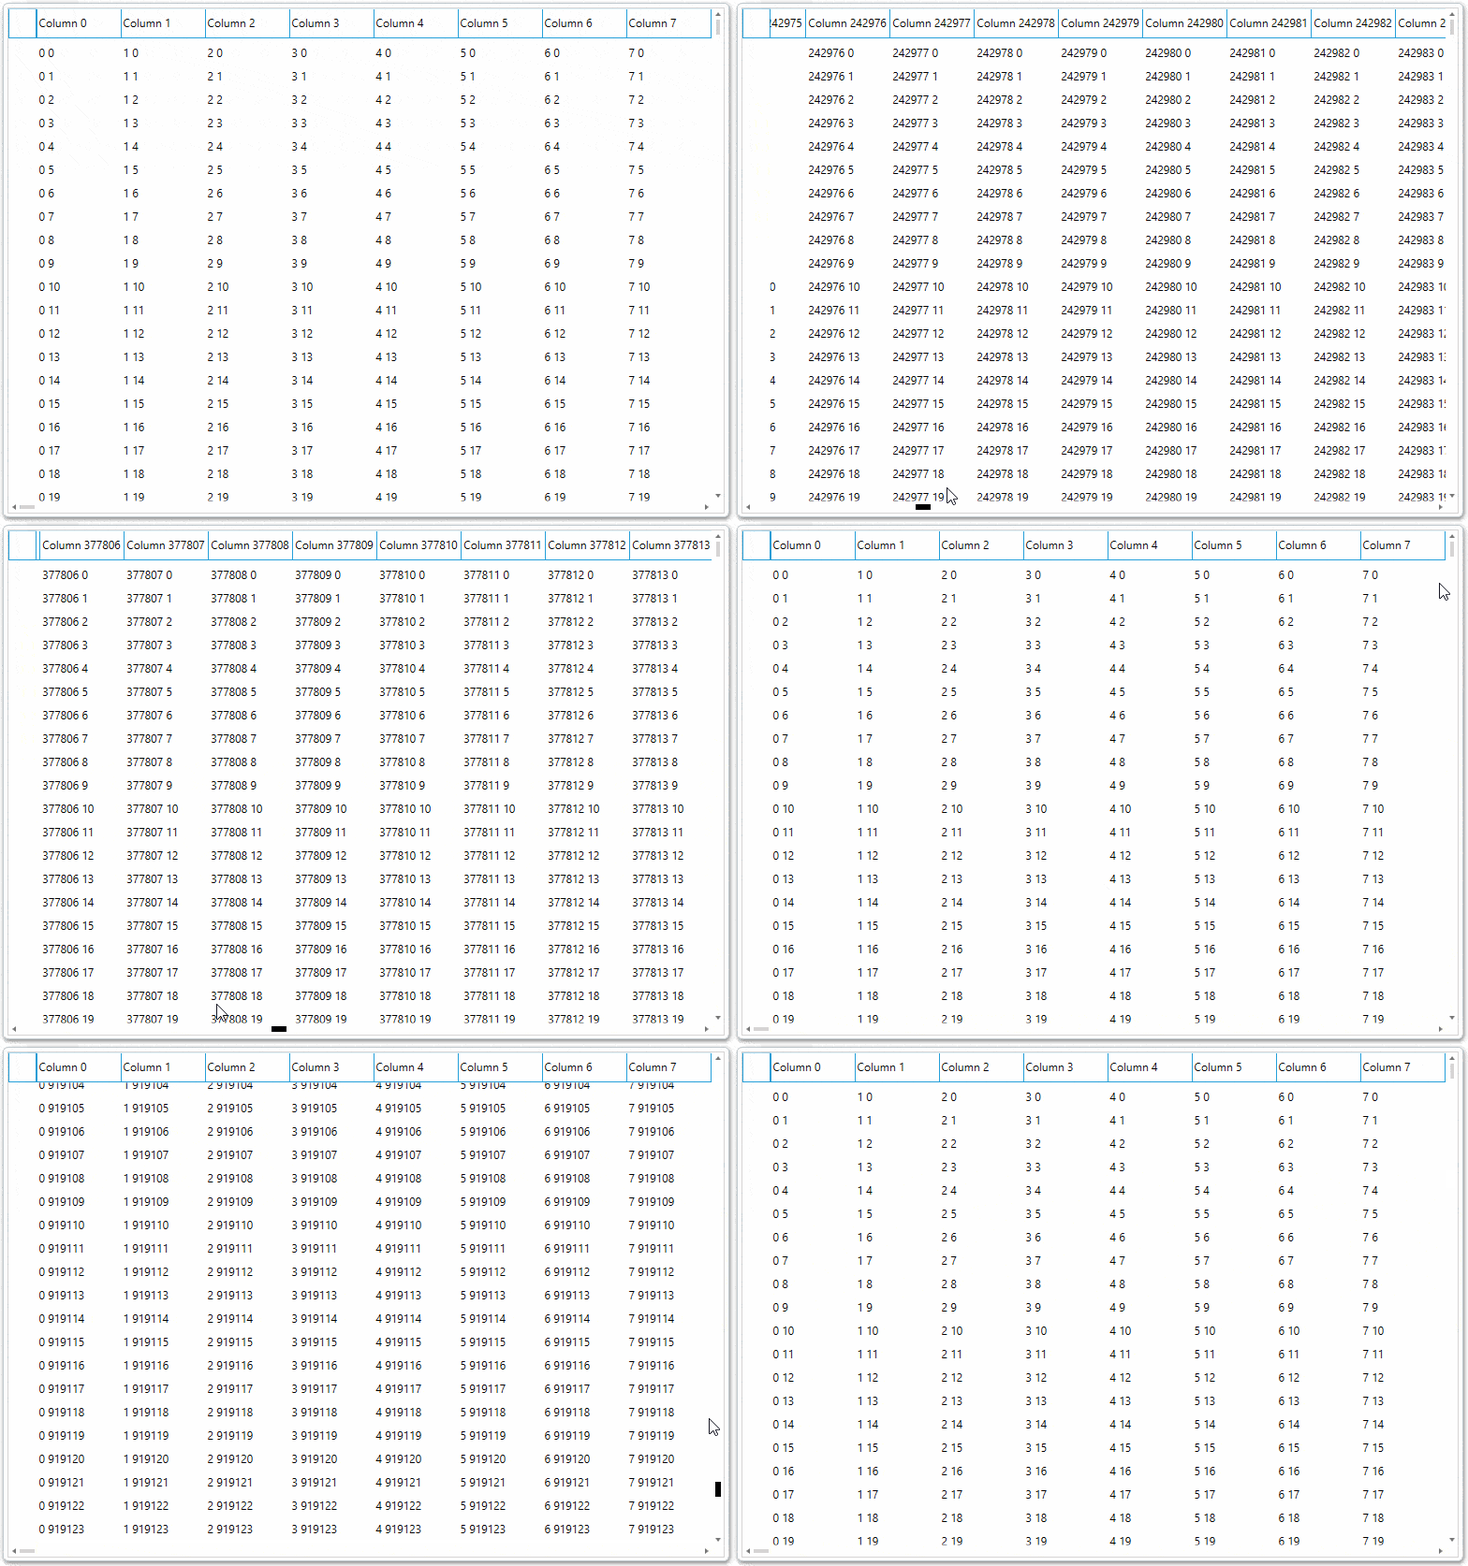
This is where RadVirtualGrid comes into play, as it allows you to fetch only the data that is needed and only when it is needed. This way, you get fine-grained control on what and when to fetch and how to shape it, resulting in a memory footprint that is very small.

Another great benefit of RadVirtualGrid is its rendering mechanism. Instead of adding its elements to the visual tree, its rendering logic builds whole render blocks for displaying the data. The API exposes functionalities through which the developer can map the visualized data to the underlying data source.
Now that we know the general differences, let me expand a little bit on them. There are two approaches to choose from with RadVirtualGrid, depending on the specific requirements.
Using the Built-In DataProvider
The first one is to use the DataProvider mechanism. It is quite similar to the data engine that RadGridView utilizes. It is suitable for MVVM scenarios and requires less effort when switching from RadGridView to RadVirtualGrid: see this documentation on the matter. Note that in case the DataProvider is utilized, all data will be loaded in memory, just like with RadGridView, but you will still gain the rendering boost. And this boost can go up to 10x faster initial loading and rendering.
Using Load on Demand
The other approach is to use the events exposed for populating data on demand when loading data in the viewport. In this case, the mapping between the data visualization and the data source is entirely in your hands. This is the faster approach as the control is aware only of the items present in the viewport. This will also result in very low memory consumption compared to RadGridView, as the control would not load all the data in memory.
The two controls share the same UI regarding performing selection, filtering and sorting. On the other hand, there are some differences when programmatically utilizing these functionalities. Performing the other operations that RadVirtualGrid supports, such as editing, pinned rows and columns, etc. also have differences compared to RadGridView. Put briefly, part of the concept of RadVirtualGrid is that it exposes events that are raised when “something is needed.” This is valid for populating data, applying headers and setting editors, for example.
Of course, there are various methods and properties available for the other functionalities supported by the control, such as scrolling, pinning rows and columns, row and column alternation, etc.
For example, below is a possible implementation of the CellValueNeeded event handler:
private void virtualGrid_CellValueNeeded(object sender, Telerik.Windows.Controls.VirtualGrid.CellValueEventArgs e) { if (e.ColumnIndex == 0) { e.Value = String.Format("{0}", Club.GetClubs().ElementAt(e.RowIndex).Name); } else if (e.ColumnIndex == 1) { e.Value = String.Format("{0}", Club.GetClubs().ElementAt(e.RowIndex).Established); } else { e.Value = String.Format("{0}", Club.GetClubs().ElementAt(e.RowIndex).StadiumCapacity); } }A similar approach can be used when the editors or headers of the controls are needed, for example. Check out these resources on the matter: Editing and Headers
There are also some differences regarding the functionalities that the two components support. One of the most commonly used mechanisms of RadGridView is the ability to define customized columns. For the time being, such support is not available for RadVirtualGrid as this will affect its overall performance. Also, RadVirtualGrid does not provide an API for populating hierarchical data and does not support grouping operations.
Closing Words and Next Steps
I hope that this article sheds some light on the difference between the GridView and VirtualGrid components available in Telerik UI for WPF. If you haven’t tried the Virtual Grid already, make sure to get the latest version of the suite and try it our for yourself.
Let us know how your experience went and feel free to reach out to the product team through the feedback portal.

Stefan Stefanov
Stefan Stefanov (MCPD) is a Senior Manager, Product Management and Product Marketing at Progress. He has been working with Telerik products since 2010, when he joined the company. Off work he enjoys traveling, hanging out with friends and reading various technology blogs. You can find Stefan on Twitter and LinkedIn.
