Getting Started Overview
This tutorial will walk you through creating a RadMenu and shows how to:
-
Use the RadMenu Item Editor to build a simple menu.
-
Apply a skin to the menu to change its look & feel.
-
Set RadMenu properties.
Creating a menu using the RadMenu Item Builder
-
Drag a RadMenu component from the toolbox onto your Web page. The RadMenu Smart Tag should appear automatically:

-
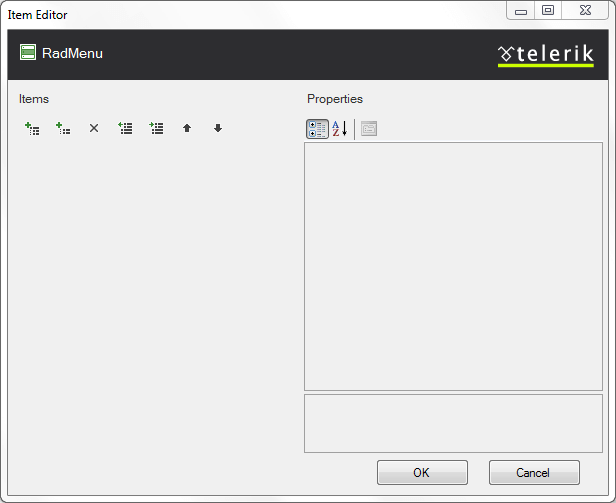
On the Smart Tag, choose Edit Items. The RadMenu Item Builder appears:
-
Click the Add root item button (
 ) to add a root item to your menu.
 -
With the root item selected, click the Add child item button (
 ) to add a child to your root item.
 -
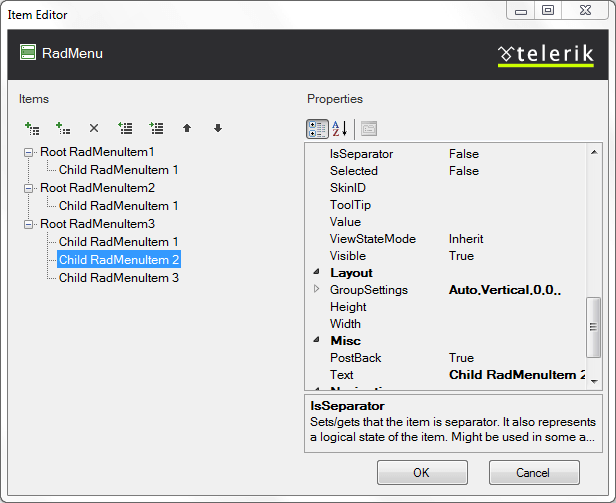
Add some more root items, and child items using the Add root item button and the Add child item button:
-
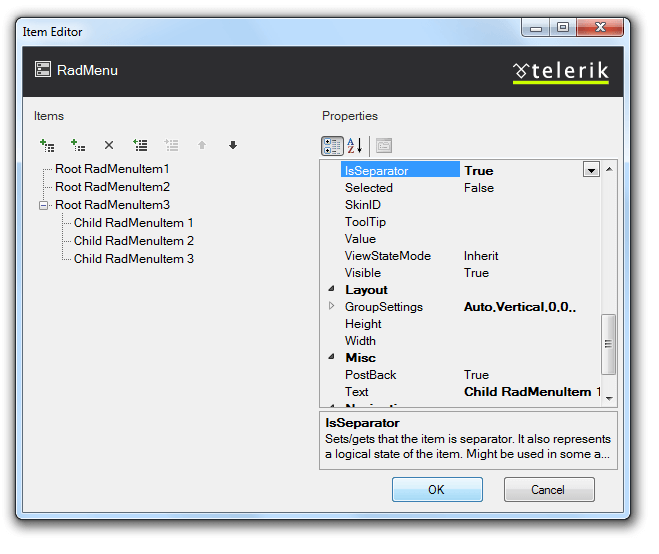
Select one of the child items, and change its IsSeparator property to True and its Text property to an empty string (""):
-
Click OK to confirm and exit.
-
Back in the RadMenu Smart Tag, use the Skin drop-down to change the skin for the RadMenu to "Outlook":
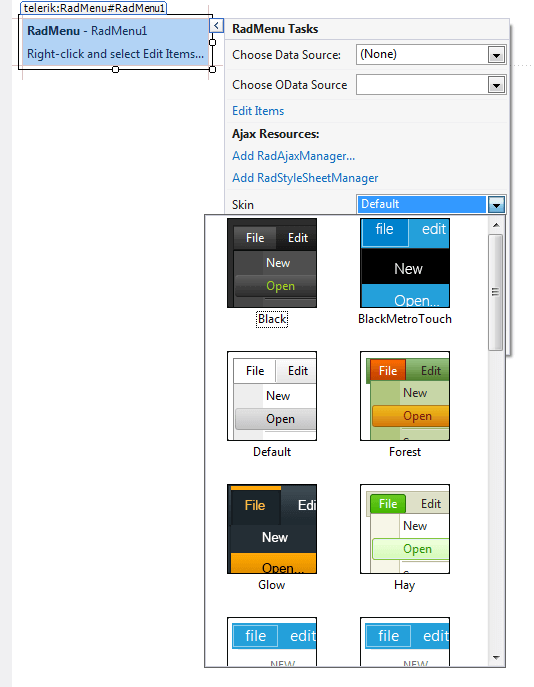
-
The appearance of the RadMenu in the designer changes to reflect the new skin:

-
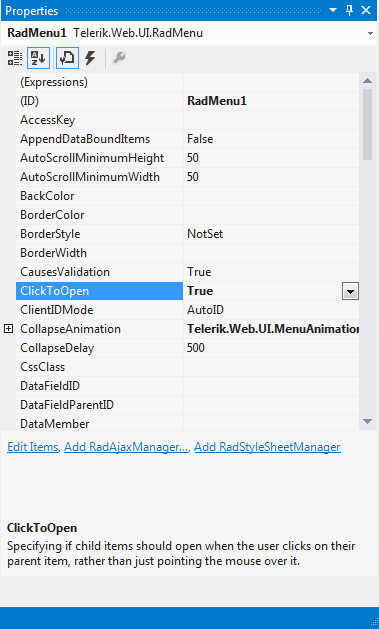
Right click on the RadMenu, and from its context menu, choose Properties.
-
In the properties pane, set the ClickToOpen property to True. This causes the menu to display its child items when clicked:
-
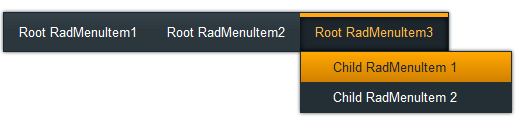
Run the application. Click on the menu items to display the child items: