Binding to a Data Source
This tutorial will show how to bind RadMenu to an AccessDataSource:
-
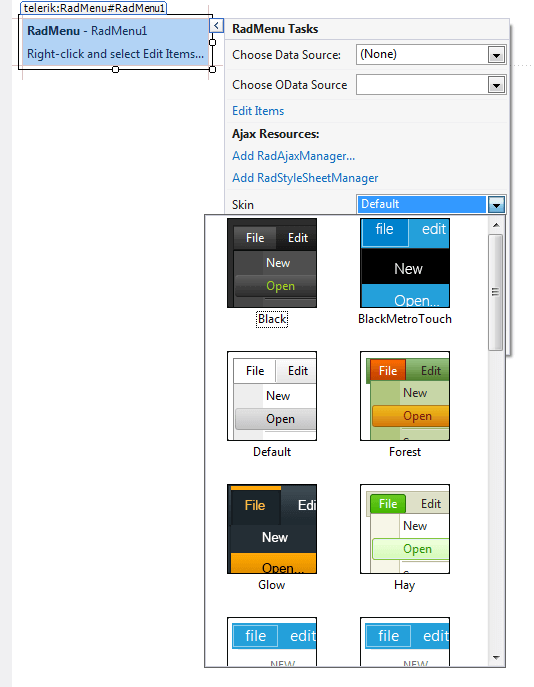
Drag a RadMenu component from the toolbox onto your Web page. The RadMenu Smart Tag should appear automatically:

-
In the RadMenu Smart Tag, use the Skin drop-down to change the skin for the RadMenu to "Outlook":
-
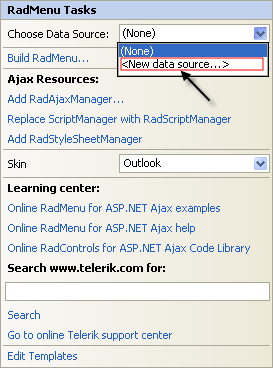
Still in the Smart Tag, open the Choose Data Source drop-down and select New Data Source.
-
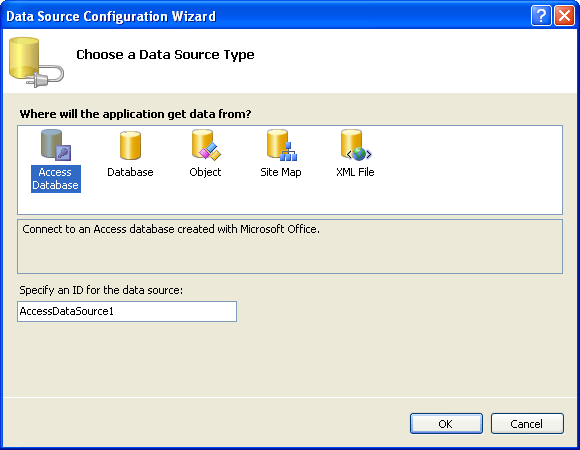
The Data Source Configuration Wizard appears. In the Select a DataSource Type screen, specify an AccessDataSource and click OK.
-
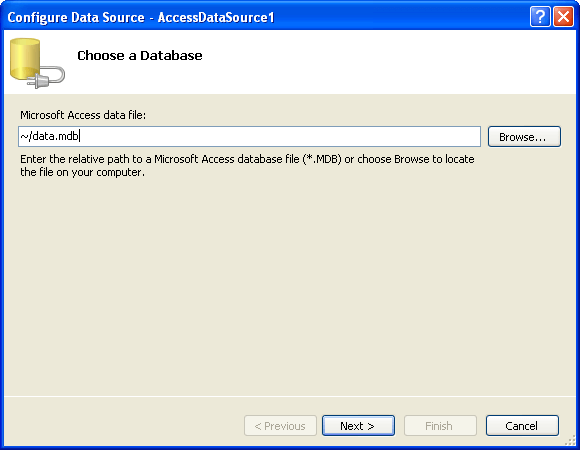
In the Choose a Database screen, click the Browse button, and select a data file. Then choose Next to continue:
-
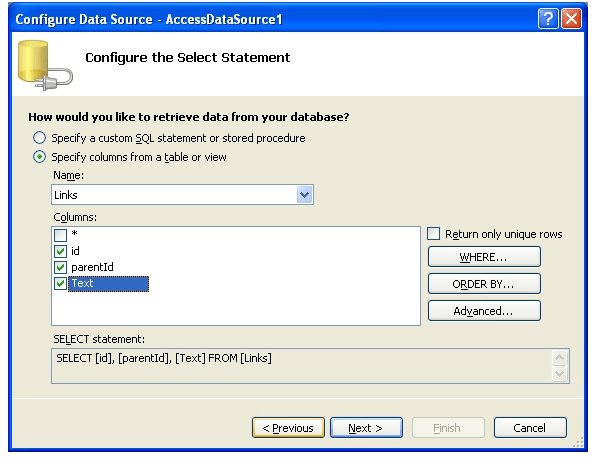
In the Configure the Select Statement screen, choose Specify columns from a table or view, and select the columns for the RadMenuItem ID, parent RadMenuItem ID, and RadMenuItem Text properties. Then choose Next to continue:
-
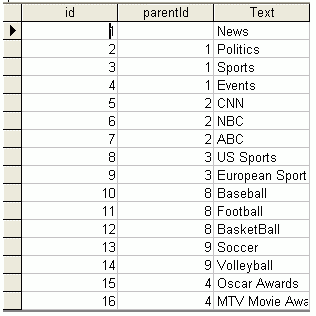
The data should have a structure something like the following:
-
Click the Finish button to exit the Wizard.
-
In the Properties pane for the RadMenu component, set the DataFieldId, DataFieldParentId and DataTextField properties by selecting the appropriate fields from the drop-down list:!
- Run the application. The final result should look like the following:!