Creating a Simple Context Menu
This tutorial will walk you through creating a simple RadContextMenu and shows how to:
-
Use the RadMenu Item Editor to build a simple context menu.
-
Use the Targets collection to attach the context menu to another control.
-
Drag a RadContextMenu component from the toolbox onto your Web page. The RadContextMenu Smart Tag should appear automatically:

-
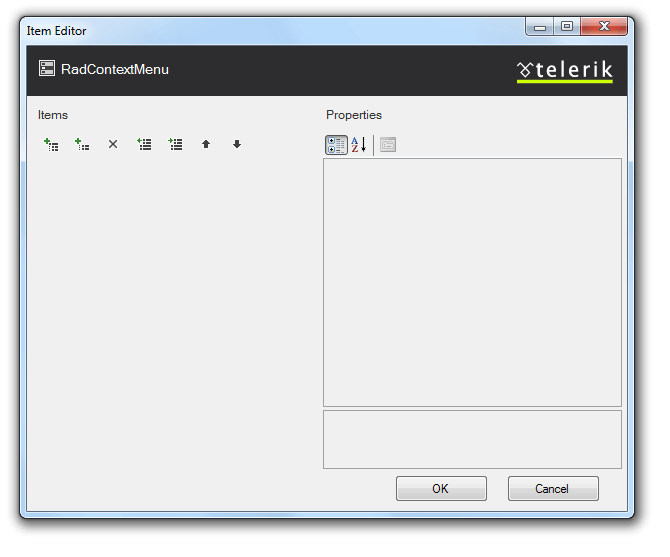
On the Smart Tag, choose Edit Items. The RadMenu Item Builder appears:
-
Click the Add root item button (
 ) to add a root item to your menu.
 -
With the root item selected, click the Add child item button (
 ) to add a child to your root item.
 -
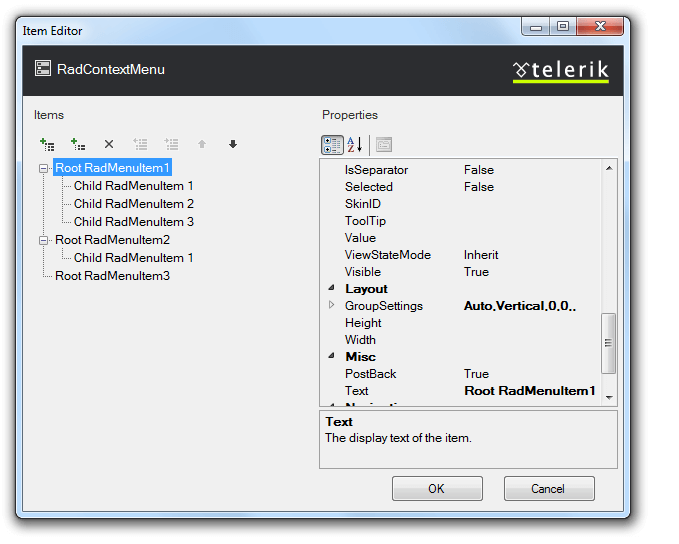
Add some more root items, and child items using the Add root item button and the Add child item button:
-
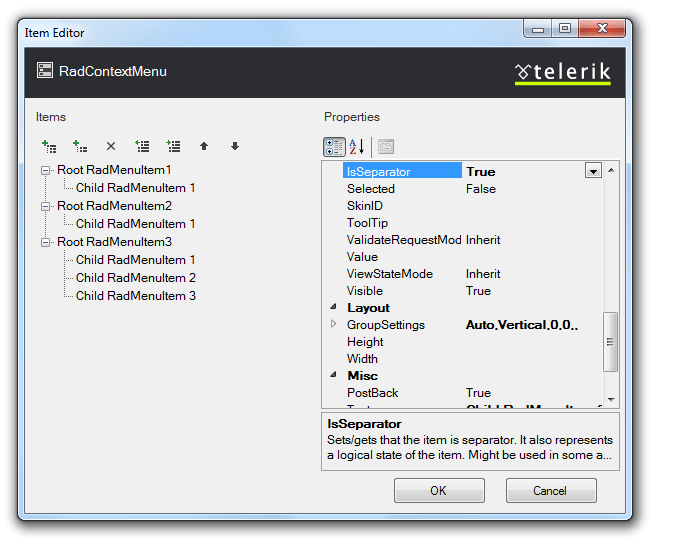
Select one of the child items, and change its IsSeparator property to True and its Text property to an empty string (""):
-
Click OK to confirm and exit.
-
Right click on the RadContextMenu, and from its context menu, choose Properties.
-
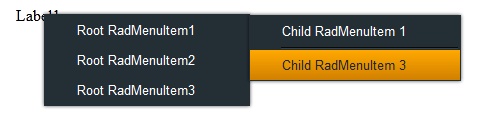
From the Standard area of the toolbox, drag a Label onto your page. Set its Text property to "Label1".
-
Move to the Source view of your Web page and locate the declaration of your RadContextMenu.
-
Select Edit Targets from the smart tag.

-
From the Target Editor select to Add Control Target. This attaches your context menu to a specific control, based on its ID:
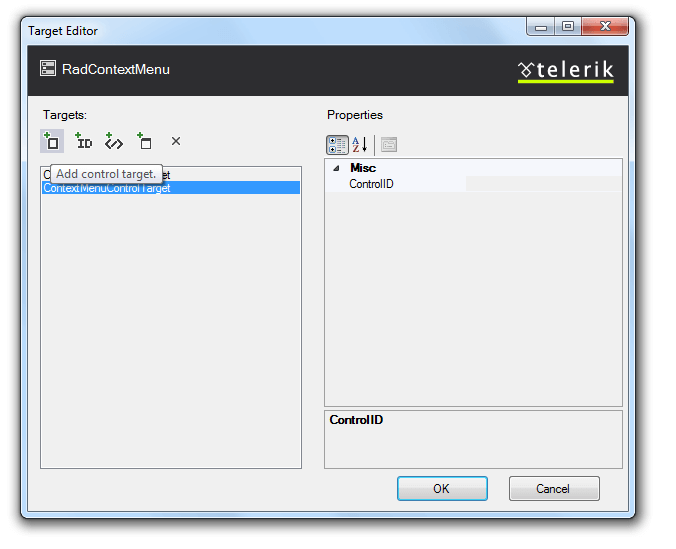
-
Select the ControlID attribute from the dropdown that appears:
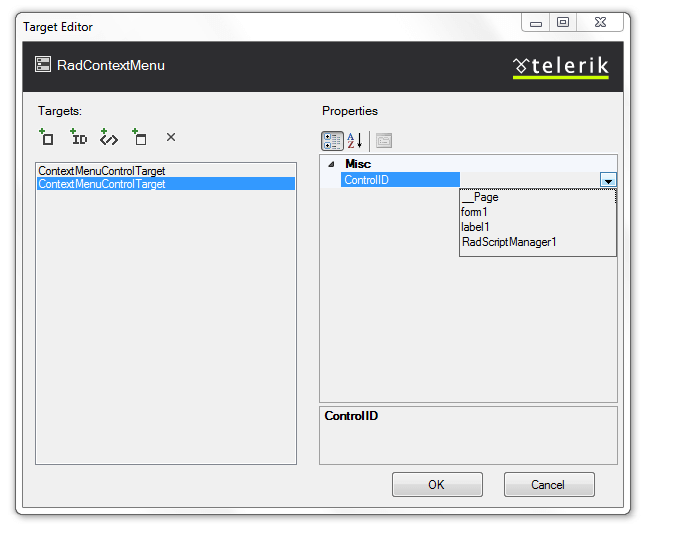
-
Select Ok and run the application. Right-click on the label and see your context menu appear: