New to Telerik UI for .NET MAUI? Start a free 30-day trial
Getting Started with the .NET MAUI CircularSlider
Updated on Aug 20, 2026
This guide provides the information you need to start using the Telerik UI for .NET MAUI CircularSlider by adding the control to your project.
At the end, you will achieve the following result.
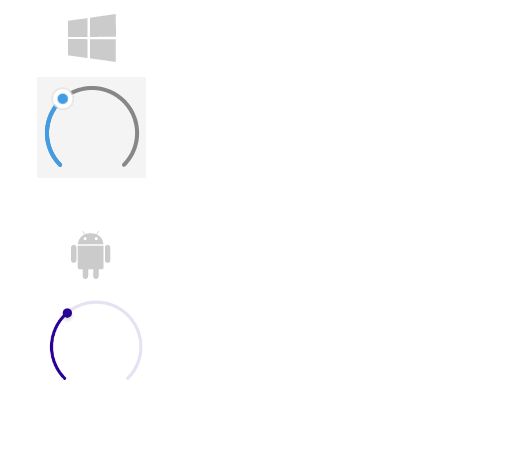
Prerequisites
Before adding the CircularSlider, you need to:
Define the Control
- When your .NET MAUI application is set up, you are ready to add a CircularSlider control to your page. The following example demonstrates how to define the
RadCircularSlider:
XAML
<telerik:RadCircularSlider Minimum="0"
                           Maximum="100"
Value="35" />- Add the
teleriknamespace:
XAML
xmlns:telerik="http://schemas.telerik.com/2022/xaml/maui"- Register the Telerik controls through the
Telerik.Maui.Controls.Compatibility.UseTelerikextension method called inside theCreateMauiAppmethod of theMauiProgram.csfile of your project:
C#
using Telerik.Maui.Controls.Compatibility;

public static class MauiProgram
{
    public static MauiApp CreateMauiApp()
    {
        var builder = MauiApp.CreateBuilder();
        builder
            .UseTelerik()
            .UseMauiApp<App>()
            .ConfigureFonts(fonts =>
            {
                fonts.AddFont("OpenSans-Regular.ttf", "OpenSansRegular");
            });

        return builder.Build();
    }
}
For a runnable demo with the CircularSlider Getting Started example, see the SDKBrowser Demo Application and go to the CircularSlider > Getting Started category.