Tips for Publishing Your WinForms/WPF Apps to the Microsoft Store

Summarize with AI:
Learn how to package, export, and publish your WPF and WinForms applications to the Microsoft Store and get them in the hands of your users faster.
As developers building desktop applications with WinForms or WPF, you've probably considered the possibility of publishing them to the Microsoft Store. It's a wonderful opportunity; the Microsoft Store provides the channel and infrastructure to sell directly to users. The question is how to do it. In this article, I show you how to publish your WinForms and WPF applications to the Microsoft Store. As you'll see, there are many obvious and not-so-obvious reasons for doing this.

With the Windows 10 Anniversary Update, Microsoft announced the Desktop Bridge, previously known as Project Centennial. It includes a tool that helps you convert your desktop application (Win32 or .NET) to a Universal Windows Platform (UWP) app. Why would you wish to do this? A few reasons:
- Only UWP apps are allowed in the Microsoft Store. UWP provides a more secure ecosystem than other runtimes. (This is important when providing applications from third parties.)
- The Microsoft Store in built into Windows 10, which has a lot of users; more than 600 million monthly active users in fact. That's a huge opportunity.
- The Microsoft Store provides the infrastructure you need to sell applications online. Think about the amount of work it takes to support this. For starters, you'd need a website with servers and a payment gateway. Oh, and there's also the challenge of managing updates. Truth be told: it's a headache that can pull you away from working on your application. The Microsoft Store does all of this for you.
- After you've converted your application (more on this later), your app is packaged, serviced, and deployed as an AppX package. This provides improved capabilities for installation and removal, purchasing and auto updates.
Detailed information about application preparation and conversion is available at Microsoft's documentation page on Desktop Bridge. Each topic describes in detail the exact steps for how to prepare and convert your app.
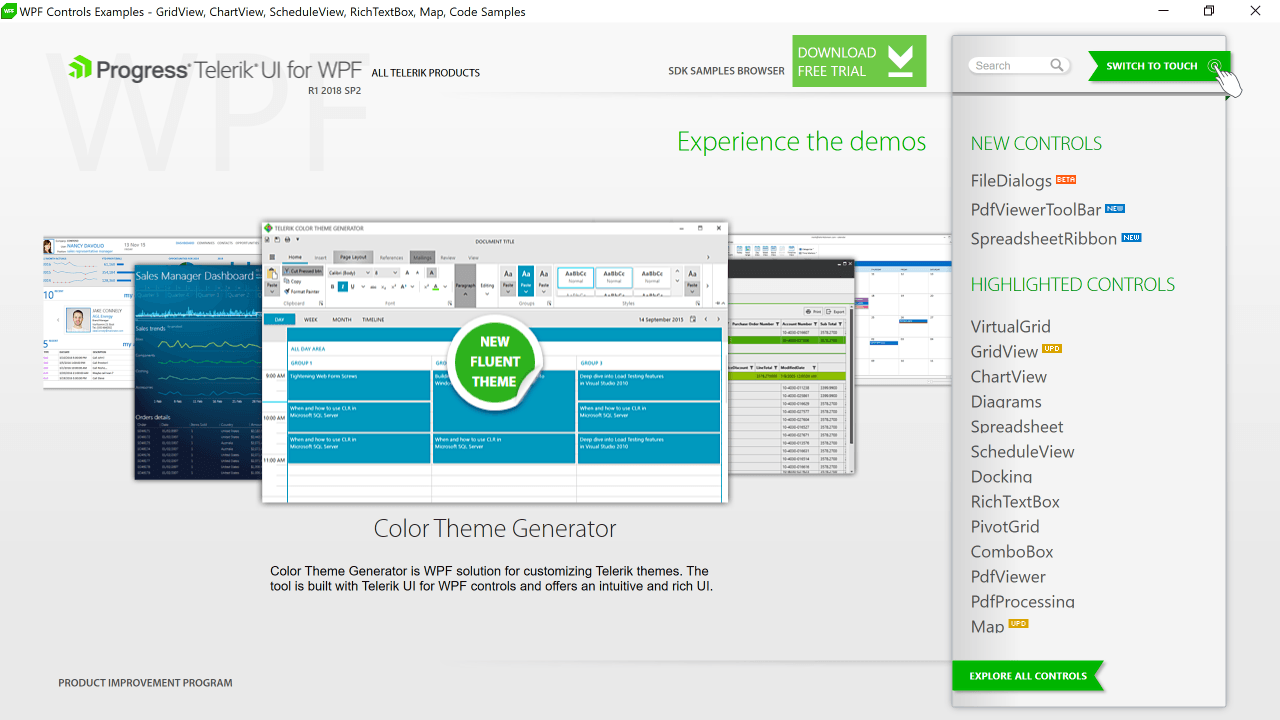
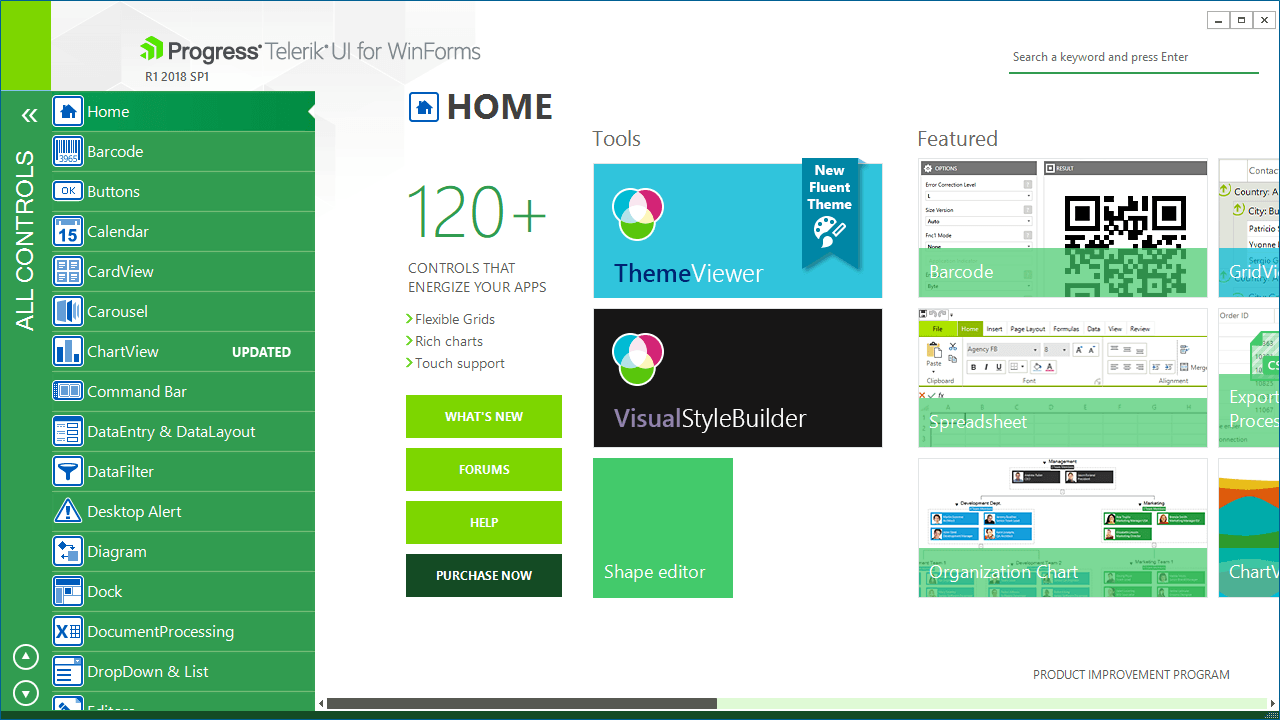
Recently, we converted our biggest demo applications to UWP with the Desktop Bridge. These applications showcase all of the controls we make for WinForms and WPF. To be clear: we have hundreds of controls. Each of them can be heavily-customized and themed. To show our customers how they work, we built showcase applications that not only demonstrate their features but provide the underlying source code as well. They're really big applications.

We decided to convert these applications to UWP becuase we wanted to provide our users with easier access to them. The process of converting has gone quite smoothly, despite the fact that in our controls, in some places, we invoke the native Windows API (for example graphics, gestures, mouse events, DPI settings, hooks).

What this means is:
It is safe to convert Windows Forms and WPF applications built with Telerik UI for WinForms and Telerik UI for WPF. You can start reaping the benefits of Microsoft Store TODAY.
You can find our already converted demo apps at the following links:
Converting a WinForms/WPF Application to UWP
You've gotten this far, meaning you are intrigued or at least interested to some extent as to how you can actually publish your existing app to the Microsoft Store. The first step would be to convert your WPF or WinForms application to UWP.
I am not going to touch on each step of the process, as these are very well described in the Desktop Bridge documentation. I will instead mention a few key points during the conversion process as well as some walls we hit and how we resolved them.
First things first, we must package our desktop application as a UWP project. As presented in the Desktop Bridge documentation, you can choose between a few methods to do this: by using the Desktop App Converter, through Visual Studio or manually. In our case, we have chosen to convert our demo application using the DesktopAppConverter. Despite its name it does not actually change your app, but generates a Windows app package.
Preparing Your Package
The process of packaging your applications is pretty straightforward and scoped out quite thoroughly in the Desktop Bridge documentation. While I don't want you to read the same steps all over again, I wanted to bring your attention to a few things we needed to take care of to complete the process.
Converting Your WinForms Application
Here are some notes we made during preparation and conversion of the WinForms application:
- The first requirement is to use a Windows 10 Anniversary Update (10.0.14393.0 and later) Pro or Enterprise machine to create and test the converted package and install the Windows 10 SDK. A full list of requirements is available here.
- The converter supports applications with target framework .NET 4.6.1. If your app targets an earlier version, you will have to re-target it.
- Another important step comes when the app is prepared and ready for conversion; only put the necessary files for your application into the input directory. The DesktopAppConverter will traverse all files and folders from the input directory, package them, and put them into the output directory.
- It is very important to use different directories for input and output if you don't want to drive the converter into infinite loop. 😉
- After the conversion, we found out that some of our examples were modifying files into the installation directory, which raised an
UnauthorizedAccessException. To prevent this, you need to store the modified data in another folder. For example, the AppData folder. For more information about handling data in converted apps, visit the following link: Handling data in a converted desktop app with the Desktop Bridge - Do NOT place your executable in the installer folder or any subfolder. Doing so will cause "results in error" when trying to run the DesktopAppConverter.exe to convert your app.
Here's an example of when the MyAppExecutable.exe file exists in both C:\InstallerFolder and its child C:\InstallerFolder\Subfolder folder, resulting in an error:
DesktopAppConverter.exe -Installer C:\InstallerFolder -AppExecutable "MyAppExecutable.exe" -Destination C:\ResultFolder -PackageName "MyPackageName" -Publisher "MyPublisher" -PackageArch x86 -Version 2017.3.912.0 -MakeAppx -Sign -Verbose -Verify -AppDisplayName "MyApp" -PackageDisplayName "MyApp" -PackagePublisherDisplayName "MyCompany"Converting Your WPF Application
Converting a WPF application, on the other hand, requires a few extra steps.
In the case of our WPF application, we were using a private file-based Deployment of SQL Server Compact in order to remove the prerequisite of SQL Server Compact installation on the client machine. That required that we distribute all dlls for SQL Server Compact, as described in the article above, as well as the .sdf database. All examples working with this database were just reading from it. However, because we are using EntityFramework for our data access, it was also requiring write access to our database. So, as described in the article about handling data in our converted application, we had to make sure of two things:
- Our database is copied in the ApplicationData folder after installation. We did this because this folder is one of the two folders where our application should write any user-generated data at runtime. (see the section, "So, where do I store my data?" from the link above):
- Our connection string for accessing the database points to the copied database. We achieved that by adding an EntityFramework connection string with a "keyword" ("keyword" is just a string that we will replace with
Environment.SpecialFolder.ApplicationData) and using this connection string to create our EntityFramework model. We do this because there is no substitution string for the ApplicationData folder in theconnectionString:
public partial class App : Application
{
  protected override void OnStartup(StartupEventArgs e)
  {
    // copy our database on application startup
    this.CopyDatabase();
  }

  void CopyDatabase()
  {
    // roaming app data
    string roamingPath = Environment.GetFolderPath(Environment.SpecialFolder.ApplicationData);
    string location = Assembly.GetExecutingAssembly().Location;
    int index = location.LastIndexOf("\\");
    string sourcePath = location.Substring(0, index);
    string destinationPath = Path.Combine(roamingPath, "MyApp");
    string fileName = "Northwind.sdf";

    if (!Directory.Exists(destinationPath))
    {
        Directory.CreateDirectory(destinationPath);
    }

    string sourceFile = Path.Combine(sourcePath, fileName);
    string destFile = Path.Combine(destinationPath, fileName);
    File.Copy(sourceFile, destFile, true);
  }
}<?xml version="1.0" encoding="utf-8"?>
<configuration>
<system.data>
<DbProviderFactories>
<remove invariant="System.Data.SqlServerCe.4.0" />
<add name="Microsoft SQL Server Compact Data Provider 4.0" invariant="System.Data.SqlServerCe.4.0" description=".NET Framework Data Provider for Microsoft SQL Server Compact" type="System.Data.SqlServerCe.SqlCeProviderFactory, System.Data.SqlServerCe, Version=4.0.0.1, Culture=neutral, PublicKeyToken=89845dcd8080cc91" />
</DbProviderFactories>
</system.data>
<connectionStrings>
<add name="NorthwindEntities461" connectionString="metadata=res://*/NorthwindEntities.csdl|res://*/NorthwindEntities.ssdl|res://*/NorthwindEntities.msl;provider=System.Data.SqlServerCe.4.0;provider connection string="data source=%APPDATA%\Northwind.sdf"" providerName="System.Data.EntityClient" />
</connectionStrings>
</configuration>public Example()
{
InitializeComponent();
var connectionString = ConfigurationManager.ConnectionStrings["NorthwindEntities461"].ConnectionString;
connectionString = connectionString.Replace("%APPDATA%", Path.Combine(Environment.GetFolderPath(Environment.SpecialFolder.ApplicationData), "MyApp"));
var myModel = new NorthwindEntities(connectionString).Orders;
}Closing Words
I hope you found this article helpful for the process of publishing your WinForms and WPF applications to the Microsoft Store. There are many benefits to having your app available in the store, from monetizing to easier management and distribution of new versions, but how you will benefit will depend on the type of application and project you are running. However, one thing is sure: you are equipped with all the necessary tools and documentation once you've decided to convert your application. Furthermore, as presented above, it is possible to do that even if you are using our Telerik UI for WPF or Telerik UI for WinForms suites.
Lastly, if you still have some time on your hands, make sure to check out The State of .NET 2018 Whitepaper, which covers the evolution of the .NET Framework in recent years and how its latest incarnation addresses the challenges presented by new cross-platform portable apps and the future-facing technologies developers are working on.
Thank you and happy coding!

Todor Vyagov
Todor Vyagov is a Software Developer on the WinForms team at Progress.
