Ready with WebMCP: Building Agent-Ready Apps with Telerik and Kendo UI

Summarize with AI:
WebMCP has great potential to help make our apps super compatible with agents. Let’s learn more about this proposed standard and see how to start using a preview tool in Telerik and Kendo UI.
When I started working with AI agents, they were mostly good for writing code or running tasks on my local machine. But today, they do much more. AI agents can now open a browser, navigate webpages and interact with online applications just like we do.
The way agents interact with webpages today can be slow and fragile. Many browser agents act like a human looking at a screen, first taking screenshots, reading text from images or scanning thousands of lines of raw HTML, next trying to guess which button to click or which input to use.
What happens when an agent tries to interact with a data grid? Features like virtual scrolling, custom templates and dropdown menus make the HTML very complex. Rows disappear as you scroll. CSS classes change. When this happens, the agent gets lost.
What if our web applications could give AI agents a clear, direct API right inside the browser?
This is where Web Model Context Protocol (WebMCP) can help! We’re going to learn what WebMCP is and how Progress Telerik and Kendo UI libraries bring this proposed standard to your apps.
We will start with our existing NBA Players Scout Dashboard built with Angular and Kendo UI for Angular and see why an AI agent might struggle with it. Then we will make it agent-ready in just a few minutes using @progress/kendo-angular-webmcp.
Important note: WebMCP is still a proposed web standard that only works behind dev feature flags in certain browsers. This post and its demo should be treated as a preview.
Let’s make it work in a real project, but first let’s understand what WebMCP is.
What Is WebMCP?
You might already know Anthropic’s Model Context Protocol (MCP). MCP is an open standard. It connects AI assistants to external databases, files and developer tools. It usually runs on a server or a local machine.
WebMCP takes that idea and brings it directly inside your web browser.
Proposed by the W3C Web Machine Learning Community Group, WebMCP adds a new browser API: navigator.modelContext.
Think of WebMCP as an API menu for your webpage. Instead of asking an AI agent to read complex HTML elements, WebMCP lets your application register JavaScript functions as structured tools. Each tool has a clear name, a description and typed parameters.
When an AI agent visits your page, it does not need to guess how your UI works. It reads the list of tools, understands the parameters and runs the action directly.
But how do we actually create these tools without spending hours writing JSON schemas? That’s where Progress Telerik and Kendo UI steps in.
For a deeper understanding of WebMCP, check out the post: AI Crash Course: WebMCP.
Using Telerik and Kendo UI AI Tools for WebMCP
Creating custom tools by hand takes a lot of time. You have to write code and sync it with your UI state. This is where a component library like Kendo UI for Angular helps. And now, with native preview WebMCP support through the @progress/kendo-angular-webmcp, Kendo UI components are ready for AI agents immediately.
You do not need to write custom JSON schemas for sorting or filtering. You just add a directive to your component:
<kendo-grid [kendoWebMcp]="{ dataName: 'players' }">
  <!-- Grid columns -->
</kendo-grid>
When you add the kendoWebMcp directive to a component like the Kendo UI Grid:
- The directive checks active features, such as
[sortable]="true"or[filterable]="true". - It registers tools into the browser context, such as
players-sort-columnorplayers-filter. - When an AI agent calls one of these tools, the directive calls the internal Grid methods. Angular reacts, updates the state and refreshes the view.
To test these tools, Progress provides the Telerik & Kendo UI WebMCP Browser Extension. It gives you a chat panel right in your browser. Before we write any code, we need to make sure our browser can actually understand these new WebMCP commands.
Progress also offers preview React WebMCP tools and Blazor WebMCP tools. Progress WebMCP integration tools are preview features because WebMCP is still a proposed web standard that only works in limited situations. In a quickly evolving ecosystem, support may also be limited.
Preparing Your Browser
Because WebMCP is a newly proposed web standard, we need two quick setup steps before we start:
1. Enable the Browser Flag
WebMCP currently runs behind a flag in Chromium browsers (Google Chrome or Microsoft Edge).
- Open your browser and go to:
chrome://flags/#enable-webmcp-testing - Set the flag to Enabled.
- Click Relaunch at the bottom of the window.
2. Install and Configure the Telerik WebMCP Extension
- Install the Telerik & Kendo UI WebMCP Extension from the Chrome Web Store.
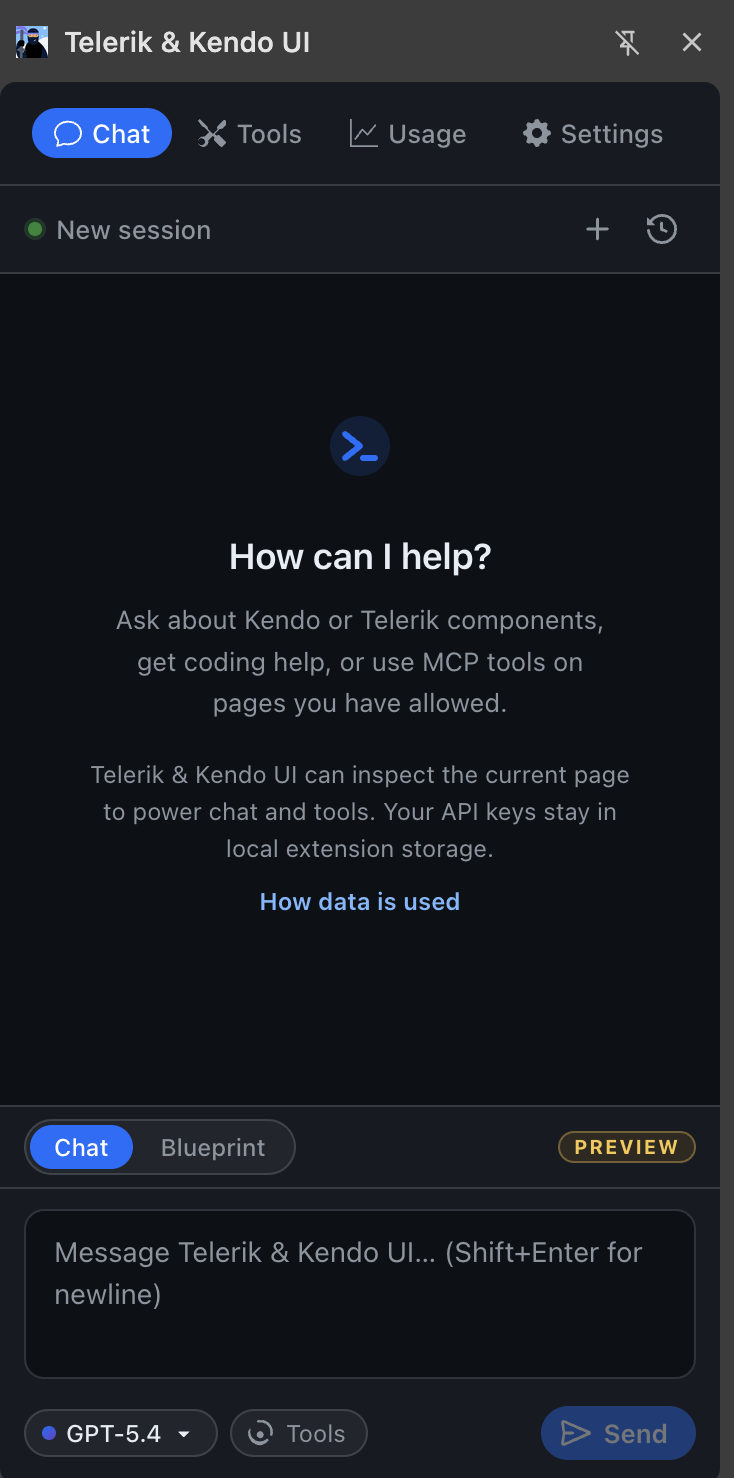
The extension acts as a bridge between the browser and an LLM (Large Language Model) to interpret natural language commands. You need to configure it with an API key from an AI provider (such as Anthropic, Google Gemini or OpenAI).
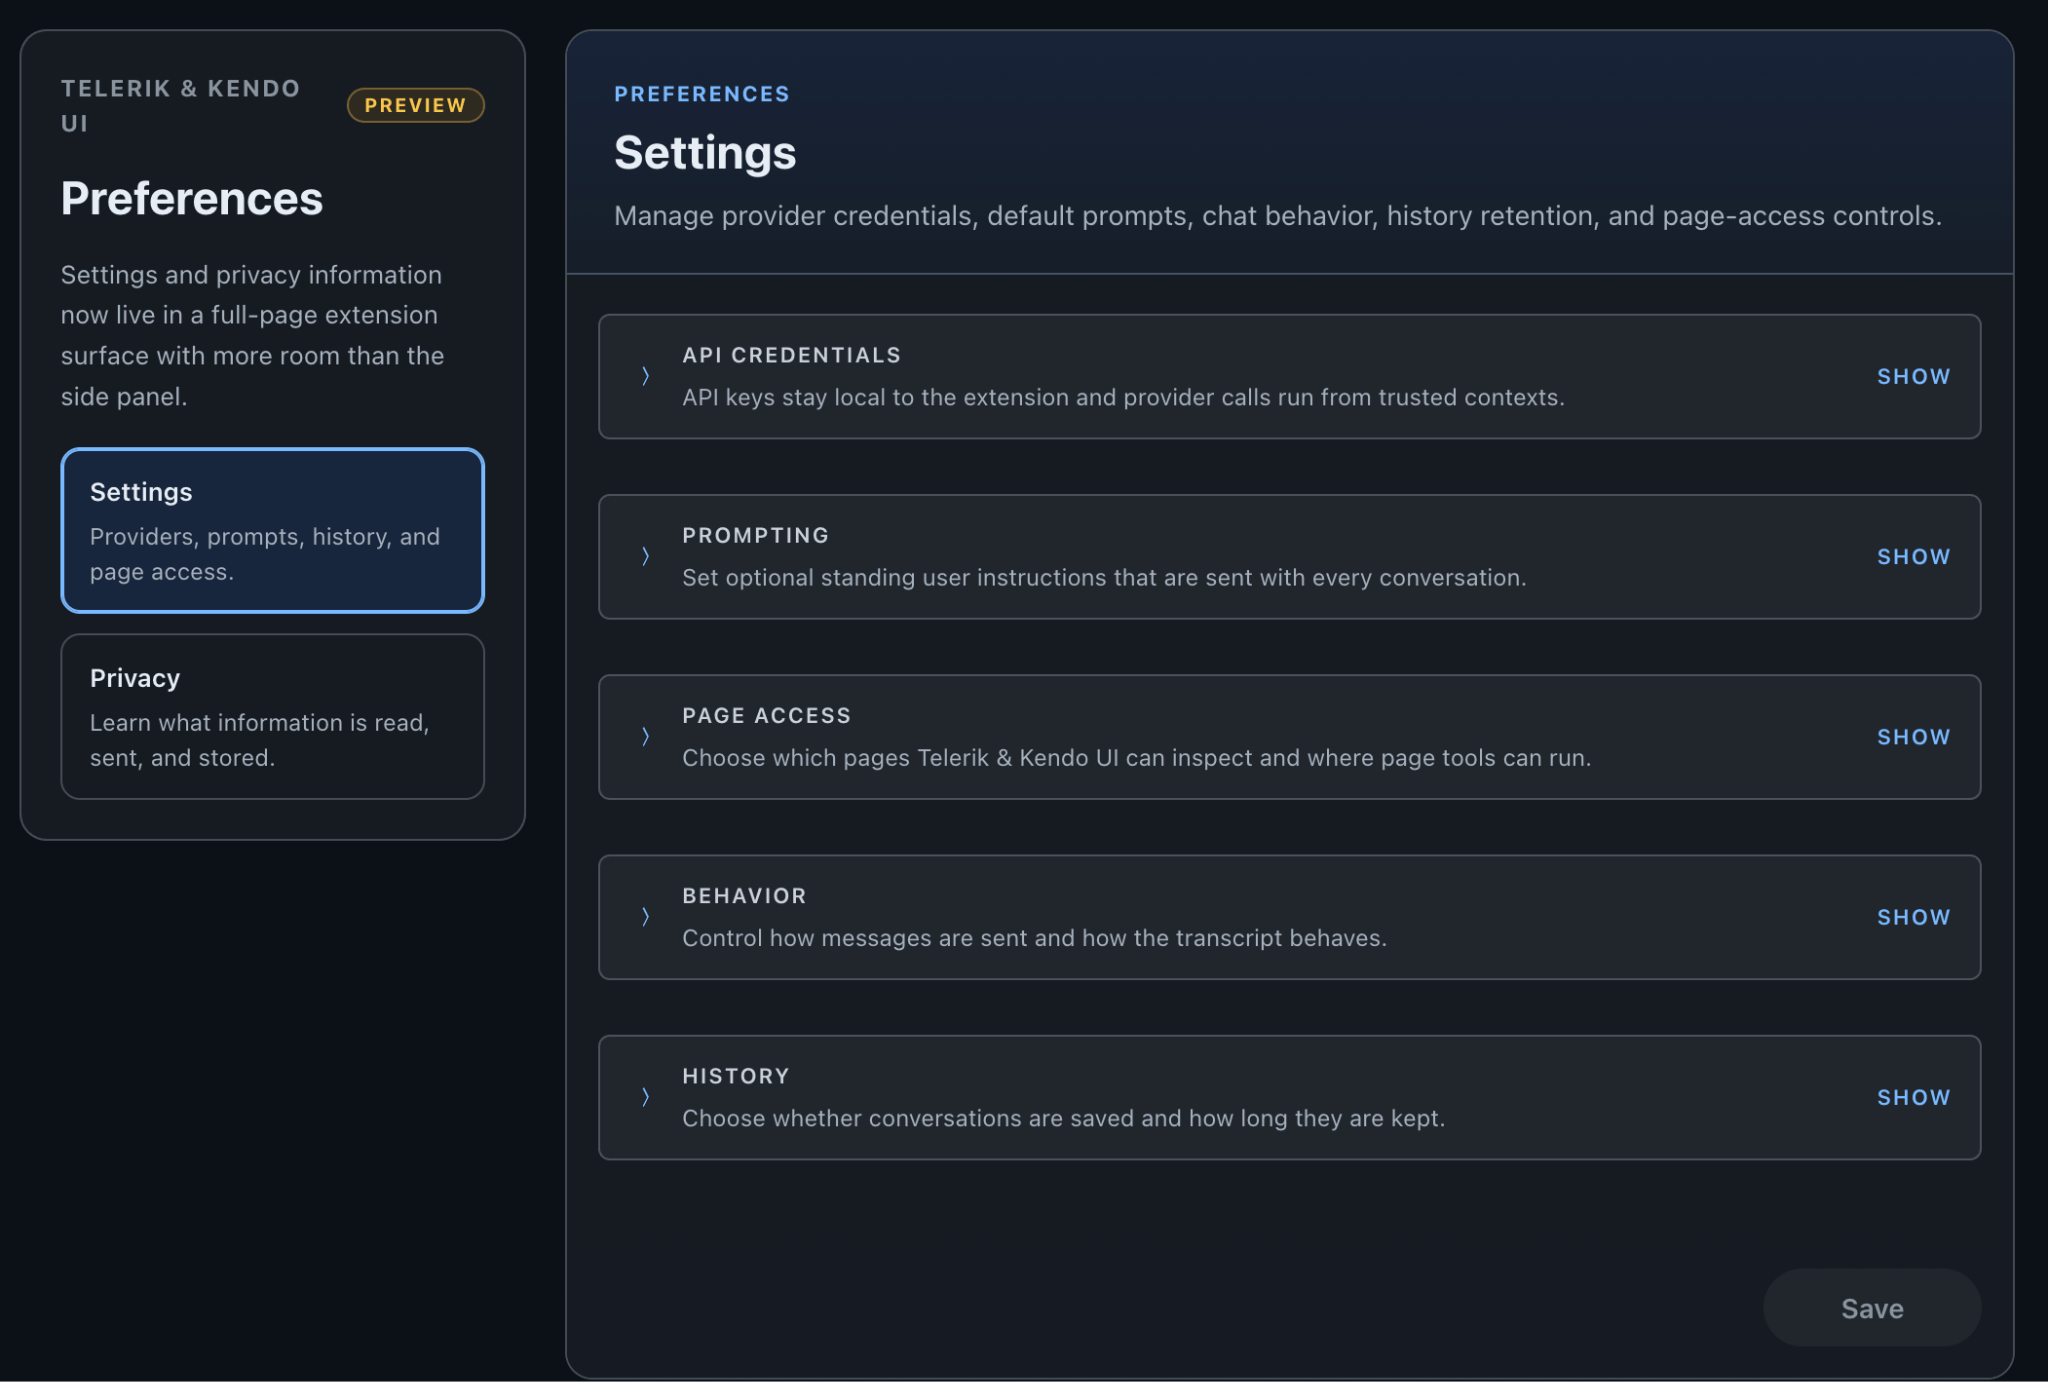
Open the extension settings (the gear icon), choose your preferred provider and paste your API key.
(Recommended): In the same settings menu under “Behavior,” turn on Auto-approve tool calls. This makes the chat experience much smoother because the AI won’t ask for permission every time it wants to update the Grid.
Once configured, you can open the chat panel, select your desired model and start typing prompts!
Warning: WebMCP and this extension are currently experimental. If you get an API error, just switch to Anthropic or OpenAI in the settings.
Now your browser is fully ready! With the environment configured, we are ready to dive into the code and see this in action.
The Starting Point: Our Existing NBA Scout Dashboard
In the real world, we rarely build applications from scratch just to support AI agents. Usually, we already have production applications.
Let’s look at our existing application: an NBA Scout Dashboard. Basketball scouts use it to review player statistics.
Follow: The complete source code is available on GitHub. You can clone the
starterbranch to follow this tutorial step by step, or switch to themainbranch to see the final code.
To follow along, open your terminal and clone the starter branch of the repository:
git clone -b starter https://github.com/danywalls/webmcp-kendo-angular.git
cd webmcp-kendo-angular
npm install
The data model in src/app/player.model.ts looks like this:
export interface Player {
  id: number;
  name: string;
  team: string;
  conference: 'East' | 'West';
  position: 'PG' | 'SG' | 'SF' | 'PF' | 'C';
  ppg: number;
  rpg: number;
  apg: number;
  status: 'Active' | 'Day-to-Day' | 'Injured';
}

export const NBA_PLAYERS: Player[] = [
  { id: 1, name: 'Luka Doncic', team: 'Mavericks', conference: 'West', position: 'PG', ppg: 33.9, rpg: 9.2, apg: 9.8, status: 'Active' },
  // ... more players
];
The component in src/app/app.ts is a modern standalone Angular component using KENDO_GRID:
import { Component, signal } from '@angular/core';
import { KENDO_GRID } from '@progress/kendo-angular-grid';
import { Player, NBA_PLAYERS } from './player.model';

@Component({
  selector: 'app-root',
  standalone: true,
  imports: [KENDO_GRID],
  templateUrl: './app.html',
  styleUrl: './app.css'
})
export class App {
  players = signal<Player[]>(NBA_PLAYERS);
}
And here is the template in src/app/app.html:
<main class="dashboard-container">
  <header class="dashboard-header">
    <h1>NBA Scout Intelligence Dashboard</h1>
    <p>Powered by Angular and Kendo UI</p>
  </header>

  <section class="grid-wrapper">
    <kendo-grid
      [kendoGridBinding]="players()"
      [sortable]="true"
      [filterable]="true"
    >
      <kendo-grid-column field="name" title="Player Name" [width]="200"></kendo-grid-column>
      <kendo-grid-column field="team" title="Team" [width]="130"></kendo-grid-column>
      <kendo-grid-column field="conference" title="Conf" [width]="90"></kendo-grid-column>
      <kendo-grid-column field="position" title="Pos" [width]="90"></kendo-grid-column>
      <kendo-grid-column field="ppg" title="PPG" filter="numeric" [width]="100"></kendo-grid-column>
      <kendo-grid-column field="rpg" title="RPG" filter="numeric" [width]="100"></kendo-grid-column>
      <kendo-grid-column field="apg" title="APG" filter="numeric" [width]="100"></kendo-grid-column>
      <kendo-grid-column field="status" title="Status" [width]="130">
        <ng-template kendoGridCellTemplate let-dataItem>
          <span [class]="'badge badge-' + dataItem.status.toLowerCase().replace(' ', '-')">
            {{ dataItem.status }}
          </span>
        </ng-template>
      </kendo-grid-column>
    </kendo-grid>
  </section>
</main>
Start the application by running this command:
npm start
Testing the App as a Human User
If you open http://localhost:4200 in your browser right now, you’ll see a fully functional grid. Click the column headers to sort the data, or open the filter menus to find specific players. For us humans, the dashboard works perfectly and is ready to use. But what happens when an AI agent tries to do the exact same thing? Let’s find out.
The Problem: How an AI Agent Sees Our App Today
Now, open the Telerik & Kendo UI WebMCP Extension in your browser toolbar and click the Tools tab.
You will see: No tools available.
Because we did not register any tools, the AI agent has no direct way to interact with the grid. If you ask the agent to “Show me point guards with more than 25 PPG”, it has to guess the HTML structure. If the grid layout changes, the agent fails.
What problem does this solve for us as developers? We want our existing application to tell the agent exactly what it can do, without rewriting all our code.
So, how do we bridge this gap and give the AI the exact tools it needs? Let’s make this app agent-ready in just three simple steps.
Making the Existing Application Agent-Ready
So far, we have tested our dashboard and seen the problem. Now, let’s fix it in three simple steps.
Install @progress/kendo-angular-webmcp
Stop your development server and run this command:
npm install @progress/kendo-angular-webmcp
This installs the Kendo UI WebMCP package.
Step 2: Import KENDO_WEBMCP in the Component
Open src/app/app.ts. Import KENDO_WEBMCP and add it to the imports array:
// Update src/app/app.ts
import { Component, signal } from '@angular/core';
import { KENDO_GRID } from '@progress/kendo-angular-grid';
import { KENDO_WEBMCP } from '@progress/kendo-angular-webmcp';
import { Player, NBA_PLAYERS } from './player.model';

@Component({
  selector: 'app-root',
  standalone: true,
  imports: [KENDO_GRID, KENDO_WEBMCP],
  templateUrl: './app.html',
  styleUrl: './app.css'
})
export class App {
  players = signal<Player[]>(NBA_PLAYERS);
}
Add the kendoWebMcp Directive to the Grid
Open src/app/app.html. Update the <kendo-grid> tag to include [kendoWebMcp]:
<!-- Update src/app/app.html -->
<kendo-grid
  [kendoGridBinding]="players()"
  [sortable]="true"
  [filterable]="true"
  [kendoWebMcp]="{ dataName: 'players' }"
>
What Just Happened Here?
With just [kendoWebMcp]="{ dataName: 'players' }", Kendo UI checks your grid features. Because [sortable]="true" and [filterable]="true" are on, it automatically creates a list of tools like:
players-sort-column: Lets the agent sort any column.players-filter: Lets the agent filter columns (e.g., greater than, equal to).players-highlight: Lets the agent visually highlight specific rows.
Notice what we did not do. We did not write complex JSON schemas. We did not change our Angular signals. It just works. Now that our grid is exposing these tools natively, it is time to put the AI agent to the test.
Interacting with the AI Agent
Let’s see the result. Start your application again (npm start).
Verifying the Tools
- URL:
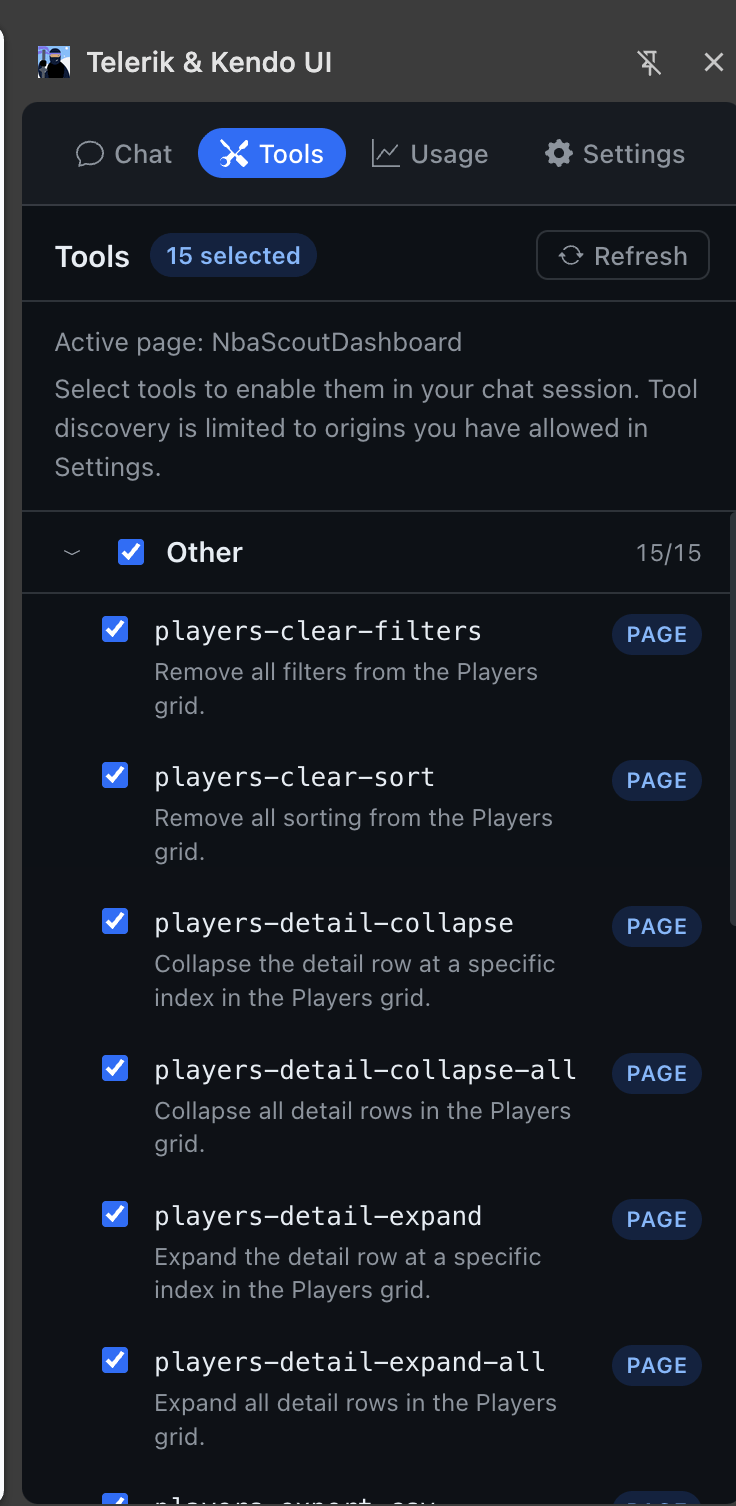
http://localhost:4200 - Action: Refresh the page. Open the Telerik WebMCP Extension and check the Tools tab.
- Expected Result: You see
players-sort-column,players-filterandplayers-highlightlisted.
Let’s test a prompt with a multi-condition filtering. In the extension chat, type:
“Show me all Western Conference PG averaging more than 25 points per game.”
Instead of clicking menus, the AI calls the players-filter tool using this JSON:
{
  "filters": [
    { "field": "conference", "operator": "eq", "value": "West" },
    { "field": "position", "operator": "eq", "value": "PG" },
    { "field": "ppg", "operator": "gt", "value": 25 }
  ]
}
The Kendo UI Grid applies the filter immediately! Luka Doncic, Shai Gilgeous-Alexander and Stephen Curry remain visible.
Next, clear the filter and try sorting and highlighting this two-step prompt:
“Clear the filter, sort players by PPG descending, and highlight any player who is currently injured.”
The agent calls two tools automatically:
players-sort-columnwith{ field: "ppg", dir: "desc" }.players-highlightmatching rows wherestatus == "Injured".
Joel Embiid and Jimmy Butler are highlighted. There is no guessing HTML structure. It is fast and reliable.
Play with it and see how the AI manipulates the UI like magic!
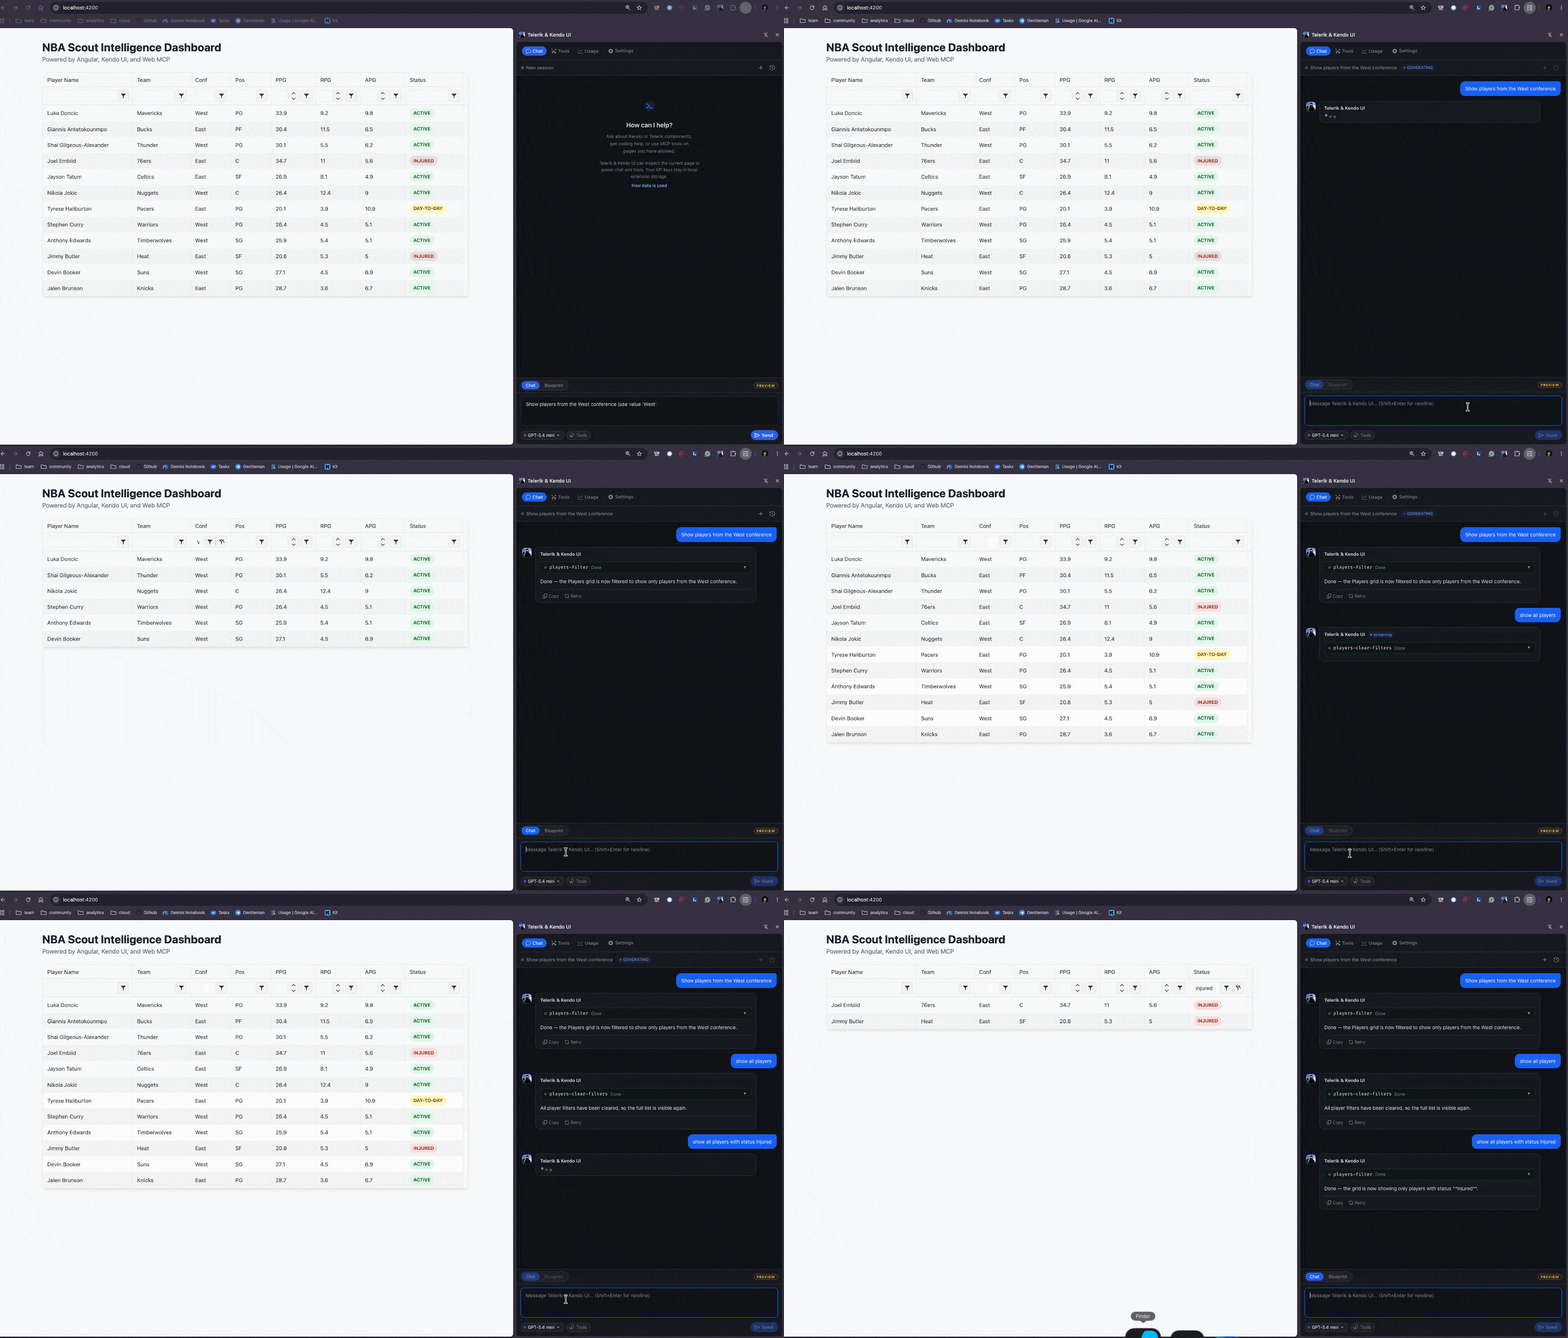
But what does this mean for us architecturally?
This update to WebMCP brings a few key points to improve our app’s interactions with agents:
- Instead of an agent taking heavy screenshots or a scraping agent reading massive HTML blocks, WebMCP only uses small JSON payloads. This saves money, time and tokens!
- WebMCP helps provide stable interactions. UI designs and CSS classes can change often, so if an agent relies on HTML tags like
.k-grid-table > tr, it will break. WebMCP creates a clear contract. You can change your CSS without breaking the AI agent. - The best part is the native Angular support, because Kendo UI for Angular components are created natively with Angular. When the AI agent calls a tool, Kendo UI updates the grid properly.
This all sounds great, but of course not everything in preview is perfect yet, and WebMCP brings some trade-offs to keep in mind:
- Experimental specification: WebMCP is still an experimental draft. The API might change before becoming a final standard.
- Browser setup required: Users currently need to enable a browser flag and install an extension. In the future, browsers will support this natively.
- Client-side security: Tools run in the browser session. Always validate inputs and check permissions on your backend server.
Despite these early-stage trade-offs, the future of AI-driven web apps is incredibly and amazing.
Recap
WebMCP gives AI agents a more reliable way to interact with your web applications. In this guide, we explored what WebMCP is and why standard web apps are hard for AI agents to use.
Then, we solved this problem using @progress/kendo-angular-webmcp. With a simple directive, we made our app agent-ready and watched an AI agent sort, filter and highlight our data using natural language.
You can find the final code main branch of our GitHub repository.
Happy coding!
Remember, Telerik and Kendo UI components come with a free trial. So, go on and explore the ever-evolving AI-readiness of these well-known components for yourself.

Dany Paredes
Dany Paredes is a Google Developer Expert on Angular and Progress Champion. He loves sharing content and writing articles about Angular, TypeScript and testing on his blog and on Twitter (@danywalls).
Related Posts
Comments
All articles
Topics
Web MobileMobile
Desktop
Design
Productivity
People