React for Vue Developers, Part 4: Forms, useFormStatus and useOptimistic

Summarize with AI:
React 19 for Vue 3 Developers, Part 4: Where in Vue you use v-model and ref or use a library, React leans on the plain HTML <form> and hooks.
In Part 3 of this series we met Actions, and we saw a form call one through the action prop. This time we stay in that world and go deeper. Forms are where a lot of React 19 finally clicks, so this is the fun part.
In Vue, you already have a comfortable setup for forms. You bind inputs with v-model, you track a loading ref by hand, and for anything extra you reach for a library like VeeValidate. React 19 takes a different route. It leans on the plain HTML <form> and gives you a few small hooks that remove most of the manual work.
None of these hooks is big on its own. Put together, though, they replace a lot of the form glue you write by hand in Vue, and that is the whole point. Let’s take a look.
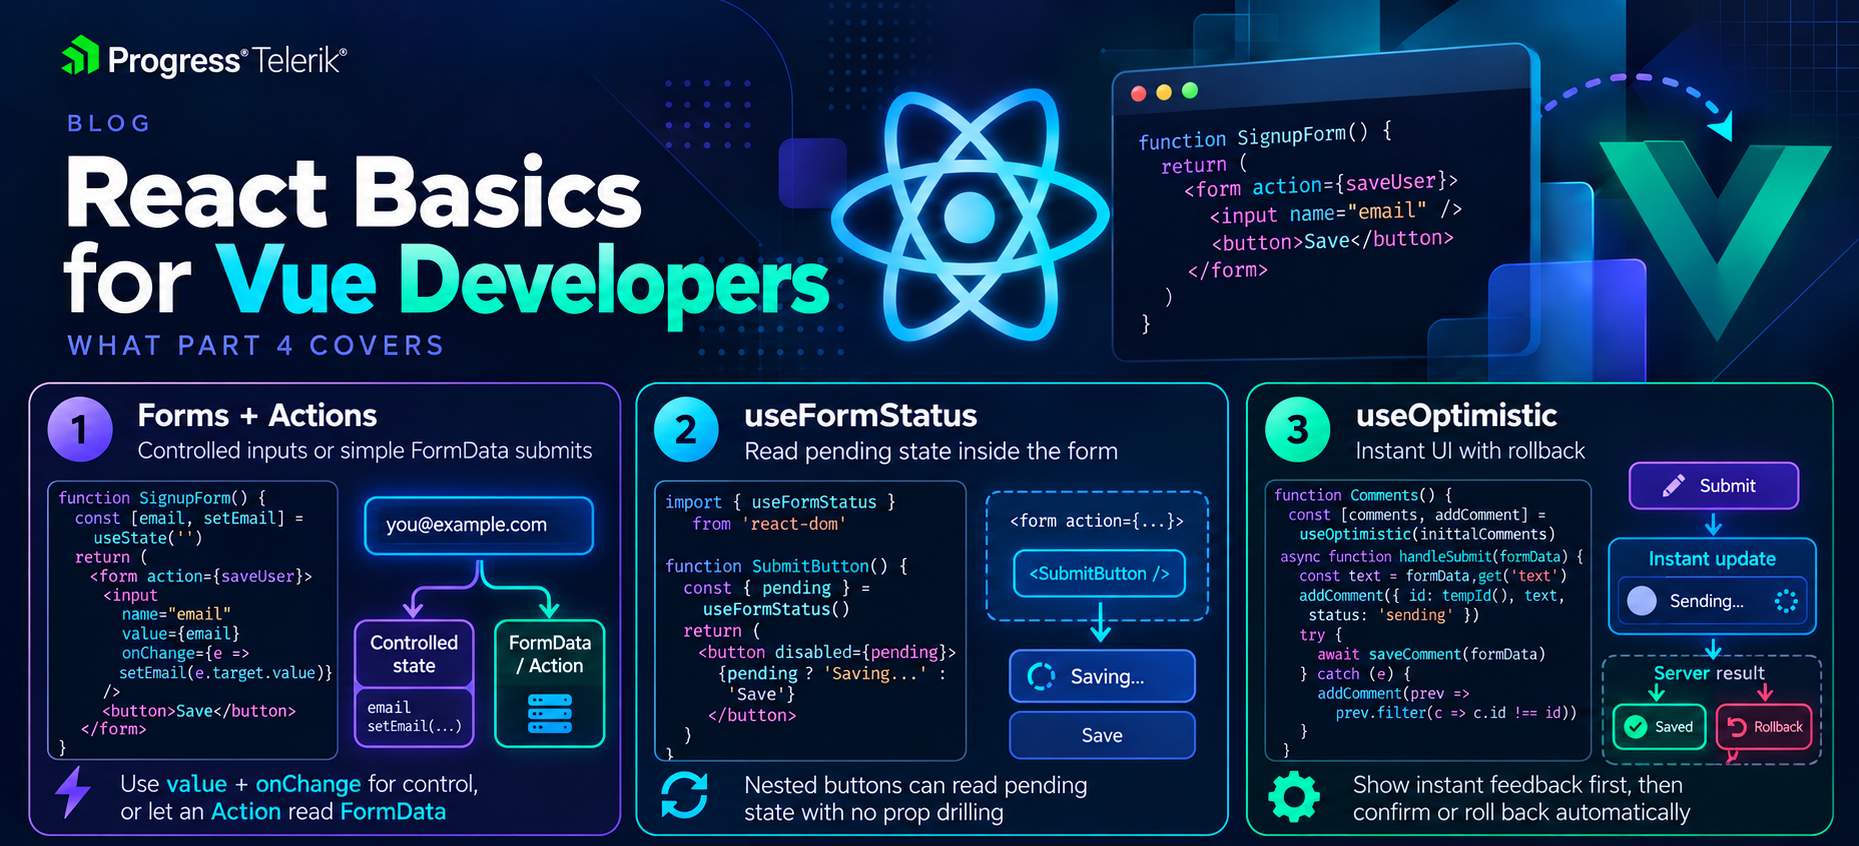
Image generated with AI
Controlled Inputs: The Manual v-model
The first thing every Vue developer misses on day one is v-model. React does not have it. There is no single attribute that both shows a value and updates it when the user types. You wire those two halves up yourself.
NameField.vue
<script setup>
import { ref } from 'vue'

const name = ref('')
</script>

<template>
  <input v-model="name" />
  <p>Hello, {{ name }}</p>
</template>
NameField.jsx
import { useState } from 'react'

function NameField() {
  const [name, setName] = useState('')

  return (
    <>
      <input value={name} onChange={(event) => setName(event.target.value)} />
      <p>Hello, {name}</p>
    </>
  )
}
Let’s break it down. In Vue, v-model does two jobs at once. It puts name into the input, and it writes the input back into name when you type. In React, you do both jobs by hand. value={name} shows the current value, and onChange runs on every keystroke and calls setName with the new text. You read the typed value from event.target.value.
An input wired up like this, where React owns the value through state, is called a controlled input. React controls what is in the box, not the browser. So v-model="name" becomes value={name} plus onChange, and that pair is something you will type a lot.
Notice this is more code than Vue for the simple case, and I won’t pretend otherwise. The upside comes later, because having the value in your own state makes validation, formatting and conditional logic very direct. You already have the value, so you just use it.
What about a form with five fields? In Vue you would add five v-model bindings and move on. A controlled approach in React means five pieces of state, one per field, each with its own value and onChange. That is a lot of wiring for a big form. It is the main reason the next pattern exists. When a form is really just “fill it in and submit,” you do not have to control every input at all.
Letting the Form Do the Work
Here is the part that surprised me coming from Vue. You do not always need controlled inputs. React 19 can read the values straight from the form when it submits, the way plain HTML always could.
Remember Actions from Part 3. When you pass a function to a form’s action prop, React calls it on submit and hands it the form’s FormData. That means you can skip the per-input state and just read the values at the end.
SignupForm.jsx
'use client'

import { useActionState } from 'react'

function SignupForm() {
  const [error, signupAction, isPending] = useActionState(
    async (previousState, formData) => {
      const email = formData.get('email')
      const response = await fetch('https://myapp.com/signup', {
        method: 'POST',
        headers: { 'Content-Type': 'application/json' },
        body: JSON.stringify({ email }),
      })
      if (!response.ok) {
        return 'Something went wrong, please try again'
      }
      return null
    },
    null
  )

  return (
    <form action={signupAction}>
      <input name="email" type="email" />
      <button disabled={isPending}>Sign up</button>
      {error && <p>{error}</p>}
    </form>
  )
}
We met useActionState in Part 3, so here is the short recap. You give it your async action and a starting state. It gives you back three things:
- The current state: I use it to hold an error message, or
nullwhen things went fine. - A wrapped action: The function you pass to the form’s
action. isPending: A boolean React sets totruewhile the action runs, then back tofalse.
Notice there is no ref for the email input. The input just has a name, and we read it with formData.get('email') when the form submits. There is also no isSubmitting flag that you flip by hand, and no try/finally. React tracks the pending state for you and clears it when the action settles.
Big disclaimer though. Uncontrolled inputs like this are great for simple submits, but the moment you need live validation as the user types, or you need to react to a value before submit, you will want controlled inputs again. Both styles are fine. Pick the one the app actually needs.
useFormStatus: Pending State Without Prop Drilling
Now, a common problem. You have a submit button, and you want it to show a spinner while the form is submitting. In the example above, that was easy because isPending lived right next to the button. But real forms get split into pieces. Your button often lives in its own small component, several layers down from the form.
In Vue, you would pass an isSubmitting prop down through each layer, or reach for provide and inject to skip the middle. React 19 gives you a hook made for exactly this. useFormStatus reads the status of the nearest <form> above it, with no props at all.
SubmitButton.jsx
'use client'

import { useFormStatus } from 'react-dom'

function SubmitButton() {
  const { pending } = useFormStatus()

  return (
    <button disabled={pending}>
      {pending ? 'Sending...' : 'Sign up'}
    </button>
  )
}
Let’s break it down. The button asks useFormStatus for the current form status and reads pending from it. When the parent form is submitting, pending is true, so the button disables itself and swaps its label. The button never receives a prop. It looks up the tree, finds the form it sits inside and reads the status from there.
There is one rule that trips people up, so read this twice. useFormStatus reports on the form it is inside of, not a form in the same component. So the button has to be rendered within the <form>, and it has to be its own component. If you called useFormStatus in the same component that renders the <form>, it would not see that form. Think of it like Vue’s inject. It only sees what an ancestor provides, so it has to sit below the form in the tree.
The hook comes from react-dom, not react, because it is tied to the DOM <form> element. That is an easy import to get wrong the first time.
useFormStatus gives you more than pending. It also returns:
pending:truewhile the form is submitting.data: TheFormDatabeing sent, so a child can read what the user just submitted.methodandaction: The HTTP method and the action function the form is using.
Most days, you only reach for pending. But data is handy when a nested component needs to show what is on its way to the server, like a preview of the comment someone just posted.
useOptimistic: Instant UI, Built In
The last hook is my favorite, and if you read my earlier article on Optimistic Updates with TanStack Query in Vue, the idea will feel familiar. An optimistic update shows the result right away, before the server confirms it. If the request fails, you roll back. It makes an app feel instant.
In the Vue TanStack piece, we did this through the query cache. We wrote the new value into the cache, kept a snapshot and rolled back on error. React 19 bakes the same idea into a hook called useOptimistic, and it does the rollback for you.
LikeButton.jsx
'use client'

import { useOptimistic } from 'react'

function LikeButton({ likes, likeAction }) {
  const [optimisticLikes, addOptimisticLike] = useOptimistic(
    likes,
    (current) => current + 1
  )

  const handleLike = async () => {
    addOptimisticLike()
    await likeAction()
  }

  return (
    <form action={handleLike}>
      <button>{optimisticLikes} likes</button>
    </form>
  )
}
Let’s break it down. useOptimistic takes the real value, here the likes count from the server and a function that says how to change it for the optimistic view. It gives you back two things:
optimisticLikes: The value to show. While an action is running, this is the optimistic version. The rest of the time it is the real value.addOptimisticLike: The function you call to apply the optimistic change.
When the user clicks, we call addOptimisticLike() first, so the count jumps up right away. Then we await likeAction() to tell the server. Here is the nice part. If the action fails, React throws away the optimistic value and shows the real one again. You do not write the rollback yourself, which is the piece that was always fiddly in the manual Vue version.
One thing to keep in mind about success. The count only stays up if the real likes value updates too, usually because the action returns the fresh count or the data gets refetched. When the action finishes, useOptimistic lines back up with whatever the real value is at that point. So it is not a place to store state, it is a way to show the change early while the real value catches up.
The update function is worth a second look. It receives the current value, and if you pass a value into addOptimisticLike, it receives that too. So you are not stuck with “add one.” A very common shape is a list. You show a new comment in the list the moment the user hits send, then let the server catch up. The pattern is the same as the counter. You just describe how to add the item instead of how to bump a number.
Notice that this only works while an action is running. useOptimistic is built to pair with the Actions and forms we have been using all through this article, so it fits right into the same flow.
Where Validation Lives
One honest gap before we wrap up. Vue developers often lean on VeeValidate for validation, and React does not ship anything like that. React 19 gives you the form plumbing, the pending state and optimistic updates, but it does not give you a validation library. In React, you either check values inside your action and return errors, like we did above, or you bring in a library. The common one is React Hook Form, usually with a schema tool like Zod.
Checking inside the action is nicer than it sounds. You read the values from formData, run your checks and return an error when something is off. Then you show it, exactly like the error state we used in the signup form. For more than one field, return an object keyed by field name:
async (previousState, formData) => {
  const email = formData.get('email')
  if (!email.includes('@')) {
    return { email: 'That does not look like an email' }
  }
  // save the user here, then:
  return null
}
Now error holds that object, and each input can show its own message by reading something like error?.email next to it. It is manual work, but it is easy to follow, and for a login or signup form it is all you need.
For big forms with lots of rules, a library saves you from writing every check by hand. That is where React Hook Form and Zod come in. A Vue developer who has used VeeValidate with a schema will find the ideas familiar, even though the API looks different. We will line these up properly in the next part, so I will keep it short here. For now, just know that “which validation library” is a real question you answer on a React team.
Wrapping Up
Forms are where React 19 pays off. You give up v-model and wire inputs yourself with value and onChange, which is the controlled-input pattern. For simple submits you can skip that and let the form hand you its FormData through an Action.
useFormStatus lets a nested button read the form’s pending state with no props, as long as it sits inside the form. And useOptimistic gives you instant UI with automatic rollback, the same idea as the TanStack optimistic updates you may already know from Vue, now built into React.
For the details, the React docs on useFormStatus and useOptimistic are the best place to go, and they show more of the shapes each hook returns.
Next time, we finish the series with a full cheat sheet that lines up each Vue tool next to its React counterpart. It covers routing, state management, data fetching and validation, so you have one page to keep open on the job.
Happy submitting!
Want to build a beautifully designed, feature-rich form with ease? Check out the KendoReact Form component.

Marina Mosti
Marina Mosti is a frontend web developer with over 18 years of experience in the field. She enjoys mentoring other women on JavaScript and her favorite framework, Vue, as well as writing articles and tutorials for the community. In her spare time, she enjoys playing bass, drums and video games.
Related Posts
Comments
All articles
Topics
Web MobileMobile
Desktop
Design
Productivity
People