
Docker and Angular Part 1: How to Dockerize Angular Apps

Summarize with AI:
Docker is a valuable tool for simplifying local environments and shipping containerized final products. Let’s see how to use it with Angular.
Nowadays, as developers, we’re expected to provide extra value beyond just writing code. By embracing the idea of “you build it, you own it,” we take on the responsibility of creating code that runs smoothly in production.
This not only adds value to our team but also to the solutions we deliver. And one of the key tools that empowers us to do this is Docker.
Docker is a tool that lets you package your application and all its dependencies into a “box” (container) that runs the same in any environment: your local machine, staging or production.
Think of Docker as a vault that holds your code, configuration and runtime. Once you have the image, you can run it anywhere without worrying about “it works on my machine” issues.
But I’m a Frontend Developer—Why Should I Learn Docker?
In the real world, we don’t work alone. Learning Docker is especially valuable when you work on a team that uses CI/CD pipelines and wants to deploy Angular apps to the cloud.
Using Docker makes it easy to ship reproducible builds and avoid configuration mismatches between environments.
As always, the best way to learn Docker is by doing it. Instead of memorizing commands, we’re going to apply Docker to a real-world project. We’ll take our project Kendo Store and Dockerize it step by step.
You may remember Kendo Store from previous blog posts. We built it with ease using the Progress Kendo UI for Angular library. If you want to see how it was created, you can jump back to The Best of Both Angular Worlds: Standalone & Modules Combined 💥.
Scenario
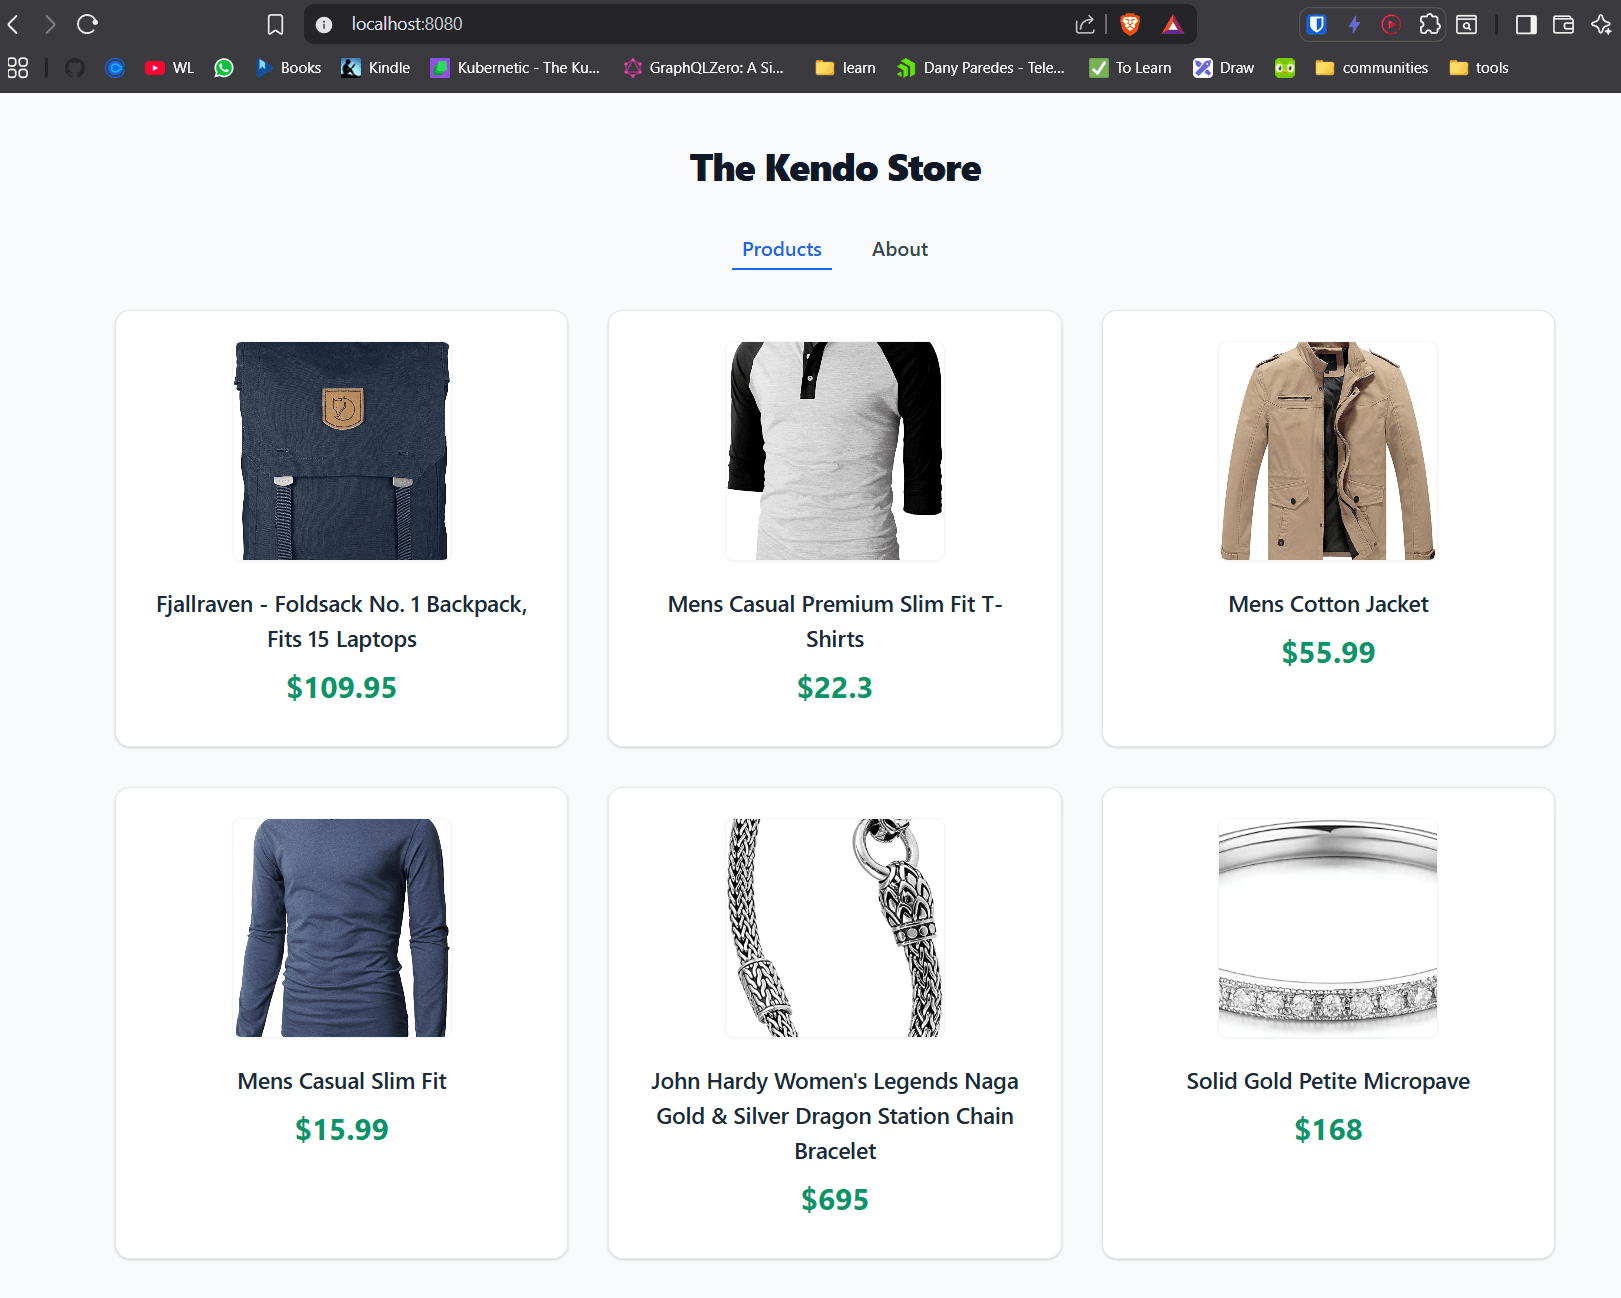
We’re going to use the Kendo Store, which is an Angular store app that fetches a list of products from the public API from https://fakestoreapi.com/ and displays them in a clean UI.
It’s the perfect candidate to learn Docker because in our jobs we often have cases with dependencies on an external API. For example, kendo-store uses environments.ts to point to the API endpoint and already works in local.
Remember that point about
enviroments.ts, because I will talk about it later.
Our goal is to take this working app and transform it into a containerized version that can run anywhere using Docker. The goal is to learn how Docker works, learn commands, use existing and create our own custom images and run them into containers.
Let’s do it!
Project Setup
Before we begin, install Docker Desktop on your machine. It registers all Docker services on your machine and is a nice UI tool to manage docker.
Yes, I know Docker Desktop has a beautiful graphical interface and many things can be done visually, but in this article to make it more fun, we will focus on using the terminal. 😄
Next, I assume you have Git and Angular CLI installed.
Let’s start by cloning the project locally:
git clone https://github.com/danywalls/dockerize-angular-app.git
Cloning into 'dockerize-angular-app'...
remote: Enumerating objects: 86, done.
remote: Counting objects: 100% (86/86), done.
remote: Compressing objects: 100% (61/61), done.
remote: Total 86 (delta 20), reused 82 (delta 16), pack-reused 0 (from 0)
Receiving objects: 100% (86/86), 149.03 KiB | 378.00 KiB/s, done.
Resolving deltas: 100% (20/20), done.
Go to the directory testing-kendo-store and install all dependencies with npm i. After that’s complete, run ng serve to see our project running.
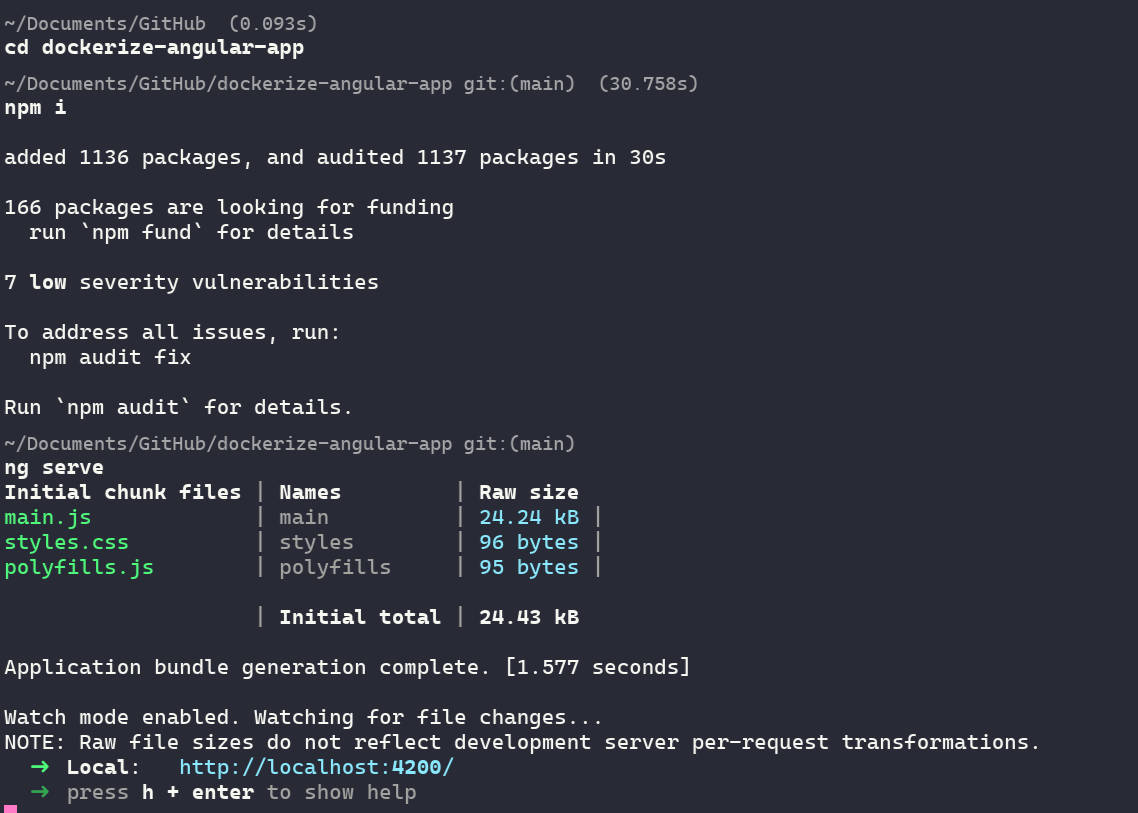
In your browser, open http://localhost:4200 and our project is up and running!

Perfect! The app that works! Let’s move our Angular app into a container by creating a docker image using the Dockerfile with commands.
Hold on a second! What is a container and an image? Who or what is a Dockerfile? Which command are we talking about?
I had the same feeling when I started playing with Docker. When someone mentioned a container, I imagined a 🗑️, and I thought images were related to art.
That’s why it’s important to understand these terms and actors before moving forward.
Container, Docker Images, Dockerfile, Docker Commands and Docker Hub 🤯
We’re going to explain some of these important concepts. Yes, it might be a bit boring and you probably just want to keep writing code, but it’s crucial to understand what they actually do for us. Instead of just copying and pasting commands, we need to know what each term means—because in the real world, they’re used often.
What Is a Docker Container?
To explain what a container is, I want you to think about our app. It needs Node.js to build and a web server to serve the app. If we want to deploy our app to production or have a teammate work on it, they would need to have Node.js installed and a web server like NGINX.
But how can I be sure they’re using the exact same version of Node required for my app? I wish I could just put everything into a box—with all the dependencies—and have them just open the box and run the app.
Well, that “box” is a container.
A container is an isolated process running our app, completely disconnected from the host. It’s self-contained and has everything it needs to run. It doesn’t rely on anything installed on the host machine, and it doesn’t need anything from other containers either.
That’s what makes it so powerful: it can run anywhere.
In the past, we’d use a virtual machine (VM), but it is a full machine with too much complexity. Containers only bring the minimal dependencies to run the app, using fewer resources.
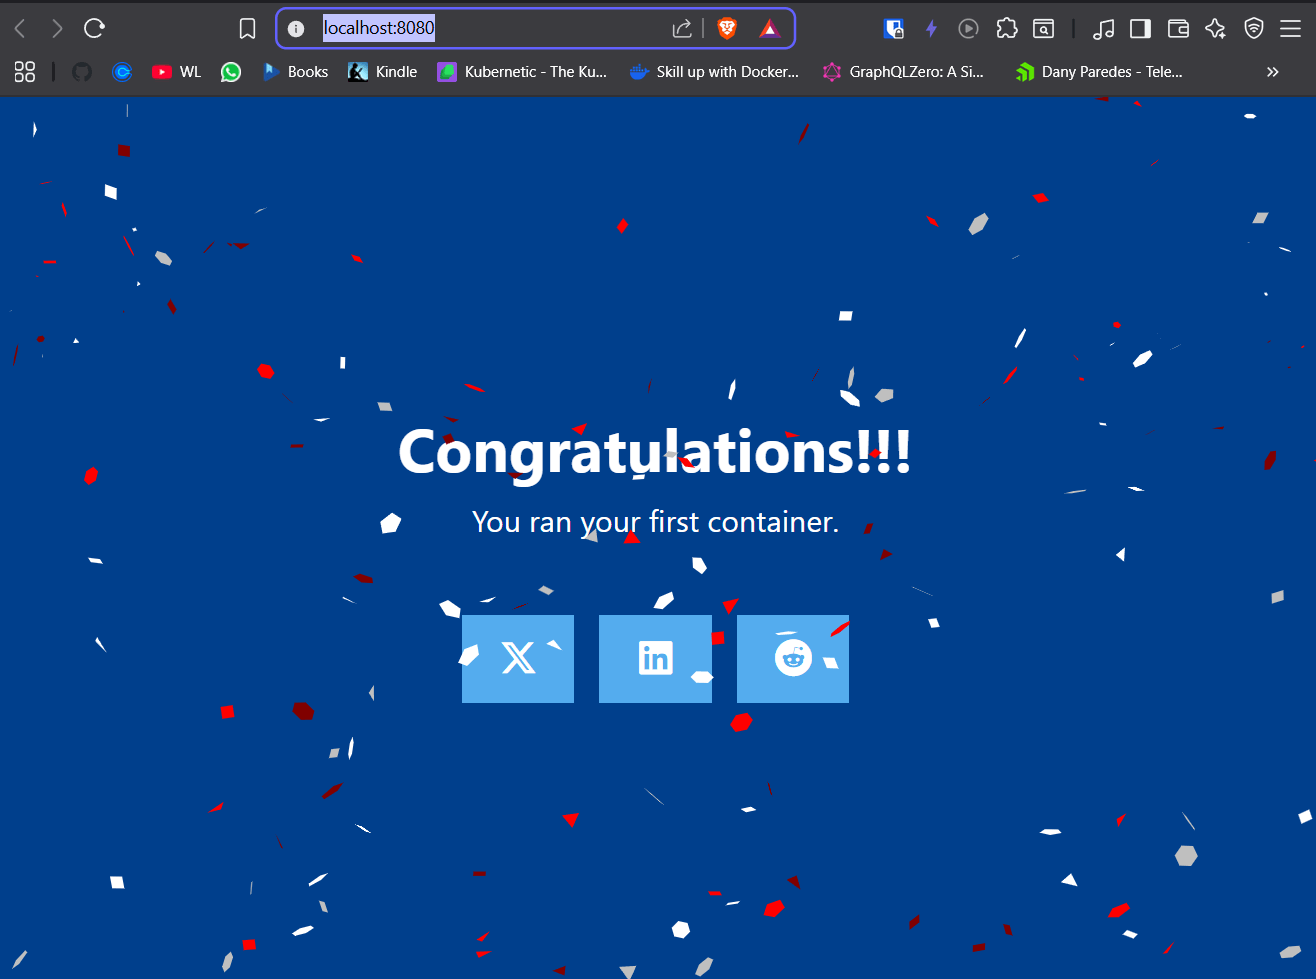
Let’s make an example, running an example container docker/welcome-to-docker, with the command docker run. We pass -d flag and -p 8080:80. The container runs a web server that displays an example website.
docker run -d -p 8080:80 docker/welcome-to-docker
0ce1c12284491e53ea7453aa8a40b73724ecfd5193ab5aac126b88d3fa11c833
Open your browser and go to localhost:8080, and tada! We ran our first container!!
Yes!! Now, how can I stop the container?
The docker/welcome-to-docker container continues to run until we stop using the docker stop command.
First, run docker ps to get the ID of the container and using the command docker stop id it stop the container:
docker ps
CONTAINER ID   IMAGE                      COMMAND                  CREATED          STATUS          PORTS                                     NAMES
0ce1c1228449   docker/welcome-to-docker   "/docker-entrypoint.…"   10 minutes ago   Up 10 minutes   0.0.0.0:8080->80/tcp, [::]:8080->80/tcp   flamboyant_nash

docker stop 0ce1c1228449
0ce1c1228449

docker ps
CONTAINER ID   IMAGE     COMMAND   CREATED   STATUS    PORTS     NAMES
Ok, it’s perfect: we learned the basics of a Docker container. Let’s move on to learn about Docker images.
What Is a Docker Image?
We ran a container, which came with a web server, code dependencies and everything ready, but how can I run multiple containers with the same config? That’s where the Docker image comes into play.
The Docker image works like a recipe from a chef. It describes everything needed to prepare a dish—the ingredients (your code, dependencies), the steps (install, build) and the environment (runtime).
Once you have the recipe (image), you can create as many identical plates (containers) as you want or need. But the Docker images have some important rules.
The Docker images are immutable, so once created they cannot be modified, but we can make a new one on top of it. Another important point is the container images are composed of layers that point to a set of changes in the file system like add, modify or remove files.
For example, we can use an existing image of Node.js to build our app or another image of ngnix to serve our app, so combine existing images to simplify our work.
We can tag our image to know the label and version.
But where do we define these images and changes? Don’t worry, the Dockerfile comes to rescue you!
The Dockerfile and Docker Commands
The Dockerfile is where you write that recipe. It works like our document where we define all the steps for building the image and running it in the container.
Each line tells Docker what to do using commands. Some of commands in our Dockerfile are:
FROM: sets the base image (we pick a base OS or platform)WORKDIR: defines the working directory inside the containerCOPY: copies files from your machine into the containerRUN: executes shell commands, like installing dependencies or building your app
There’s a huge list of commands. Take a look at the official reference to see the full list of commands.
We just want to dockerize and create a container from our app, so we don’t need to memorize each one. We need to type only a few of them. So let’s move to creating our Dockerfile.
Creating Our Dockerfile
Before writing our Dockerfile, take a look at the project dockerize-angular-app. It is a list of products provided by the products.service.ts.
import { HttpClient } from '@angular/common/http';
import { Injectable, inject } from '@angular/core';
import { environment} from "../../environments/environment";

export type Product = {
  id: string;
  title: string;
  image: string;
  price: string;
  description: string;
}

@Injectable({
  providedIn: 'root'
})
export class ProductsService {
  private http = inject(HttpClient)
  public products$ = this.http.get<Product[]>(environment.api);
  public productById = (id: string) => this.http.get<Product>(`${environment.api}/${id}`);
}
The API endpoint was declared into the environment.ts file.
export const environment = {
  api: 'https://fakestoreapi.com/products'
};
In the normal flow, delivering our app needs two steps:
- We need to build and compile it, to get the final bundle assets.
- We deliver our final assets or bundle to serve into a web server to deploy to production.
If we break down these steps, a Dockerfile needs to perform two stages:
- Compiles Angular in a temporary image
- Serves the built files using NGINX
For the first step, we need to use Node.js. But remember we learned about Docker images that instead of using an empty Ubuntu or default Node.js image and installing all dependencies, we can pick images provided by the Docker Hub community like node-alpine (like using recipes by other chefs). They’ll bring with them everything ready to run Node.js.
The second step uses an image of node:20-alpine web server, copying the assets from the first stage to the node:20-alpine to serve the Angular app.
Why do we use
node:alpineinstead ofnodeornode:20-alpine? The alpine versions are much smaller (~50 MB vs. ~400 MB), which makes your Docker image faster to build, pull and deploy. Perfect for production scenarios that only incude what’s necessary.
Writing the Dockerfile
Create an empty file named Dockerfile (without any extension). Using the commands learned before, we now combine a few of them to create our custom image.
First, we use FROM to select the base image—in our case, node:20-alpine AS builder. Then, we declare the WORKDIR with the /app to define the container where we’ll work.
Finally, we copy everything, using the COPY . . command, from our source directory and run npm ci and npm run build to generate the final bundle of our Angular app.
FROM node:20-alpine AS builder
WORKDIR /app
COPY . .
RUN npm ci
RUN npm run build
What Is AS and Why Use npm ci ?
The AS in docker makes it easy to define a stage in an image, working like a temporary environment that is removed in the final version if we don’t copy it.
So, why npm ci instead of npm install? The npm ci command is perfect for clean installs in automated environments like Docker or CI/CD pipelines. It uses the exact versions listed in your package-lock.json, making installs more predictable and reproducible—that is the key for our scenario.
Let’s move to the second step using the same command FROM to get an image of NGINX nginx:alpine. From our temporary environment (builder), we use the COPY command to take the result of the Angular build and move it to /usr/share/nginx/html, which is the default path for the NGINX web server.
FROM nginx:alpine
COPY --from=builder /app/dist/kendo-store/browser /usr/share/nginx/html
The final result looks like this:
FROM node:20-alpine AS builder
WORKDIR /app
COPY . .
RUN npm ci
RUN npm run build

# Production stage
FROM nginx:alpine
COPY --from=builder /app/dist/kendo-store/browser /usr/share/nginx/html
The final step is to build and run. So from the terminal in the same path where we created the Dockerfile, run the docker build command with the flag t to set the tag for our image and the . as the path for the dockerfile:
docker build -t testing-kendo-store .
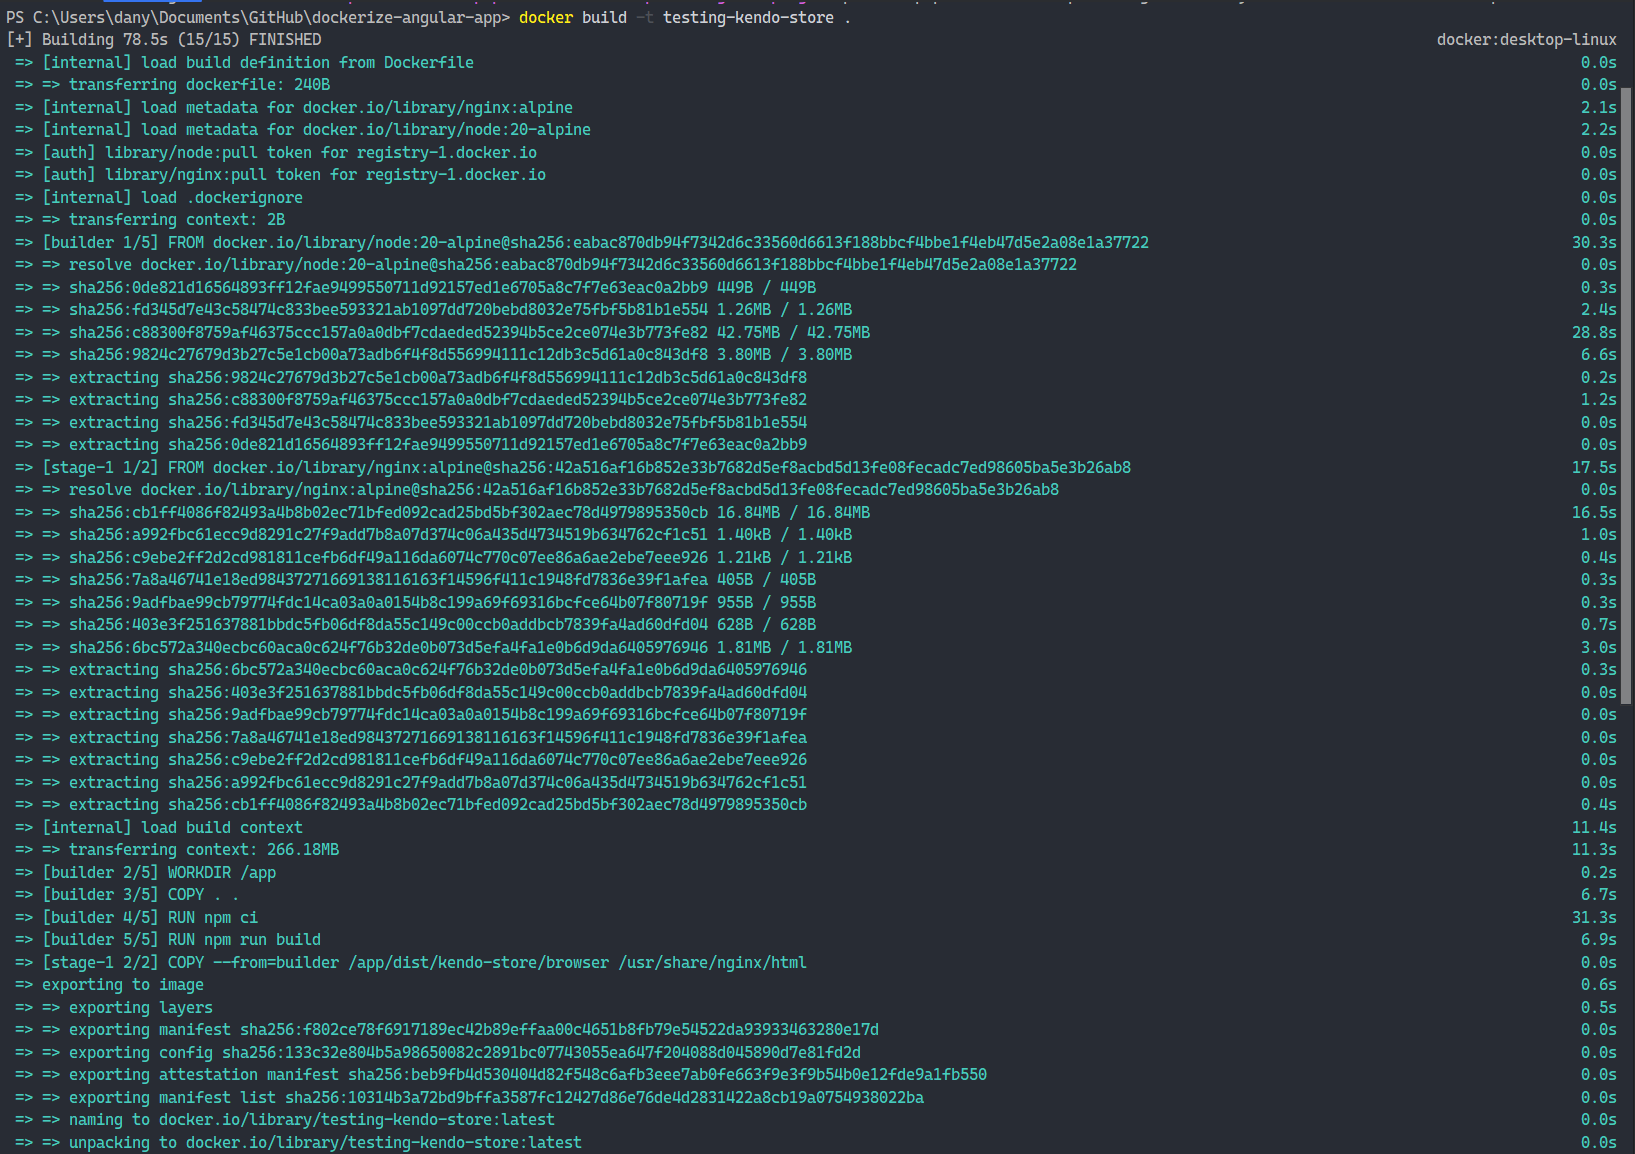
In that moment, Docker will find the images from docker.io and download the images. After it starts, the process of building, compiling and copying the assets to the image, depending on your connection, can take around a minute or two.
When finished, you can run the command docker images to see the Docker image created.
docker images
REPOSITORY            TAG       IMAGE ID       CREATED         SIZE
testing-kendo-store   latest    6a4cea8c10a2   6 seconds ago   79.6MB
Perfect. The final step is to run the container from our image with the command docker run using the flag p to set the port to 8080:80 and point the 8080 to 80 from the container.
docker run -p 8080:80 testing-kendo-store
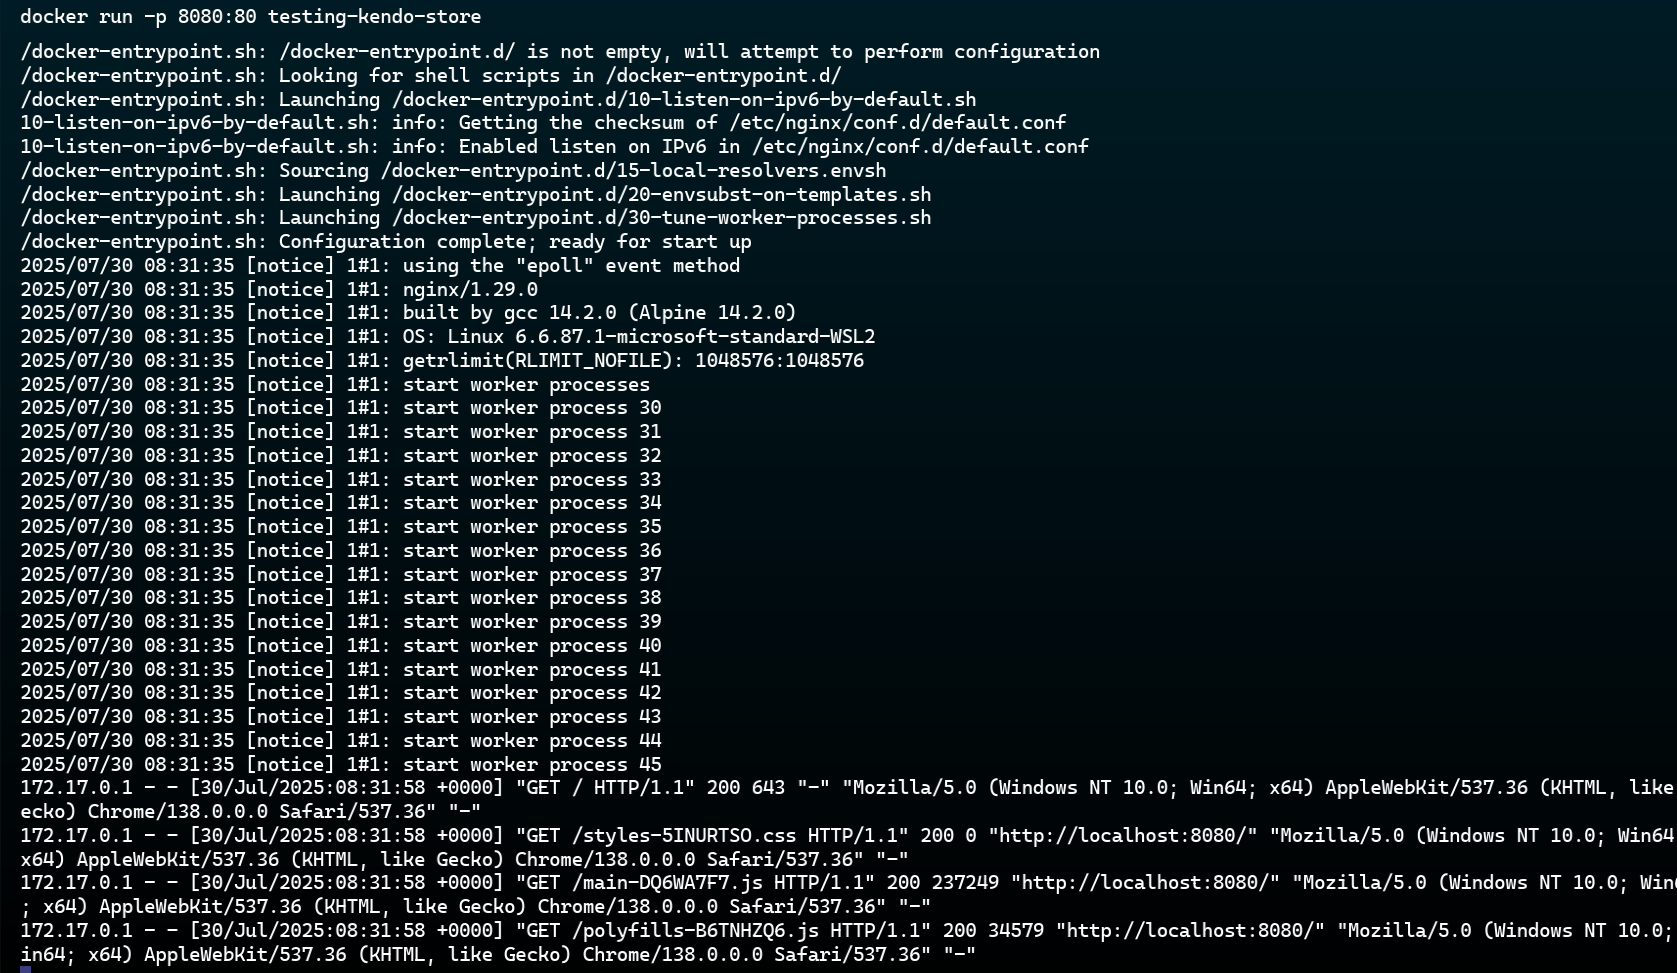
Finally, open your browser and go to http://localhost:8080—your app should be live! 🎉
Yesss! We have our Angular app in a container with Docker! Easy!! 🥳
Conclusion
We learned what Docker is and how it helps simplify our local environments. It also allows us to ship our final product inside a container that can run consistently across different environments.
We also played with some basic Docker commands and wrote our first Dockerfile to build a custom Docker image. We started by using an existing Dockerfile as a base, and extended it with our own code, built the app, and made it ready to run in a container.
You might be thinking: Great! My app is now Dockerized. But I have a few questions for you …
In the real world, we often have multiple environments—development, staging and production. What happens if we want to point to a different API endpoint instead of https://fakestoreapi.com/ set in environment.ts? Should we rebuild the image for each stage?
If my teammate Alyssa wants to run my app but use a different endpoint on her local machine or connect to an external service, should she create a new image or should I share the full source code with her?
How can I share my image without the code?
All these challenges will be addressed in the next article, where we’ll learn how to inject environment variables, how to make our container flexible and how to easily share Docker images with others! 😊
See you in the next one!
Like What You’re Seeing?Kendo UI for Angular comes with a free 30-day trial, if you want to kick the tires yourself.

Dany Paredes
Dany Paredes is a Google Developer Expert on Angular and Progress Champion. He loves sharing content and writing articles about Angular, TypeScript and testing on his blog and on Twitter (@danywalls).
Related Posts
Comments
All articles
Topics
Web MobileMobile
Desktop
Design
Productivity
People
