
Creating a Contact Form with EmailJS and Vue

Summarize with AI:
Learn how to send and receive emails using Vue and EmailJS, with Kendo UI for Vue to create a contact form with ease.
The contact form is what we use to send and receive user messages on a website. EmailJS is one of the good libraries we can use in validating our contact form to send messages using only the client-side technologies. We can integrate other email services of our choice and use the auto-reply feature.
This article will teach us how to create a contact form using EmailJS and Vue and integrate EmailJS with other email services (Gmail). To create the user interface of our contact form, we will use Progress Kendo UI for Vue.
Prerequisite
This article assumes you have a basic knowledge of creating a Vue project and how to work with forms in Vue, as this article will not explain that. However, as we will cover it in this article, you don’t need prior experience working with EmailJS.
Table of Contents
- Introduction to EmailJS
- Set up EmailJS account
- Install EmailJS in Vue project
- Create contact form
- Receive messages through the contact form
- Conclusion
Introduction to EmailJS
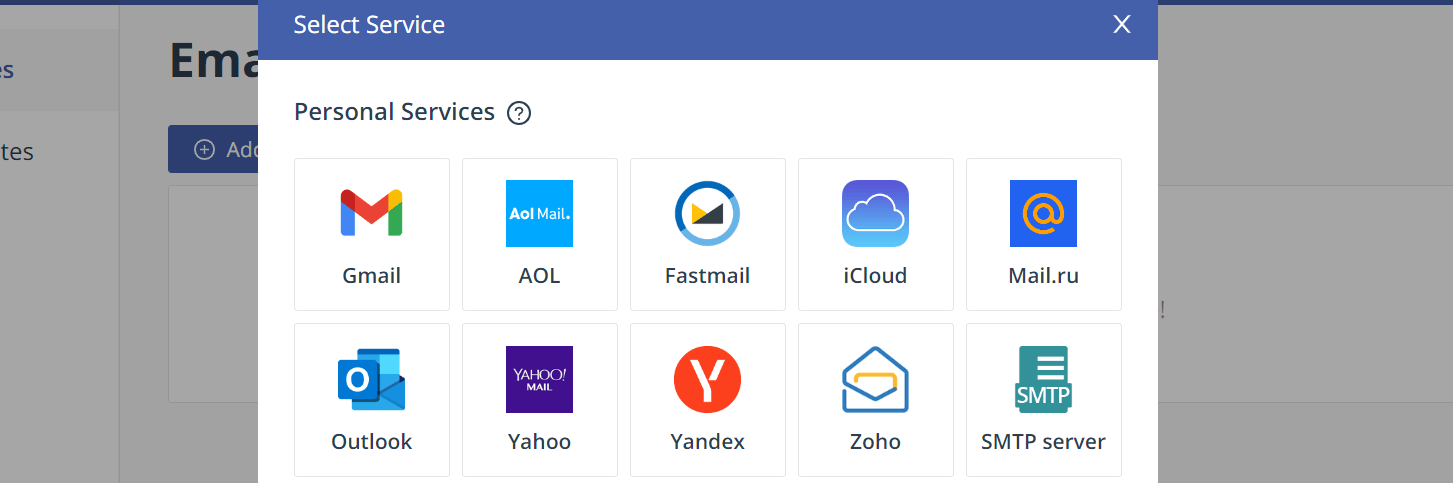
EmailJS is a library we use in sending mail using only client-side technologies. Implementing Email JS in your project is very simple, as it does not require any server. EmailJS gives you access to some of your preferred email services in your projects, such as Gmail, Yahoo, iCloud and others.
Set Up EmailJS Account
For us to use EmailJS, we will need to create an account. To do that, we will visit the website and sign up for an account.
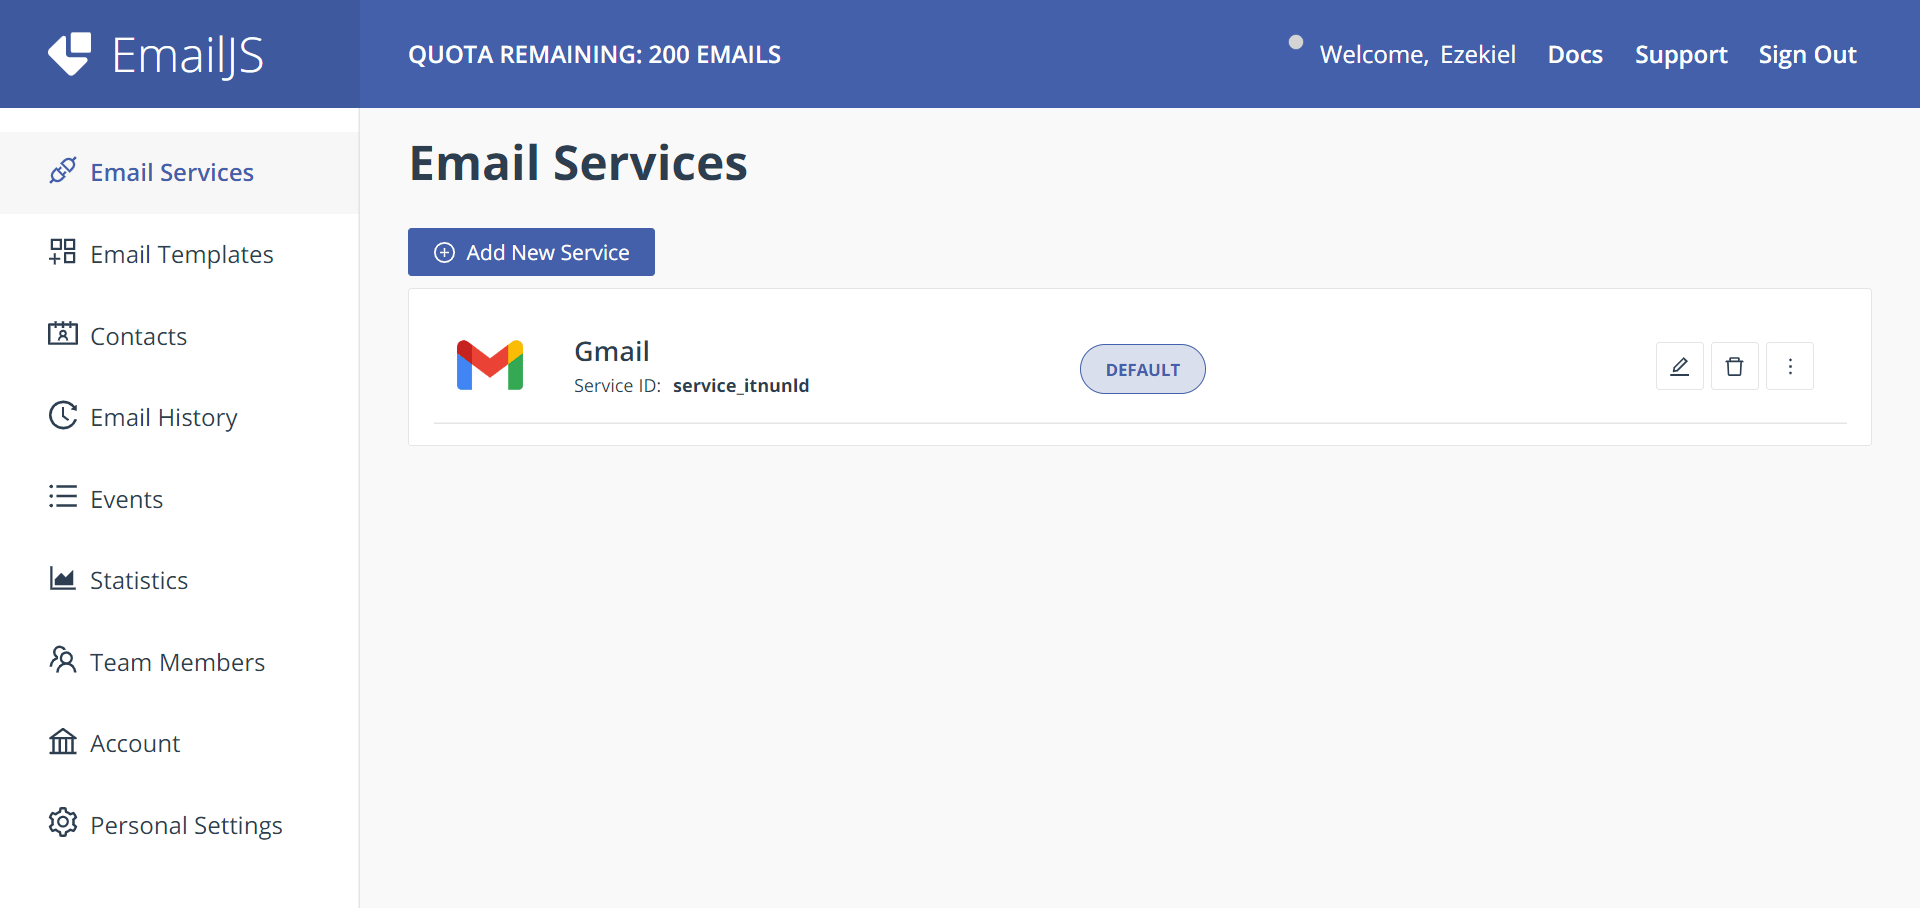
After creating an account, we will be redirected to our admin dashboard, where we can create our email template or choose our preferred email services. Next, we will select our preferred email service. In this article, we will choose Gmail for our service.
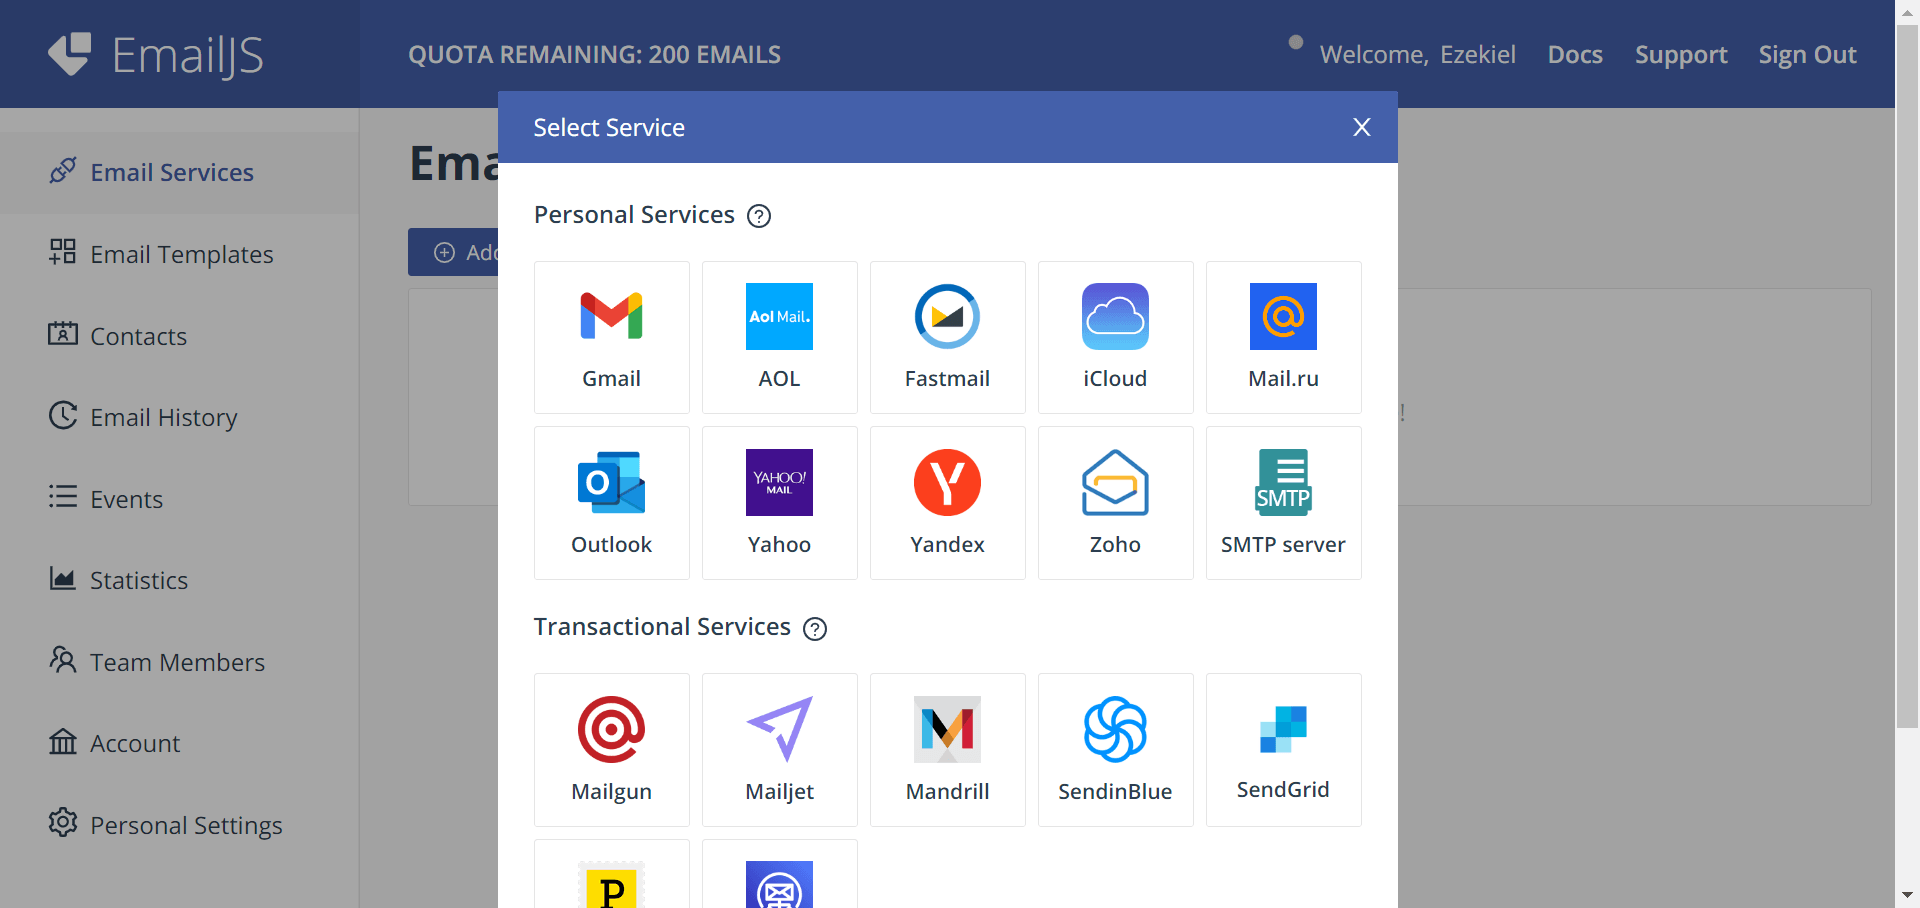
After choosing Gmail, we will get a message asking us to link the account we want to use to receive messages.
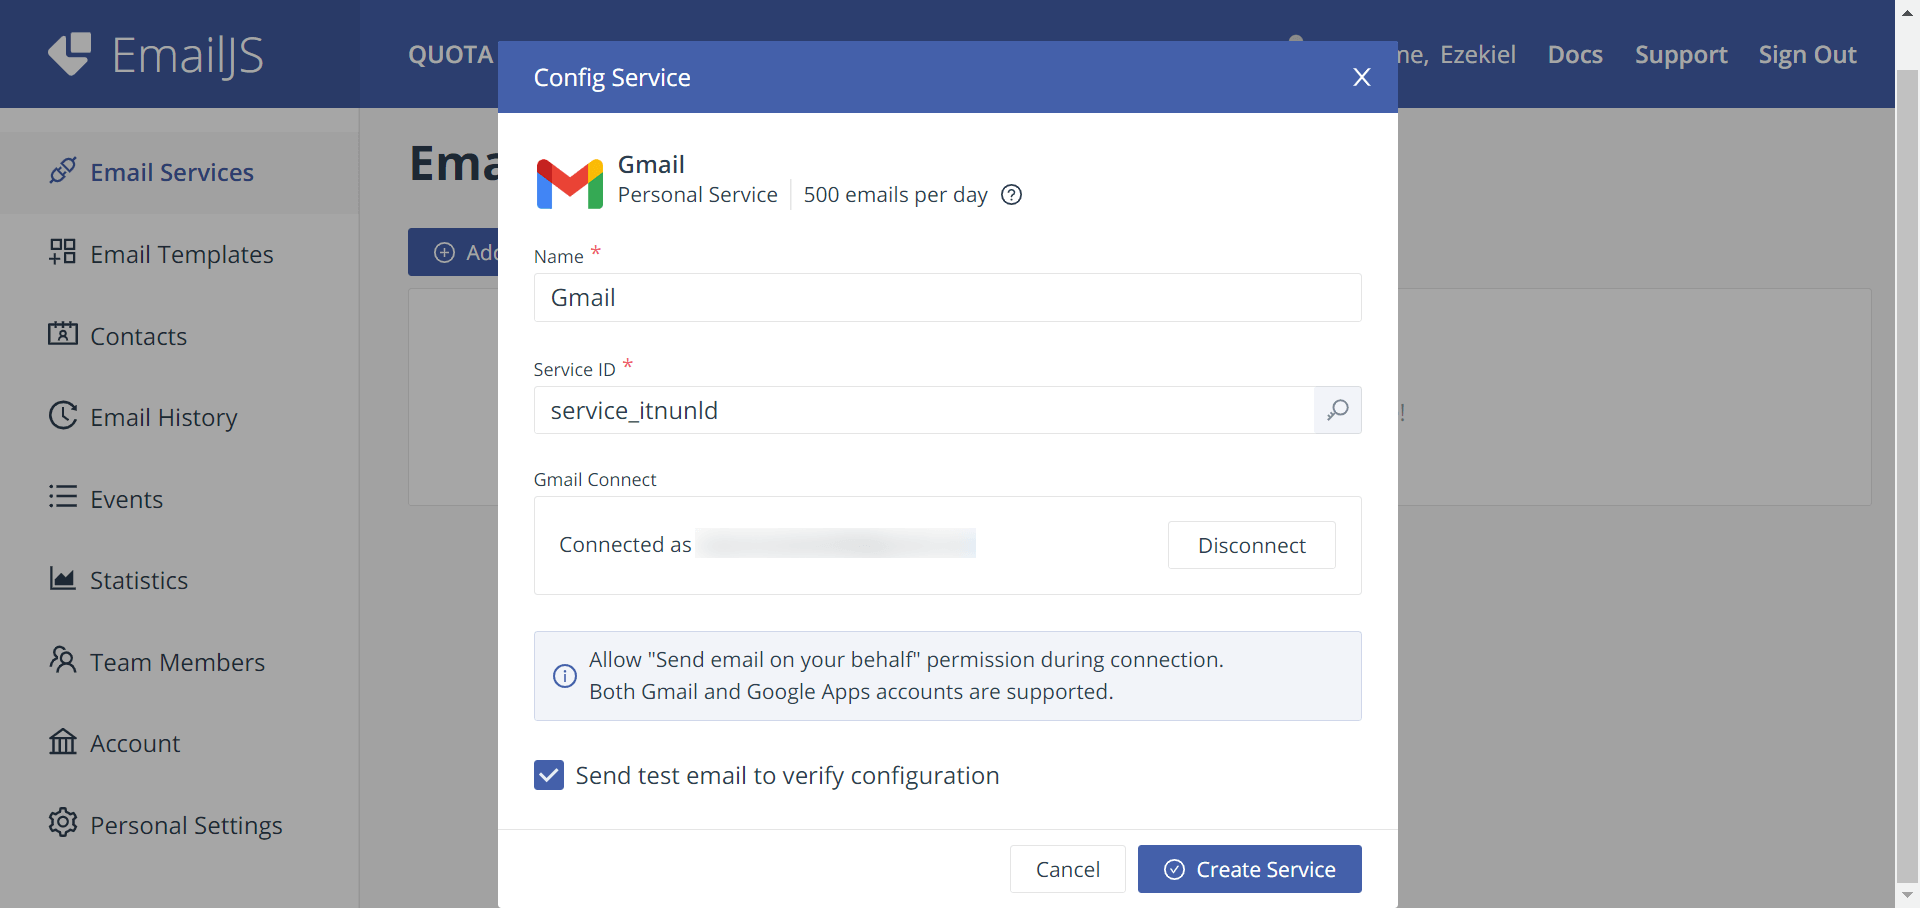
Following the completion of the account connection, we will click on “Create service” next.
Create Email Template
Our email template is the next step after we’ve finished creating our email service. One distinctive feature of EmailJS is that we can adjust the email template to suit our preferences. Let’s see how to do that in the following example.
First, we’ll head to our Dashboard and select “Email Templates” from the menu on the left.
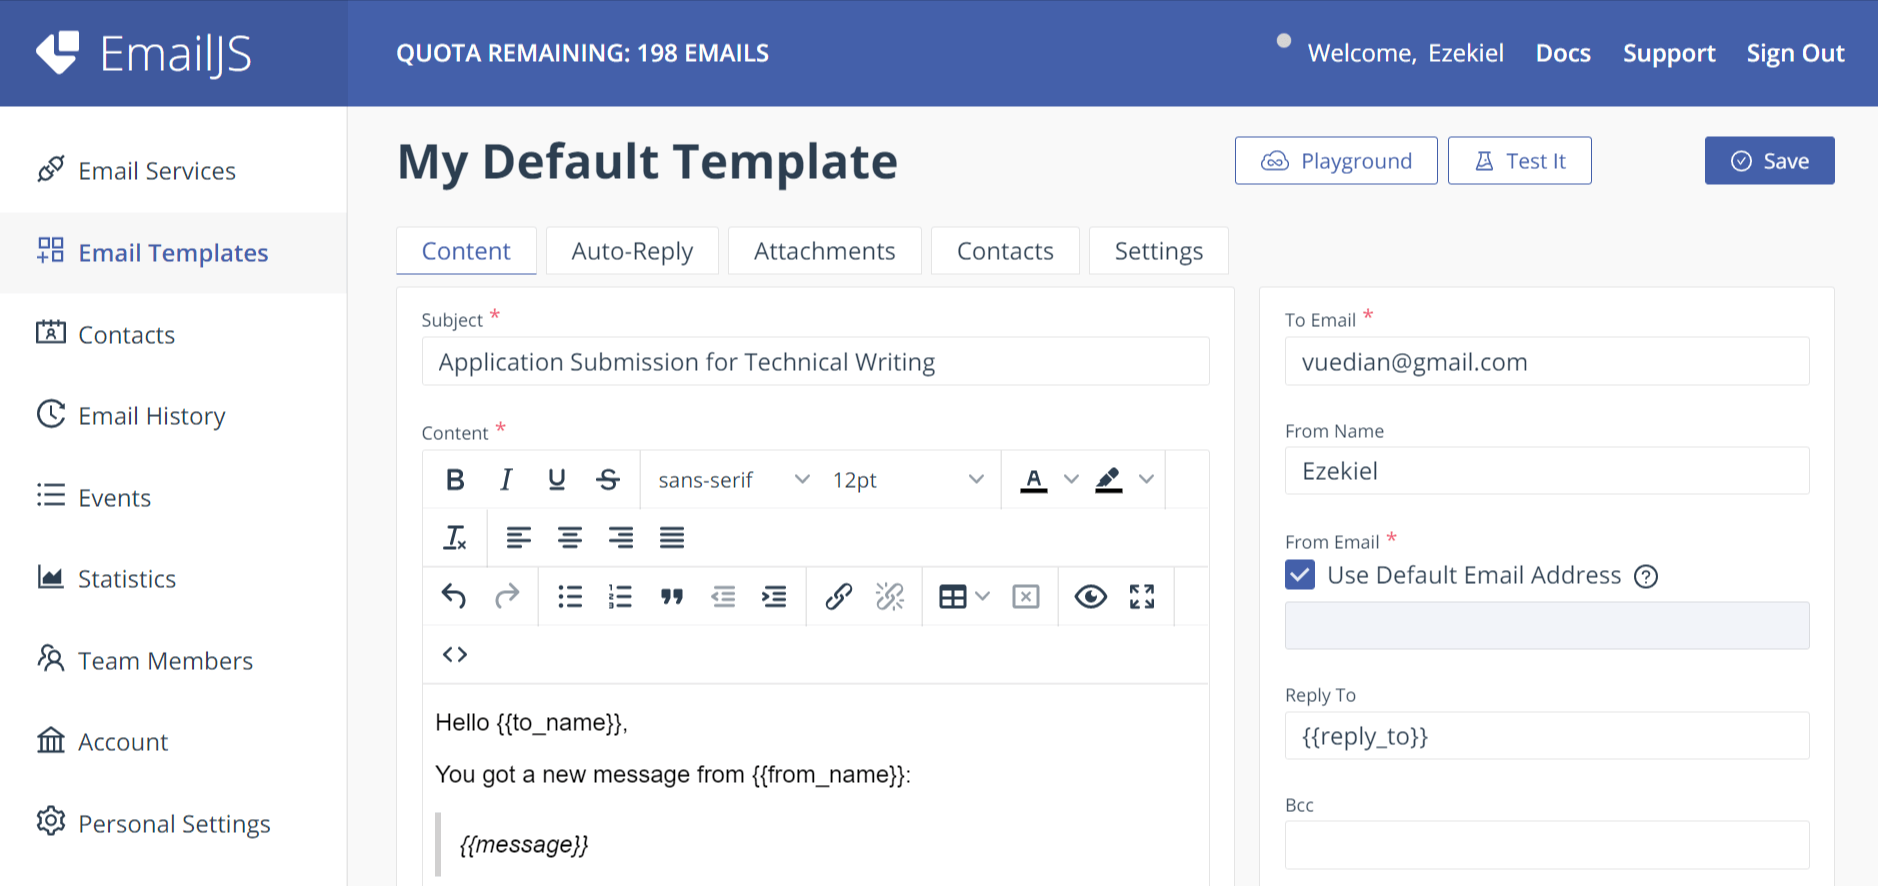
An example of our email template is shown in the image above. We can quickly modify and personalize our email template to suit our needs.
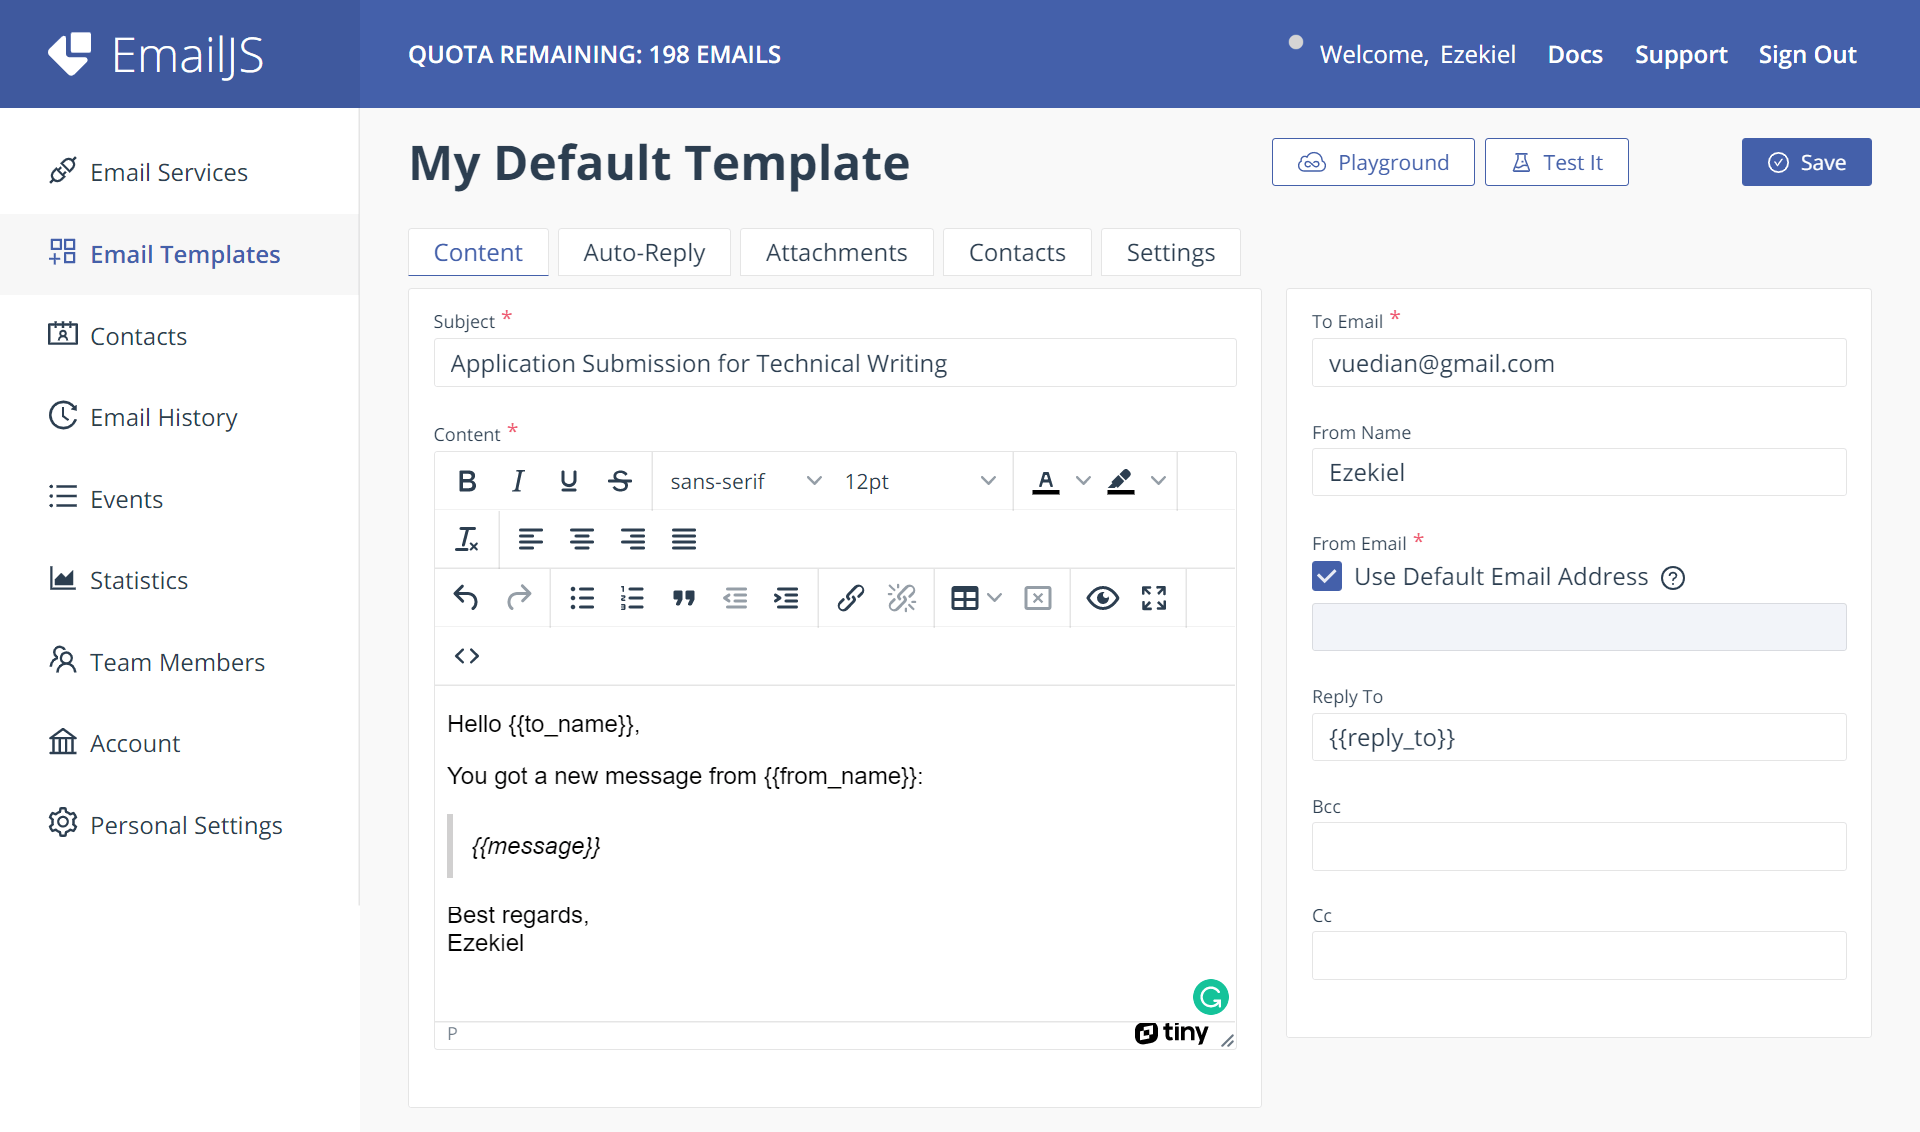
After customizing our email templates, the next step is to save the changes and click on the “Test it “ button to see the final result.
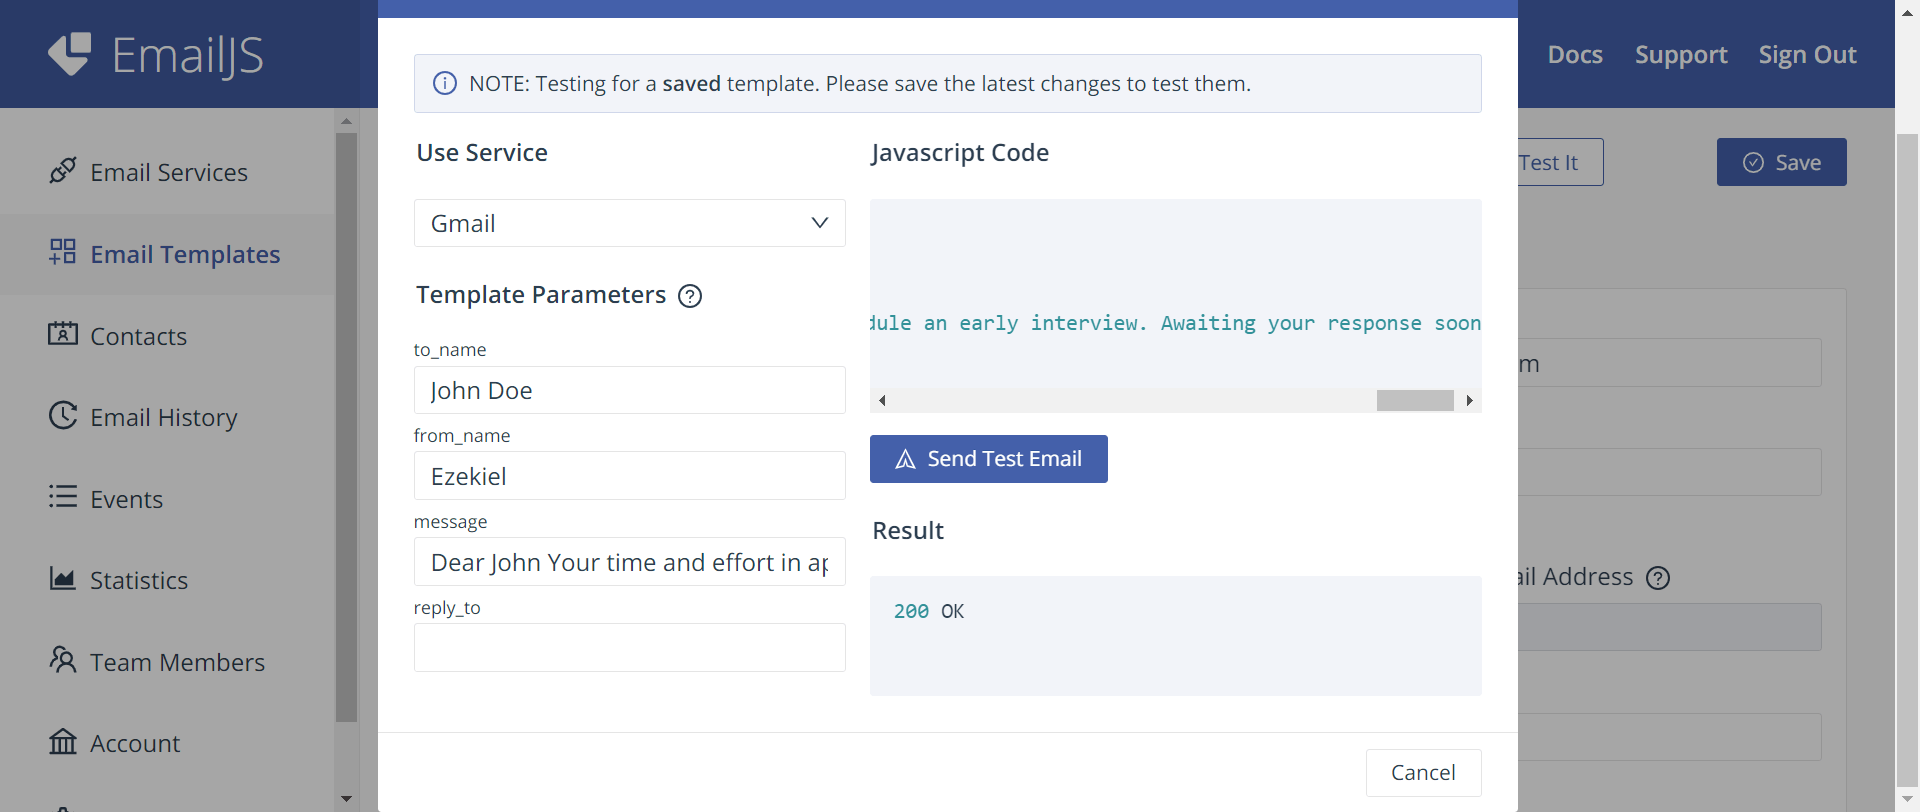
Here is the final result of sending an email using the EmailJS dashboard.
Install EmailJS in Vue Project
To install the EmailJS library in our Vue project, we will use the command below:
npm install emailjs-com --save
After installing our library, we will import the library into our component file inside the script tag:
import emailjs from 'emailjs-com'
Create Contact Form
After installing our library, we will create our contact form using Kendo UI for Vue, an extensive UI component library. To do that, we will install our form package:
npm install --save @progress/kendo-vue-inputs @progress/kendo-vue-intl @progress/kendo-licensing
After installing the packages, we will import the form inputs we need into our script tag in the form component:
import { Input } from '@progress/kendo-vue-inputs';
Here is what the code would look like after importing it:
<script>
import { Input, TextArea } from "@progress/kendo-vue-inputs";
import { Button } from "@progress/kendo-vue-buttons";
export default { components: {
    KInput: Input,
    KButton: Button,
    KTtextarea: TextArea,
  },
};
</script>
Moving forward, the next step is to create our contact form.
   <template>
  <div>
    <card class="card-section" style="width: 450px; margin: auto">
      <h1>Contact Form</h1>
      <form ref="values" @submit.prevent="sendEmail">
        <div class="form-group">
          <KInput
            class="form-input"
            :style="{ width: '290px' }"
            name="name"
            v-model="user_name"
            placeholder="Name"
          ></KInput>
        </div>
        <div class="form-group">
          <KInput
            class="form-input"
            :style="{ width: '290px' }"
            name="email"
            v-model="user_email"
            placeholder="email address"
          ></KInput>
        </div>
        <div class="form-group">
          <kTextarea
            class="form-input"
            :style="{ width: '290px' }"
            name="message"
            v-model="user_message"
            placeholder="Message"
            :rows="4"
          />
        </div>
        <div class="example-col">
          <kButton
            :style="{ width: '100px' }"
            id="submit-btn"
            >Submit form</kButton
          >
        </div>
      </form>
    </card>
  </div>
</template>
Note: Kendo UI for Vue is a commercial UI component library, and as a part of this you will need to provide a license key when you use the components in your Vue projects. You can snag a license key through a free trial or by owning a commercial license. For more information, you can head over to the Kendo UI for Vue Licensing page.
Receiving Messages Through the Contact Form
In the previous example, we saw how to send an email to someone through the EmailJS dashboard. In this example, we will see how to receive a message through our contact form.
To do that, we will create data that returns three inputs (name, email and message) and a method with a function called “sendEmail” This function will contain our data, TemplateID, ServiceID and Public Key.
<script>
import emailjs from 'emailjs-com';
import {
  Card,
} from "@progress/kendo-vue-layout";
// ES2015 module syntax
import { Input, TextArea } from "@progress/kendo-vue-inputs";
import "@progress/kendo-theme-default";
import { Button } from "@progress/kendo-vue-buttons";
export default {
  name: "CardComponent",
  components: {
    card: Card,
    KInput: Input,
    "k-textarea": TextArea,
    kbutton: Button,
  },
  data() {
    return {
      user_name: "",
      user_email: "",
      user_message: "",
    };
  },
  methods: {
    sendEmail() {
      emailjs
        .sendForm(
          "Service ID",
          "Template ID",
          "Public Key"
        )
        .then(
          (result) => {
            console.log(
              "You have successfully submitted your message",
              result.text
            );
          },
          (error) => {
            console.log(
              "This form failed to submit, please kindly check your internet connection",
              error.text
            );
          }
        );
    },
  },
};
</script>
Replace the space for the service key, template id and public key with the one we created:
.sendForm(
          "Service ID",
          "Template ID",
          "Public Key"
        )
And we’re all set!
You can check out the complete code on GitHub.
Conclusion
One of the easy-to-use JavaScript libraries for sending and receiving emails is called EmailJS. You can also personalize some of the features, such as the auto-reply options. We have learned how to send and receive emails using Vue and EmailJS in this post, and we also used Kendo UI for Vue to create our contact form with ease.

Ezekiel Lawson
Ezekiel Lawson is a technical writer and software developer. Aside from building web tools and applications, he enjoys educating people and simplifying complicated issues for their easy understanding by sharing resources that will guide developers through technical writing.
Related Posts
Comments
All articles
Topics
Web MobileMobile
Desktop
Design
Productivity
People
