Creating Accessible Apps with Semantic Properties in .NET MAUI

Summarize with AI:
Learn about the two approaches in .NET MAUI to connecting your users to accessibility features in your app’s platform—automation properties and semantics.
Generating inclusion and accessibility experiences in the applications we develop allows them to reach a larger audience, giving them a more direct and effective navigation experience. There are rules that allow us to know the factors to take into account—in this case, the Web Content Accessibility Guidelines (WCAG), which are the global accessibility standard and the reference point for the web and mobile devices, describe different ways in which applications can be made more perceptible, operable, understandable and robust to users.
In .NET MAUI, we have two approaches designed to provide the accessibility experience in applications—by using either semantic properties or automation properties. In this article, we will see each of them as well as explore some of its attached properties.
Accessibility Experience Approaches
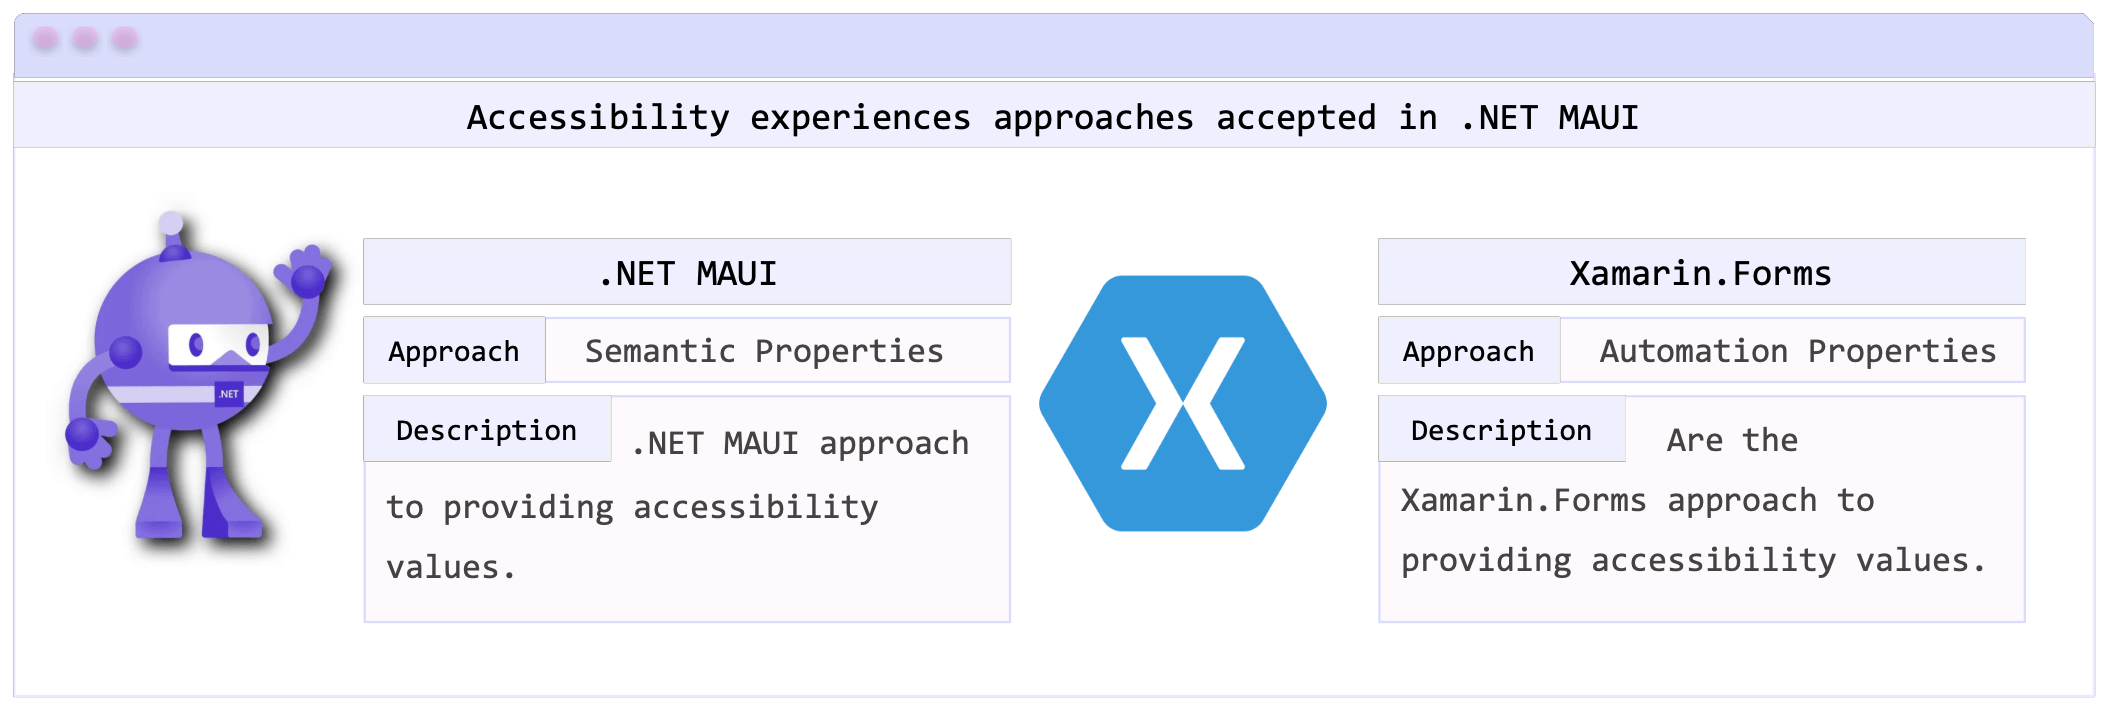
.NET MAUI supports two types of accessibility approaches—semantics and automation properties. The latter is inherited from Xamarin.Forms, which means that we can use them in both the new .NET MAUI implementation and in Xamarin.Forms, but keep in mind that the semantic properties are the ones recommended by Microsoft for .NET MAUI.

Let’s explore each of them! Each of these has a set of attached properties in order to generate the best accessibility experience. Let’s start with the semantics approach.
Semantic Properties
These are attached properties that help us to define and read aloud to the user the information of the controls that receive the accessibility focus. Semantics can be added to any element to configure the accessibility APIs of the underlying platform.
It’s important to know that these properties will be responsible for abstracting the accessibility experience provided by each platform, so each platform will be displayed differently according to its rules.
📝 Semantic properties are the Microsoft-recommended approach in .NET MAUI to provide accessibility values in applications.
The SemanticProperties class defines the following attached properties:
📒 Description
A Description refers to a short and precise text which is obtained by the screen reader to read aloud. It’s advisable to add the elements that are of great importance for the correct interaction of your application.
Let’s see the different ways to implement it:
XAML
<Entry x:Name="FavoriteColor" SemanticProperties.Description="Favorite color"/>
C#
SemanticProperties.SetDescription(FavoriteColor, "Favorite color");
SetValue method
FavoriteColor.SetValue(SemanticProperties.DescriptionProperty, "Favorite color");
🚫 Limitations:
- iOS only provides accessibility features from a parent to a child, which means that the screen reader will only access parent elements—so if you set the property inside child elements, they won’t be readable.
📒 Hint
A Hint represents a string that provides additional context to the control. Ideally, it should be used in conjunction with the attached description property, thus providing more context about the visual element.
Let’s see the different ways to implement it:
XAML
<Entry x:Name="FavoriteColor"
 SemanticProperties.Description="Phone number"
 SemanticProperties.Hint="What is your favorite color?"/>
C#
SemanticProperties.SetHint(FavoriteColor, "What is your favorite color?");
SetValue method
FavoriteColor.SetValue(SemanticProperties.HintProperty, "What is your favorite color?");
🚫 Limitations:
- Android
- Setting a different value to
Entry.PlaceHolderis not recommended as these properties conflict in Android because they both map to the same platform property. - On Android it behaves slightly differently depending on the associated control. For example, for controls without text values, such as Switch and CheckBox, the controls will display the tooltip with the control. Whereas for controls with text values, the hint is not displayed and is read after the text value.
📒 Heading Levels
A HeadingLevel will allow you to mark an element as a header to organize the user interface and thus facilitate navigation between elements.
Let’s see the different ways to implement it:
XAML
<Label x:Name="Name" Text="Name" SemanticProperties.HeadingLevel="Level1" />
<Label Text="Marie White" />

<Label x:Name="LastName" Text="Lastname" SemanticProperties.HeadingLevel="Level2" />
<Label Text="White McDonal" />
C#
SemanticProperties.SetHeadingLevel(Name, SemanticHeadingLevel.Level1);
SetValue method
Name.SetValue(SemanticProperties.HeadingLevelProperty, SemanticHeadingLevel.Level1);
Automation Properties
These are the Xamarin.Forms approach to providing accessibility values and have been superseded by semantic properties. Let’s get to know some of them:
📒 ExcludedWithChildren
It’s a bool attached property that determines if an element and its children will be included in the accessibility tree.
<StackLayout AutomationProperties.ExcludedWithChildren="true">

   <!-- Your code here -- >

</StackLayout>
📒 IsInAccessibleTree
It’s a bool attached property that is responsible for indicating whether the element is visible to screen readers. Note that you can use the ExcludedWithChildren attached property if you want an element not to be seen, and ideally all elements are
visible to accessibility, so you shouldn’t use this property constantly.
<Label AutomationProperties.IsInAccessibleTree="true" />
Wrap-up
And done! 😎 In this article you have learned a lot of important information to make your applications accessible to your users!
Thanks for reading this article! 💚💕 See you next time! 🙋♀️
References:
https://learn.microsoft.com/en-us/dotnet/maui/fundamentals/accessibility?view=net-maui-7.0
As with all of our component libraries, Telerik UI for .NET MAUI prioritizes accessibility so that it’s baked in to your application from the get-go. Try it for free today!

Leomaris Reyes
Leomaris Reyes is a Software Engineer from the Dominican Republic, with more than 5 years of experience. A Xamarin Certified Mobile Developer, she is also the founder of Stemelle, an entity that works with software developers, training and mentoring with a main goal of including women in Tech. Leomaris really loves learning new things! 💚💕 You can follow her: Twitter, LinkedIn , AskXammy and Medium.

