
Build Agentic Apps with Angular, Genkit and Kendo UI: Part 2

Summarize with AI:
Let’s build out the Angular app for our Genkit backend, so users can ask about their order status and get an AI-empowered answer.
In Part 1 of this series, we built our first agentic app with Genkit. We created flows, connected a status-check tool that uses Gemini, and tested everything with the Genkit Developer UI.
The Developer UI is very useful for testing and debugging. For example, orderSupportFlow automatically called getOrderStatusTool when we asked “Where is my order 123-456?”
I want to be honest: our users can’t exactly visit http://localhost:4001 to check their order status, right? They need a beautiful, production-ready interface they can actually use.
AI is powerful, but it needs other technologies around it to deliver value. AI alone cannot interact with people; the rest of the stack must handle that job.
Today we will build an Angular chat application that talks to our Genkit backend. The goal is to deliver something simple and friendly for end users.
From Genkit Developer UI to Angular and Kendo UI 🚀
Our goal is to build a clear chat interface with Angular. The interface will call our existing Genkit backend through a simple API layer, so the frontend and backend can communicate without special tricks.
This may sound complex, but the hard parts are already done because the agentic backend is ready. We only need to add a user interface.
We want to reach the following goals:
- A clean, intuitive chat interface
- The ability to ask questions in natural language
- Instant responses that feel conversational
How do we take our working Genkit backend and connect it to a real Angular application with a delightful chat experience?
We will reuse the existing backend (with orderSupportFlow and getOrderStatusTool) and expose it through an Express REST API. Angular will call this API, so we do not need to change the AI logic.
Express acts as the bridge. It converts HTTP requests into Genkit flow calls that already work.
Instead of running orderSupportFlow("What's my order status for 123-456?") manually, we’ll hit an endpoint like:
POST /api/order-flow
{
  "data": "What's my order status for 123-456?"
}
Think of Express as a translator between the smart Genkit backend and the Angular frontend:
- Genkit flows stay exactly the same (no need to change our code!).
- Express.js acts as the translator, converting HTTP requests into Genkit flow calls.
- Angular gets clean REST endpoints it knows how to use.
This approach keeps the agentic logic isolated. Any frontend (Angular, React, Vue and so on) can call the same APIs.
Let’s start building the bridge.
Setting Up the Project
First, be sure to clone the repo and install the dependencies with npm i into the agentic-app/backend directory:
git clone https://github.com/danywalls/agentic-app.git
cd agentic-app/backend
npm i
Open the project in your editor and head to backend/src/. Rename index.ts (which currently holds the Genkit logic) to genkit.ts.
Whenever you add a new AI flow, you’ll only need to touch
genkit.ts.
Your genkit.ts is now complete! Notice how it only knows about AI; it’s just pure Genkit logic, so it’s time to create our REST API quickly using Express.
Express Server
Express.js is a minimalist web framework for Node.js that makes it easy to build web servers and APIs by handling most HTTP plumbing for you.
Need a refresher? Check out the Express.js Official Guide.
From the backend directory, install the dependencies we’ll need:
npm install express body-parser cors @types/cors
Create a new entry file at backend/src/server.ts:
touch src/server.ts
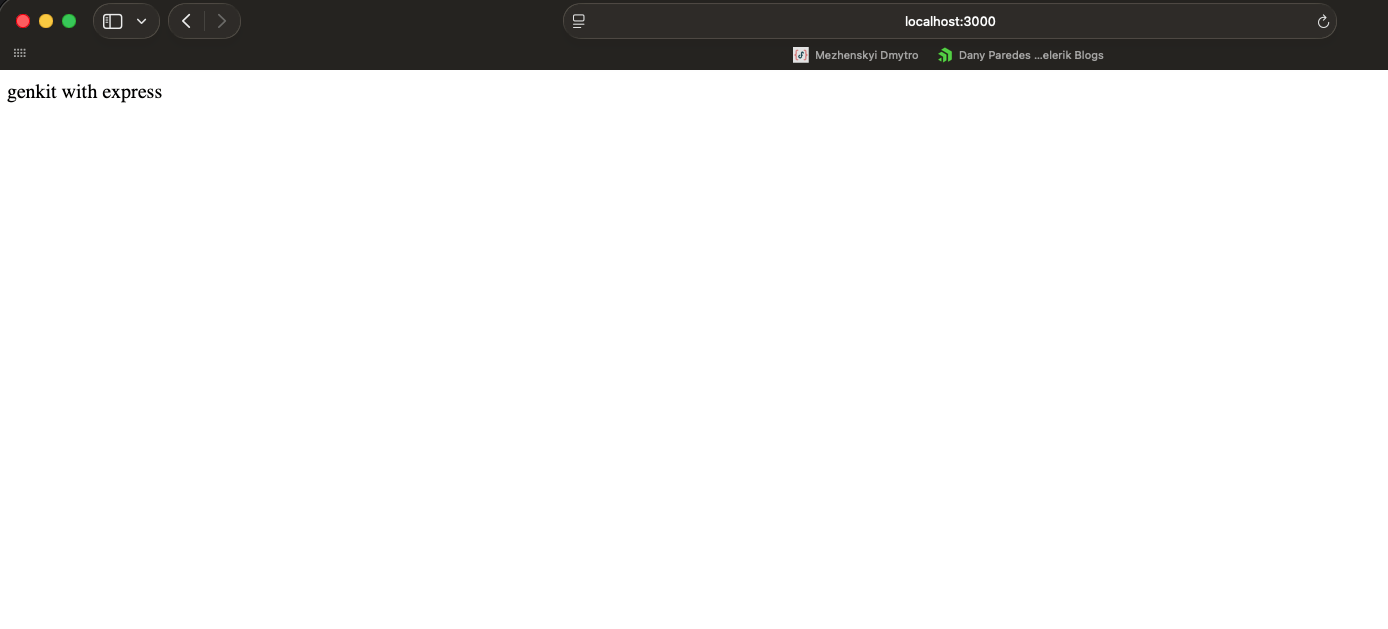
Copy the following snippet, which creates an Express server at port 3000. After it starts, it shows Server running on port 3000. We have the default route / returning a nice message Genkit with Express using the res.send method.
import express from "express";
import bodyParser from "body-parser";
import cors from "cors";

const app = express();
const jsonParser = bodyParser.json();
const PORT = process.env.PORT || 3000;

app.use(cors());

app.get("/", (_req, res) => {
  res.send("Genkit with Express");
});

app.listen(PORT, () => {
  console.log(`Server running on port ${PORT}`);
});
Run it with:
npx tsx src/server.ts
You should see “Server running on port 3000” in the terminal and the message “Genkit with Express” when visiting http://localhost:3000.
Perfect, so let’s move to the next step: exposing an endpoint that forwards chat prompts to orderSupportFlow. Because the Angular client will send JSON payloads, keep jsonParser in place and wrap the async handler in a try/catch:
app.post("/order-flow", jsonParser, async (req, res) => {
  try {
    const response = await orderSupportFlow(req.body.data);
    res.send(response);
  } catch (error) {
    console.error(error);
    res.status(500).send("Something went wrong");
  }
});
If your editor auto-imports
orderSupportFlowwith a.jsextension, updatetsconfig.jsonwith:
"moduleResolution": "bundler",
"module": "esnext"
This tells TypeScript (and tsx) to resolve modern ESM modules without forcing .js extensions.
The final code looks:
import express from "express";
import bodyParser from "body-parser";
import cors from "cors";
import { orderSupportFlow } from "./genkit";

const app = express();
const jsonParser = bodyParser.json();
const PORT = process.env.PORT || 3000;

app.use(cors());

app.get("/", (_req, res) => {
  res.send("Genkit with Express");
});

app.post("/order-flow", jsonParser, async (req, res) => {
  try {
    const response = await orderSupportFlow(req.body.data);
    res.send(response);
  } catch (error) {
    console.error(error);
    res.status(500).send("Something went wrong");
  }
});

app.listen(PORT, () => {
  console.log(`Server running on port ${PORT}`);
});
Remember: To get an API key, visit https://aistudio.google.com/apikey, sign in with your Google account and create an API key and update
GEMINI_API_KEY=into the.envfile.
With everything in place, we can shift to Angular and Kendo UI to post messages to /order-flow and display the responses in a chat UI.
Angular and Conversational Kendo UI
First, we make sure you have the latest Angular CLI:
npm install -g @angular/cli
From the repo root workspace agentic-app directory, create a new Angular application by using the CLI:
ng new genkit-frontend
Accept the default configuration. When the CLI finishes, move into the directory genkit-frontend:
cd genkit-frontend
We start by generating environment files so we can store the API base URL:
ng g environments
Update src/environments/environment.development.ts to point to our API http://localhost:3000.
export const environment = {
  API: "http://localhost:3000",
};
Next, let’s install the Angular Conversational UI component from Progress Kendo UI for Angular. Using the schematics ng add, its configuration and setup of everything related to Kendo UI is easy.
ng add @progress/kendo-angular-conversational-ui
With the dependencies installed, we can build the chatbot experience using Conversational UI! 🥳
The Chat with Conversational UI
Before we start, let’s clarify some aspects. When we think about a chat, it’s an interaction between two users, in this case, the bot and the user. They interact via messages with an action or event in the chat.
As you’ve seen, adding a few entities, types and an event inside a conversation sounds like hard work if we want to build it in safe mode with types. But don’t worry! Conversational UI brings with it built-in types and the kendo-chat component provides props like messages, events like sendMessage and authorId to know who’s sending the messages.
Create src/app/entities/models.ts to define the two participants:
import { User } from "@progress/kendo-angular-conversational-ui";

export const BOT: User = { id: 0, name: "Agent" };
export const USER: User = { id: 1, name: "You" };
Next, generate a service that will handle chat state and API calls:
ng g s services/genkit
Inject HttpClient, to make the request and declare a public messages signal of type Message[] and seed the conversation with a greeting from the bot:
@Injectable({ providedIn: 'root' })
export class GenkitService {
  private http = inject(HttpClient);

  public messages = signal<Message[]>([
    {
      id: Date.now(),
      author: BOT,
      text: "Hello! Ask me about order status (e.g., order 123-456).",
      timestamp: new Date(),
    },
  ]);
Create the sendMessage method so it updates the user’s message, calls the Express endpoint, and pushes the bot’s response (or an error message) back into the stream:
public sendMessage(text: string): void {
    const userMessage: Message = {
      id: Date.now(),
      author: USER,
      text,
      timestamp: new Date()
    };

    this.messages.update((current) => [...current, userMessage]);

    const payload = { data: text };

    this.http.post(`${environment.API}/order-flow`, payload, { responseType: 'text' })
      .pipe(
        catchError(() => {

          this.messages.update((current) => [...current, {
            id: Date.now(),
            author: BOT,
            text: 'Sorry, I encountered an error. Please try again.',
            timestamp: new Date(),
          }]);
          return EMPTY;
        })
      )
      .subscribe((response) => {
        this.messages.update((current) => [...current, {
          id: Date.now(),
          author: BOT,
          text: response || 'No response received',
          timestamp: new Date(),
        }]);
      });
  }
The final code looks like:
import { Injectable, inject, signal } from "@angular/core";
import { HttpClient } from "@angular/common/http";
import { Message } from "@progress/kendo-angular-conversational-ui";
import { catchError } from "rxjs/operators";
import { EMPTY } from "rxjs";
import { BOT, USER } from "../entities/models";
import { environment } from "../../environments/environment";

@Injectable({ providedIn: "root" })
export class GenkitService {
  private http = inject(HttpClient);

  public messages = signal<Message[]>([
    {
      id: Date.now(),
      author: BOT,
      text: "Hello! Ask me about order status (e.g., order 123-456).",
      timestamp: new Date(),
    },
  ]);

  public sendMessage(text: string): void {
    const userMessage: Message = {
      id: Date.now(),
      author: USER,
      text,
      timestamp: new Date(),
    };

    this.messages.update((current) => [...current, userMessage]);

    const payload = { data: text };

    this.http
      .post(`${environment.API}/order-flow`, payload, { responseType: "text" })
      .pipe(
        catchError(() => {
          this.messages.update((current) => [
            ...current,
            {
              id: Date.now(),
              author: BOT,
              text: "Sorry, I encountered an error. Please try again.",
              timestamp: new Date(),
            },
          ]);

          return EMPTY;
        })
      )
      .subscribe((response) => {
        this.messages.update((current) => [
          ...current,
          {
            id: Date.now(),
            author: BOT,
            text: response || "No response received",
            timestamp: new Date(),
          },
        ]);
      });
  }
}
We have our service ready! Let’s move to the final step: connecting all the service pieces with the Conversational UI component!
The Conversational UI Component
Now let’s plug the service into the UI. Open app.ts and import KENDO_CONVERSATIONALUI into the imports sections and inject the genkitService to expose the current user and read the reactive messages signal.
These properties will bind the kendo-chat component from the template properties later.
import { Component, inject } from '@angular/core';
import { KENDO_CONVERSATIONALUI, SendMessageEvent } from '@progress/kendo-angular-conversational-ui';
import { GenkitService } from './services/genkit';
import { USER } from './entities/models';


@Component({
  selector: 'app-root',
  imports: [KENDO_CONVERSATIONALUI],
  templateUrl: './app.html',
  styleUrl: './app.css'
})
export class App {

  genkitService = inject(GenkitService);
  user = USER;
  messages = this.genkitService.messages;
}
The kendo-chat component fires a SendMessageEvent every time someone hits Enter or taps the send icon. All we need to do is grab the text, make sure it is not empty, and use sendMessage from the genkitService to update the signals and the UI and call the API.
public onSendMessage(event: SendMessageEvent): void {
  const messageText = event.message.text ?? "";
  if (messageText.trim()) {
    this.genkitService.sendMessage(messageText);
  }
}
The final code looks like:
import { Component, inject } from "@angular/core";
import {
  KENDO_CONVERSATIONALUI,
  SendMessageEvent,
} from "@progress/kendo-angular-conversational-ui";
import { GenkitService } from "./services/genkit";
import { USER } from "./entities/models";

@Component({
  selector: "app-root",
  imports: [KENDO_CONVERSATIONALUI],
  templateUrl: "./app.html",
  styleUrl: "./app.css",
})
export class App {
  genkitService = inject(GenkitService);
  user = USER;
  messages = this.genkitService.messages;

  public onSendMessage(event: SendMessageEvent): void {
    const messageText = event.message.text ?? "";
    if (messageText.trim()) {
      this.genkitService.sendMessage(messageText);
    }
  }
}
And don’t forget to give Kendo UI for Angular a try (for free) if you haven’t already! (No credit card required!)
Now, the final step is to update the app.html (the template), remove the default boilerplate and add the <kendo-chat> component and pass three things to <kendo-chat>:
Let’s have a small overview about kendo-chat. I will give a little overview of the key properties to make it easy for us:
[messages]: Binds the messages array from the current conversation to the chat component.[user]: Defines the current user interacting with the chat. This is important for differentiating between messages sent by the user and others.(sendMessage): Event emitted when user hits send.
Read more about Conversational UI.
<div class="chat-container">
  <h1>My Angular Agentic App</h1>
  <kendo-chat
    [messages]="messages()"
    [authorId]="user.id"
    (sendMessage)="onSendMessage($event)"
  >
  </kendo-chat>
</div>
Perfect! We are done, and it’s time to test our code. But before we continue, instead of starting the ng server and the api manually every time, first create a package.json by running the following command:
npm init -y
Next, add helper scripts package.json to both servers to start with one command:
"scripts": {
  "start": "npm run backend & npm run frontend",
  "backend": "cd backend && npm run dev",
  "frontend": "cd genkit-frontend && ng serve"
}
Run npm run start and open http://localhost:4200.
Yeahhh! Done!! We have our Genkit Agent connected with the users thanks to Express, Angular and Kendo UI!!!
What We Accomplished
We connected Google’s Genkit AI flows to an Angular application. Genkit keeps the AI work, Angular with signals runs the frontend, and Kendo UI for Angular provides the chat interface with a small amount of code.
The result is amazing! The AI logic, API code and UI code stay in separate places. Now you have the freedom to create new workflows, new endpoints and of course use more Kendo UI components in your amazing product!
Source Code Initial.
Source Code Final.
Ready to Try Kendo UI for Angular?
To explore all the components available in the Kendo UI for Angular library, I recommend you download the free 30-day trial and explore it for yourself!

Dany Paredes
Dany Paredes is a Google Developer Expert on Angular and Progress Champion. He loves sharing content and writing articles about Angular, TypeScript and testing on his blog and on Twitter (@danywalls).
Related Posts
Comments
All articles
Topics
Web MobileMobile
Desktop
Design
Productivity
People
