
Angular Component Library Part 3: Power up Your Company Library with Kendo UI

Summarize with AI:
We know why a component library makes development easier and how to start our own. Now let’s see how to use a professional component library to make every step of our app development better and easier.
In previous articles, we learned how to create a component library in Angular, and then how to theme it and publish it to npm. However, our library only contained the button component. Real-world applications require a vast array of components like charts, grids and calendars.
Today, with the pressures of work volume and time-to-market, speed is of the essence. Creating these components and ensuring they cover all features is an enormous task.
Should your company need to provide more components and adhere to important market standards such as internationalization, accessibility, customization and performance, the workload can become overwhelming. If the development team needs to cover all these aspects, it could impact development speed, time-to-market and, in the worst-case scenario, cause burnout within your team.
What if I told you that you could supercharge your company library with more than 100+ components, including theme support and internationalization, in just a few minutes?
Indeed, you can enhance your company library with Kendo UI for Angular, putting the heavy workload onto the Progress Kendo UI team. You only need to pick the components required by your company to create a lightweight library.
Note: This article is part of the “Angular Component Library” series.
- Angular Component Library Part 1: How to Build a Component Library with Angular
- Angular Component Library Part 2: How to Theme and Publish Your Library to npm
Let’s explain how to add Kendo UI into our Angular library with a practical scenario.
Scenario
The consumers of the ngx-banana library need a beautiful calendar, but we don’t have time to build and create a powerful calendar. Let’s make it easy by integrating Kendo UI for Angular into our library.
First, we’ll embed Kendo UI for Angular as part of our library and configure it in the library module. Instead of building all the components from scratch, we’ll reuse Kendo UI components to provide all these features. Since Kendo UI for Angular is flexible, we install the minimum number of components required for our needs.
Learn more about Kendo UI for Angular Calendar.
Create Banana Calendar with Kendo Power
Let’s begin by cloning our ngx-banana-ui library and opening it in your preferred code editor.
git clone https://github.com/danywalls/ngx-banana.git
Cloning into 'ngx-banana'...
remote: Enumerating objects: 98, done.
remote: Counting objects: 100% (98/98), done.
remote: Compressing objects: 100% (65/65), done.
Receiving objects:  72% (71/98)used 80 (delta 20), pack-reused 0
Receiving objects: 100% (98/98), 211.32 KiB | 1.92 MiB/s, done.
Resolving deltas: 100% (36/36), done.
The first step in our journey is to install the necessary dependencies for the calendar:
npm install --save @progress/kendo-angular-dateinputs @progress/kendo-angular-intl @progress/kendo-angular-l10n @progress/kendo-angular-popup @progress/kendo-angular-common @progress/kendo-licensing @progress/kendo-angular-icons --legacy-peer-deps
Following that, it’s time to add some style to our components. For this purpose, we’ll install one of the available Kendo UI themes, specifically the Kendo UI Default theme:
npm install --save @progress/kendo-theme-default
Let’s create the calendar component, first, inside the components directory (projects/ngx-banana-ui/src/lib/components):

Because the prefix of library is
banana, rename the selector to banana-calendar.
import {Component, Input} from '@angular/core';
@Component({
selector: 'banana-calendar',
templateUrl: './banana-calendar.component.html',
styleUrls: ['./banana-calendar.component.css']
})
export class BananaCalendarComponent {
@Input() value = '12/12/2026';
}
Moving onto the ngx-banana-ui.module (which can be found inside projects/ngx-banana-ui/src/lib/ngx-banana-ui.module.ts), there are two primary tasks we need to accomplish:
- Add the banana-calendar to the declarations and exports. This step allows consumers to gain access to the new banana-calendar.
- Import the
CalendarModulefrom Kendo UI.
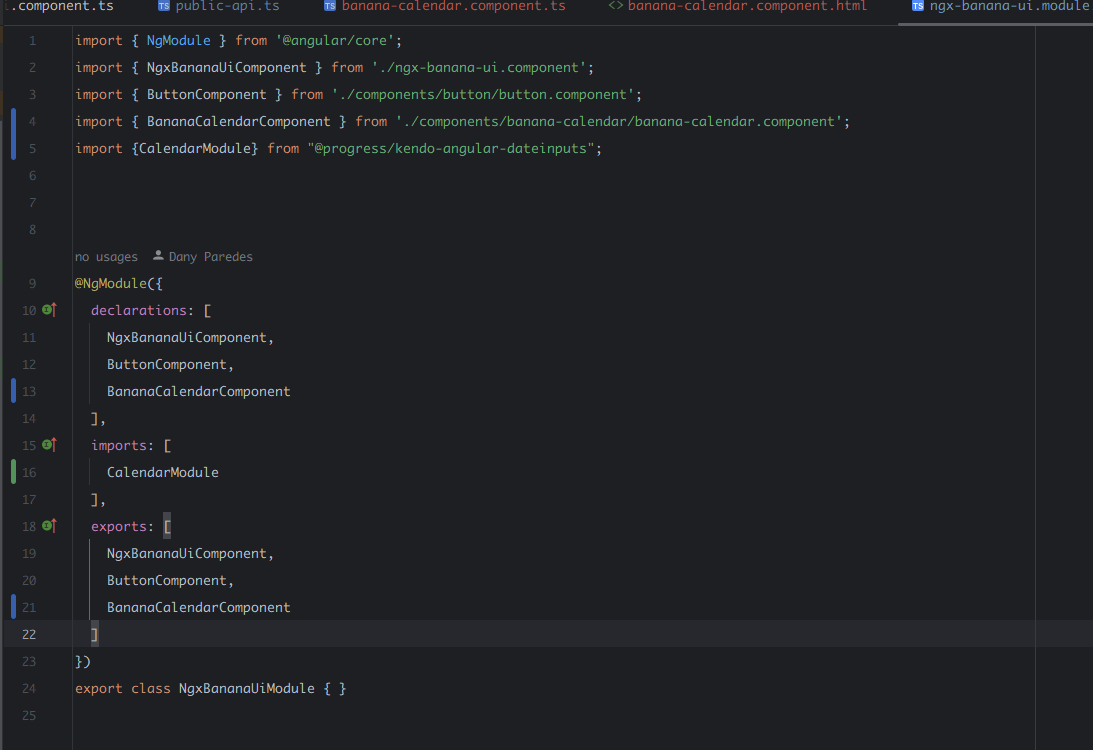
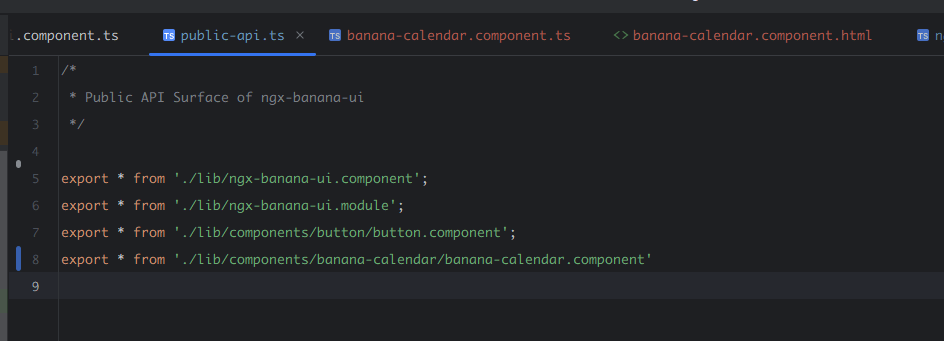
Don’t forget to export the component in the public-api.ts file!
Upon importing the KendoCalendar module, we now have access to the kendo-calendar component. Open the banana-calendar.component.html file and start using the kendo-calendar.
Let’s start our banana-calendar component off by using Kendo UI’s calendar as our base. We can introduce some flexibility and bind the value property with the calendar. The final code should look something like this:
<kendo-calendar [value]="value"></kendo-calendar>
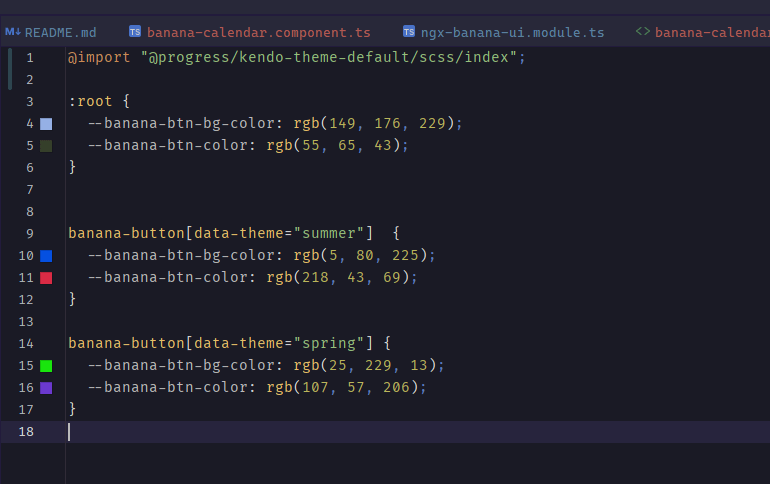
Lastly, import the calendar styles into our theme.scss file.
@import "@progress/kendo-theme-default/scss/index";
Build and Publish the Library
To build and publish the library, we are going to take some steps to make our library light and hide Kendo from package dependecies the ngx-banana-ui customers.
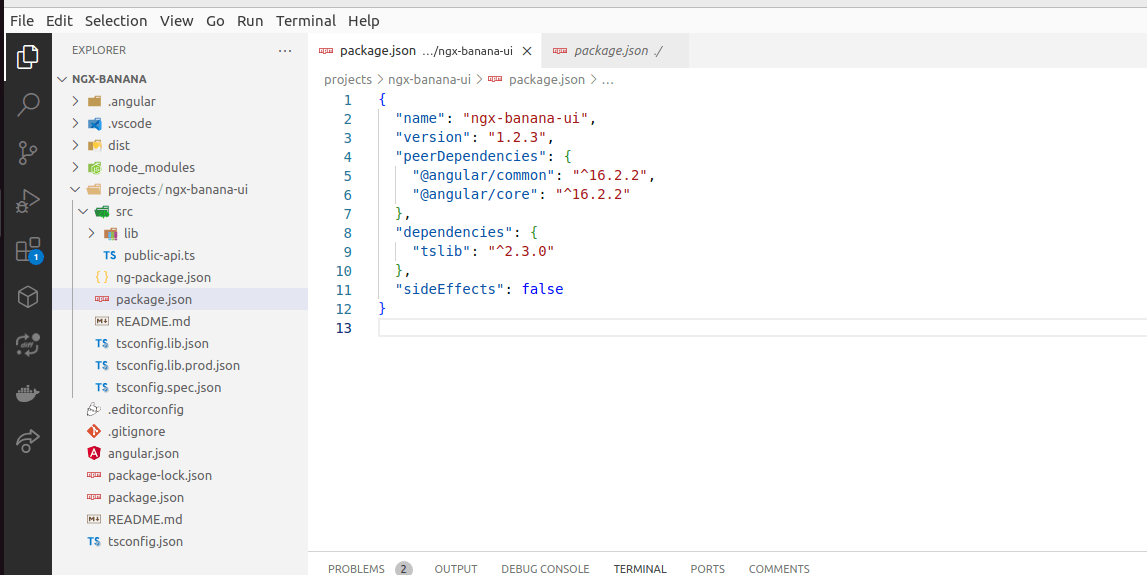
First open the ngx-banana-ui package.json file and update the version number, for example, to “1.3.4”.
Next, copy all the dependencies that Kendo installed in projects/package.json to projects/ngx-banana-ui/package.json into the new section “peer dependencies”:
Peer dependencies in a npm library offer multiple advantages: avoiding version conflicts, reducing bundle size, providing flexibility for consumers to choose compatible versions and simplifying maintenance. Learn more about peer dependencies.
Ensure that you are at the root of the project ngx-banana/ and compile the library by running the command npm run build ngx-banana-ui.
npm run build ngx-banana-ui
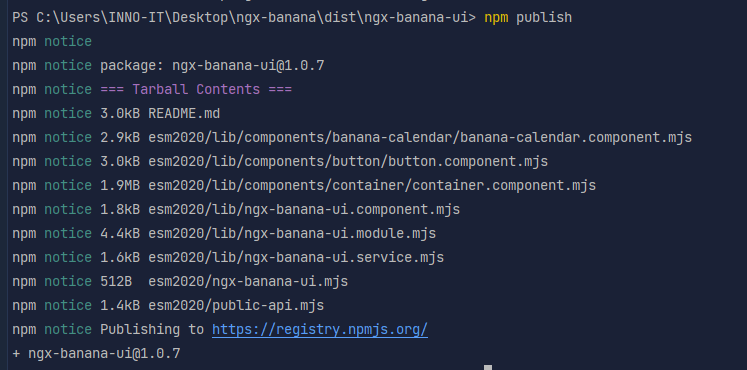
After that, navigate to the dist directory and publish the library using the npm publish command, similar as we did in the “Angular Component Library Part 2: How to Theme and Publish Your Library to npm” article.
To publish your library requires an npm account. Run the command
npm adduserand follow each step.
Perfect! We have our library ready; the final step is to use it in our project!
Using the Library
To integrate the enhanced library into your workflow, we first establish a new project environment. You can achieve this using the Angular CLI with the command: ng new lab to initialize a new Angular workspace and a default application in a new directory, lab.
ng new lab
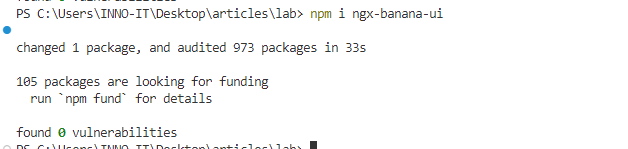
Next, integrate the ngx-banana-ui library into your new project by installing it through your package manager. With npm, it would look like this: npm install ngx-banana-ui. This command tells npm to download the library package and add it to your node_modules directory.
Following this, you’ll want to ensure your application has access to the style assets of the library.
Open your style.scss file and import the theme from the library. This makes all the CSS classes available for you to use throughout your application.

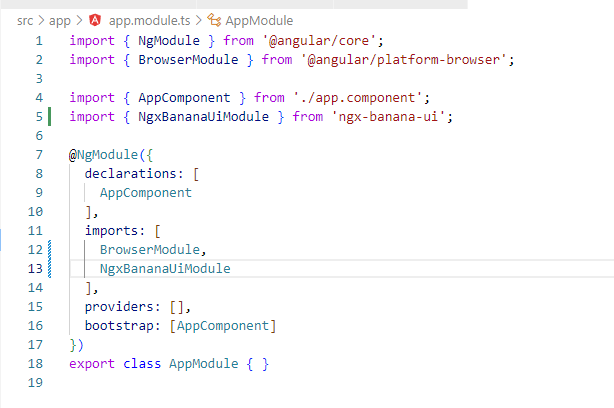
Now, let’s ensure the NgxBananaModule is available to the rest of the application. Head over to your App.Module file and import the NgxBananaModule. By including it in the imports array of @NgModule, all the exported components and services in the NgxBananaModule are available to your application.
Because The Kendo Calendar uses the @angular/localize, we must install the package.
ng add @angular/localize
ℹ Using package manager: npm
✔ Found compatible package version: @angular/localize@15.2.9.
✔ Package information loaded.

The package @angular/localize@15.2.9 will be installed and executed.
Would you like to proceed? Yes
✔ Packages successfully installed.
UPDATE src/main.ts (266 bytes)
UPDATE tsconfig.app.json (310 bytes)
UPDATE tsconfig.spec.json (315 bytes)
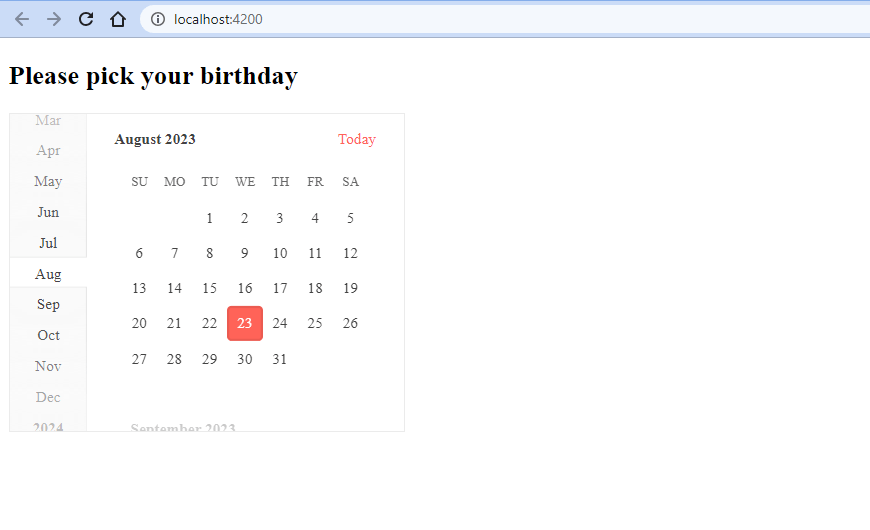
Finally, you can use the banana-component in any component of your application. Include its selector in the HTML template of your component, and ngx-banana will handle the rest, providing a powerful calendar component, all thanks to Kendo UI!
<div>
  <h2>Please pick your birthday</h2>
  <banana-calendar  [value]="'12/12/2022'"></banana-calendar>
</div>
After saving the changes, serve your application with ng serve and enjoy the fruits of your labor—a powerful, fully styled calendar component.
Conclusion
The adventure is just beginning. During this series, we learned how Kendo UI for Angular emerges as an exceptional tool that significantly enriches your company’s component library. By incorporating it into your Angular applications, your team gets access to an array of professionally designed, highly performant components, which effectively take your application’s user interface to the next level.
The benefits of using Kendo UI for Angular extend to both your company and its developers:
- Time efficiency: Creating UI components from scratch is time-consuming and resource intensive. With Kendo UI for Angular, you can leverage over a hundred ready-made components, each boasting a robust set of features and capabilities. This means that your developers can focus less on repetitive UI coding and more on building the unique features that set your software apart.
- Powerful and customizable components: Kendo UI for Angular offers a wide range of components, including grids, charts, calendars and forms. These components are not only flexible and adaptable but also boast advanced features such as data binding, sorting, filtering and pagination.
- Healthy codebase: Kendo UI for Angular aligns with best practices for maintaining a well-structured codebase. Its modular design ensures that your application only loads the code it needs, thereby improving performance and simplifying debugging.
- Robust support system: Kendo UI for Angular is backed by comprehensive documentation, a thriving community and dedicated support, which serve as a safety net for developers by reducing the time spent on troubleshooting.
Incorporating Kendo UI for Angular into your company’s library is an investment in quality, efficiency and scalability. It’s not just adding a library of components—it’s embracing a comprehensive toolkit designed to accelerate the development process, increase productivity and ensure delivery. In the relentless pace of today’s software development landscape, tools like Kendo UI aren’t just a luxury, they’re a prerequisite for success.
You can find the complete code example for this article:
- https://github.com/danywalls/ngx-banana (Initial Project)
- https://github.com/danywalls/ngx-banana/tree/final (Final Version)

Dany Paredes
Dany Paredes is a Google Developer Expert on Angular and Progress Champion. He loves sharing content and writing articles about Angular, TypeScript and testing on his blog and on Twitter (@danywalls).
Related Posts
Comments
All articles
Topics
Web MobileMobile
Desktop
Design
Productivity
People
