Working With Report Items
Report items are used in the report depending on the data that will be displayed, for example, a TextBox item for static or data-bound text, a PictureBox for displaying images, a Barcode for showing a barcode in a label report, and so on.
Every report item is an instance of the ReportItemBase class. Report items can reside inside report sections or containers such as Panel or Table, Crosstab, or List items.
Arranging Report Items
The report's content is displayed in the report items. To use a report item, place it on your report.
In Visual Studio
To display and arrange the report items in Visual Studio:
-
Open the report in design view.
-
Expand the Telerik Reporting tab of the Toolbox.
-
Select the report item that you want to place.
-
Drag the report item from the Toolbox to the design surface of the report.
Alternatively, select the section of the report where you want the report item to appear by clicking the section header. Then, double-click the report item in the Toolbox. You can also select the report item in the Toolbox and draw a bounding rectangle to indicate the area the report item will occupy.
In the Standalone Designer
To display and arrange the report items in the Standalone Designer:
- Open the report in design view.
- Click the Insert tab of the ribbon.
- Select the report item that you want to place and click on it.
Selecting Report Items and Sections
There are several approaches for selecting a report item or section depending on its position with respect to the other parts of the report definition.
-
The report item/section is on the surface, i.e., doesn't serve as a parent or container for other items:
- Hover over the item/section in the Report Sections area of the designer and when the cross hair cursor appears, click on it.
- Find the report section or item in the report definition tree in the Report Explorer of the designer and click on it to select it also in the Report Sections area.
-
The report item/section contains and is covered by other report items:
-
From the Report Sections area of the designer:
- Select any of the report items within the desired one.
- Press
Escbutton to move the focus one level up to the parent element. You may need to repeat this step until you reach the needed report item or section.
-
From the Report Explorer of the designer:
Find the report section or item in the report definition tree and click on it. It will be automatically selected also in the Report Sections area of the designer. You may need to expand the parent section or items if the desired report item is a child of any. To expand the container, click on the plus sign beside it in the Report Explorer.
-
Relocating Report Items
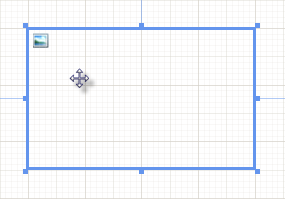
To move a report item:
-
Hover over the report item.
-
When the crosshair cursor appears, click and drag the report item.
Changing the Size
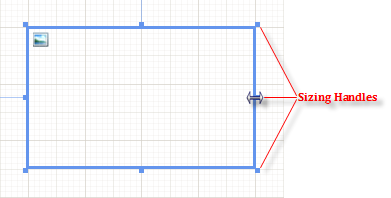
To change the size of a report item:
-
Click the report item to select it.
-
Click and drag one of the size handles on the edge of the report item to the desired size.
Controlling the Height
Starting with Telerik Reporting R3 2016, report sections and Panel items support the CanShrink property. Set CanShrink to true to collapse the container when its content is hidden or shrunk. Page headers and footers do not collapse or expand based on their content.
The following workaround applies only to versions before R3 2016 and excludes page headers and footers. To remove blank vertical space when you hide report items at runtime, set the container's Height to a small, nonzero value, such as 1mm.
A Section or a Panel item can expand to accommodate its children but cannot shrink or take space that is no longer occupied. To make a section or a panel shrink only at runtime, set its Height property in the report constructor and place the Height property assignment code right after the InitializeComponent() method call.