Binding to a Data Source
This tutorial will show how to bind the Telerik Accordion component to an AccessDataSource:
-
Locate the "Nwind.mdb" file that appears in the "Live Demos\App_Data" sub-folder of the folder where you installed RadControls "for ASP.NET Ajax".
-
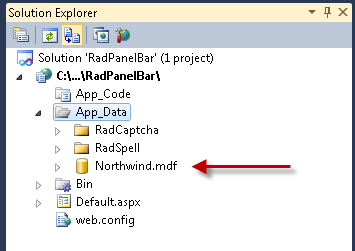
Drag this file ("Northwind.mdf") to the "App_Data" folder in the Solution Explorer for your project:
-
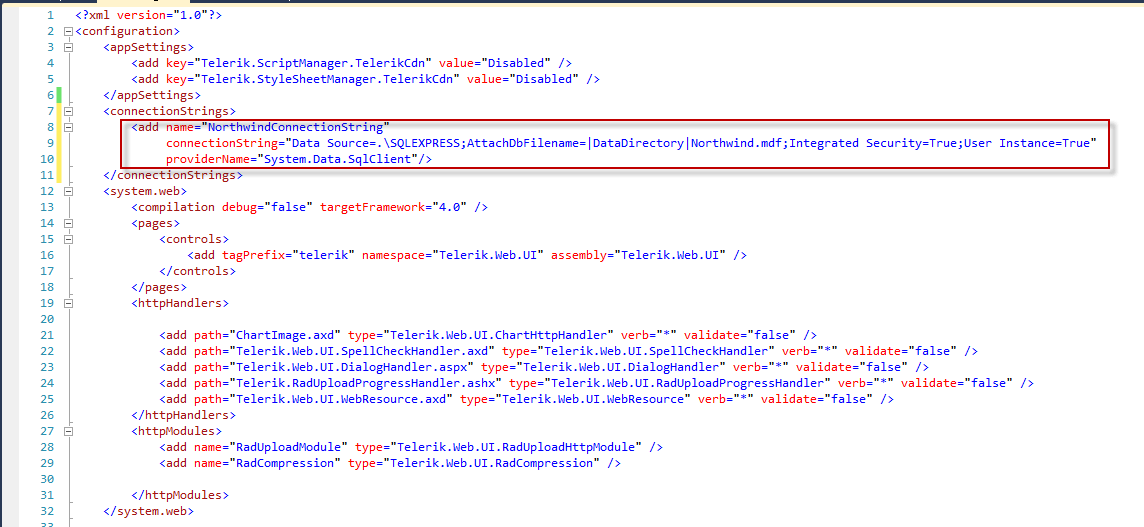
Add the following connection string in the web config file under the connection string section:
-
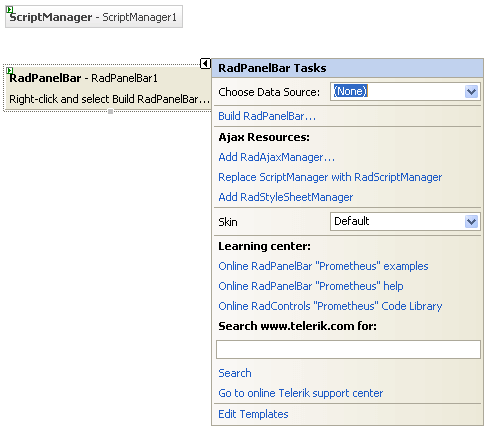
Drag a RadPanelBar component from the toolbox onto your Web page. The RadPanelBar Smart Tag should appear automatically:
-
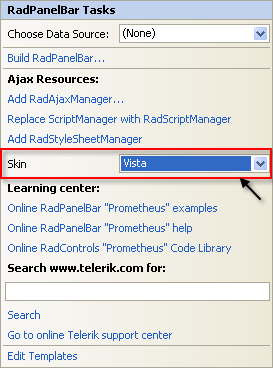
In the RadPanelBar Smart Tag, use the Skin drop-down to change the skin for the RadPanelBar to "Vista":
-
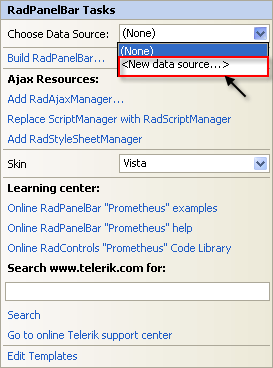
Still in the Smart Tag, open the Choose Data Source drop-down and select New Data Source:
-
The Data Source Configuration Wizard appears. In the Select a DataSource Type screen, specify an SqlDataSource and click OK.

-
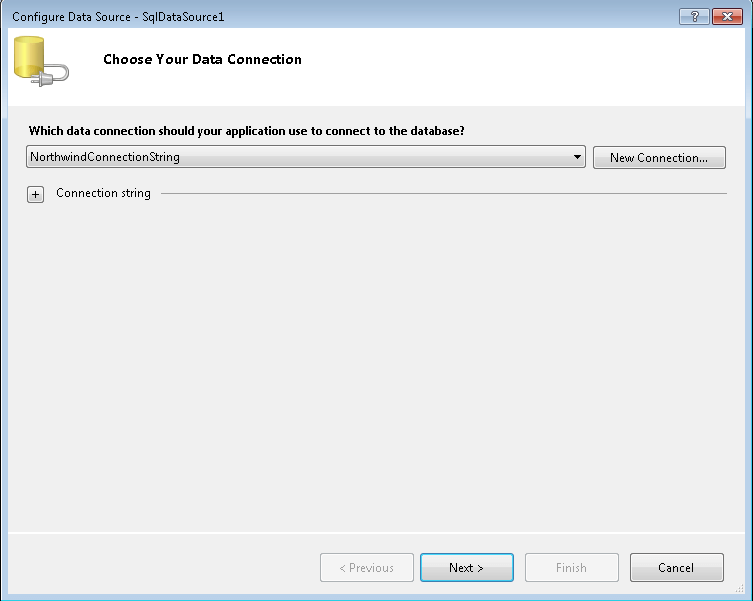
In the Choose your Data Connection screen, click the Browse button, and select the "NorthwindConnectionString". Then choose Next to continue:
-
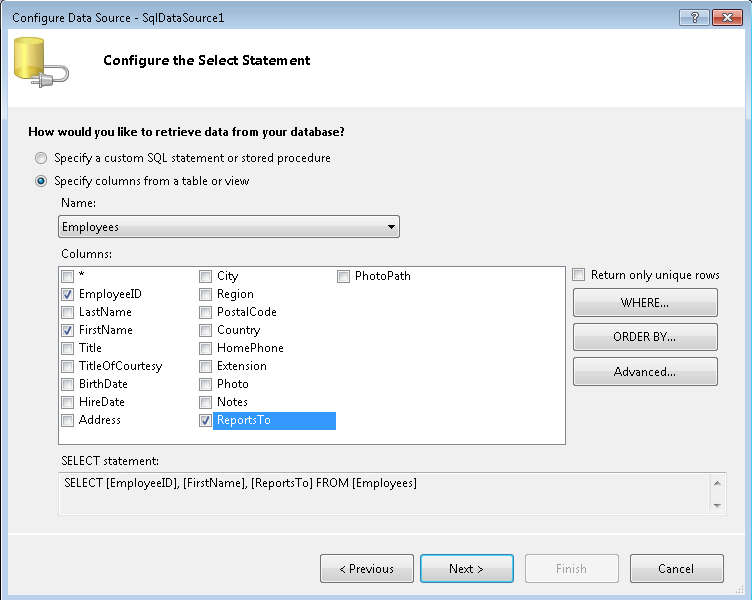
In the Configure the Select Statement screen, choose Specify columns from a table or view.
-
In the Name drop-down, select the "Employees" table.
-
In the Columns panel, Select the "EmployeeID", "FirstName", and "ReportsTo" fields. Then choose Next to continue:
-
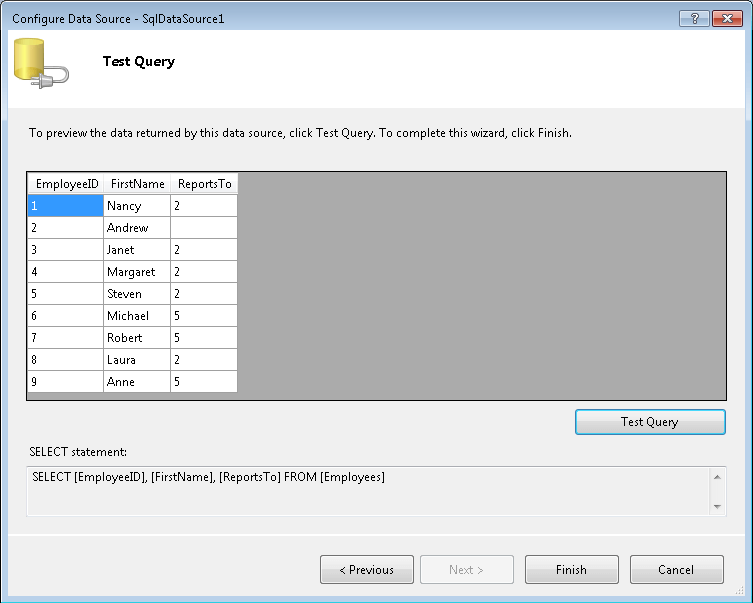
Click the Test Query button to see the data. Then click Finish to exit the Configure Data Source Wizard:
-
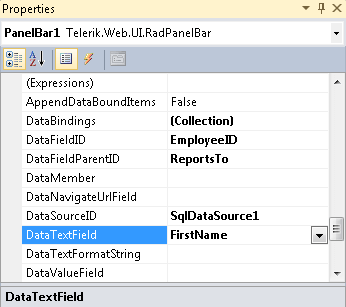
In the Properties pane for the RadPanelBar component,
-
Set the DataFieldId property to "EmployeeID".
-
Set the DataFieldParentId property to "ReportsTo".
-
Set the DataTextField property to "FirstName":
-
-
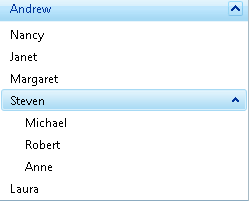
Run the application. The panel bar has a single root level item (for the one record with a null value in the "ReportsTo" field). When you expand this item, you can see level 1 items for every record that had Andrew's ID in the "ReportsTo" field. You can expand the item labelled "Steven" to see the level 2 items for records that had Steven's ID in the "ReportsTo" field:
