Excel-ExcelML (XLS) Export
ExcelML exports the Grid to an XML-based Excel Document that complies with the Microsoft XMLSS specification and is supported in Microsoft Office 2003 and later.
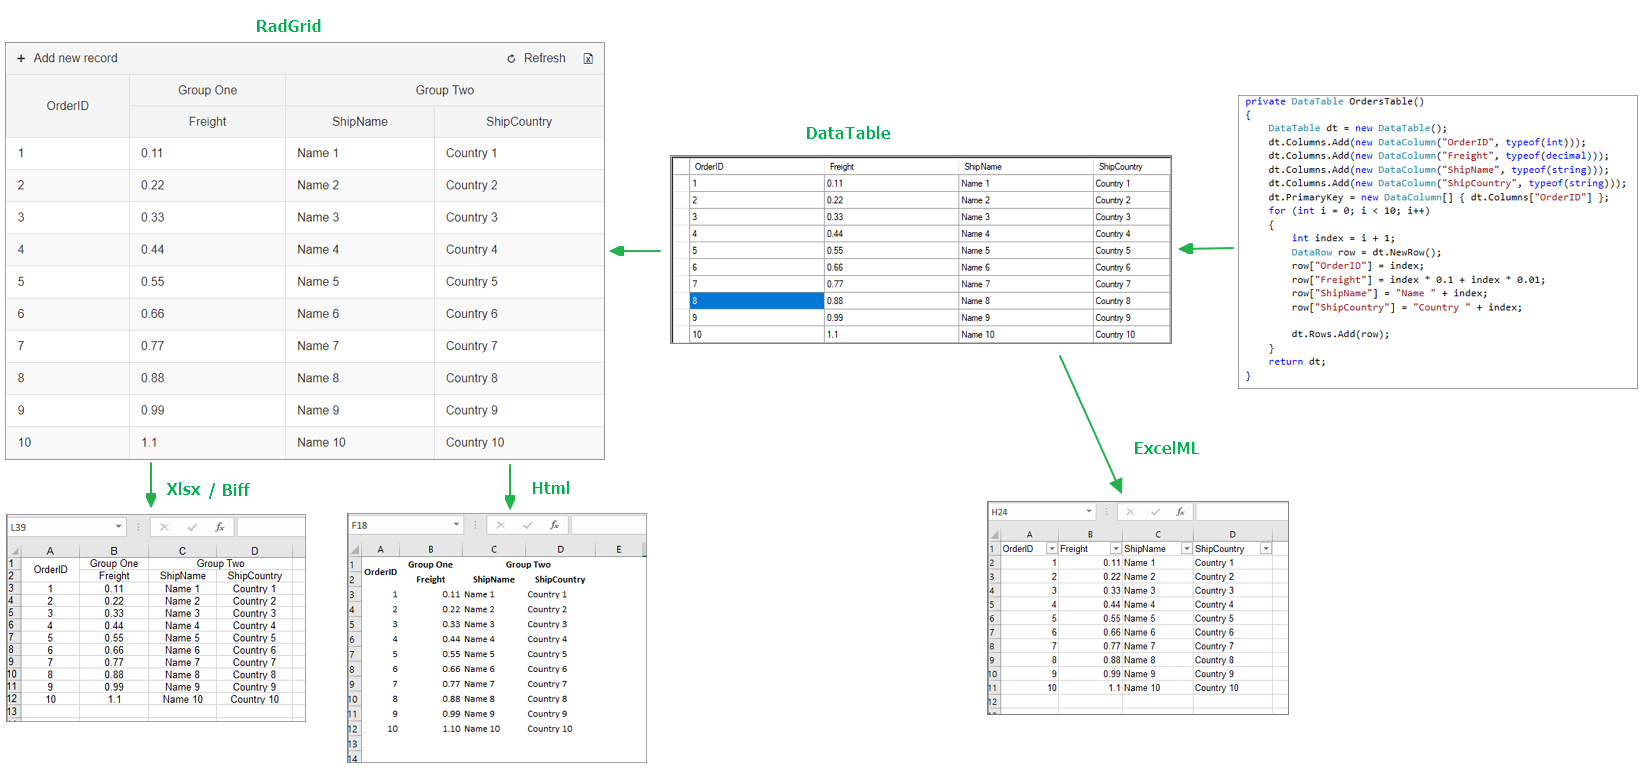
Unlike the other supported Formats, ExcelML functionality builds the output directly from the DataSource.
Diagram illustrating which sources are exported using different Export Formats
Due to the nature of ExcelML format, there are certain limitations. For more details, you can check out the Limitations section.
Usage
To export the Grid using ExcelML, there are two properties that need to be set:
- set the Excel-Format property to ExcelML within the
ExportSettingselement. - set the ExportOnlyData property to true within the
ExportSettingselement (mandatory for ExcelML)
Example
<telerik:RadGrid ID="RadGrid1" runat="server">
    <ExportSettings ExportOnlyData="true">
        <Excel Format="ExcelML" />
    </ExportSettings>
</telerik:RadGrid>
When exporting Arrays, ArrayList, Custom Objects, LinqDataSource the UseAllDataFields must be set to true in MasterTableView.
Example
<telerik:RadGrid ID="RadGrid1" runat="server">
    <ExportSettings ExportOnlyData="true">
        <Excel Format="ExcelML" />
    </ExportSettings>

    <MasterTableView UseAllDataFields="true">
    </MasterTableView>
</telerik:RadGrid>
When Exporting to ExcelML format, it is recommended to use Programmatic Data Binding with the NeedDataSource event or binding data with Declarative DataSource controls.
Export Events
Server-Side events dedicated for the ExcelML format.
-
OnExcelMLRowCreated: This event is triggered when a new row is created for the Excel Document. It could be handy when the developer wants to modify the structure of the exported table or when assigning styles to grid table elements.
-
OnExcelMLStylesCreated: This event is triggered when creating the built-in styles. It could be used not only for modifying the predefined styles but also to define your own (already assigned to a grid table element on OnExcelMLExportRowCreated) custom style. You can access the styles' collection through the
e.Stylesproperty. For more details, check out the Styles section. -
OnExcelMLWorkbookCreated: This event is triggered when the Excel Document (XMLSS) structure is fully created. It could be useful when you need to traverse that structure and make changes or get the whole XML output.
Customizing the Export Output
- Default Cell Alignment
- Changing the Built-in Styles
- Adding Custom Styles
- Styling the Header & Footer
- StyleElement object
- Number formats
- Borders
- Hiding columns
- Auto Filter
- Cells Protection
- Print option
Default Cell Alignment
You can specify a default alignment to all cells by using DefaultCellAlignment. This property is supported since Q2 2015 and its default value is NotSet. Typical values include Left, Right and Center.
<ExportSettings>
    <Excel DefaultCellAlignment="Center" />
</ExportSettings>
Additionally you can change the default alignment within the OnExcelMLStylesCreated event.
Changing the Built-in Styles
The ID's of the built-in styles are listed below:
- headerStyle
- itemStyle
- alternatingItemStyle
- dateItemStyle
- alternatingDateItemStyle
Example code to change the default item and alternating item styles
protected void RadGrid1_ExcelMLExportStylesCreated(object source, GridExportExcelMLStyleCreatedArgs e)
{
    foreach (StyleElement style in e.Styles)
    {
        switch (style.Id)
        {
            case "itemStyle":
                style.FontStyle.Color = System.Drawing.Color.LightBlue;
                break;
            case "alternatingItemStyle":
                style.FontStyle.Color = System.Drawing.Color.Blue;
                break;
        }
    }
}Adding Custom Styles
In order to define a custom style, you should assign it to the desired element (on GridExportExcelMLRowCreated) and then add the style to the collection on GridExportExcelMLStyleCreated event.
protected void RadGrid1_ExcelMLExportRowCreated(object source, GridExportExcelMLRowCreatedArgs e)
{
    e.Row.Cells.GetCellByName("Name").StyleValue = "myCustomStyle";
}
protected void RadGrid1_ExcelMLExportStylesCreated(object source, GridExportExcelMLStyleCreatedArgs e)
{
    StyleElement myStyle = new StyleElement("myCustomStyle");
    myStyle.NumberFormat.FormatType = NumberFormatType.Currency;
    myStyle.FontStyle.Bold = true;
    e.Styles.Add(myStyle);
}Styling the Header & Footer
You add the symbols from the table below to data of the header / footer elements in order to format them:
| Metadata | Represents |
|---|---|
| &L | Left-aligned data |
| &R | Right-aligned data |
| &C | Center-aligned data |
| &D | Date |
| &T | Time |
| &P | Page number |
| &N | Number of pages |
| &\0022fontname,fontstyle\0022&fontsize | Font name, style, and size |
| &B | Bold |
| &I | Italic |
protected void RadGrid1_ExcelMLExportRowCreated(object source, GridExportExcelMLRowCreatedArgs e)
{
    e.Row.Cells.GetCellByName("Name").StyleValue = "myCustomStyle";
}
protected void RadGrid1_ExcelMLExportStylesCreated(object source, GridExportExcelMLStyleCreatedArgs e)
{
    StyleElement myStyle = new StyleElement("myCustomStyle");
    myStyle.NumberFormat.FormatType = NumberFormatType.Currency;
    myStyle.FontStyle.Bold = true;
    e.Styles.Add(myStyle);
}StyleElement object
This object contains the whole information about a particular style. Fonts, colors, borders, number formats, cell alignment, etc could be applied by modifying the StyleElement.
| Colors | |
|---|---|
| Text color | StyleElement.FontStyle.Color |
| Cell background color | StyleElement.InteriorStyle.Color |
| Cell background pattern | StyleElement.InteriorStyle.Pattern |
| Border color | BorderStyles.Border |
| Alignment | |
| Horizontal alignment | StyleElement.AlignmentElement.HorizontalAlignment |
| Vertical alignment | StyleElement.AlignmentElement.VerticalAlignment |
| Fonts | |
| Bold | StyleElement.FontStyle.Bold |
| Italic | StyleElement.FontStyle.Italic |
| Underline | StyleElement.FontStyle.Underline |
| Font name | StyleElement.FontStyle.FontName |
| Size | StyleElement.FontStyle.Size |
| Other | |
| Borders | StyleElement.Borders |
| NumberFormat | StyleElement.NumberFormat |
For more information about the number formats/borders, please visit the following link:
Number formats
In addition to the predefined formats,you could add your own custom formats.
style.NumberFormat.Attributes["ss:Format"] = "MM/dd";Borders
Each StyleElement has a Borders property (BorderStylesCollection) that contains the definition of each border. Border position should be specified using the PositionType enumeration:
| 0 | 1 | 2 | 3 | 4 |
|---|---|---|---|---|
| None | Left | Top | Right | Bottom |
protected void RadGrid1_ExcelMLExportStylesCreated(object source, GridExcelBuilder.GridExportExcelMLStyleCreatedArgs e)
{
    StyleElement cstyle = new StyleElement("MyCustomStyle");
    BorderStylesCollection borders = new BorderStylesCollection();
    BorderStyles borderStyle;
    for (int i = 1; i <= 4; i++) //four borders
    {
        borderStyle = new BorderStyles();
        borderStyle.PositionType = (PositionType)i;
        borderStyle.Color = System.Drawing.Color.Black;
        borderStyle.LineStyle = LineStyle.Continuous;
        borderStyle.Weight = 1.0;
        borders.Add(borderStyle);
    }
    foreach (BorderStyles border in borders)
        cstyle.Borders.Add(border);
    e.Styles.Add(cstyle);
}Hiding columns
You can use the HideStructureColumns property to hide GridRowIndicatorColumn, GridExpandColumn and GridGroupSplitterColumn. For the other columns types, you can use the following approach:
protected void Button1_Click(object sender, EventArgs e)
{
    RadGrid1.MasterTableView.GetColumn("ColumnName").Visible = false;
    RadGrid1.MasterTableView.ExportToExcel();
}From Q2 2013 we introduced a new property named Exportable. This property allows you to choose whether a certain column should be included in the exported file or not. By setting this property to false the related column will be excluded from the exported file. Its default value is true.
Auto Filter
ExcelML is the only excel format which provides build in auto filter functionality. To remove the filter controls from the header row set the Range property to empty string.(e.Worksheet.AutoFilter.Range = ""). By setting the range you could move the filter on a different place within the excel sheet. Only the data placed below the filtering dropdown menu will be included in the filter range. (Example: e.Worksheet.AutoFilter.Range = "R4C1: R4C5")
Generally speaking, R1C1 notation is another way to create cell references which uses numbers for both the rows and columns. R1C1 stands for row index and column index number. This notation is only useful in RadGrid for setting the AutoFilter range.
Cells Protection
ExcelML is one of the excel format which supports cells protection.When you enable the worksheet protection all the cells will be protected as the default state of the cells is “locked”. In order to unlock them you have to create a custom StyleElement and set its IsProtected property to false. Then you could apply this style to the cells which should be unlocked.
The example below demonstrates how you could remove the protection on each second row:
protected void RadGrid1_ExcelMLWorkBookCreated(object sender, Telerik.Web.UI.GridExcelBuilder.GridExcelMLWorkBookCreatedEventArgs e)
{
    e.WorkBook.Worksheets[0].IsProtected = true;

    StyleElement protectionStyle = new StyleElement("ProtectionStyle");
    protectionStyle.CellProtection.IsProtected = false;
    e.WorkBook.Styles.Add(protectionStyle);

    foreach (RowElement row in e.WorkBook.Worksheets[0].Table.Rows)
    {
        int rowIndex = e.WorkBook.Worksheets[0].Table.Rows.IndexOf(row);
        //check whether the row is even
        if (rowIndex % 2 == 0)
        {
            //only the cells on the even rows will be unlocked
            foreach (CellElement cell in row.Cells)
            {
                cell.StyleValue = "ProtectionStyle";
            }
        }
    }
}Print option
ExcelML export format provide two print options which allow you to modify the printed output. The first option is FitHeight which specifies the maximum count of the pages in which the content is distributed to. Meaningful when FitToPage is true. The second one is PaperSize which specifies the paper size in a value from the PaperKind enumeration.
The following code snippet demonstrates how to use them.
protected void grid_ExcelMLWorkBookCreated(object sender, Telerik.Web.UI.GridExcelBuilder.GridExcelMLWorkBookCreatedEventArgs e)
{
    e.WorkBook.Worksheets[0].WorksheetOptions.Print.PaperSize = System.Drawing.Printing.PaperKind.A4;
    e.WorkBook.Worksheets[0].WorksheetOptions.FitToPage = true;
    e.WorkBook.Worksheets[0].WorksheetOptions.Print.FitHeight = 1;
}Limitations
- MultiColumn Headers
- MultiColumn Headers are not supported.
- Grouping
- When exporting RadGrid with grouping, all groups will be expanded regardless of their actual state.
- GridHyperLinkColumn
- As of Q2 2013 ExcelML supports exporting of GridHyperLinkColumn. It is important to know that when its DataTextField property is set, other columns bound to the same field are not exported.
- When the Text property of the GridHyperLinkColumn is set and the DataField is not defined, columns added to the DataNavigateUrlFields are not exported.
Troubleshooting
NullReferenceException during Export
If using Simple Data Binding with the condition !IsPostBack / Not IsPostBack the export could fail with the exception: NullReferenceException
Solution is to use Programmatic Data Binding with NeedDataSource event or binding data with Declarative DataSource controls.
The file format and extension don't match
The file you are trying to open, 'Filename.xls', is in a different format than specified by the file extension. Verify that the file is not corrupted and is from a trusted source before opening this file. Do you want to open the file now?

The file format and extension of 'Filename.xls' don't match. The file could be corrupted or unsafe. Unless you trust its source, don't open it. Do you want to open it anyway?

This warning message was added as a Security feature to Microsoft Office 2007 and can occur in the following cases:
-
The file is not compatible with the current Excel-version
- ExcelML format is version 2003 which is older than Microsoft Office version 2007 or later, hence the warning. As long the as the document structure is correct, it can still be opened by clicking on the Yes button.
-
The file format and extension do not match
- If the File format is different from the file extension assigned to it this warning would show up. Correcting the File extension to comply with the File format would fix the issue.
-
The file has become corrupt or damaged.
- If the file or its content has become corrupt or damaged, this Warning will be shown. In this case, the file cannot be opened with Microsoft Office unless repaired.
See Also
-
[GridExcelBuilder for ExcelML]({slug grid/functionality/exporting/excel-export/gridexcelbuilder%})