
React Basics: React Forms Examples

Summarize with AI:
Review the basics of building forms with React and see a few examples of how to handle common scenarios, including validation, errors and loading indicators.
A very common feature of web applications is the ability to collect and process user input through forms. In this article, we’ll discuss the basics of building forms with React and we’ll go through a few examples that highlight the common scenarios that developers encounter when working with forms. These examples include form submission, handling field validation errors, and handling loading behavior during form submission.
React Forms
In React, forms are created using the HTML <form> tag just like in regular HTML.
import React from "react";

function App() {
  return <form>/* ... */</form>;
}
However, React has its own way of handling form data that differs from traditional HTML/JavaScript forms. Unlike HTML/JavaScript, React forms rely on a single source of truth: the component state. This means that when a user enters data into a form field, the value is not immediately updated in the DOM. Instead, it is first stored in the component state and then used to update the DOM.
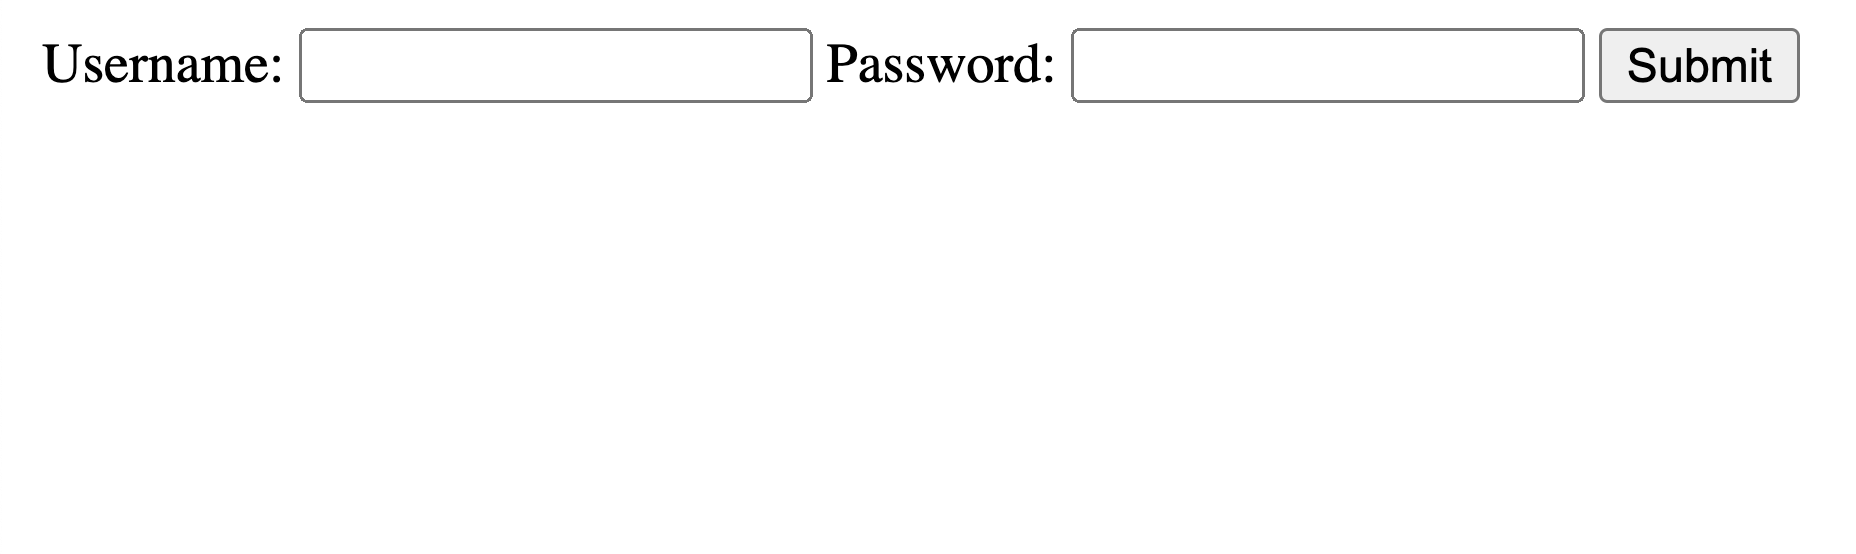
Let’s take a look at an example of a simple React form. In this example, we’ll create a basic login form:
import React from "react";

function App() {
  return (
    <form>
      <label>
        Username:
        <input type="text" name="username" />
      </label>
      <label>
        Password:
        <input type="password" name="password" />
      </label>
      <input type="submit" value="Submit" />
    </form>
  );
}
Above, we’ve defined an <App /> component that renders a form with two input fields and a submit button. The first input field is a text input for the user’s username, and the second input field is a
password input for the user’s password.
We’ll now specify that the <App /> component is to contain a state object that holds the values of the form inputs. We’ll do this by using the useState() hook and name the state object as formData and the function that can be used to update this state as setFormData().
We’ll specify that the initial state values for the username and password fields are to be empty strings and we’ll ensure the <input /> fields in our form reference the state properties as their values.
import React, { useState } from "react";

function App() {
  const [formData, setFormData] = useState({
    username: "",
    password: "",
  });

  return (
    <form>
      <label>
        Username:
        <input type="text" name="username" value={formData.username} />
      </label>
      <label>
        Password:
        <input type="password" name="password" value={formData.password} />
      </label>
      <input type="submit" value="Submit" />
    </form>
  );
}
At this moment, our form field inputs are controlled elements which means that the values of the input fields are derived from the state values formData.username and formData.password.
To make the form inputs interactive, we need to add onChange() event handlers to the input fields that will update the formData state values when the user types into the input fields.
Here’s an example of creating a single handleChange() function that will handle changes for both input fields.
import React, { useState } from "react";

function App() {
  const [formData, setFormData] = useState({
    username: "",
    password: "",
  });

  const handleChange = (event) => {
    const { name, value } = event.target;
    setFormData((prevState) => ({ ...prevState, [name]: value }));
  };

  return (
    <form>
      <label>
        Username:
        <input
          type="text"
          name="username"
          value={formData.username}
          onChange={handleChange}
        />
      </label>
      <label>
        Password:
        <input
          type="password"
          name="password"
          value={formData.password}
          onChange={handleChange}
        />
      </label>
      <input type="submit" value="Submit" />
    </form>
  );
}
In the above code, we define a single handleChange() function that extracts the name and value properties from the input field and updates the state value
for that input field using the setFormData() function.
We pass the handleChange() function to the onChange() event handler for both input fields. This allows us to control the form inputs and update the form data state values in a custom way.
Now, when the user types into the input fields, the handleChange() function is called and updates the state values accordingly.
The last step is to handle the form submission. We need to prevent the default form submission behavior, which is to reload the page, and instead handle the form submission in our React component.
We’ll create a handleSubmit() function that will be called when the user clicks the submit button by passing the handleSubmit() function to the onSubmit event handler of the <form> element. This function will prevent the default form submission behavior and log the form data to the console.
import React, { useState } from "react";

function App() {
  const [formData, setFormData] = useState({
    username: "",
    password: "",
  });

  const handleChange = (event) => {
    const { name, value } = event.target;
    setFormData((prevState) => ({ ...prevState, [name]: value }));
  };

  const handleSubmit = (event) => {
    event.preventDefault();
    console.log(formData);
  };

  return (
    <form onSubmit={handleSubmit}>
      <label>
        Username:
        <input
          type="text"
          name="username"
          value={formData.username}
          onChange={handleChange}
        />
      </label>
      <label>
        Password:
        <input
          type="password"
          name="password"
          value={formData.password}
          onChange={handleChange}
        />
      </label>
      <input type="submit" value="Submit" />
    </form>
  );
}
Now, when the user clicks the submit button, the form will be submitted and the handleSubmit() function is called which logs the state form data to the console.

Try out the above on Stackblitz here.
React Form Validation Errors
When building forms, it’s important to consider how to handle errors that may occur when a user submits invalid or incomplete data. React provides a simple way to handle errors using component state and conditional rendering.
We’ll update the form example we shared above but now attempt to surface errors in our form when the username or password fields are empty. To do this, we’ll first add an errors object to our formData state to keep track of any validation errors and we’ll initialize it with an empty object.
We’ll also add a validateForm() function that will be responsible for checking if the form data is valid and updating the errors object accordingly.
import React, { useState } from "react";

function App() {
  const [formData, setFormData] = useState({
    username: "",
    password: "",
    errors: {},
  });

  // ...

  const validateForm = () => {
    const errors = {};

    // Check if username is empty
    if (!formData.username) {
      errors.username = "Username is required";
    }

    // Check if password is empty
    if (!formData.password) {
      errors.password = "Password is required";
    }

    setFormData((prevState) => ({ ...prevState, errors }));

    // Return true if there are no errors
    return Object.keys(errors).length === 0;
  };

  return <form onSubmit={handleSubmit}>/* ... */</form>;
}
In the component markup, we’ll add conditional rendering to display any validation errors. We’ll check if the formData.errors.username or formData.errors.password properties
exist and display the corresponding error message if they do.
Additionally, when the user submits the form, we’ll call the validateForm() function to check if there are any validation errors. If there are, we do nothing. If there aren’t, we submit the form data (i.e.,
console log the form data). This will have our entire component look like the following:
import React, { useState } from "react";

function App() {
  const [formData, setFormData] = useState({
    username: "",
    password: "",
    errors: {},
  });

  const handleChange = (event) => {
    const { name, value } = event.target;
    setFormData((prevState) => ({ ...prevState, [name]: value }));
  };

  const validateForm = () => {
    const errors = {};

    // Check if username is empty
    if (!formData.username) {
      errors.username = "Username is required";
    }

    // Check if password is empty
    if (!formData.password) {
      errors.password = "Password is required";
    }

    setFormData((prevState) => ({ ...prevState, errors }));

    // Return true if there are no errors
    return Object.keys(errors).length === 0;
  };

  const handleSubmit = (event) => {
    event.preventDefault();
    if (validateForm()) {
      // Form is valid, submit data
      console.log(formData);
    } else {
      // Form is invalid, do nothing
    }
  };

  return (
    <form onSubmit={handleSubmit}>
      <label>
        Username:
        <input
          type="text"
          name="username"
          value={formData.username}
          onChange={handleChange}
        />
        {formData.errors.username && (
          <p style={{ color: "red" }}>{formData.errors.username}</p>
        )}
      </label>
      <label>
        Password:
        <input
          type="password"
          name="password"
          value={formData.password}
          onChange={handleChange}
        />
        {formData.errors.password && (
          <p style={{ color: "red" }}>{formData.errors.password}</p>
        )}
      </label>
      <input type="submit" value="Submit" />
    </form>
  );
}
With this change, if the form is submitted and either username or password is empty, we do not submit the form and instead display the field level errors in our form.
Try out the above on Stackblitz here.
Loading Indication
In some cases, forms can take some time to process, especially if they involve sending data to a server or performing complex computations. During this time, it’s important to provide feedback to the user to indicate that the form is being processed and to prevent them from submitting the form multiple times.
One way to provide feedback is to show a loading indicator while the form is being processed. To do this, we can create a loading state variable that is set to true when the form is being submitted and set back to
false when the processing is complete.
To implement this, we’ll first add a loading state variable and set it to false initially.
import React, { useState } from "react";

function App() {
  const [formData, setFormData] = useState({
    username: "",
    password: "",
    errors: {},
    loading: false,
  });

  // ...

  // ...

  return <form onSubmit={handleSubmit}>/* ... */</form>;
}
In the handleSubmit() function, we’ll set the loading property to true before simulating a form submission delay using setTimeout(). After the delay, we’ll log the form data to the console and set isLoading back to false.
import React, { useState } from "react";

function App() {
  // ...

  // ...

  // ...

  const handleSubmit = (event) => {
    event.preventDefault();
    setFormData({
      ...formData,
      loading: true,
    });

    // Simulate form submission delay
    setTimeout(() => {
      console.log(formData);
      setFormData({
        ...formData,
        loading: false,
      });
    }, 2000);
  };

  return <form onSubmit={handleSubmit}>/* ... */</form>;
}
Finally, we’ll disable the submit button and display a Loading… text while the form is being processed (i.e., when formData.loading is true).
With all our changes, our form component will look like the following:
import React, { useState } from "react";

function App() {
  const [formData, setFormData] = useState({
    username: "",
    password: "",
    errors: {},
    loading: false,
  });

  const handleChange = (event) => {
    const { name, value } = event.target;
    setFormData((prevState) => ({ ...prevState, [name]: value }));
  };

  const validateForm = () => {
    const errors = {};

    // Check if username is empty
    if (!formData.username) {
      errors.username = "Username is required";
    }

    // Check if password is empty
    if (!formData.password) {
      errors.password = "Password is required";
    }

    setFormData((prevState) => ({ ...prevState, errors }));
    // Return true if there are no errors
    return Object.keys(errors).length === 0;
  };

  const handleSubmit = (event) => {
    event.preventDefault();

    setFormData({
      ...formData,
      loading: true,
    });

    // Simulate form submission delay
    setTimeout(() => {
      console.log(formData);
      setFormData({
        ...formData,
        loading: false,
      });
    }, 2000);
  };

  return (
    <form onSubmit={handleSubmit}>
      <label>
        Username:
        <input
          type="text"
          name="username"
          value={formData.username}
          onChange={handleChange}
        />
        {formData.errors.username && (
          <p style={{ color: "red" }}>{formData.errors.username}</p>
        )}
      </label>
      <label>
        Password:
        <input
          type="password"
          name="password"
          value={formData.password}
          onChange={handleChange}
        />
        {formData.errors.password && (
          <p style={{ color: "red" }}>{formData.errors.password}</p>
        )}
      </label>
      <input type="submit" value="Submit" disabled={formData.loading} />
      {formData.loading && (
        <div style={{ marginTop: 5, fontWeight: "bold" }}>Loading...</div>
      )}
    </form>
  );
}
Now, when the user clicks the submit button and the handleSubmit() function is called, we notify the user that the form submission is in progress with a Loading… message.

Try out the above on Stackblitz here.
KendoReact Form
Working with forms can start simple but get complicated quickly. There are a lot of different things to keep in mind when building forms such as field-level validation, form-level validation, UI presentation and much more. Fortunately, Progress KendoReact’s Form component makes this simple by providing a utility component that handles all the things we discussed in this article and much more. It supports:
- An easy approach to adding form and field-level validation.
- The ability to customize how the layout of the form is shown (either vertically or horizontally).
- The capability to create custom elements/components within the overall Form utility.
- And more.
Be sure to check out the article “How to Build Forms with React the Easy Way” by TJ to learn how to build React forms easily with the powerful KendoReact Form component.
Wrap-up
In conclusion, React provides a dynamic and responsive way of building web forms by leveraging component state as a single source of truth. In this article, we covered the basics of building forms in React and discussed examples around form submission and how to handle field validation errors and loading behavior.
You can find the full code example built in this article in the following GitHub Gist.

Hassan Djirdeh
Hassan is a senior frontend engineer and has helped build large production applications at-scale at organizations like Doordash, Instacart and Shopify. Hassan is also a published author and course instructor where he’s helped thousands of students learn in-depth frontend engineering skills like React, Vue, TypeScript, and GraphQL.
Related Posts
Comments
All articles
Topics
Web MobileMobile
Desktop
Design
Productivity
People
