Integrate a Serverless SQL Database with Vercel Postgres

Summarize with AI:
Vercel now offers different types of databases that are streamlined into its workflow. In this article, we will focus on one of the databases—Vercel Postgres. We will go through its key features and setup process and show how to interact with it using the Vercel Postgres SDK and Prisma ORM.
Vercel is positioning itself as a platform that abstracts infrastructure management, allowing developers to focus exclusively on building modern web applications. The introduction of Vercel Storage, a suite of managed serverless storage products that seamlessly integrates with popular frontend frameworks.
Moving away from depending on external database services, Vercel now offers different types of databases that are streamlined into its workflow. This addition significantly improves the developer experience, efficiency and scalability.
In this article, we will focus on one of the databases—Vercel Postgres. We will go through its key features and setup process and show how to interact with it using the Vercel Postgres SDK and Prisma ORM. In the end, you will have the knowledge you need to leverage the power of Vercel Postgres for efficient data management in your Vercel projects.
Prerequisites
This guide assumes you have a basic knowledge of React and Next.js.
Vercel Postgres
Vercel Postgres was introduced as one of the quartets that include Vercel KV, Vercel Blob and Vercel Edge Config. It is a serverless SQL database for storing structured and relational data. It enables the creation of scalable, secure PostgreSQL databases designed to integrate with Vercel functions.
Though a partnership with Neon DB powers Vercel Postgres, all operations, such as creating, deleting and managing Postgres, happen within the Vercel dashboard. So you won’t need to create a Neon account to use Vercel Postgres.
Vercel Postgres offers several benefits, making it an attractive choice for developers working with Vercel. Let’s take a look at some notable ones:
- Serverless and scalable: Vercel Postgres is serverless and automatically scales to meet your application’s needs, eliminating the need to provide and manage database resources.
- Streamlined workflow: By offering integrated database solutions, Vercel Postgres creates a more unified development environment. This encourages developers to stay within the Vercel ecosystem throughout the entire project.
- SQL support: Vercel Postgres allows developers to interact with their data using the powerful and familiar SQL language.
- High security standards: Vercel implements robust security measures to better safeguard your data.
- Integration with ORMs: In addition to its SDK, Vercel Postgres also supports integration with popular Object-Relational Mapping (ORM) tools like Prisma and Drizzle.
As mentioned previously, Vercel Postgres is only one of the recently introduced databases. You can find more information about Vercel storage and other available databases in the docs.
Project Setup
Run the command below to create a Next.js application:
npx create-next-app
This creates a Next.js application and configures it based on specific prompts. Select the options highlighted in the image below.

To use Vercel Postgres with an application, we need to first add the application to Vercel. To do that, we would upload the project to GitHub and then connect it to Vercel.
To push your demo application to your GitHub account, follow the steps below:
- If you do not already have a GitHub account, create one. If you do, sign in.
- Once you are signed in, click new on the console to register a new repository.
- Enter a preferred name and description for your project, then click Create Repository.
- To complete the push to GitHub, run the commands provided on the subsequent page in the terminal of the demo project.
For additional information on how to upload a project to GitHub, click here.
Configuring Vercel Postgres
Next, let’s connect the application we have uploaded to Vercel. If you do not have a Vercel account, you can create one. If you’re already a user, just log in. Once you have completed onboarding, add a new project by clicking the Add new button on the dashboard console. This will allow you to add a new project from your GitHub repository.

Next, select the uploaded demo project from your list of repositories. Assign a name to the project, then click “Deploy.” This will deploy your application to Vercel.
After a successful deployment, you should see a new page with a congratulatory message and a link to your newly deployed application.
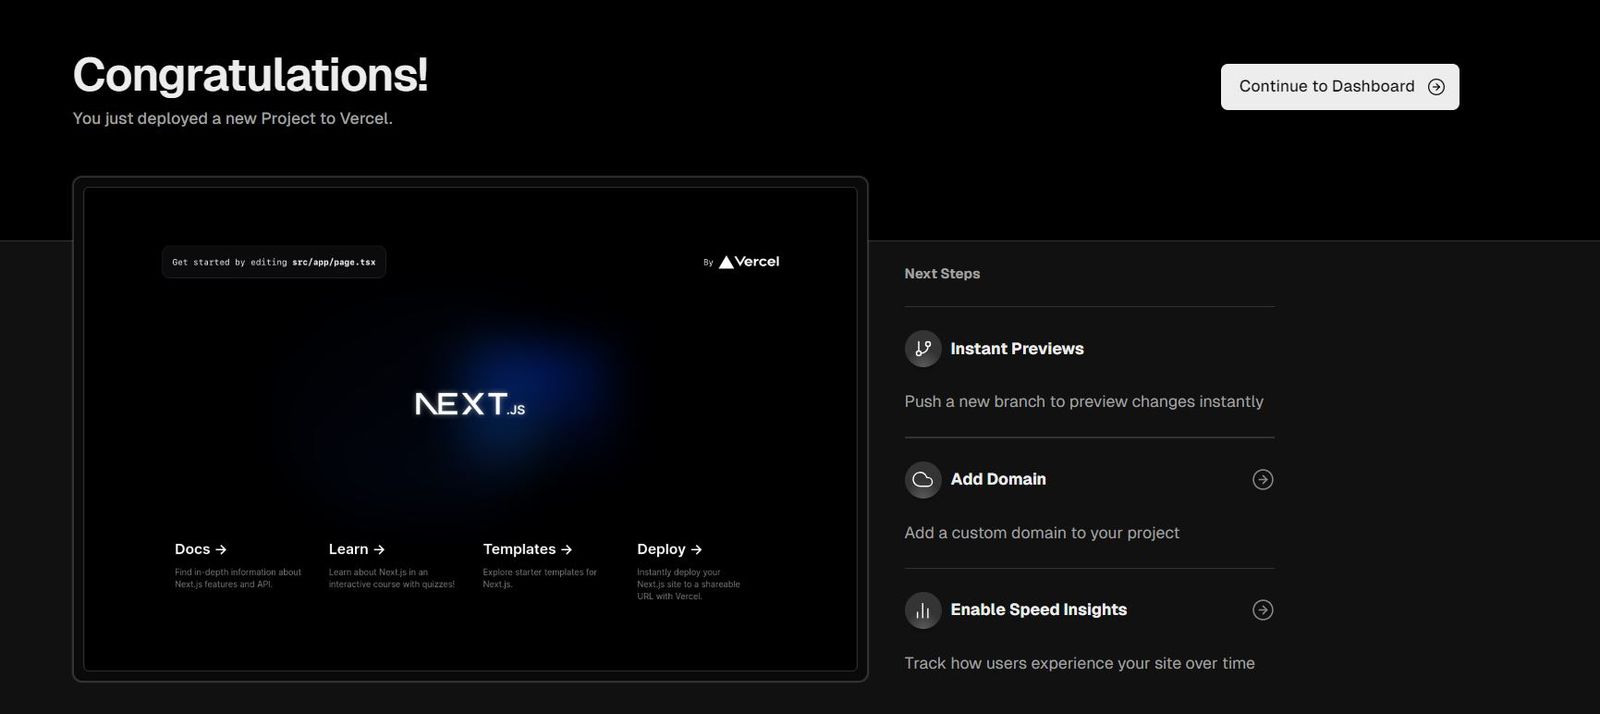
Select “Continue to Dashboard,” then proceed to create the database.
From the dashboard header, click “Storage,” then “Create Database.” A modal will appear, listing the various databases that Vercel offers.
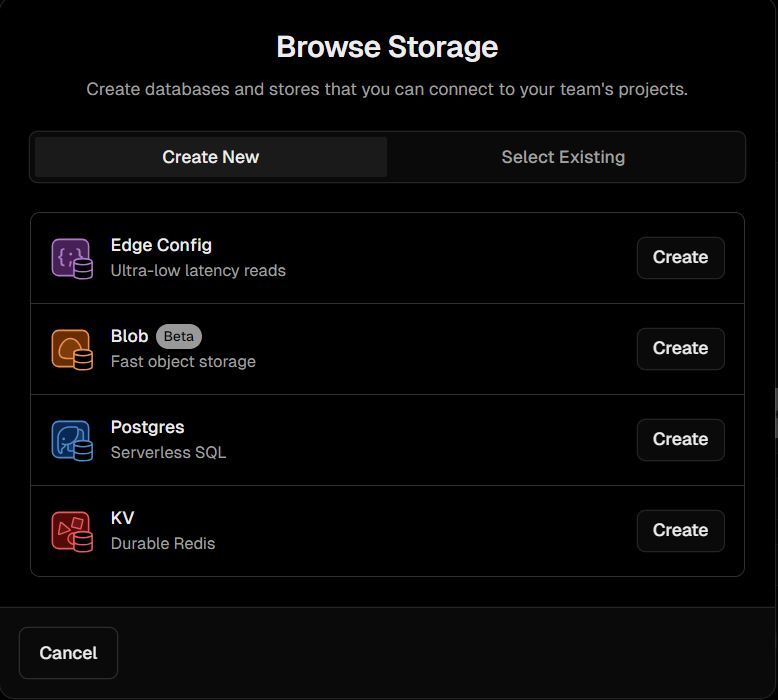
Select “Postgres” from the list and continue by selecting the default configuration option for the rest of the resulting prompts. Now we’ve successfully connected the database to our project.
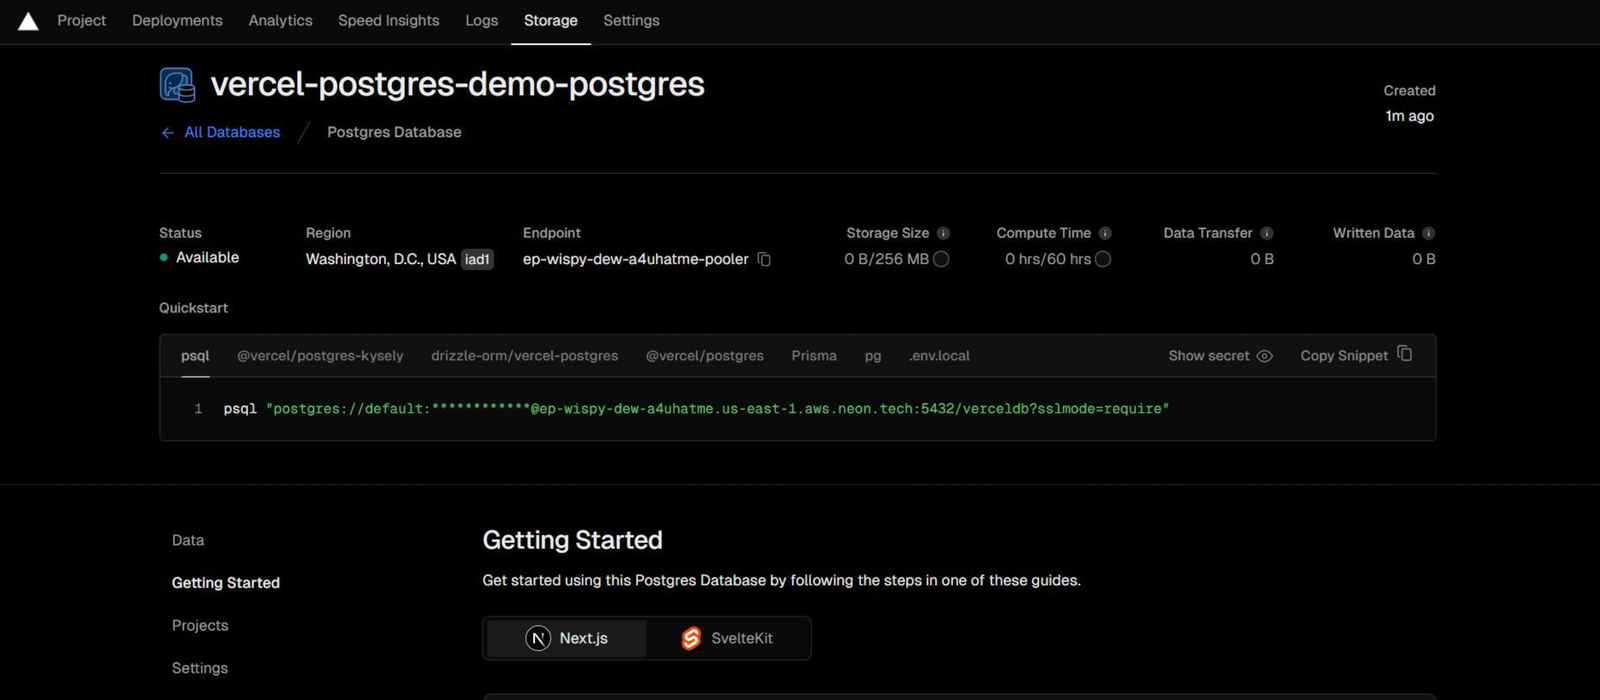
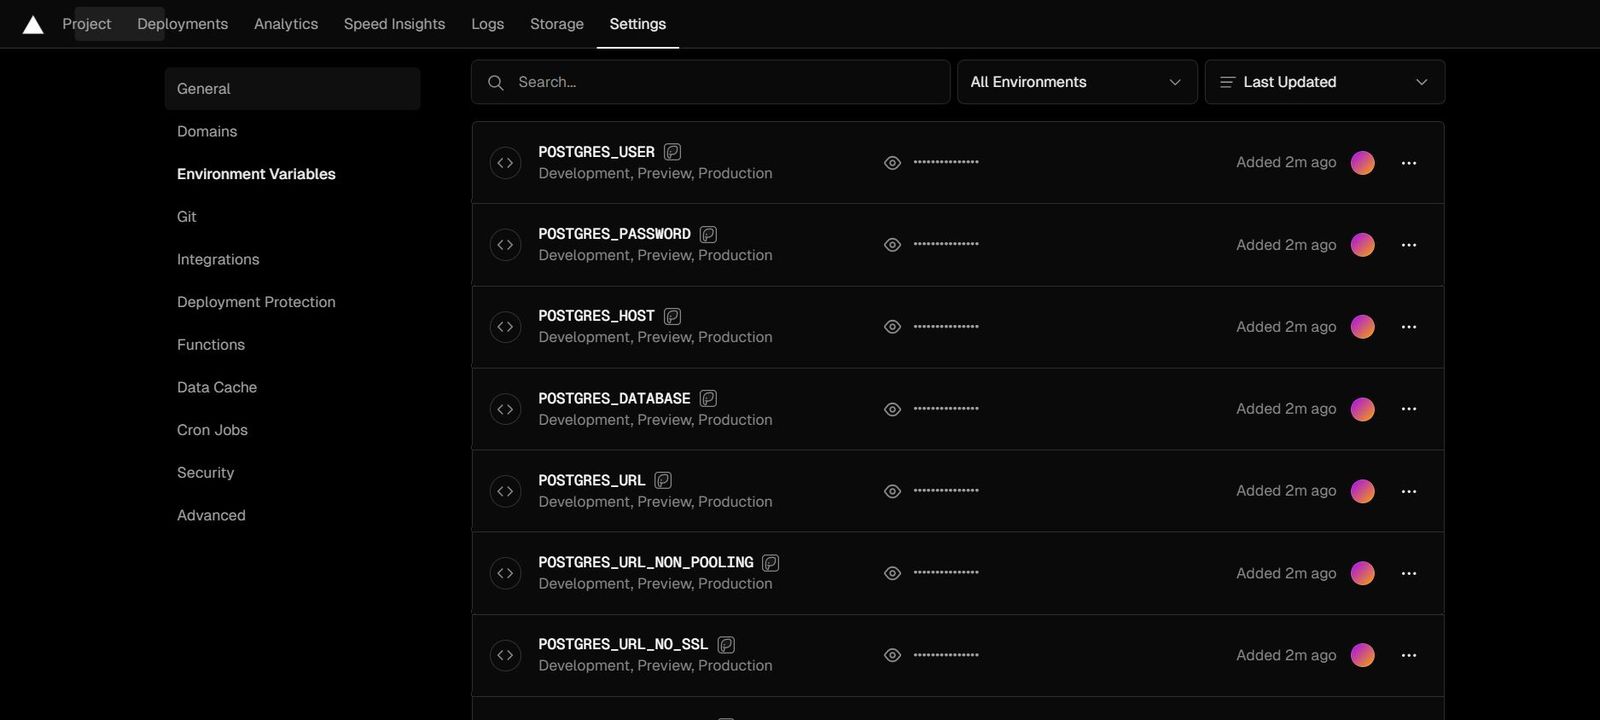
To integrate this database with our demo project, we’ll need some credentials. These include the API URL, host, password and others, which are pre-generated and provided as environment variables once the database is connected to a deployed project.
Click on “Settings” on the dashboard’s header, then select “Environment Variables” from the sidebar to see the list of predefined environment variables:
Next, let’s create an interaction pipeline between the demo application and the database. Run the following command in the terminal to install the latest version of Vercel CLI:
npm i -g vercel@latest
This enables us to run Vercel commands in the terminal.
Also, run the command below to install the Vercel Postgres SDK:
npm i @vercel/postgres
The SDK provides an efficient way to interact with the Postgres database. In the next section, we will discuss how to use the SDK.
Run the following command to import the predefined environment variables into our local project so they can be used to access the database:
vercel env pull .env.development.local
This creates a .env.development.local file in our demo project and populates it with the environment variable definitions.
Having done that, we’ve successfully set up and integrated our Vercel Postgres database. In the next section, we will see how to interact with this database.
Interacting with the Database
There are two main ways to access the database from the demo application:
- Through the Vercel Postgres SDK
- Through one of the supported ORMs
The Vercel Postgres SDK
The SDK abstracts the complexities of accessing the database and provides tools for efficient interaction with the Postgres database. The SDK is compatible with the node-postgres library and offers the following options:
- sql
- db
- createClient()
sql
The sql function, imported from the Vercel Postgres SDK, is designed to automatically create a pooled database connection using the URL specified in the environment variables.
Unlike generic functions invoked with parentheses, the sql function is defined as a template literal tag. It isn’t called using parentheses. Instead, it is suffixed with a template literal string that defines a particular SQL query.
This is what the syntax looks like:
sql`INSERT INTO Pets (Name, Owner) VALUES (${petName}, ${ownerName});`;
The code snippet above shows how to construct SQL queries using the sql template literal tag. This function then converts the query into a native Postgres parameterized query.
This approach is used to help prevent the possibility of SQL injections. An error will be thrown if you try to call the sql function like a regular function. Learn about how the function is processed under the hood.
To see this in action, ensure the development server is running or run the command below in the terminal to restart it:
npm run dev
Create a new file named route.ts within the api/test directory and add the following code to it:
import { sql } from "@vercel/postgres";
import { NextResponse } from "next/server";

export async function GET(request: Request) {
  try {
    const result =
      await sql`CREATE TABLE Pets ( Name varchar(255), Owner varchar(255) );`;
    return NextResponse.json({ result }, { status: 200 });
  } catch (error) {
    return NextResponse.json({ error }, { status: 500 });
  }
}
This creates an API route. When visited, it adds a Pets table in the database.
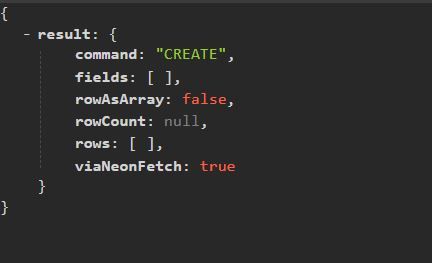
Visit this route in your browser using http://localhost:3000/api/test and see the response shown below. This indicates that the table has been created successfully.
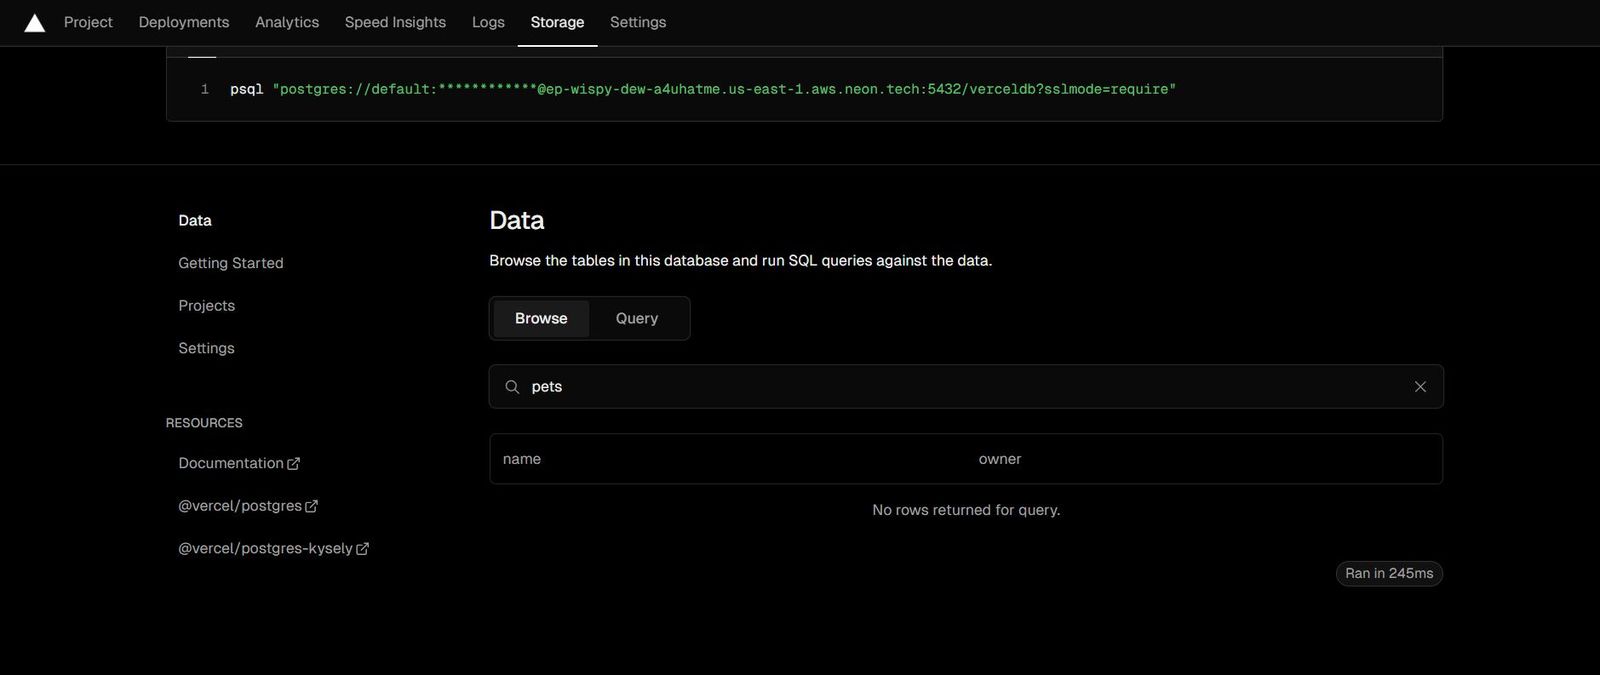
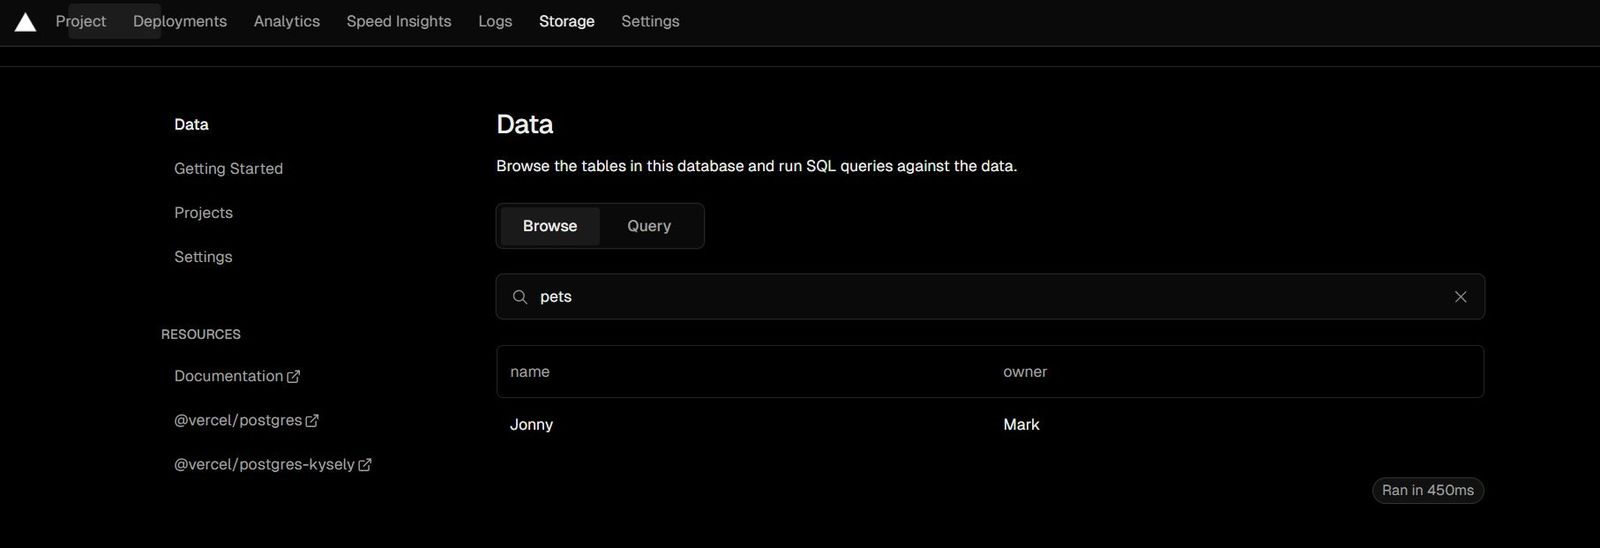
The table you’ve created will be instantly visible on the Vercel dashboard. To view it, go to the dashboard page, click “Data” from the sidebar, and then select the newly created table—in this case, it’s called “Pets.” The table should be empty.
To add data to the created table, create a new file named addPet/route.ts in the app/api/ folder and add the following to it:
import { sql } from "@vercel/postgres";
import { NextResponse } from "next/server";

export async function GET(request: Request) {
  const { searchParams } = new URL(request.url);
  const petName = searchParams.get("petName");
  const ownerName = searchParams.get("ownerName");

  try {
    if (!petName || !ownerName) throw new Error("Pet and owner names required");
    await sql`INSERT INTO Pets (Name, Owner) VALUES (${petName}, ${ownerName});`;
  } catch (error) {
    return NextResponse.json({ error }, { status: 500 });
  }

  const pets = await sql`SELECT * FROM Pets;`;
  return NextResponse.json({ pets }, { status: 200 });
}
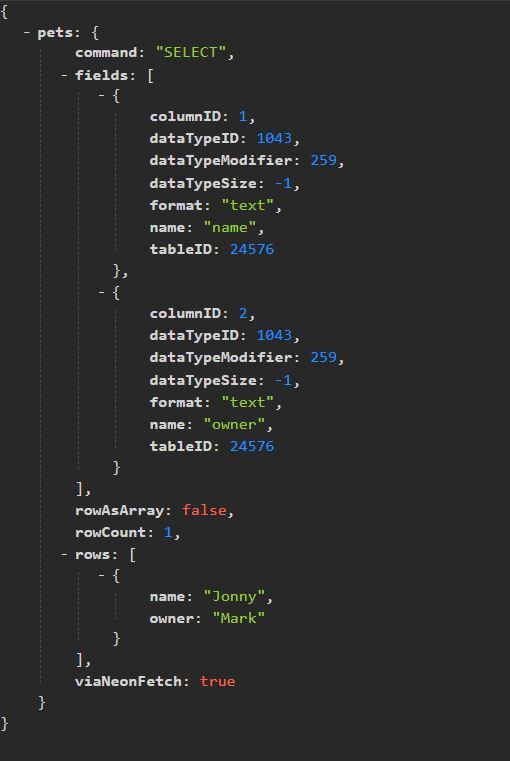
Here, we defined a new API route that adds a row into the Pets table. The ownerName and petName fields are taken from the query string embedded in the URL. The route returns the entire table as a response.
To see the response as shown below, go to http://localhost:3000/api/add-pet?petName=Johnny&ownerName=Mark in your browser.
Also, refresh the table in the dashboard to see the data that was added.
db
Somewhat similar to how the SQL function works, the Vercel SDK also provides a db helper method. that can be used to create a client to connect to a Vercel Postgres database.
The db helper method is particularly useful when there are multiple queries or transactions that need to be processed, as it maintains the connection, unlike the SQL helper which will connect for each query.
Here is a sample code snippet of how it works:
import { db } from "@vercel/postgres";

const client = await db.connect();
await client.sql`SELECT 1`;
Here, we can see how we can create a client instance and call the sql method on it for subsequent SQL queries.
createClient()
The createClient() function allows us to create, connect and disconnect connections for individual clients for each query. However, this approach isn’t as efficient as the previous ones and should be used only when a single client is needed.
The following is a sample code snippet showing how to use the createClient() method:
import { createClient } from "@vercel/postgres";

async function queryPosts() {
  const client = createClient();
  await client.connect();

  try {
    const likes = 100;
    const { rows, fields } =
      await client.sql`SELECT * FROM posts WHERE likes > ${likes};`;
  } finally {
    await client.end();
  }
}
Using One of the Supported ORMs
We can avoid the stress of writing complex SQL queries directly and rely solely on an ORM. ORMs are abstractions that simplify data access and manipulation for developers. It allows interaction with a database using the familiar syntax of your programming language.
Vercel Postgres supports ORMs like Kysely, Drizzle and Prisma. Let’s take a look at the Prisma ORM integration.
To use Vercel Postgres with Prisma, we need to start by installing the Prisma CLI and Prisma client. Run the following commands in your terminal:
npm i prisma @prisma/client
Next, run the command below to initialize a new Prisma project within your current working directory:
npx prisma init
This command creates a new prisma folder at the root level of the application. This folder contains a schema.prisma file, which contains Prisma’s base configuration.
Next, you can use the environment variables in the schema.prisma file as shown below:
generator client {
  provider = "prisma-client-js"
}

datasource db {
  provider = "postgresql"
  // Uses connection pooling
  url = env("POSTGRES_PRISMA_URL")
  // Uses direct connection, ⚠️ make sure to keep this to `POSTGRES_URL_NON_POOLING`
  // or you'll have dangling databases from migrations
  directUrl = env("POSTGRES_URL_NON_POOLING")
}

model User {
  id        Int      @id @default(autoincrement())
  name      String
  email     String   @unique
  image     String
  createdAt DateTime @default(now())
}
The code above configures the Prisma ORM and also defines a User model. This article only provides an overview of how to use the ORM and won’t dive into the syntax of Prisma. You can learn more about how Prisma works from the official documentation.
Next, run the command below to synchronize the model defined in the schema.prisma file with a Vercel Postgres database:
npx prisma db push
Also, run the command below to generate the types:
npx prisma generate
Finally, we can use @prisma/client to query the Vercel Postgres database as shown below:
import { PrismaClient } from "@prisma/client";

const prisma = new PrismaClient();

export default async function prismaExample() {
  const newUser = await prisma.user.create({
    data: {
      name: "Jamie",
      email: "jamieadam@gmail.com",
    },
  });

  const users = await prisma.user.findMany();
}
The code snippet above shows how Prisma ORM allows us to interact with the database without writing SQL queries directly, which is a more intuitive approach.
Conclusion
This article provides a comprehensive introduction to Vercel Postgres, including detailed steps for configuring the database. It also provides an overview of how to interact with the database using the SDK or an ORM.


