
How to Create Dynamic and Interactive Maps with KendoReact Map Component

Summarize with AI:
Learn how to set up the KendoReact Map component in a React application, customize the appearance of the map, add markers and shapes, and bind it to a variety of data sources.
The Progress KendoReact Map component is a powerful tool for displaying geographical data on a map. It allows you to customize the appearance of the map, add markers and shapes, and bind it to a variety of data sources. In this article, we will walk through the process of setting up and using the KendoReact Map component in a React application!
Getting Started
KendoReact
Before we get started, we’ll first assume we have a running KendoReact JavaScript application. If you want help getting started, follow the first step listed here to create your KendoReact application with the create-kendoreact-app tool. As mentioned in the documentation, the create-kendoreact-app tool guides
us through the process of creating a new React application with KendoReact components. When running:
npx create-kendoreact-app
We’ll create our app for this article as follows:
? What is the name of your project? my-kendoreact-map-app
? Do you want to use TypeScript? No
? Do you want to use SASS? Yes
? Which Kendo UI Theme do you want to use?
  ❯ default
    bootstrap
    material
We’ll then make sure to install the kendo-react-map package (and accompanying packages). To do so, we’ll run the following command in the root of our project directory:
npm install --save @progress/kendo-react-map @progress/kendo-drawing @progress/kendo-licensing
As per the instructions noted in Step 3 in the Getting Started guide, using any of the UI components from the KendoReact library requires either a commercial license key or an active trial license key. Follow the instructions on the KendoReact My License page to activate your license.
Initial File Structure/Setup
To keep things simple, we’ll establish and work only within two files in our application src/ directory.
src/
  index.js
  index.scss
src/index.scss is the root stylesheet of our application. In it, we’ll import the CSS file that represents the kendo-theme-default styles.
@import "~@progress/kendo-theme-default/dist/all.scss";
We’ll prepare our src/index.js file as our starting point. In the src/index.js file, we’ll have our React app mount a <MapContainer /> component that simply returns the Hello World! text as a starting point.
import React from "react";
import ReactDOM from "react-dom/client";
import "./index.scss";

const MapContainer = () => <div>Hello World!</div>;

const root = ReactDOM.createRoot(document.getElementById("root"));
root.render(
  <React.StrictMode>
    <MapContainer />
  </React.StrictMode>
);
At this moment, we’ll be presented with the Hello World! text in http://localhost:3000/ when we run our app with npm start.
The KendoReact Map Component
We’ll begin by adding the KendoReact Map component to our React application by first importing the components as follows:
import { Map, MapLayers, MapTileLayer } from "@progress/kendo-react-map";
- The
<Map />component is a container for map layers that displays a geographical area. It allows us to pan and zoom the map, and customize its appearance. - The
<MapLayers />component is a container for map layers that are rendered on top of the base map. It allows you to group and manipulate map layers together. - The
<MapTileLayer />component is a map layer that displays tiles from a URL template. It allows you to specify the source of the tiles and customize the appearance of the layer. The<MapTileLayer />component is usually used to display a base map, such as a street map or satellite imagery.
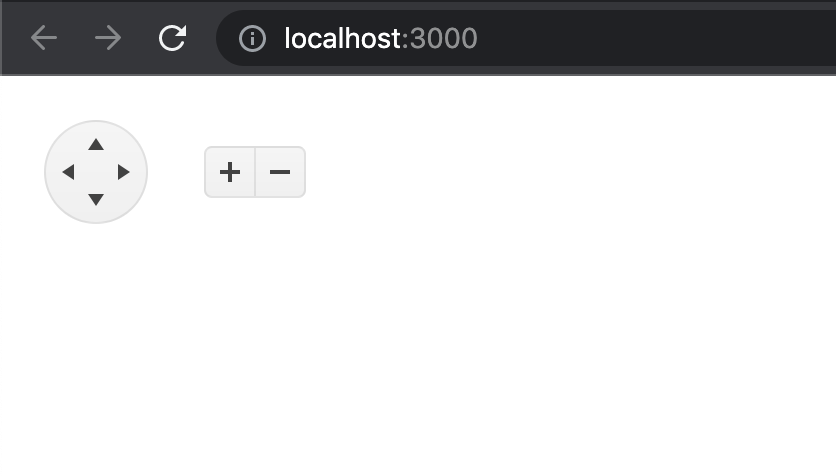
We’ll first update the root <MapContainer /> component as follows:
const MapContainer = () => (
  <Map>
    <MapLayers />
  </Map>
);
By doing so, we’ll notice our app renders the widgets of the map to navigate and zoom in/out of our map. However, we’ll notice no map is currently being displayed.
This is where we’ll need to use the <MapTileLayer /> component to help render the map view. As we’ve mentioned earlier, the <MapTileLayer /> component is a map layer
that displays tiles from a URL template. The URL template we’ll provide will come from a map utility tool that exists.
Many different map tools exist such as:
- Google Map
- Mapbox
- OpenLayers
- Etc.
We’ll use the OpenStreetMap tool since it is a free and open geographic database.
In our src/index.js file, we’ll write a tileUrl() function that generates an OpenStreetMap URL for a map tile based on zoom, x and y properties of an object passed as an argument. We’ll also have another const that represents the attribution of this map to © OpenStreetMap contributors
const tileUrl = (e) =>
  `https://tile.openstreetmap.org/${e.zoom}/${e.x}/${e.y}.png`;
const attribution = "© OpenStreetMap contributors";
We’ll then render the <MapTileLayer /> component within our <MapContainer /> and provide the values of tileUrl and attribution to the urlTemplate and attribution props of the component respectively.
const tileUrl = (e) =>
  `https://tile.openstreetmap.org/${e.zoom}/${e.x}/${e.y}.png`;
const attribution = "© OpenStreetMap contributors";

const MapContainer = () => (
  <Map>
    <MapLayers>
      <MapTileLayer urlTemplate={tileUrl} attribution={attribution} />
    </MapLayers>
  </Map>
);
- The
urlTemplateprop in<MapTileLayer />is a function that returns an image URL for the tile position. It provides an object argument that containszoom,xandycoordinates of the tile. - The
attributionprop accepts astringand is the attribution for the layer.
If we were to save our changes, we’ll notice a map now gets rendered in our app!

We’ll also be able to move around and zoom in/zoom out into the app using the navigation controls available to us or using our mouse cursor.
In addition to the basic map rendering capabilities, the @progress/kendo-react-map library provides a several additional features that can be useful when building mapping applications with React.
Markers
Markers on a map are helpful since they provide a visual representation of a specific location or point of interest. They can be used to show the location of a business, landmark or any other important place.
The @progress/kendo-react-map library provides components for rendering markers, such as the <MapMarkerLayer /> component which allows us to specify the location, appearance,
and behavior of markers on the map.
We’ll first import the <MapMarkerLayer /> component in our src/index.js file.
import {
  Map,
  MapLayers,
  MapTileLayer,
  MapMarkerLayer,
} from "@progress/kendo-react-map";
We’ll then define a markers array that represents the markers that we’ll want to be displayed on the map. Each object in the array will have a latlng property that specifies
the latitude and longitude of the marker, and a name property that specifies the name of the marker.
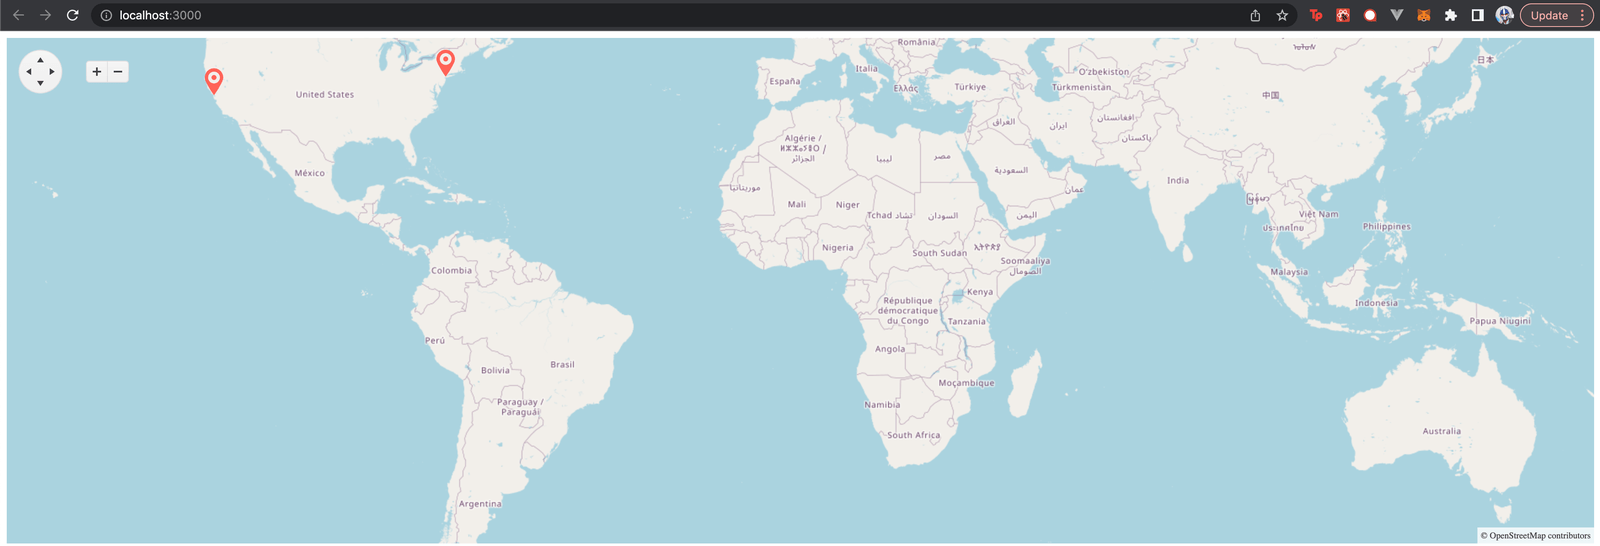
We’ll want two markers in our app, one in San Francisco and one in New York City. This will have our markers array look like the following.
const markers = [
  {
    latlng: [37.7749, -122.4194],
    name: "San Francisco",
  },
  {
    latlng: [40.7128, -74.006],
    name: "New York City",
  },
];
We’ll then render the <MapMarkerLayer /> component in our app.
- We’ll provide the
markersarray as the value to thedataprop. - And we’ll also specify the values for the
locationFieldandtitleFieldprops to belatlngandnamerespectively.
const MapContainer = () => (
  <Map>
    <MapLayers>
      <MapTileLayer urlTemplate={tileUrl} attribution={attribution} />
      <MapMarkerLayer data={markers} locationField="latlng" titleField="name" />
    </MapLayers>
  </Map>
);
With this change, we’ll notice two markers appear in our app! One in San Francisco and one in New York.
Bubbles
Bubbles, or circles, on a map are often used to represent the size or magnitude of a particular data point. This can be useful for quickly visualizing patterns or trends, such as which areas have a high concentration of a particular type of data or which areas have a higher value for a particular variable.
The <MapBubbleLayer /> component is a layer that can be used to render bubbles on a map, where each bubble is associated with a data item and is placed at a specific geographic location on the map. We’ll
first import the <MapBubbleLayer /> component:
import {
  Map,
  MapLayers,
  MapTileLayer,
  MapMarkerLayer,
  MapBubbleLayer,
} from "@progress/kendo-react-map";
We’ll then establish a bubbles data array that represents each bubble’s location and value as well as a bubbleStyle const that represents how we would want each bubble to
be styled.
const bubbles = [
  {
    location: [34, -118.25],
    value: 1180,
  },
  {
    location: [38.25, -85.76],
    value: 2000,
  },
  {
    location: [35.11, -90],
    value: 1500,
  },
  {
    location: [29.95, -90.09],
    value: 605,
  },
  {
    location: [33.5, -112.11],
    value: 305,
  },
  {
    location: [41.81, -71.42],
    value: 400,
  },
  {
    location: [34.12, -117.29],
    value: 500,
  },
  {
    location: [43.21, -77.63],
    value: 800,
  },
  {
    location: [40.69, -111.89],
    value: 1100,
  },
  {
    location: [37.79, -122.38],
    value: 700,
  },
  {
    location: [38.63, -90.34],
    value: 500,
  },
];

const bubbleStyle = {
  fill: {
    color: "orange",
    opacity: 0.5,
  },
  stroke: {
    width: 1,
    color: "black",
  },
};
Finally, we’ll render the <MapBubbleLayer /> component within the <MapLayers /> component. The <MapBubbleLayer /> component
will be passed the bubbles array as its data prop, and the locationField and valueField props are used to specify
the properties of the data items that represent the bubble’s location and value, respectively. We’ll also pass bubbleStyle as the component’s style prop.
const MapContainer = () => (
  <Map>
    <MapLayers>
      <MapTileLayer urlTemplate={tileUrl} attribution={attribution} />
      <MapMarkerLayer data={markers} locationField="latlng" titleField="name" />
      <MapBubbleLayer
        data={bubbles}
        locationField="location"
        valueField="value"
        style={bubbleStyle}
      />
    </MapLayers>
  </Map>
);
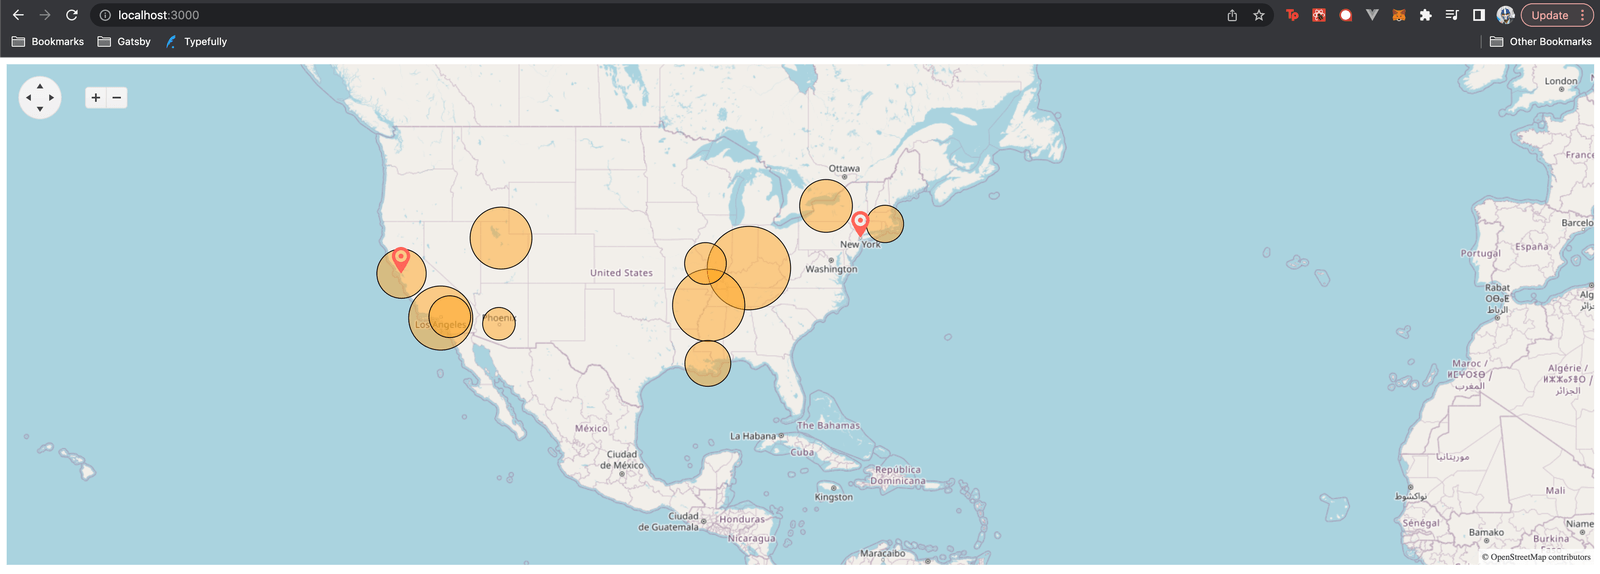
When saving our changes, we’ll now notice a several bubbles with different sizes placed in different geographical locations within the United States.
Event Handling
Handling events in a map is helpful since it allows us to specify certain actions or behaviors that should occur when certain events occur within the map. For example, an event handler could be used to specify that a pop-up window should be displayed when a user clicks on a marker on the map, or that a specific image should be displayed when the user hovers over a particular area of the map.
The @progress/kendo-react-map library provides a number of events that we can handle in our application. To handle an event, we can use the onX prop where X is the name of the event we want to handle. For example, to handle the map click event, which is fired when the map has been clicked, we can use the onMapClick prop.
onMapClick
Here’s an example of adding the onMapClick prop to the <Map /> component and passing a handleMapClick() function as the prop value.
The handleMapClick() function is called whenever the user clicks on the map and logs the location of the click to the console.
const handleMapClick = (event) => {
  console.log("Map clicked at:", event.location);
};

const MapContainer = () => <Map onMapClick={handleMapClick}>{/* ... */}</Map>;
When clicking a certain location in the map, that location’s coordinates are now logged to the console.

onMarkerClick
The <Map /> component also allows us to track whenever the user clicks on a marker with the onMarkerClick prop. Here’s an example of logging marker details to the console
whenever one of the two markers in our map has been clicked.
const handleMarkerClick = (event) => {
  console.log("Marker clicked:", event.marker);
};

const MapContainer = () => (
  <Map onMarkerClick={handleMarkerClick}>{/* ... */}</Map>
);
onPan
The <Map /> component also allows us to track whenever the map is being panned with the onPan prop. Here’s an example of logging location details to the console when
the map is panned.
const handleMapPan = (event) => {
  console.log("Map panned:", event);
};

const MapContainer = () => <Map onPan={handleMapPan}>{/* ... */}</Map>;
The @progress/kendo-react-map library provides many other events that we can handle in similar ways, such as the zoomEnd event, which is fired when the map has finished zooming,
the panEnd event, which is fired when the user has finished panning the map, etc. You can find a complete list of the events that are provided by the @progress/kendo-react-map library in the documentation.

Wrap-up
The KendoReact Map component is a useful tool for displaying and interacting with geographical data in a React application. It provides a range of features such as the ability to add markers and shapes, customize the appearance of the map, and handle events and programmatic control.
You can find the code we’ve written in this article in the following public Gist. Finally, for more details, be sure to check out the official component documentation! And don’t forget—you can try KendoReact for free.

Hassan Djirdeh
Hassan is a senior frontend engineer and has helped build large production applications at-scale at organizations like Doordash, Instacart and Shopify. Hassan is also a published author and course instructor where he’s helped thousands of students learn in-depth frontend engineering skills like React, Vue, TypeScript, and GraphQL.
Related Posts
Comments
All articles
Topics
Web MobileMobile
Desktop
Design
Productivity
People
