Font Optimization in Next.js

Summarize with AI:
This article covers the traditional approach to including and using fonts in a Next.js application, the issues with the approach and how it can be improved optimally with the next/font management system.
Amid the news about Server Actions, the release note on Next.js 14 about officially dropping support for @next/font in favor of next/font might not have caught your eye.
The next/font package was released in 2022 with Next.js 13, a major release that introduced changes like support for React Server Components architecture, Middleware API Updates and streaming.
An important inclusion to the update was the introduction of the highly optimized font management system. The next/font package automatically optimizes fonts, which can improve a web application’s performance and SEO. It removes external network requests and includes built-in self-hosting for any font file.
The feature also has great support for Google Fonts and eliminates the need to download Google Fonts locally or the need to include CDN links in Next.js applications.
In this article, we will look at the traditional approach to including and using fonts in a Next.js application, the issues with the approach and how it can be improved optimally with the fully endorsed next/font font management system.
Prerequisites
This tutorial also assumes that you’re familiar with the basics of JavaScript, React and Next.js.
Project Setup
Let’s set up a simple Next.js application that will be used throughout this tutorial. Run the following command in your terminal to create a Next.js project:
npx create-next-app next-font-demo
You will encounter a few prompts after running this command. When given the option, select to include TypeScript, and then go with the defaults for the rest.
Finally, switch to the newly created next-font-demo directory with the following command:
cd next-font-demo
Next, run the command below to start up your development server:
npm run dev
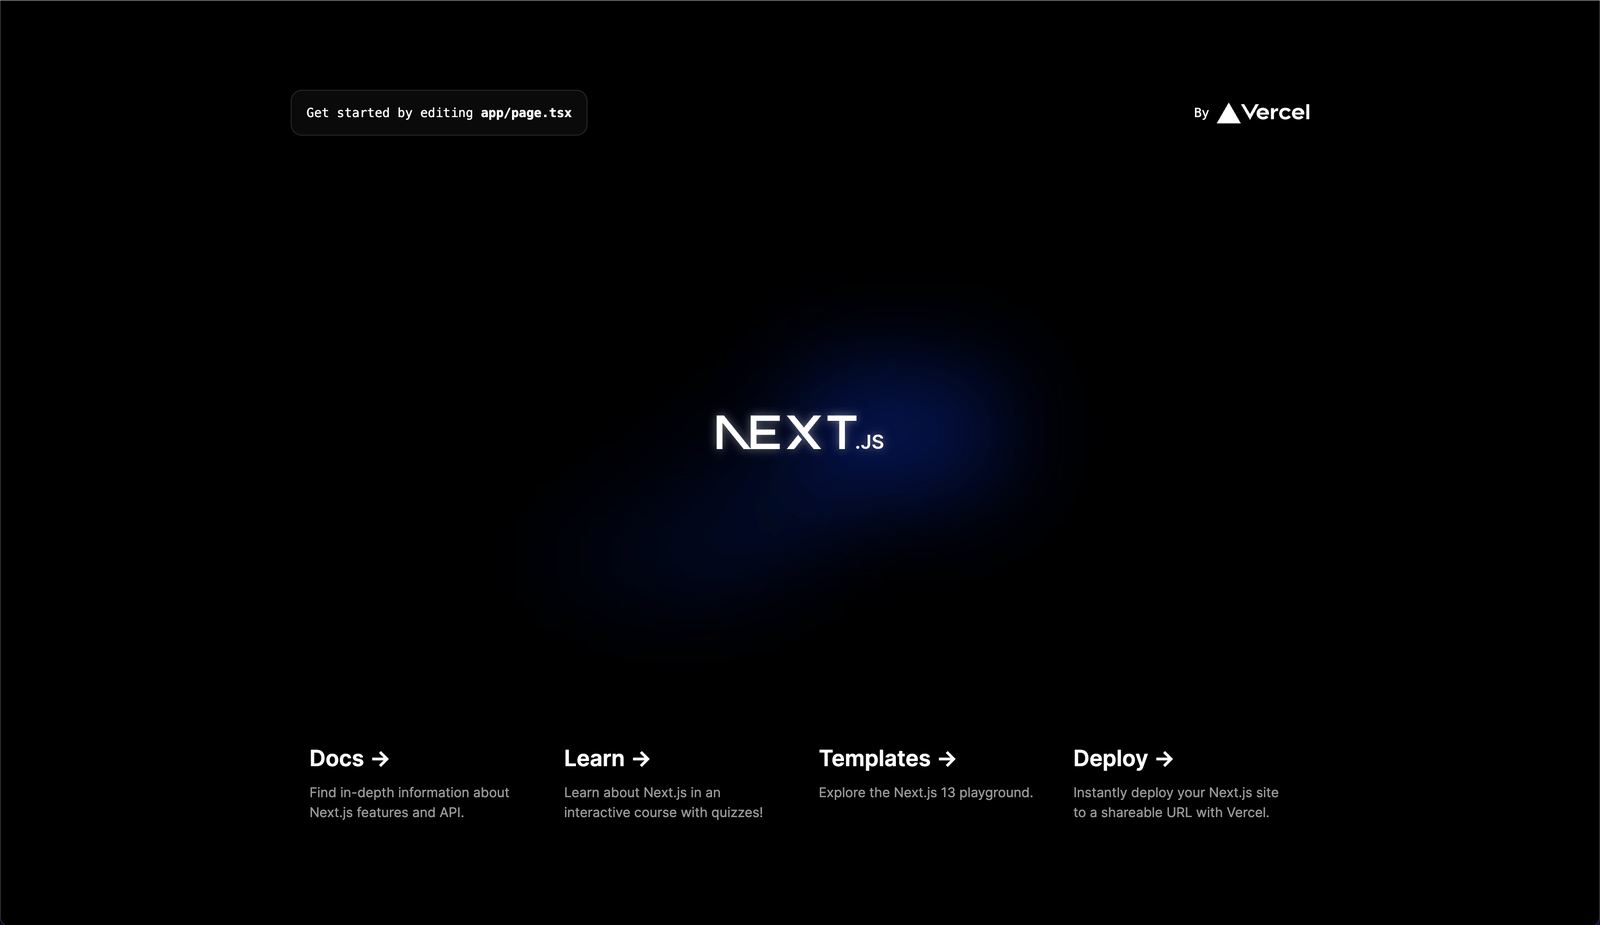
You should see the running app in your browser by navigating to http://localhost:3000.
Using Fonts the Old-Fashioned Way
In the previous section, we installed Next.js. Before going into details on the highly optimized way of working with fonts in a Next.js application, let us review the conventional approach before the release of version 13.
Open your src/app/layout.tsx file and update it as shown below by commenting out the new default font construct.
import "./globals.css";
// import { Inter } from 'next/font/google'
// const inter = Inter({ subsets: ['latin'] })

export const metadata = {
  title: "Create Next App",
  description: "Generated by create next app",
};

export default function RootLayout({
  children,
}: {
  children: React.ReactNode,
}) {
  return (
    <html lang="en">
      {/* <body className={inter.className}>{children}</body> */}
      <body>{children}</body>
    </html>
  );
}
We can use fonts from third parties such as Google Fonts or Adobe Fonts by embedding the link that references the font in an instance of the Next.js Head tag or importing it directly into a CSS file. We will be using Google Fonts here.
Load the Google Fonts web page in your browser. Select a preferred font family and copy the import link from the sidebar.
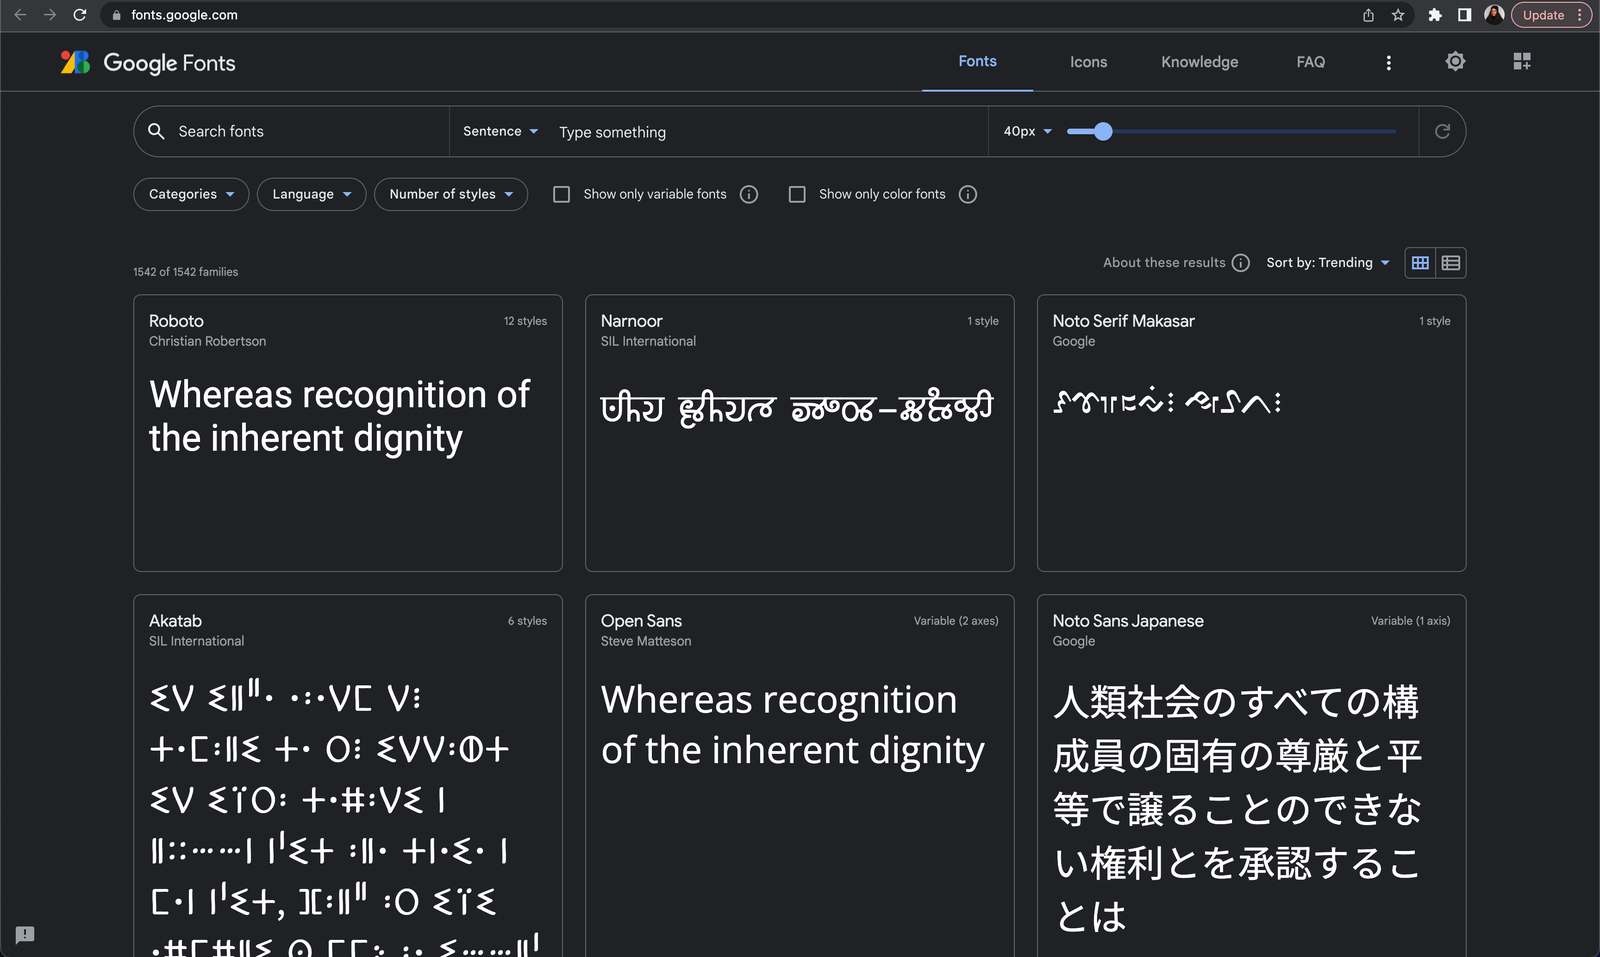
I selected the “Caveat” font family for this example, but you can use any font family you like. We are using the CSS import option here, but you can get the link tag and embed it in a Head component instead. We also need to make some changes to match the default TypeScript configuration.
Open your src/app/globals.css and add the import link at the top of the file as shown below:
@import url("https://fonts.googleapis.com/css2?family=Caveat:wght@400;600&display=swap");
Also, scroll down a bit and include the font to the body styles as shown below:
body {
  font-family: "Caveat", cursive;
}
Check the application in your browser and notice the font change.
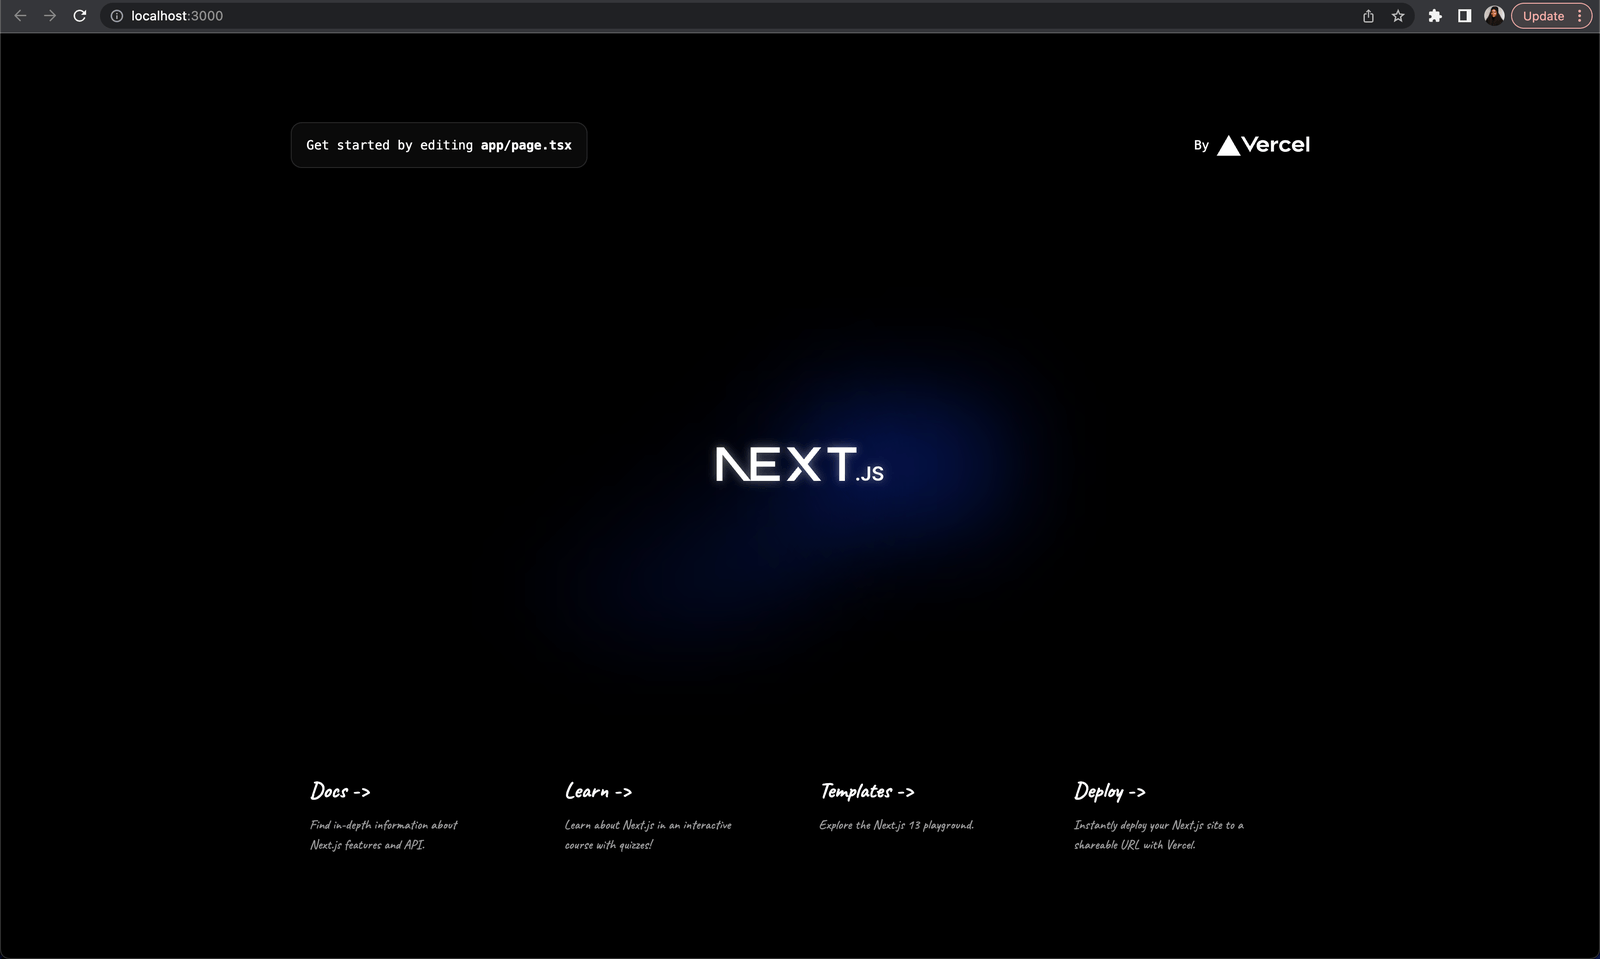
While this approach works, we will notice a shift in the layout and some other performance issues. Let us review some of those issues in the next section.
Issues with the Previous Approach
The browser parses the DOM on every page load and initiates the rendering process. Before rendering, the browser detects font links defined in a Head component or specified in a CSS file and immediately tries to download the fonts. While this may be okay to some extent, we may encounter performance issues due to the cost of downloading the font every time the page loads.
Let us see this in action in our demo application. Open the Network tab of the Developer’s console in the browser and refresh the page.
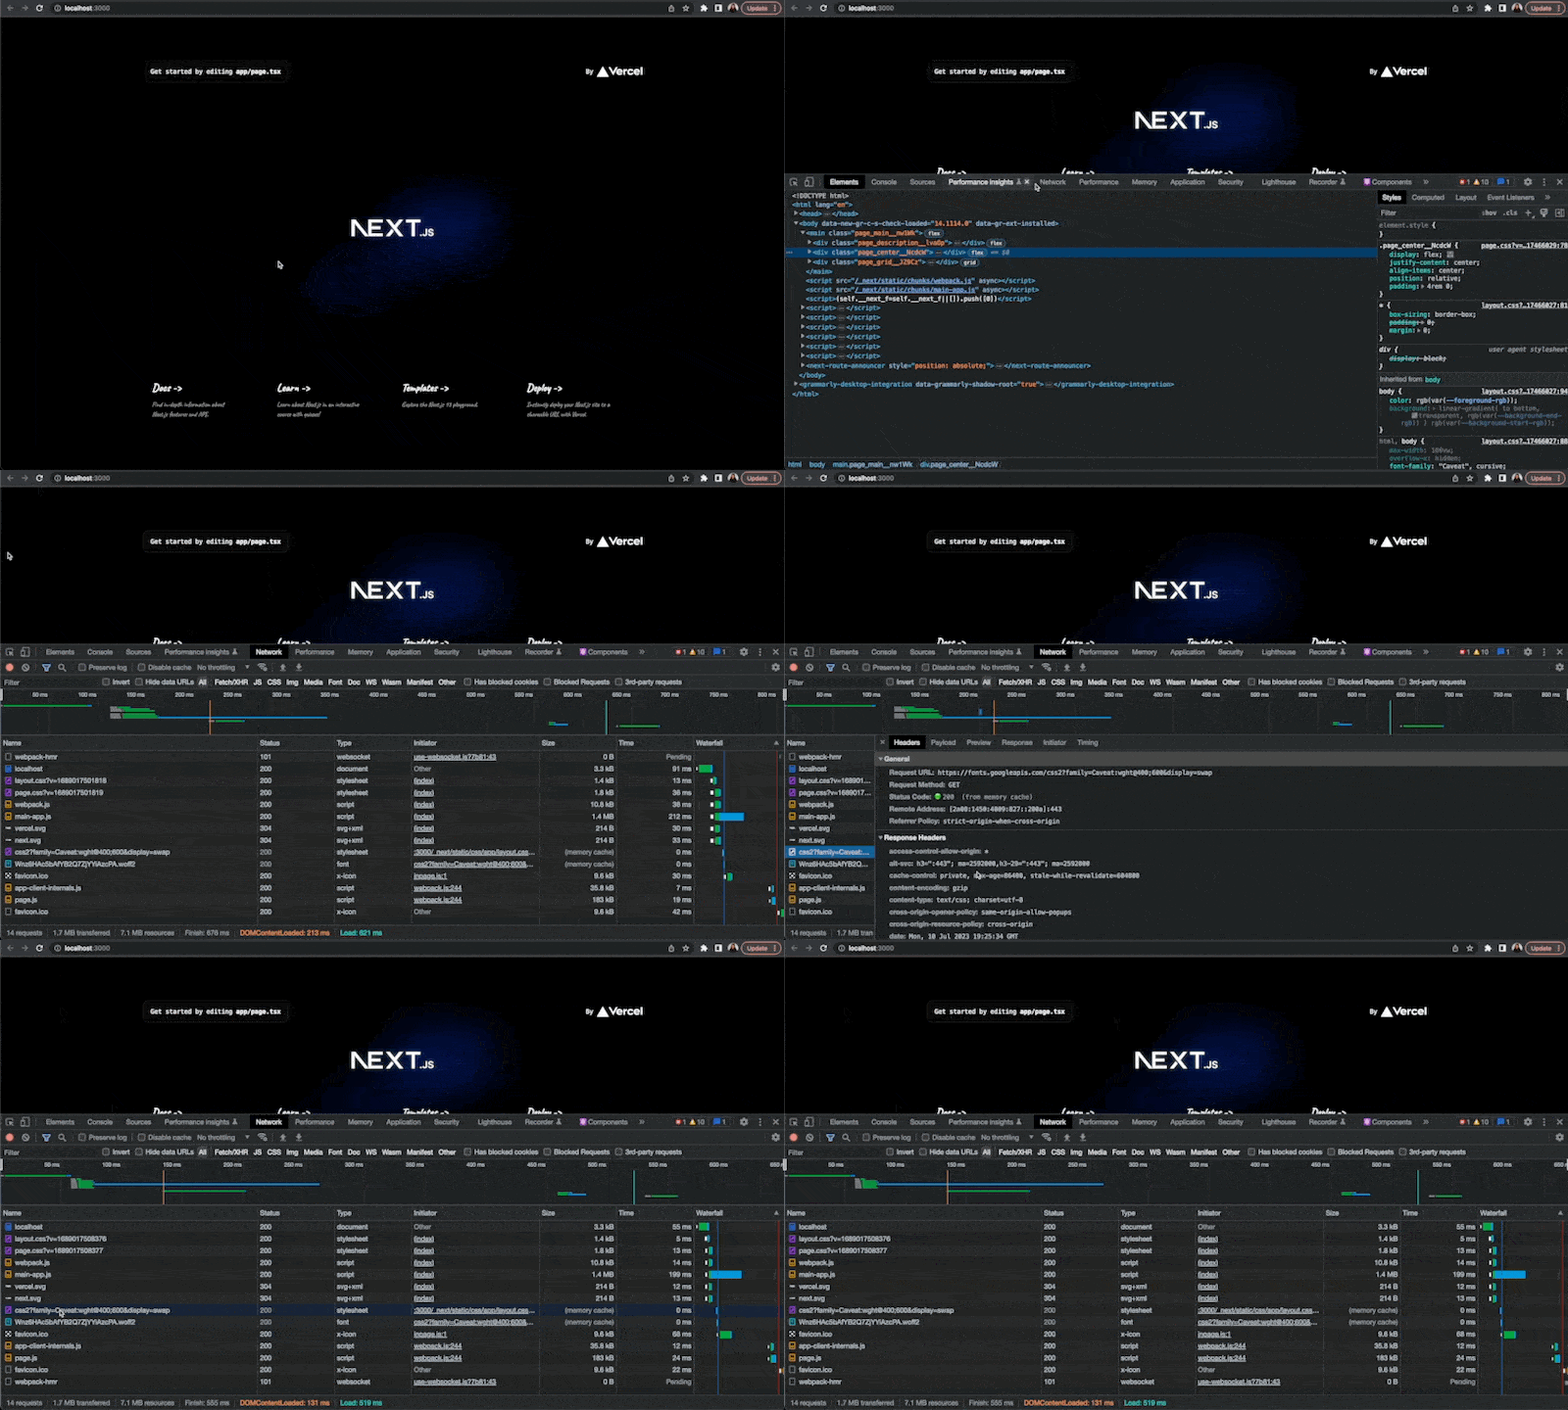
Here, we can see some initial requests made by the browser. By checking through the request, we should see the request made by the browser to download the selected font. Refreshing the page reveals that this request is recurring.
The font download is handled asynchronously. The browser tries to download the font under the hood without blocking the rendering of the DOM. This process may take some time in cases where the user has a slow internet connection or if the web font is quite large. However, when it gets the font, it fixes it where necessary, causing cumulative layout shifts.
Cumulative layout shift is a core metric that is also considered when accessing the user experience of a web application, and according to the web.dev specification, a low CLS helps ensure the page is delightful. Learn more about cumulative layout shifts (CLS) here.
To manage shifts in the layout, we can define a couple of properties to help configure the delivery of the fonts in an application. For example, we can define a font-display CSS property that influences how a font face is shown based on whether it has been downloaded and is ready to use. It accepts values including swap, block, auto, fallback and optional.
When set to swap, the browser is instructed to immediately render the page with a fallback font and then swap it with the web font after it is fully loaded. On the other hand, when set to block, we instruct the browser to hide the text until the web font is fully loaded.
Learn about the font-display property and other possible accepted values here.
We can also define a size-adjust property that can help override the metrics of a fallback font to match those of a prospective web font better.
Manually setting these properties can be quite challenging. In subsequent sections, we will learn about the Next.js 13 optimized approach of working with fonts and how it solves some of those issues mentioned.
The Next/Font System
Next.js 13 introduced an optimized way of working with fonts through its next/font package. This package enables the easy addition of local and external fonts (built-in support only for Google fonts for now) to applications without worries about the optimization details. This approach proffers solutions to the issues highlighted in the previous section.
To eliminate recurrent network requests made by the browser, the new Next.js font system self-host fonts. At build time, the CSS and font files are downloaded and self-hosted with the rest of the static assets, thereby improving the application’s performance by reducing the number of external network requests. This leads to faster page load time and a better user experience.
The next/font package provides an automatic matching fallback that aligns with a target font. It auto-defines properties such as size-adjust to achieve a minimal (almost none) layout shift.
The next/font package provides two channels for loading and using fonts in a Next.js application. We can use the next/font/google option to work with Google Fonts or the next/font/local option to work with local fonts.
In the subsequent sections, we will learn how to use Google and local fonts in a Next.js application.
Using Google Fonts in an Optimized Way
The code generated by the create-next-app templating tool already includes a modest implementation of the next/font system. Let’s start from there.
Open the src/app/layout.tsx file and uncomment the comments we added in a previous section of this article. Also, uncomment the added body element as shown below so we can use the newer font system instead.
import "./globals.css";
import { Inter } from "next/font/google";

const inter = Inter({ subsets: ["latin"] });

export const metadata = {
  title: "Create Next App",
  description: "Generated by create next app",
};

export default function RootLayout({
  children,
}: {
  children: React.ReactNode,
}) {
  return (
    <html lang="en">
      <body className={inter.className}>{children}</body>
    </html>
  );
}
Next, open the src/app/globals.css file and comment out the Google Font link we added at the top of the file. Also, remove the font definition we added to the body element in the previous section.
/* @import url('https://fonts.googleapis.com/css2?family=Caveat:wght@400;600&display=swap'); */
.. .. .. body {
  /* font-family: 'Caveat', cursive; */
}
Preview the application in the browser, and you should see the default fonts back in play.
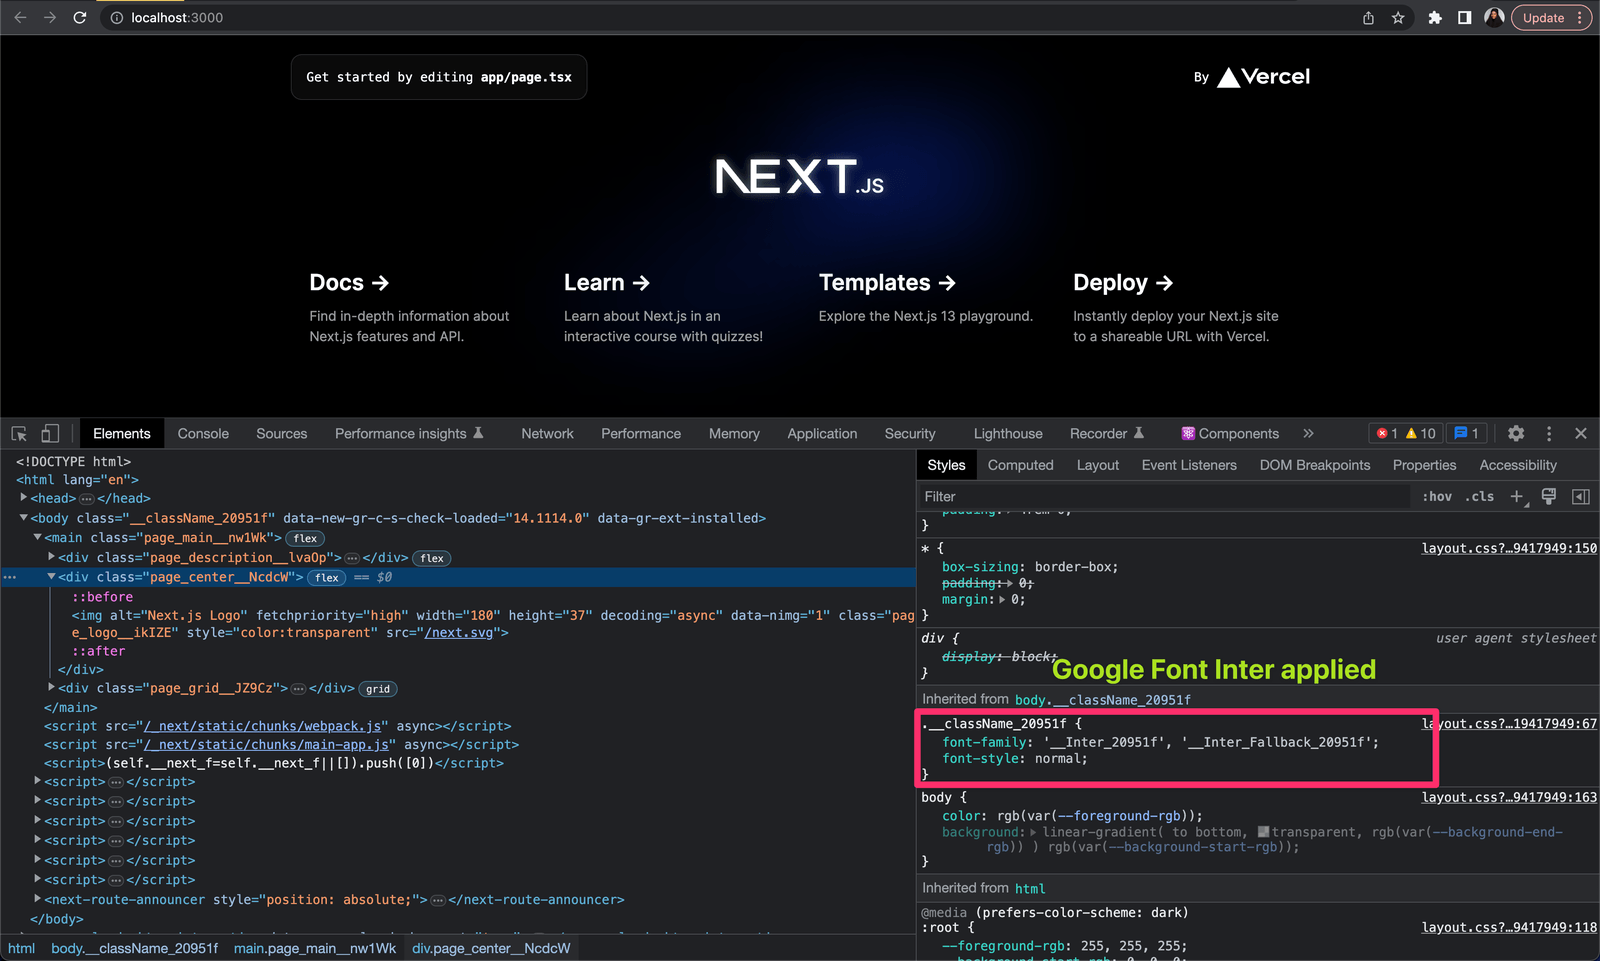
Now, let us break down the code that defines the font in the src/app/layout.tsx file. There are three major steps to using fonts with the next/font system. The steps involve importing the font as a function, instantiating it and passing it either as a prop or as a CSS variable.
To load any font from the Google Fonts collection, we only need to get the font name and import it directly from next/font/google as a function.
import { Inter } from "next/font/google";
Here we imported the Inter font. We can do the same with any other font type from Google Fonts.
It is vital to note that if a font name contains a space (for example, “Open Sans”), the space must be replaced with an underscore (i.e., Open_Sans).
Next, to use the imported font function, we are required to instantiate it. We call the function and may also customize its functionalities with some default arguments.
const inter = Inter({ subsets: ['latin'] })
Here, the subsets argument is passed to reduce the size of the font file and improve performance. It is typically defined by an array of string values containing the names of each preloaded subset. We will continue to look at some of the other valid arguments in the rest of this article.
The created instance is then used with the body element, as shown below:
<html lang="en">
  <body className={inter.className}>{children}</body>
</html>
Log the inter constant to the console to understand what goes down under the hood. The default RootLayout component in the src/app/layout.tsx file is a server component, so you should see your logged inter object in your application terminal instead.
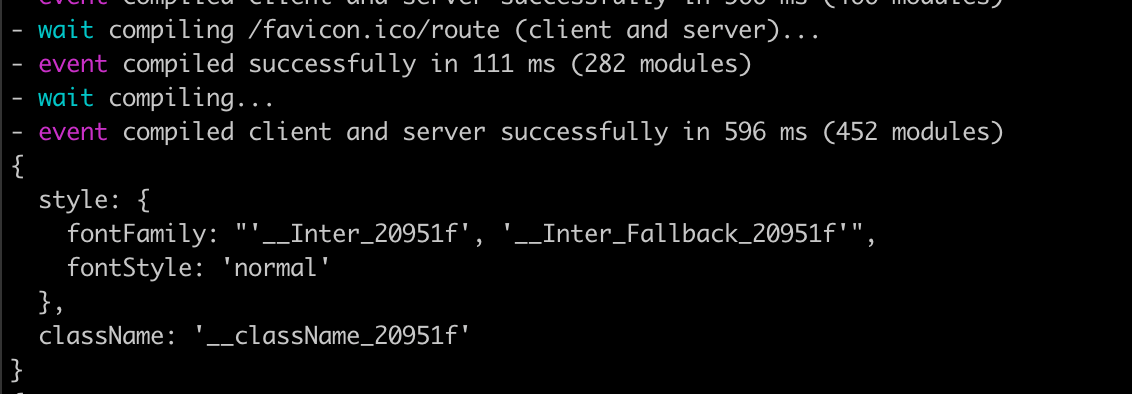
From the image above, we can see that the result of the font function call is an object with a style and a className attribute that can be used to apply the font across the application.
Variable and Non-Variable Fonts
It is important to understand the two formats, as they offer distinct features and capabilities.
A variable font includes several variations in a single file, provides multiple typographic variations, and allows for seamless interpolation between different styles, such as weight, width, slant and optical sizes.
Non-variable fonts, on the other hand, are delivered as separate font files for each style variant, restricting the range of design possibilities.
Variable fonts allow users to alter the font style to their preference. Users can customize the weight, width and other factors to create a more unique experience. This dynamic customization option is not available in non-variable fonts.
When working with the next/font system in Next.js, it is recommended to use variable fonts for the best performance and enhanced design flexibility.
In the previous section, we already used a variable font, Inter. However, in cases where we cannot use a variable font, non-variable fonts require we specify a weight argument when instantiating the imported font function.
The weight argument accepts a string or an array of possible weight values. We can define other optional font function arguments, such as style. The style argument accepts a string or an array combination of values such as normal, italic, among others. Learn more about these attributes here.
Examples of variable fonts include Inter, Recursive, Geologica, Open Sans, Montserrat, etc. Non-variable fonts include Lato, Roboto, Poppins, Merriweather, Ubuntu, etc.
To distinguish between variable and non-variable Google Fonts, each font card on the Google Fonts homepage provides information about the font format in the upper right corner.
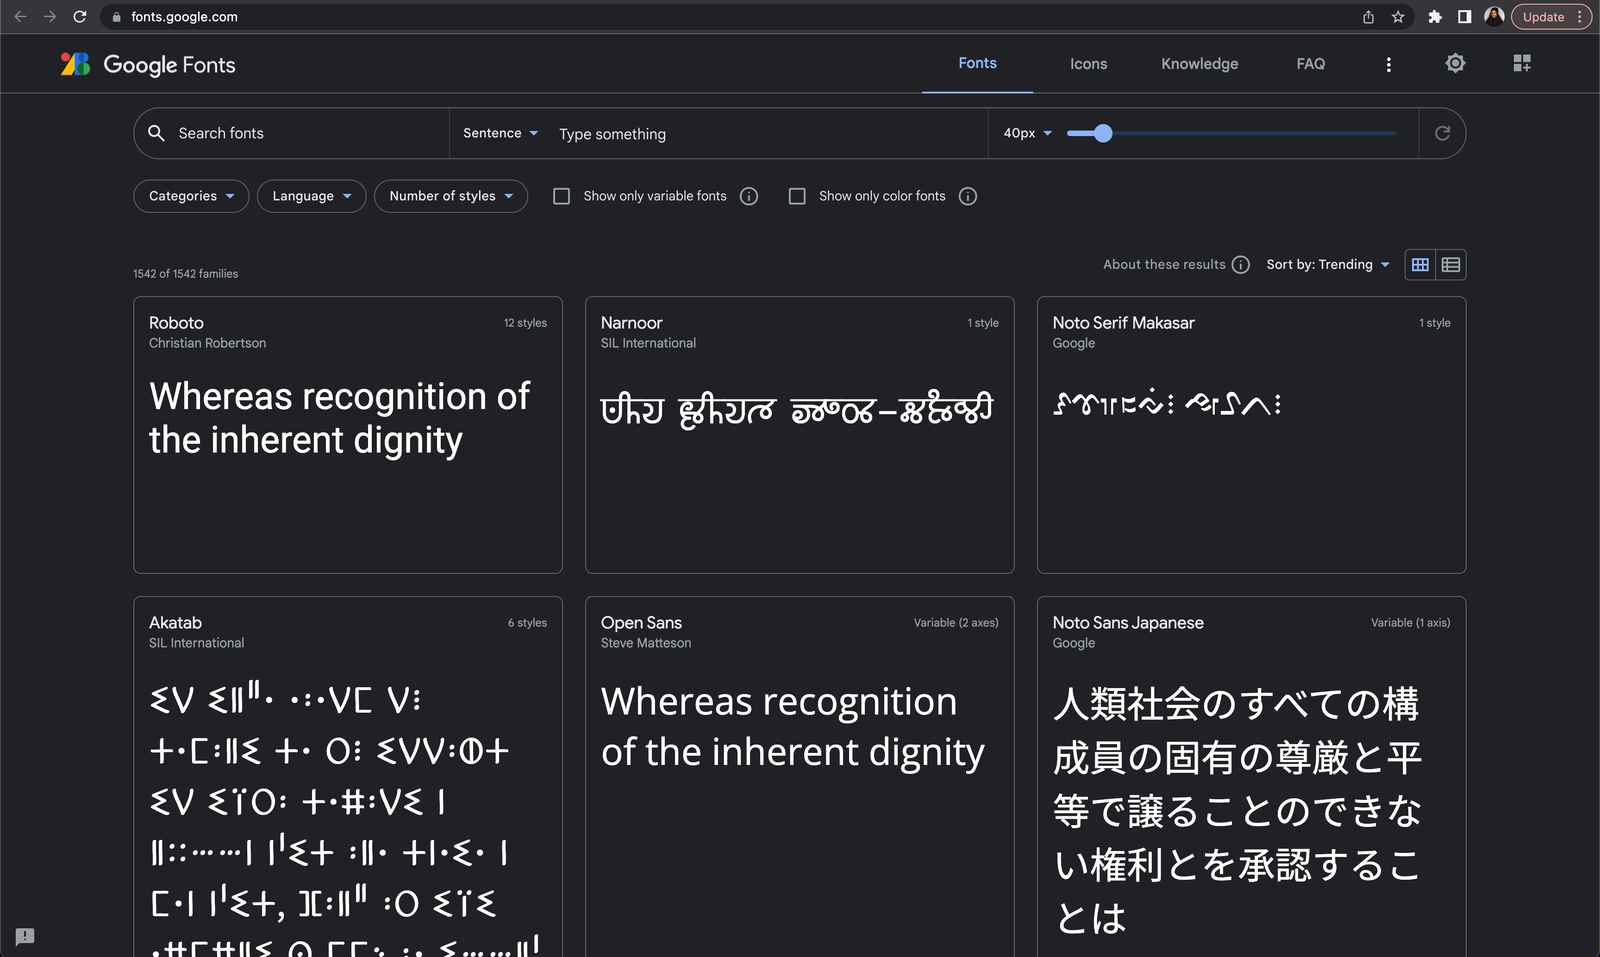
To use a non-variable font (e.g., Roboto) in our demo application, update the code in the src/app/layout.tsx file as shown below:
import "./globals.css";
import { Roboto } from "next/font/google";

const roboto = Roboto({
  weight: ["400", "700"],
  style: ["normal", "italic"],
  subsets: ["latin"],
});

export const metadata = {
  title: "Create Next App",
  description: "Generated by create next app",
};

export default function RootLayout({
  children,
}: {
  children: React.ReactNode,
}) {
  return (
    <html lang="en">
      <body className={roboto.className}>{children}</body>
    </html>
  );
}
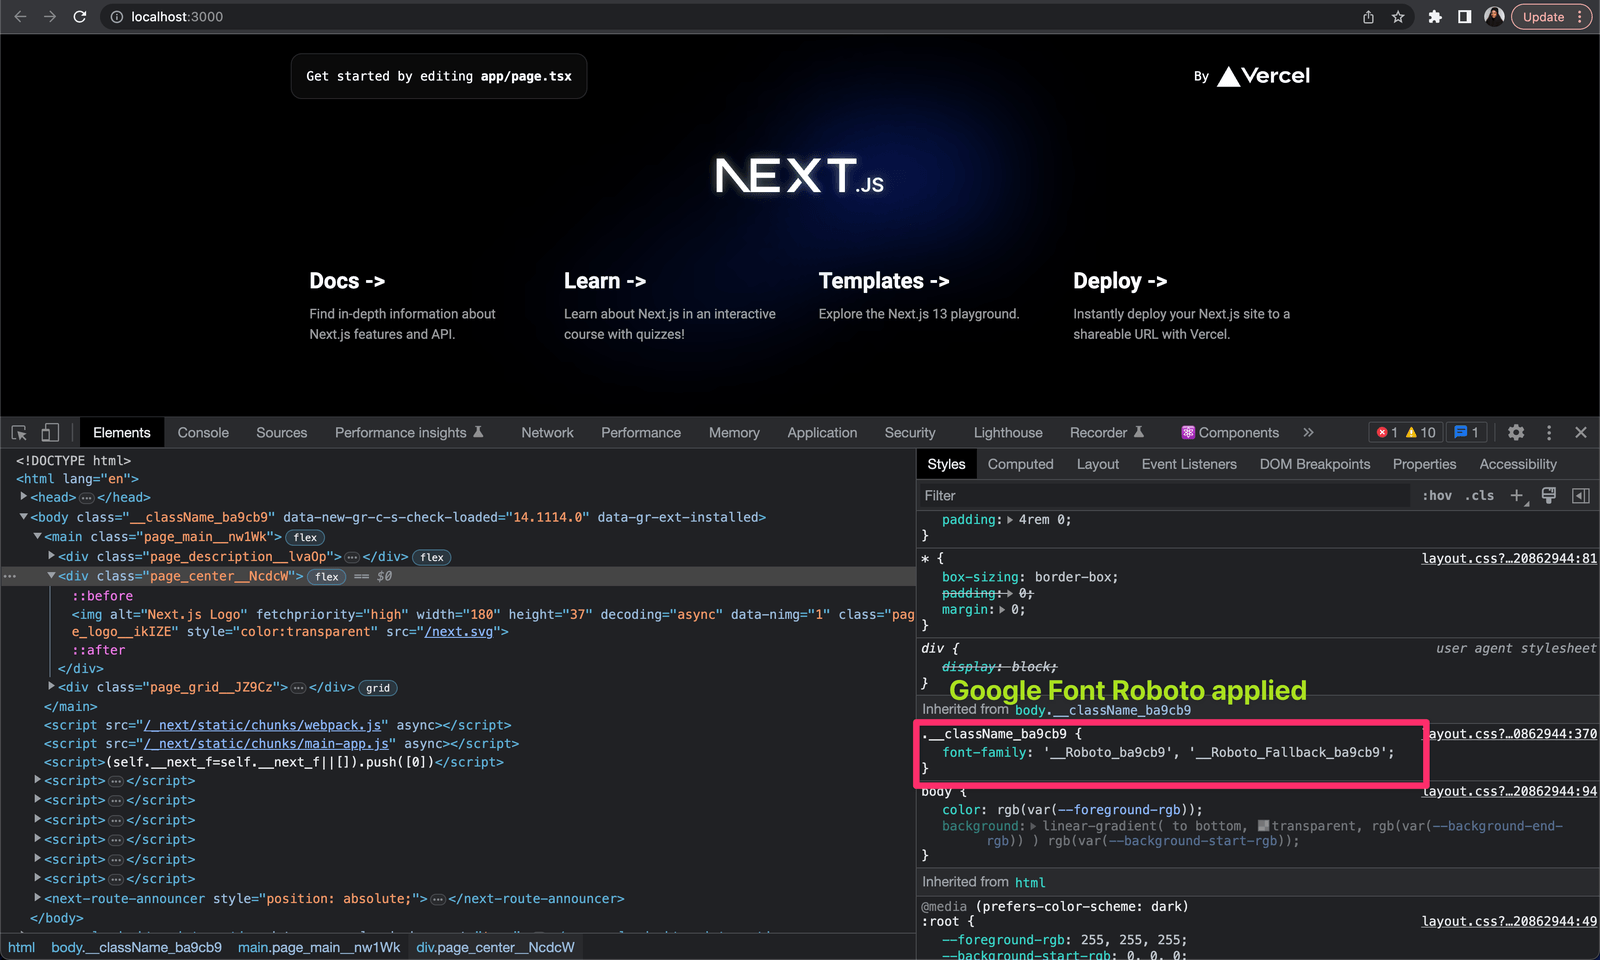
Here, we used the Roboto font family and defined the weight and style font function arguments. Preview the application in your browser to see Roboto applied.
Single-Page Font Usage
Before this section, we have seen how we can globally apply fonts across our Next.js application. To use a particular font on a single page, import the font in the page file and apply it to the page’s root element as shown below:
import { Montserrat } from "next/font/google";

const montserrat = Montserrat({
  subsets: ["latin"],
});

export default function AboutPage() {
  return (
    <div className={montserrat.className}>
      <p>Hello World</p>
    </div>
  );
}
The Montserrat font is scoped to the About page in the snippet above.
Using Multiple Fonts
Next.js supports the usage of several fonts within a single application. We can bring in multiple fonts for use across our application with a single import statement. We can create a single utility file for the font imports and instantiation. Individual instances of each referenced font can then be exported from the file for usage anywhere in the application.
Here’s an example of what such a file might look like:
import { Inter, Roboto, Montserrat } from "next/font/google";
export const inter = Inter({ subsets: ["latin"] });

export const roboto = Roboto({
  weight: ["400", "700"],
  style: ["normal", "italic"],
  subsets: ["latin"],
});

export const montserrat = Montserrat({
  subsets: ["latin"],
});
When we load the same font function in multiple files, many instances of the same font are hosted. Therefore, in the code above, we imported and instantiated the font functions, which allows for reusability across the application.
With this approach, the fonts are hosted as one instance in the application.
Using CSS Variables
With the new font system, we can define our font as a CSS variable and then get a reference to that variable in a corresponding CSS file. Using the CSS variable approach, Next.js allows us to write styles in an external style sheet and specify additional options.
To work with this, we need to add an extra variable attribute to the object passed as an argument when the font was instantiated. The variable attribute accepts a string value that defines the variable name to be used.
const inter = Inter({
  subsets: ["latin"],
  variable: "--font-inter",
});
This automatically adds a variable property on the inter object from the snippet above. To use the font on a particular text, for example, we need to set the className of the text’s parent container to the font loader’s variable value and the text’s className to the styles property defined in the external CSS file.
<main className={inter.variable}>
  <p className={styles.typography}>Hello World</p>
</main>
Next, we gain access to the CSS variables defined in the corresponding CSS files.
.typography {
  font-family: var(--font-inter);
  font-style: italic;
  font-weight: 600;
}
Using Local Fonts
So far, we have worked with Google Fonts. However, Next.js also allows the use of local or custom fonts. With the next/font/local variation of the new font system, we can use font files locally saved as part of our application.
The approach used here is quite similar to the Google Fonts variation, except that we now import a default localFont font function from the next/font/local package. Next, passing a src attribute to the object passed as an argument to the font instantiation is required.
Here is a code snippet that demonstrates how to use a local font:
import localFont from "next/font/local";
const customFont = localFont({ src: "path-to-the-font-file" });

export default function RootLayout({
  children,
}: {
  children: React.ReactNode,
}) {
  return (
    <html lang="en">
      <body className={customFont.className}>{children}</body>
    </html>
  );
}
The value of the src attribute is the path of the font file relative to the directory where the font loader function is called.
The value of the src attribute can also be an array in cases where multiple variations exist for a single font family.
const customFont = localFont({
  src: [
    {
      path: "./path-to the-normal-file",
      weight: "400",
      style: "normal",
    },
    {
      path: "./path-to the-italic-file",
      weight: "400",
      style: "italic",
    },
    {
      path: "./path-to the-bold-file",
      weight: "700",
      style: "normal",
    },
  ],
});
Local fonts can be applied similarly to Google Fonts. They can be applied globally, used in a single file, and defined as CSS variables.
Other Font Function Arguments
A couple of other font function arguments are not covered in this article. For example, we could set a preload argument that accepts a boolean value specifying whether a particular font should be preloaded.
We can also set a fallback argument to define a fallback font if the main font can not be loaded. Other arguments include axes, declarations, display and so on. Learn more about font arguments here.
Conclusion
Using the new font system shipped with Next.js 13 and fully endorsed in Next.js 14 can help eliminate the need to make multiple network requests, reduce layout shifts and improve an application’s performance and user experience.
This article briefly touched on the old approach to using fonts in a Next.js application, the new font system, and how to work with Google and local fonts in a Next.js application.


