Exporting Angular Page Content to PDF Using Kendo UI

Summarize with AI:
Sponsored by the Kendo UI for Angular team
Want to learn more about creating great Angular web apps? It all starts out with Kendo UI for Angular - a complete UI component library that allows you to quickly build high-quality, responsive apps. It includes everything you need, from grids and charts to dropdowns and gauges.
We on the Kendo UI for Angular team are committed to bringing you the latest tips and tricks in the world of Angular development. We hope you enjoy the post!
In this tutorial, learn how to easily export pages with HTML content within your Angular application. This should be a complex task, but thanks to a Kendo UI component it is easy.
If you've found yourself looking for an easy solution to smoothly export the HTML content from your Angular application to a PDF, then this is the appropriate post for you. We may need to export HTML content to PDF for several reasons, ranging from sharing it with others without necessarily accessing the internet to saving it just for documentation purposes.
Building a solution for a component like this could be time-consuming if you are building all by yourself. In this post, I will show you how to easily achieve this by leveraging the PDF export component provided by Kendo UI.
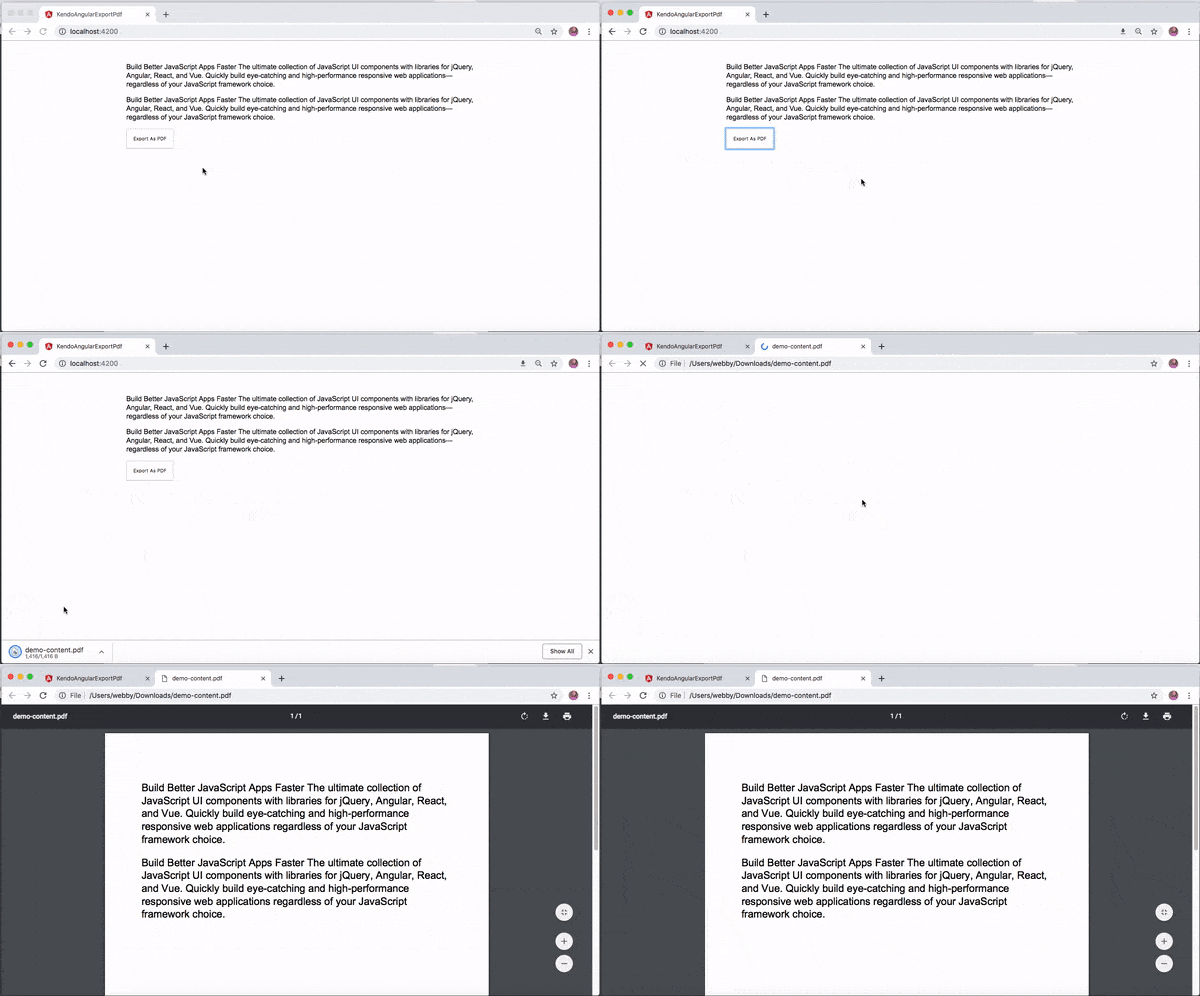
We will build an Angular application with some dummy content and add a Kendo UI button to export the content directly to PDF as shown here:
Install Angular CLI
Before creating an Angular application, you need to first install the Angular CLI if it doesn’t already exist on your machine. Open up a terminal and run the following command for that purpose:
npm install -g @angular/cli
This will add the Angular CLI globally on your machine.
Creating Angular Application
You can now proceed to create a new app for the purpose of this post by running the command below to generate an application with the name kendo-angular-export-pdf:
ng new kendo-angular-export-pdf
Once the installation process is complete, change directory into the newly created project as shown below and start the application:
// change directory
cd kendo-angular-export-pdf

// start the application
ng serve
You may experience an error with the message below in your console:
ERROR in node_modules/rxjs/internal/types.d.ts(81,44): error TS1005: ';' expected.
node_modules/rxjs/internal/types.d.ts(81,74): error TS1005: ';' expected.
node_modules/rxjs/internal/types.d.ts(81,77): error TS1109: Expression expected.
This is a known issue on GitHub and it’s due to lack of compatibility between the current version of TypeScript on your machine and rxjs. The quick way to fix this is to delete the node_modules folder. Now, open the package.json file and within the dependencies object, edit the rxjs by removing ^ :
  "dependencies": {
    ...
    "rxjs": "6.0.0", // remove the `^`
    "zone.js": "^0.8.26"
  },
Save the file and run the npm install command again. Once the installation process is complete, you can now proceed to start the application with ng serve.
This will compile your application and start the development server. To view the default page of this Angular application, navigate to http://localhost:4200 from your favorite browser and you will see this:
Add PDF Export Component from Kendo UI
Next, we’ll need to add the PDF export component before we start using it in our application. To achieve that, we’ll use the ng add command to require and install the package as shown here:
ng add @progress/kendo-angular-pdf-export
This will import and add both PDFExportModule and BrowserAnimationsModule to the app.module.ts file:
// ./src/app/app/module.ts

import { BrowserModule } from '@angular/platform-browser';
import { NgModule } from '@angular/core';
import { AppComponent } from './app.component';
import { PDFExportModule } from '@progress/kendo-angular-pdf-export';
import { BrowserAnimationsModule } from '@angular/platform-browser/animations';


@NgModule({
  declarations: [
    AppComponent
  ],
  imports: [
    BrowserModule,
    PDFExportModule,
    BrowserAnimationsModule
  ],
  providers: [],
  bootstrap: [AppComponent]
})
export class AppModule { }
Use the Kendo PDF Export Component
After installing the PDF export package, you can now proceed to export content within our Angular application to PDF by placing it within the <kendo-pdf-export> component. Open ./src/app/app.component.html and replace its content with:
// ./src/app/app.component.html

<div class="pageWrapper">
  <div class="content">
    <kendo-pdf-export #pdf>
      <div class="size-a4">
        <p> Build Better JavaScript Apps Faster The ultimate collection of JavaScript UI components with libraries for jQuery,
          Angular, React, and Vue. Quickly build eye-catching and high-performance responsive web applications—regardless
          of your JavaScript framework choice.
        </p>
        <p> Build Better JavaScript Apps Faster The ultimate collection of JavaScript UI components with libraries for jQuery,
          Angular, React, and Vue. Quickly build eye-catching and high-performance responsive web applications—regardless
          of your JavaScript framework choice.
        </p>
      </div>
    </kendo-pdf-export>

    <div>
      <button kendo-button (click)="pdf.saveAs('demo-content.pdf')">
        Export As PDF
      </button>
    </div>
  </div>
</div>
Here, we have added dummy content and wrapped it with the <kendo-pdf-export></kendo-pdf-export> component. Next we added a button and attached a click event to it. Once the button is clicked, we called the saveAs() method in order to save the generated file. The file will be saved as the name passed as an argument to the saveAs() method.
Finally, to give the page some default styling, add the following content to ./src/app/app.component.css file:
// ./src/app/app.component.css

.pageWrapper {
  margin-top: 50px;
}
button {
    padding: 15px;
}
kendo-pdf-export {
  font-family: "DejaVu Sans", "Arial", sans-serif;
  font-size: 16px;
}
.content {
  width: 800px;
  margin: 0 auto;
  line-height: 20px;
}
Now proceed to start the application again by running ng serve from the terminal within the application’s directory. Once the application is built and served on http://localhost:4200 you will see this:
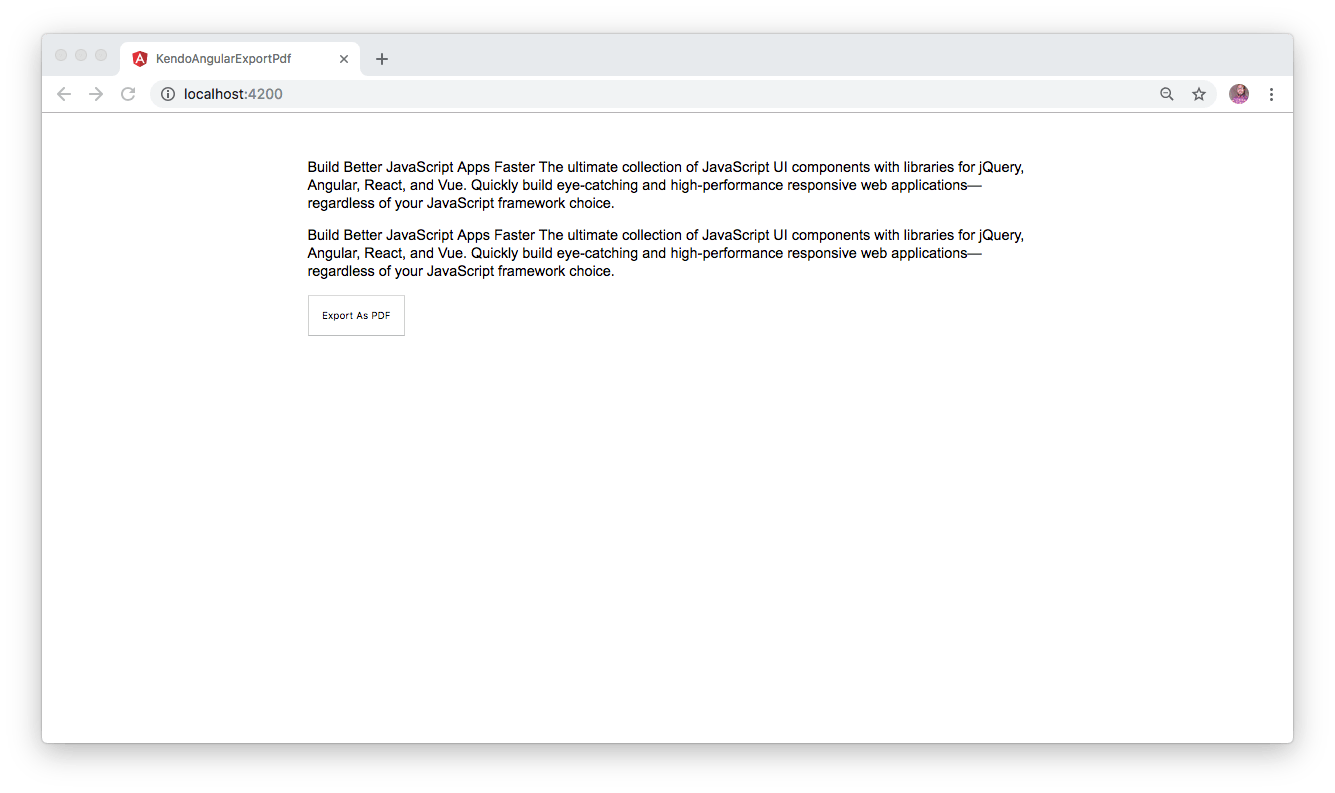
The content displayed here is from our Angular application. To test the HTML content export functionality, click on the Kendo button with the text Export As PDF. Now open the downloaded PDF file:
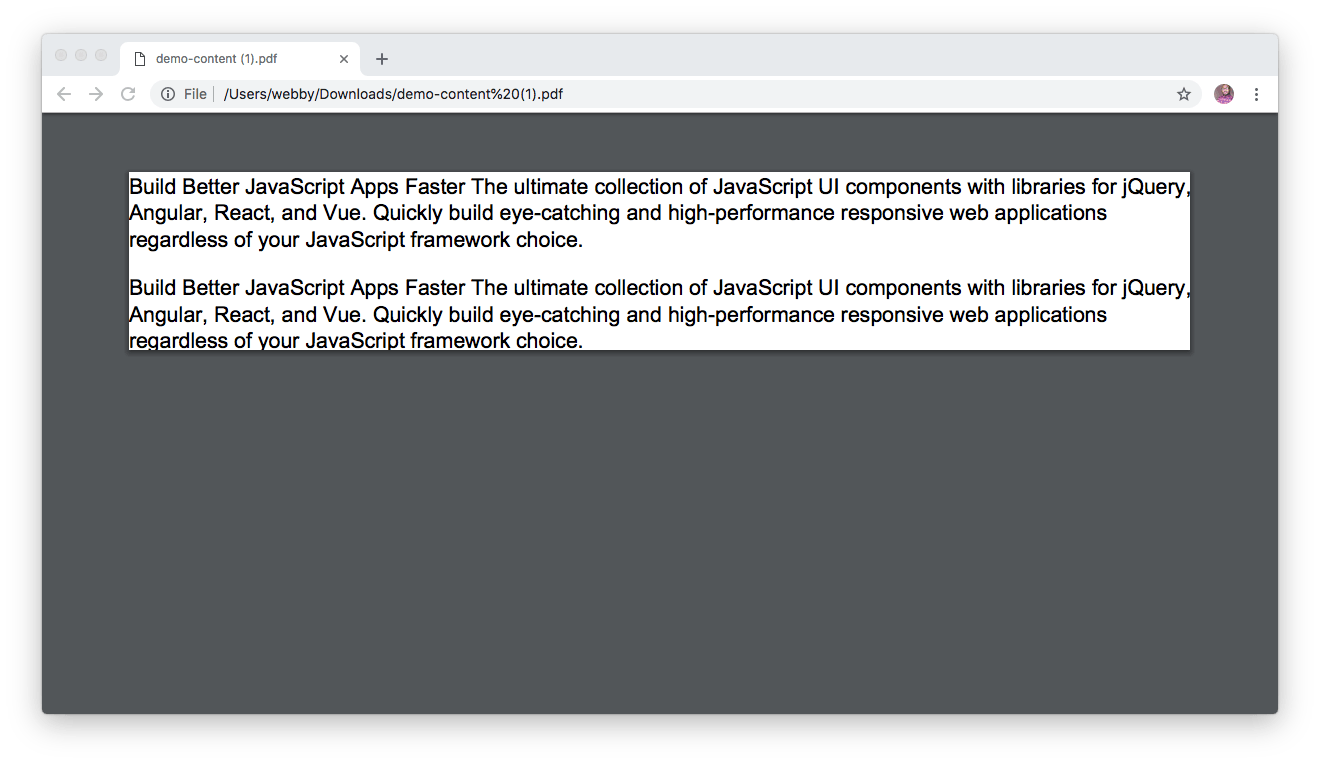
Cool, right? This is the content of our page exported to PDF without much hassle. But with a close look at the PDF file, you will agree with me that something isn’t right. The content doesn’t look properly organized. We’ll change that by adding a little bit of margin in the next section.
Add Paper Size and Margin
The Kendo PDF export component API makes a provision for us to easily customize and specify the paper size of the PDF document. At the moment, it is set to the default auto which means that the paper size is determined by the content.
Let’s replace the content of ./src/app/app.component.html with:
// ./src/app/app.component.html

<div class="pageWrapper">
  <div class="content">
    <kendo-pdf-export #pdf paperSize="A4" margin="2cm">
      <div class="size-a4">
        <p> Build Better JavaScript Apps Faster The ultimate collection of JavaScript UI components with libraries for jQuery,
          Angular, React, and Vue. Quickly build eye-catching and high-performance responsive web applications—regardless
          of your JavaScript framework choice.
        </p>
        <p> Build Better JavaScript Apps Faster The ultimate collection of JavaScript UI components with libraries for jQuery,
          Angular, React, and Vue. Quickly build eye-catching and high-performance responsive web applications—regardless
          of your JavaScript framework choice.
        </p>
      </div>
    </kendo-pdf-export>

    <div>
      <button kendo-button (click)="pdf.saveAs('demo-content.pdf')">
        Export As PDF
      </button>
    </div>
  </div>
</div>
We have added two data attributes to the <kendo-pdf-export>, which are:
paperSize: We set this to A4.margin: We set this to 2cm.
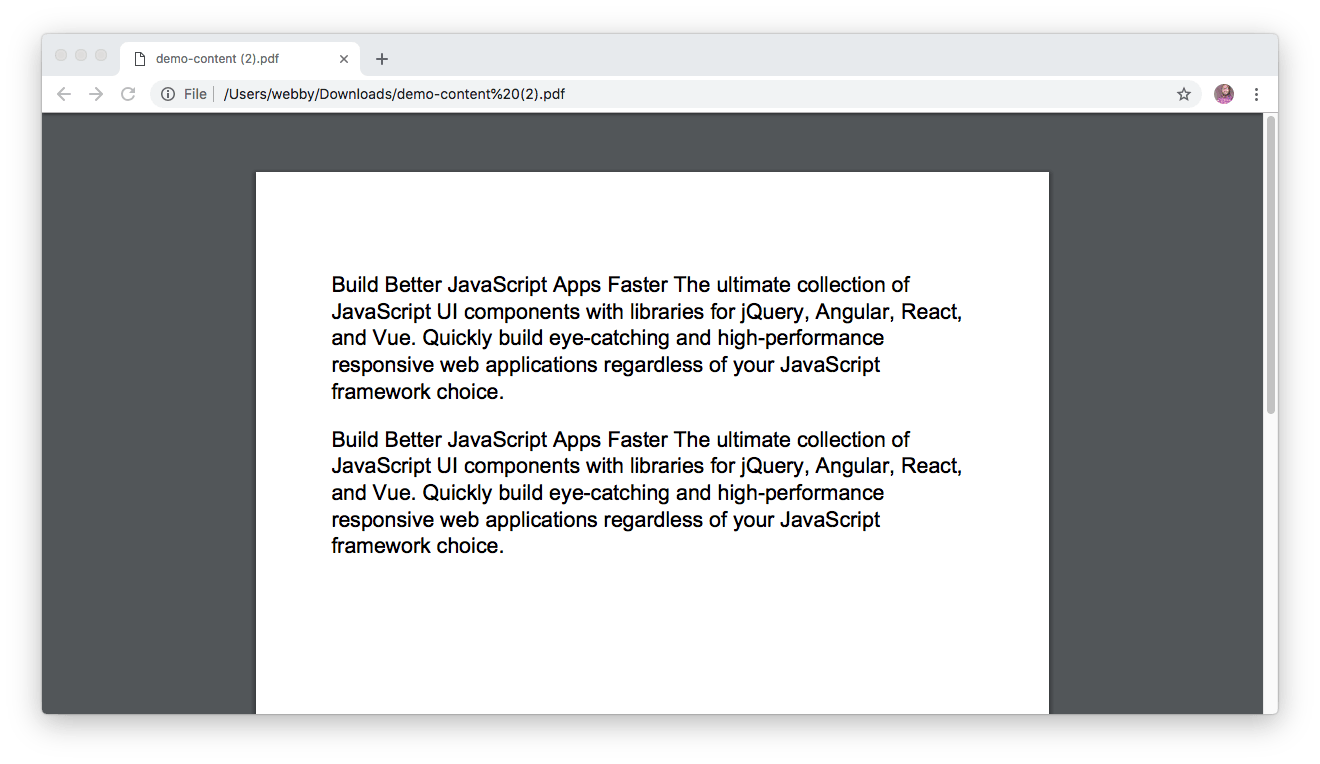
Check the page again and click on the Export As PDF button. Now proceed to open your downloaded PDF file and you will notice that it looks much better as shown below:

Conclusion
The Kendo PDF export component as shown here is a solution for exporting and handling HTML content to PDF. This comes in handy whenever you need to quickly save a page as a PDF document from your Angular application.
We have barely scratched the surface here, because there is so much more functionality provided by the Kendo UI team when exporting HTML content to PDF. Feel free to explore the API by checking the link here for more details.
Hopefully you have learned a lot from this post. Check the source code here on GitHub.

Christian Nwamba
Chris Nwamba is a Senior Developer Advocate at AWS focusing on AWS Amplify. He is also a teacher with years of experience building products and communities.
