
Building Apps with Angular and GraphQL: From REST to GraphQL Part 2

Summarize with AI:
Learn how to connect Angular apps to GraphQL using Apollo, from setup and mocking to real REST API integration.
In the previous article about GraphQL, we learned how to set up a GraphQL server, use mock data examples and the basics of creating queries to the server. When building apps using GraphQL, it changes the common pattern to get data in our apps, moving away from creating services with specific methods to retrieve data for each view case or returning unnecessary data.
We have two options: Create new methods for each version of the data with more or fewer detailed properties, or bring all data and use the Map RxJS operator to transform the data, mapping and returning only the required fields. However, this happens after requesting all data, which means the workload of bringing the data doesn’t change; we only transform it.
GraphQL simplifies the process using queries, and today we are going to learn how to integrate Apollo GraphQL in Angular using a modern data fetching strategy and provide more flexibility in how your frontend components request data using the power of GraphQL and GraphQL Apollo.
Let’s dive in!
Setting Up the Project
Before we start, remember this article is a continuation, so you can read Part 1 or continue by cloning the repository and pointing to the graphql-server-start branch.
git clone -b graphql-server-start --single-branch https://github.com/danywalls/graphql-and-angular.git
Next we need to install dependencies for our Angular app by running npm install. Our next step is installing the necessary packages to connect our Angular with GraphQL using the following packages:
- The
graphqlpackage – iThe os core GraphQL implementation @apollo/client– The Apollo client package with caching capabilities@apollo-angular– Angular-specific bindings for Apollo client
In the terminal, run npm install @apollo/client apollo-angular graphql.
dany@mac graphql-and-angular % npm install @apollo/client apollo-angular graphql
up to date, audited 1224 packages in 3s
Run `npm audit` for details.
dany@mac graphql-and-angular %
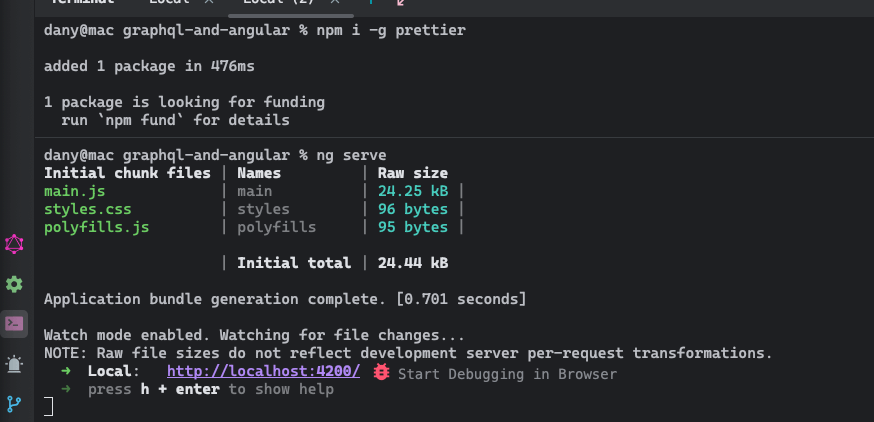
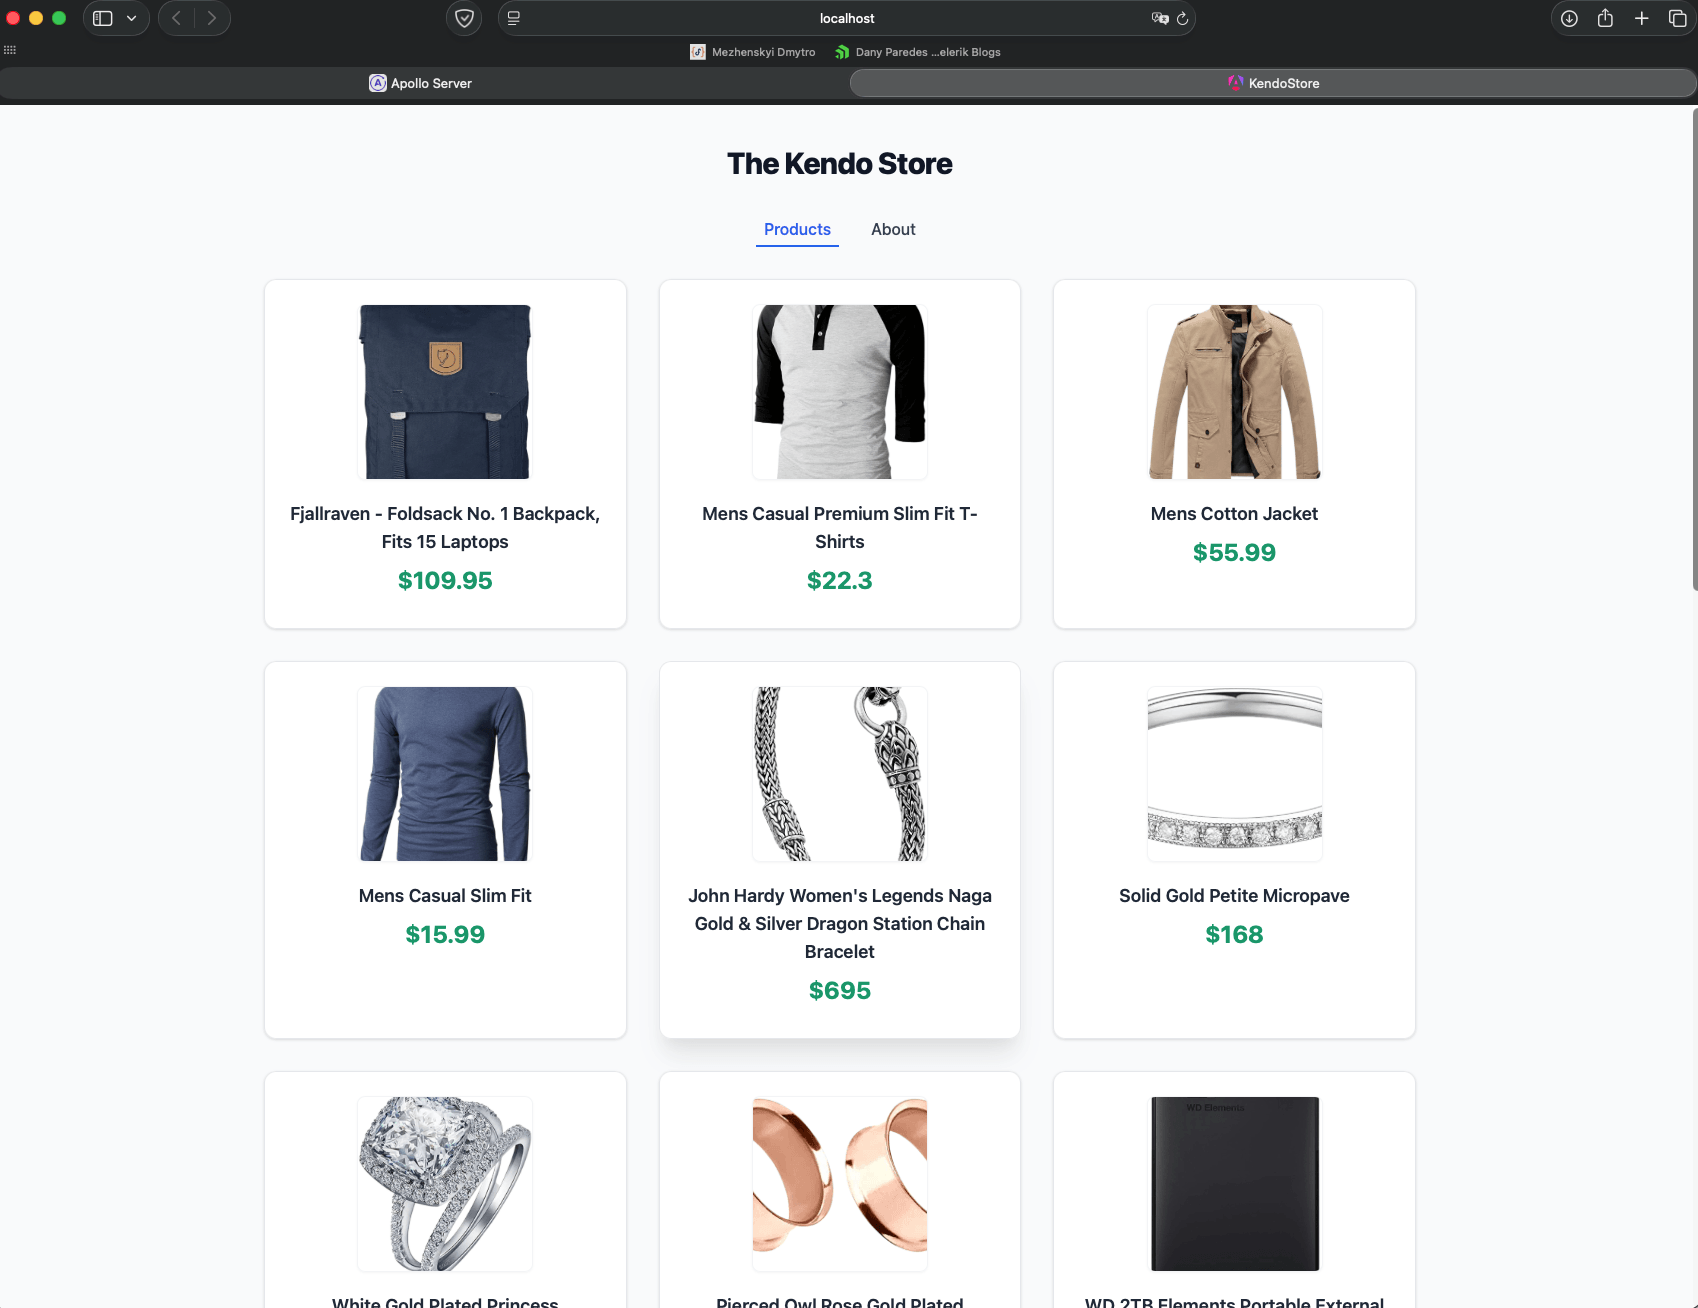
After that’s complete, run ng serve to see the project running. In your browser, open http://localhost:4200 and our project is up and running!
Perfect. Let’s move to running the GraphQL server. Open a new terminal in the same workspace project. Move to the server directory and run npm i to install the dependencies and npm run start to initialize the GraphQL server.
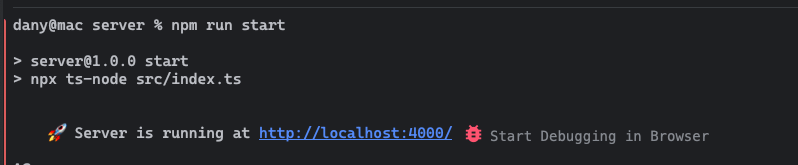
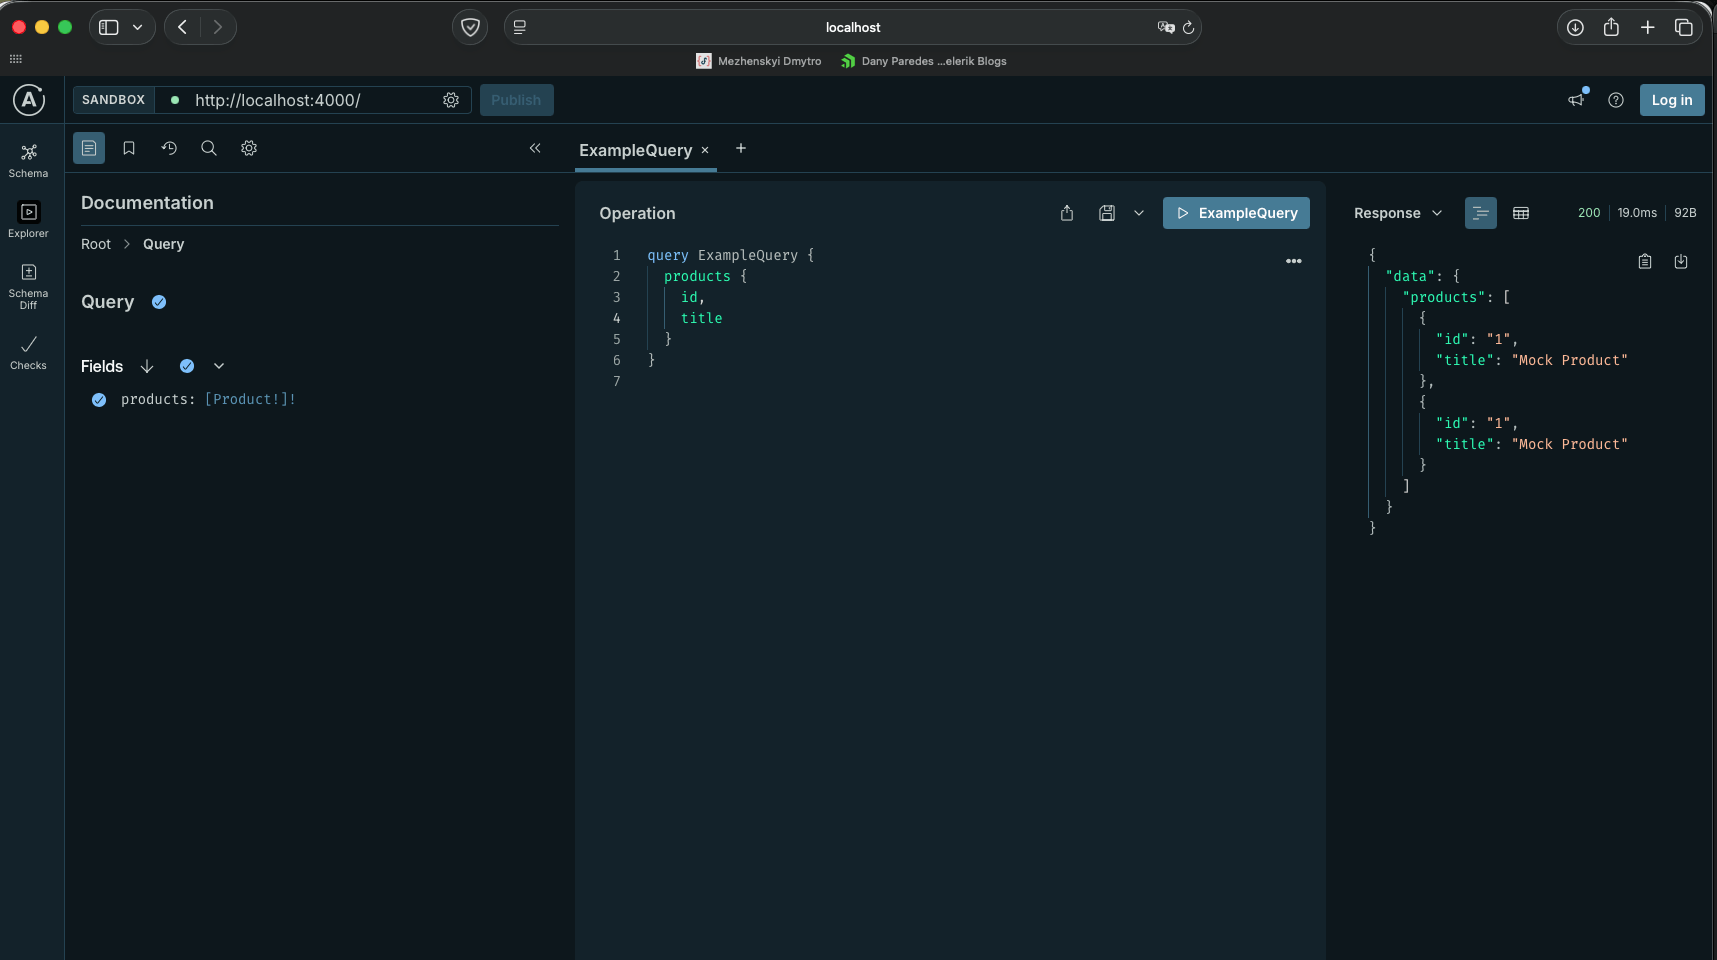
In your browser, open the GraphQL server in http://localhost:4000.
Perfect! We have all pieces working together, so now it’s time to configure Apollo in our Angular!
Apollo and Angular
Before we start typing code, I want to explain what Apollo Angular or Apollo Client is. Apollo Client or Apollo Angular is a client for GraphQL to make data-fetching easy in Angular components or services. It works with agnostic GraphQL or Schema, with an incremental learning curve starting from basic queries and moving to complex scenarios, making our app react to changes using the reactive RxJS system.
It’s time to move to coding, so let’s configure Angular with Apollo!
Open the app.config.ts file to set up the Apollo Client and import provideApollo, HttpLink to connect our client with our GraphQL Server and InMemoryCache help to store the data in cache by default in Apollo 3.0:
import {provideApollo} from 'apollo-angular';
import {HttpLink} from 'apollo-angular/http';
import {InMemoryCache} from '@apollo/client/core';
Use the provideApollo() function in our application provider. It helps to set up a connection to the GraphQL server at http://localhost:4000/graphql using in-memory cache for Apollo to store query results and makes Apollo available via dependency injection.
provideApollo(() => {
      const httpLink = inject(HttpLink);
      return {
        link: httpLink.create({uri: 'http://localhost:4000/graphql'}),
        cache: new InMemoryCache(),
      };
    }),
The final code in app.config.ts looks like:
import {provideApollo} from 'apollo-angular';
import {HttpLink} from 'apollo-angular/http';
import {InMemoryCache} from '@apollo/client/core';
import {ApplicationConfig, inject} from "@angular/core";
import {provideHttpClient} from "@angular/common/http";
import {provideRouter} from "@angular/router";
import {routes} from "./app.routes";

export const appConfig: ApplicationConfig = {
 providers: [
   provideRouter(routes),
   provideHttpClient(), // Required by apollo-angular
   provideApollo(() => {
     const httpLink = inject(HttpLink);
     return {
       link: httpLink.create({uri: 'http://localhost:4000/graphql'}),
       cache: new InMemoryCache(),
     };
   }),
 ],
};
The configuration is done! We are ready to start querying data using Apollo Service!
Apollo Service and GraphQL Query
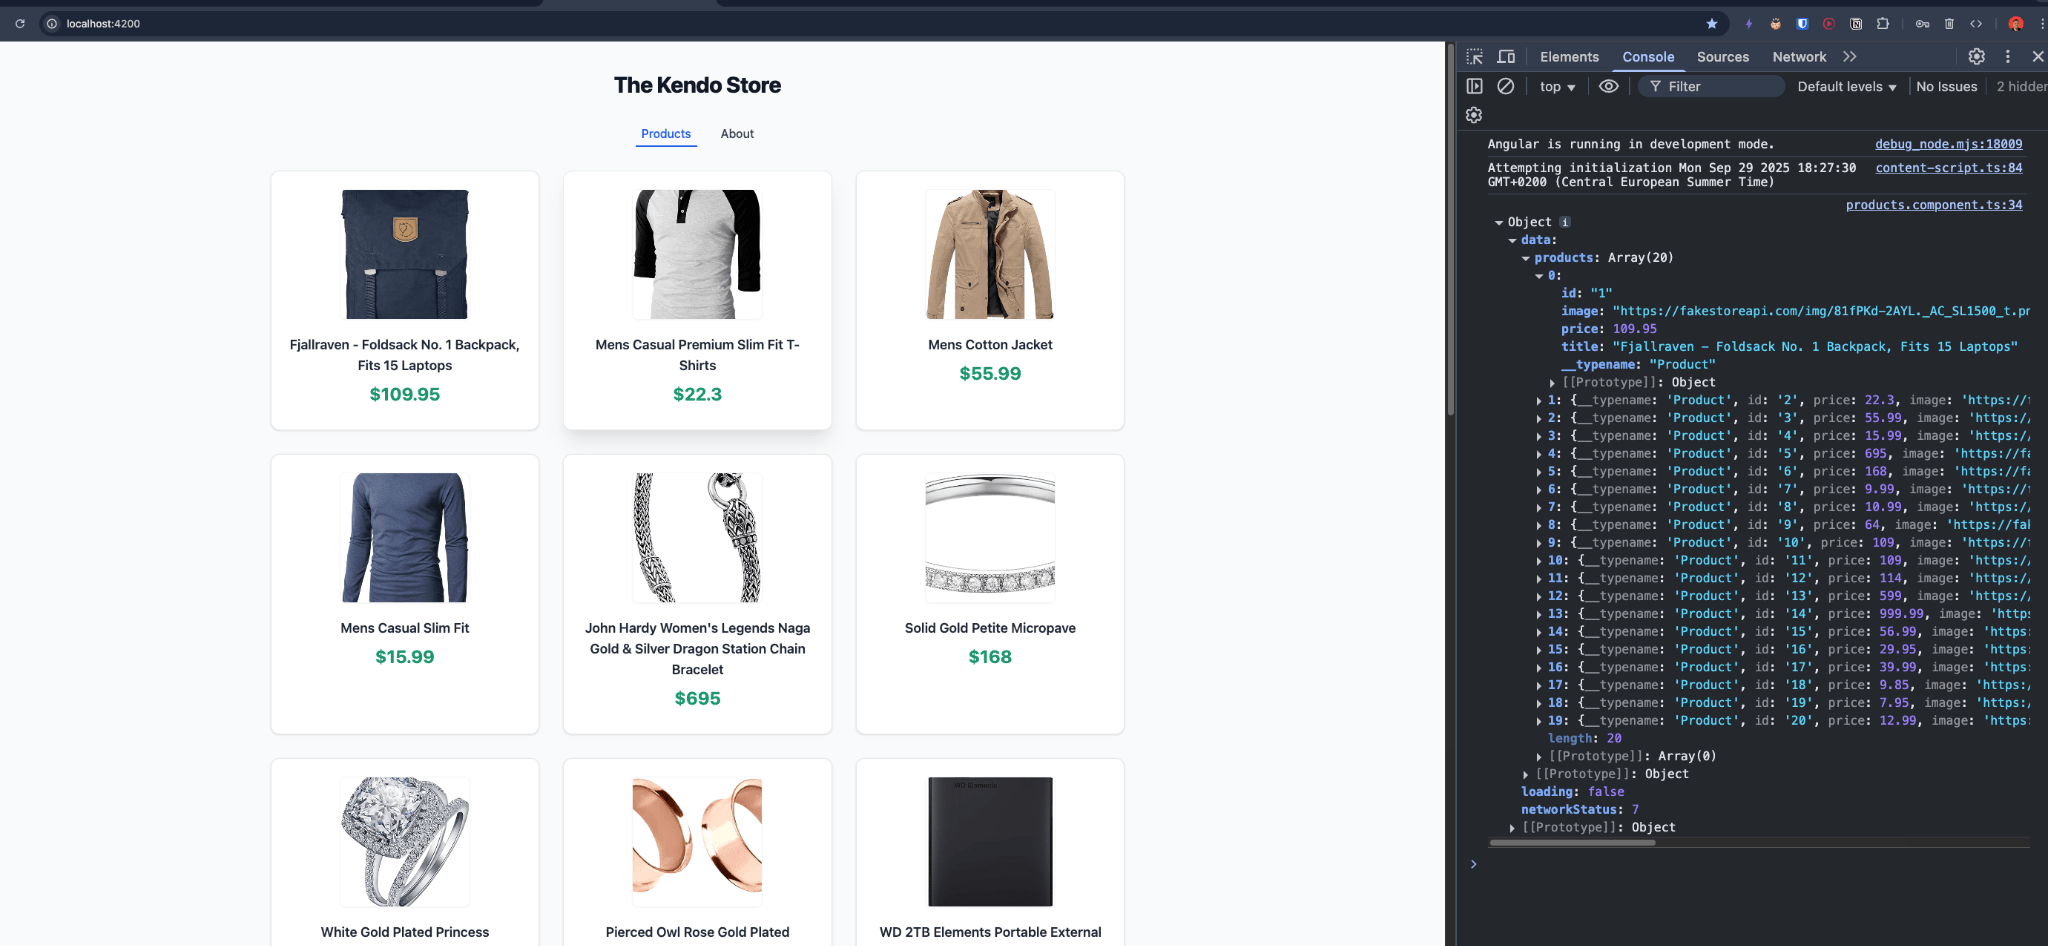
Before writing our first query, let’s see what’s happening in our app. In the browser, navigate to the app http://localhost:4200 and open the developer tools. In the console, we print the response of the server.
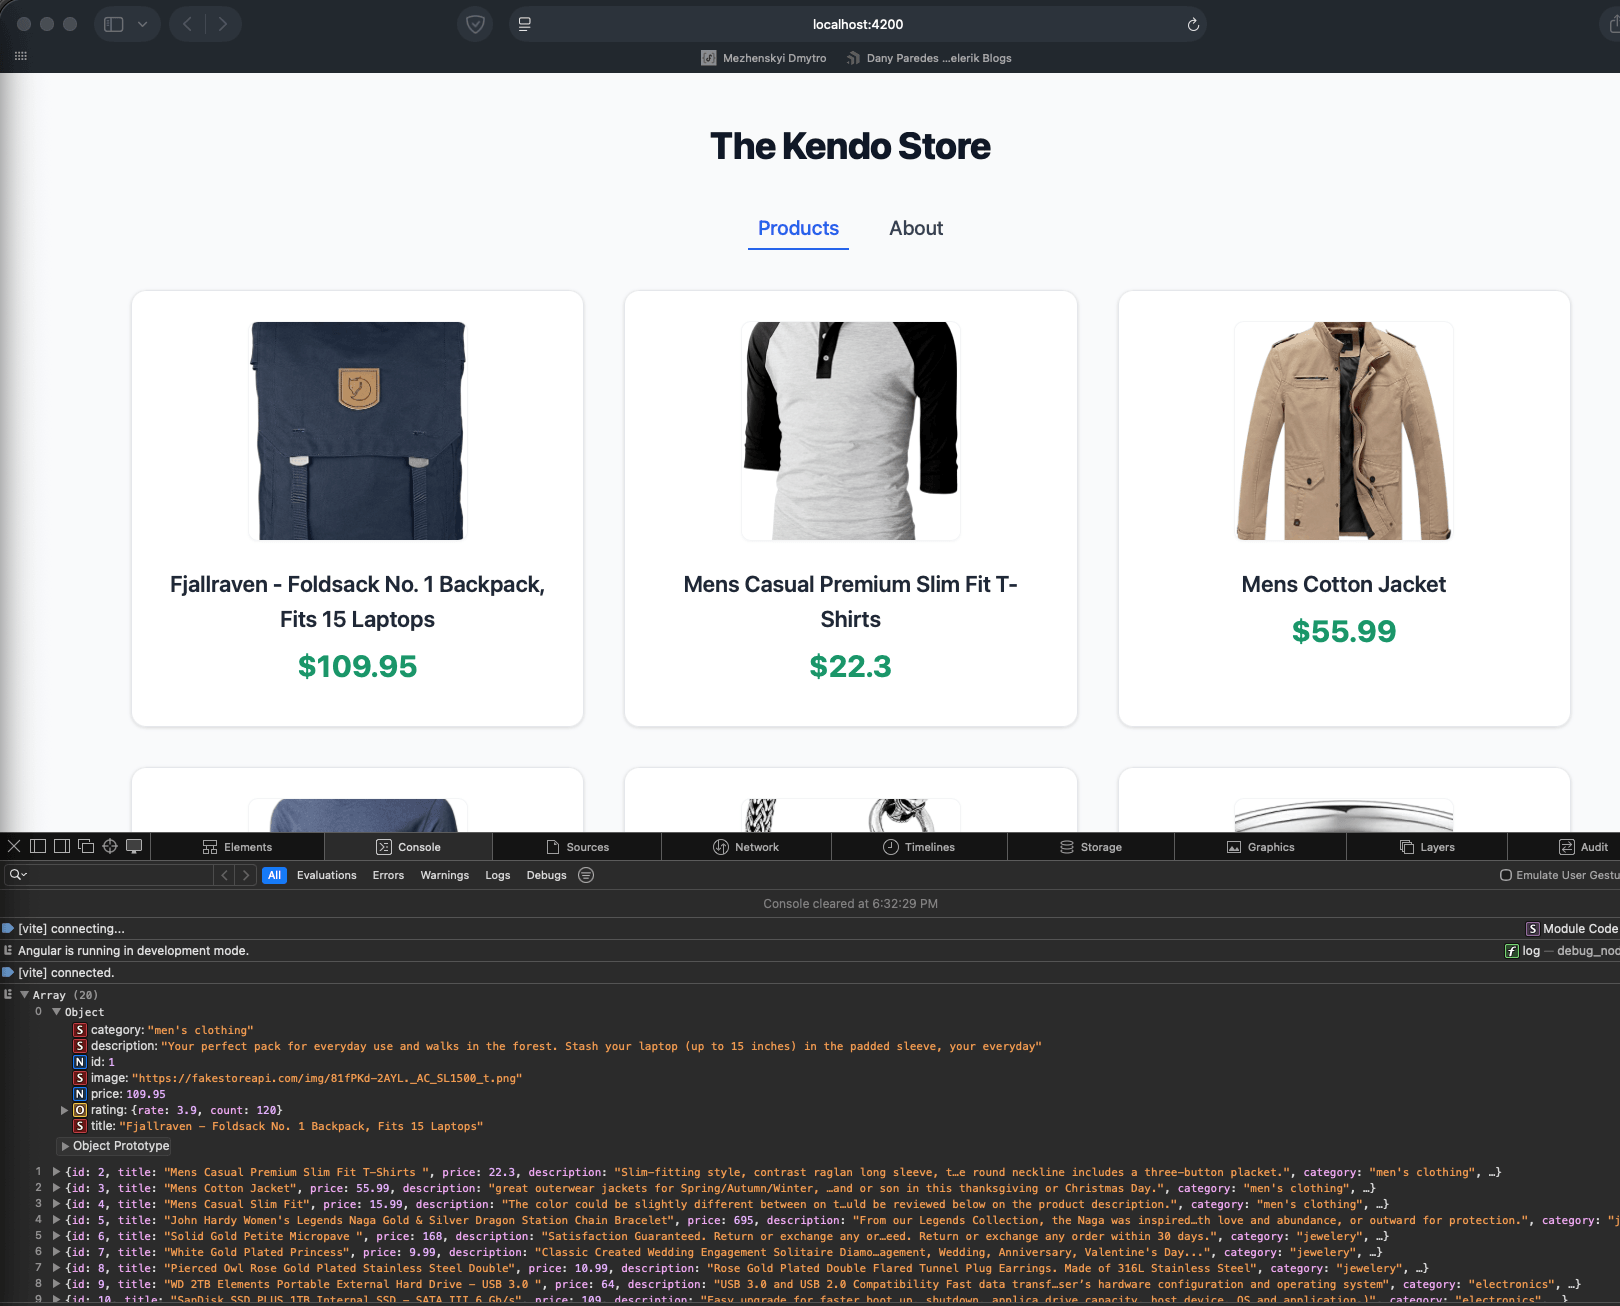
Take a look into the response. It does include some fields that are useless for our component, like category, rating and description.

I wish to define the exact data our components need using a GraphQL query, so let’s open the products.component.ts and remove productService and products$:
productsService = inject(ProductsService);
 public products$ = this.productsService.products$.pipe(
   tap(p => console.log(p))
 );
So the part we are removing looks like this crossed-out section:
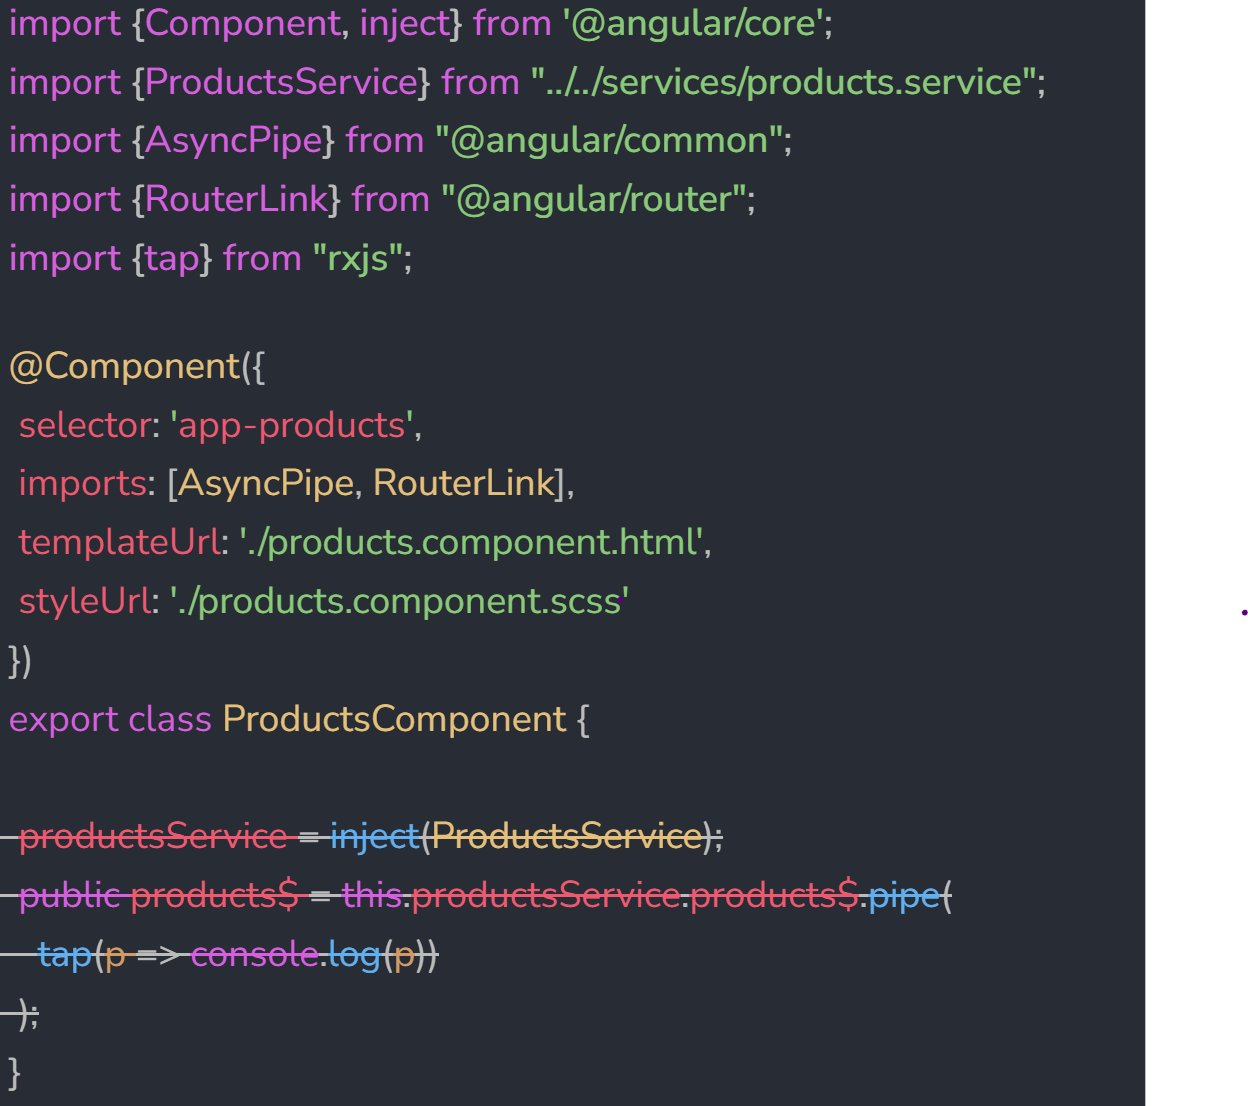
And ends up like this:
import {Component, inject} from '@angular/core';
import {ProductsService} from "../../services/products.service";
import {AsyncPipe} from "@angular/common";
import {RouterLink} from "@angular/router";
import {tap} from "rxjs";

@Component({
 selector: 'app-products',
 imports: [AsyncPipe, RouterLink],
 templateUrl: './products.component.html',
 styleUrl: './products.component.scss'
})
export class ProductsComponent {
}
Our next step is to create a query importing Apollo and gql, and, for debugging query responses, import map and tap operators from RxJS.
import {Apollo} from "apollo-angular";
import gql from "graphql-tag";
import {map, tap} from "rxjs";
Using the gql tag, declare a PRODUCTS_QUERY. It only needs the id, price, image and title fields. No additional fields will be returned, keeping your payload small.
PRODUCTS_QUERY = gql`
  {
    products {
      id
      price
      image
      title
    }
  }
`;
Now, modify your component to fetch data using Apollo instead of a traditional service. We inject Apollo service in product.component.ts.
private readonly apollo = inject(Apollo)
Next, define a new observable products$ using apollo service using the watchQuery that fetches and processes the data. Set the query parameter with PRODUCTS_QUERY.
public products$ = this.apollo.watchQuery<{ products: Product[] }>({
  query: this.PRODUCTS_QUERY
}).valueChanges.pipe(
  tap(response => console.log('GraphQL response:', response)),
  map(result => result.data.products)
);
The Angular App reacts to changes using
asyncpipe in the products.component.html.
@if (products$ | async; as products) {
 <div class="grid grid-cols-1 sm:grid-cols-2 md:grid-cols-3 gap-8">
   @for(product of products; track product) {
     <div [routerLink]="['product-detail', product.id]" class="bg-white border border-gray-200 rounded-xl shadow hover:shadow-xl transition-shadow p-6 flex flex-col items-center">
       <img [src]="product.image" [width]="180" alt="{{product.title}}" class="mb-5 rounded-lg object-cover h-44 w-44 border border-gray-100 shadow-sm" />
       <h3 class="text-lg font-semibold mb-2 text-gray-800 text-center line-clamp-2">{{product.title}}</h3>
       <span class="text-green-600 font-bold text-2xl mb-2">${{product.price}}</span>
     </div>
   }
 </div>
}
What are Apollo, watchQuery and PRODUCTS_QUERY doing?
First, we use the query to specify exactly which fields you need, preventing over-fetching. In our query, we only request id, price, image and title. If your UI only shows these fields, you don’t need to fetch additional data.
The query is strongly typed with product type, because Apollo’s watchQuery returns an observable that automatically updates when the cache is modified, keeping your UI in sync with your data.
The final code in products.component.ts looks like this:
import {Component, inject} from '@angular/core';
import {AsyncPipe} from "@angular/common";
import {RouterLink} from "@angular/router";
import {Apollo} from "apollo-angular";
import gql from "graphql-tag";
import {Product} from "../../services/products.service";
import {map, tap} from "rxjs";

@Component({
 selector: 'app-products',
 imports: [AsyncPipe, RouterLink],
 templateUrl: './products.component.html',
 styleUrl: './products.component.scss'
})
export class ProductsComponent {

 PRODUCTS_QUERY = gql`
 {
   products {
     id
     price
     image
     title
   }
 }`

 private readonly apollo = inject(Apollo)

public products$ = this.apollo.watchQuery<{ products: Product[] }>({
 query: this.PRODUCTS_QUERY
}).valueChanges.pipe(
 tap(response => console.log('GraphQL response:', response)),
 map(result => result.data.products)
);

}
Verify that the GraphQL server is running on http://localhost:4000. If not, go to the server directory in the workspace and run
npm start.

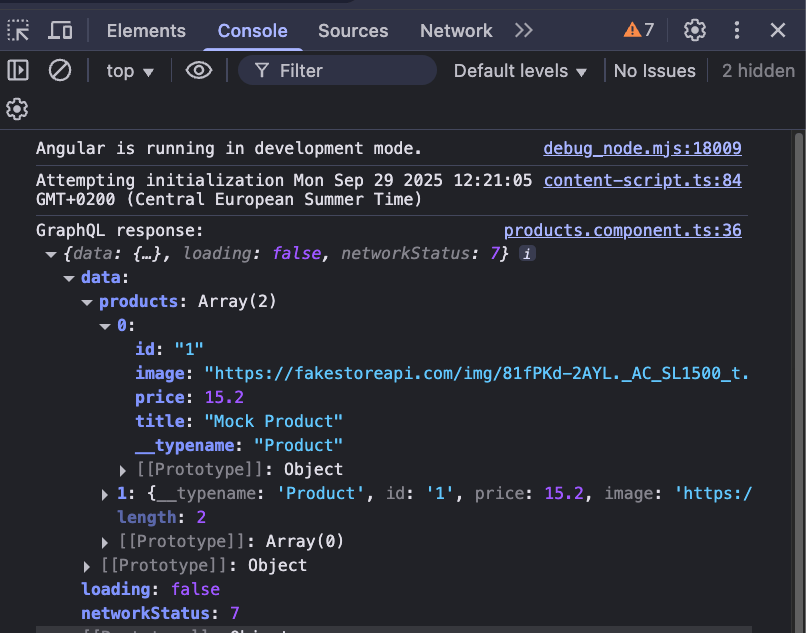
Start the Angular App ng serve, navigate to http://localhost:4200, open the DevTools and check the browser console. You should see the logged GraphQL response with only the required fields for our UI. Yeah!!
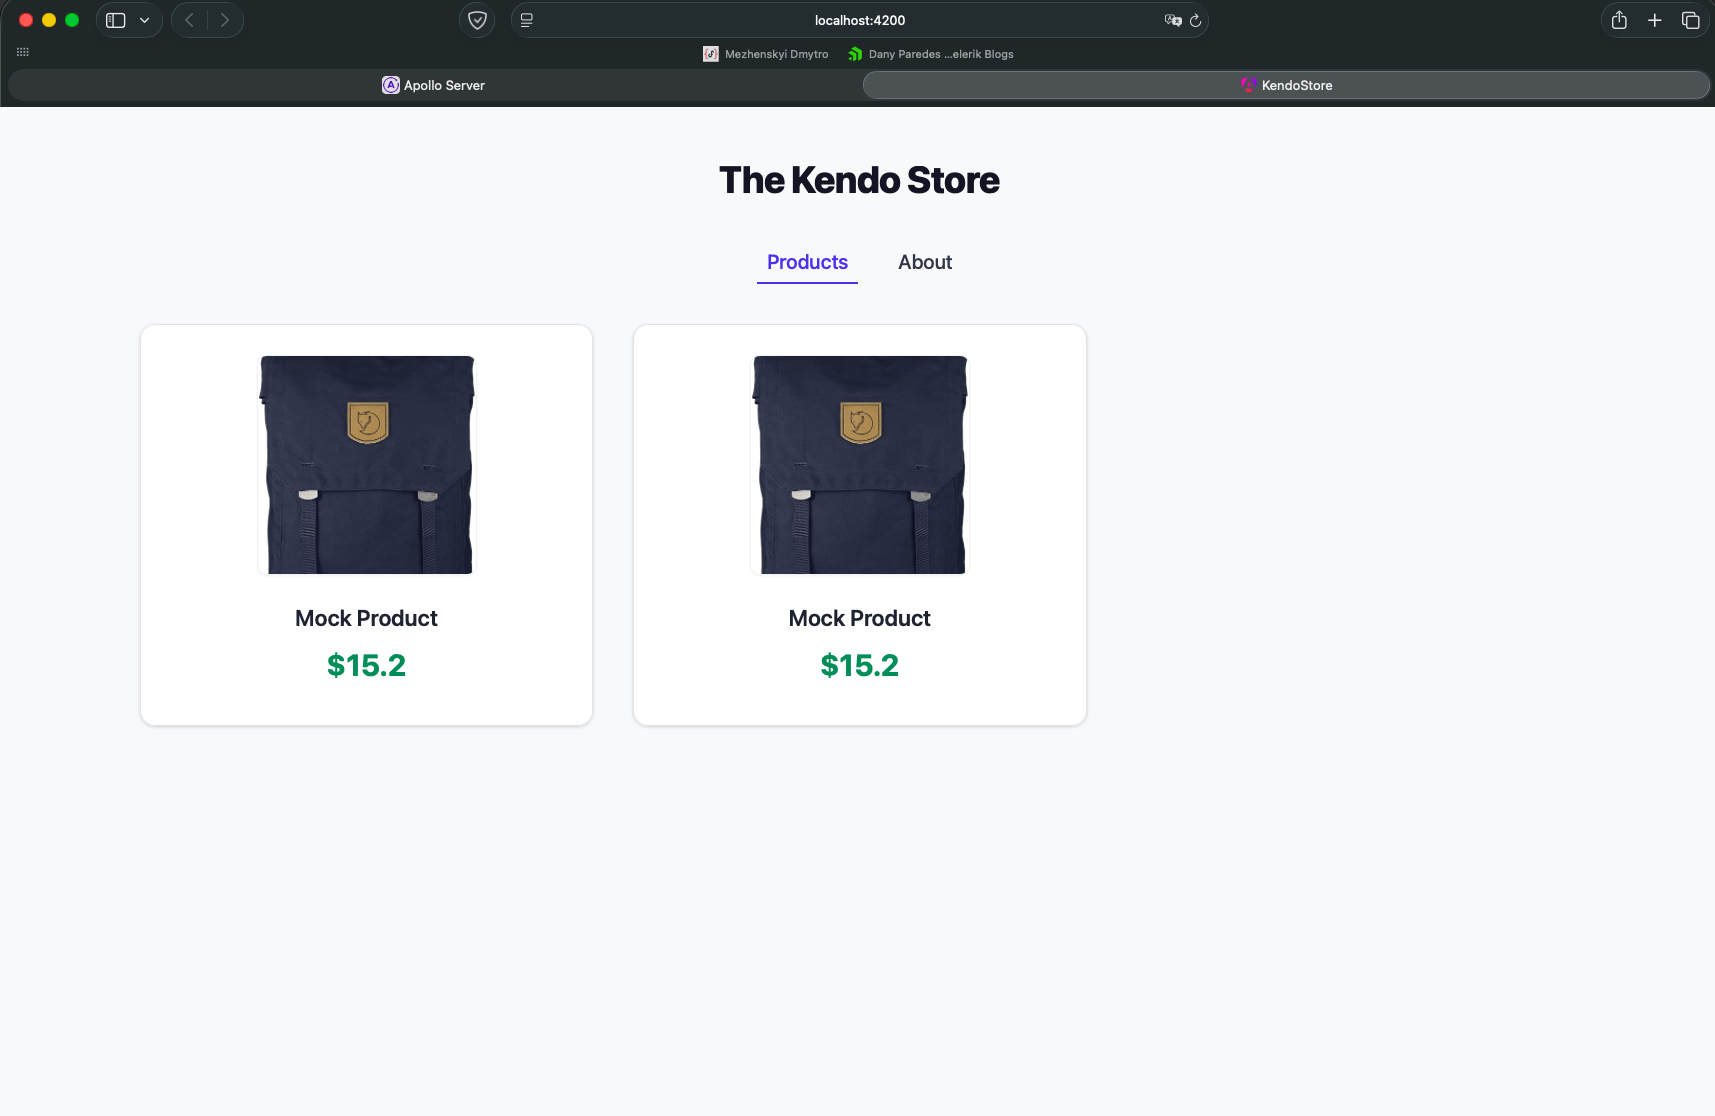
Yes, our Angular app is requesting data from the GraphQL Mock. If we open the DevTools in the console tab, we see two elements with only the fields from the query! No more extra or unnecessary fields.
Mmmm … looks fine, but for our app we want to maybe show a longer list of products while the backend continues working on other things. Let’s improve it.
Open the server/src/schema-mocks.ts. We use addMocksToSchema, but when we don’t specify mocks for list fields, @graphql-tools/mock returns lists with a default length of 2. That’s the reason we see two items unless we override it with MockList.
import {typeDefs} from "./schema";
import {makeExecutableSchema} from "@graphql-tools/schema";
import {addMocksToSchema} from "@graphql-tools/mock";

const schema = makeExecutableSchema({typeDefs});


const mocks = {

 Product: () => ({
   id: `1`,
   title: 'Mock Product',
   price: 15.2,
   description: 'This is a mocked product description.',
   category: 'Electronics',
   image: 'https://fakestoreapi.com/img/81fPKd-2AYL._AC_SL1500_t.png',
   rating: {
     rate: 5,
     count: 3,
   },
 }),
};


export const schemaWithMocks = addMocksToSchema({schema, mocks});
Override the Query in the products and use the MockList function to return 15 elements.
Query: () => ({
 products: () => new MockList(15),
}),
The final code looks like:
import {typeDefs} from "./schema";
import {makeExecutableSchema} from "@graphql-tools/schema";
import {addMocksToSchema, MockList} from "@graphql-tools/mock";

const schema = makeExecutableSchema({typeDefs});


const mocks = {
    Query: () => ({
      products: () => new MockList(15)
    }),
 Product: () => ({
   id: `1`,
   title: 'Mock Product',
   price: 15.2,
   description: 'This is a mocked product description.',
   category: 'Electronics',
   image: 'https://fakestoreapi.com/img/81fPKd-2AYL._AC_SL1500_t.png',
   rating: {
     rate: 5,
     count: 3,
   },
 }),
};


export const schemaWithMocks = addMocksToSchema({schema, mocks});
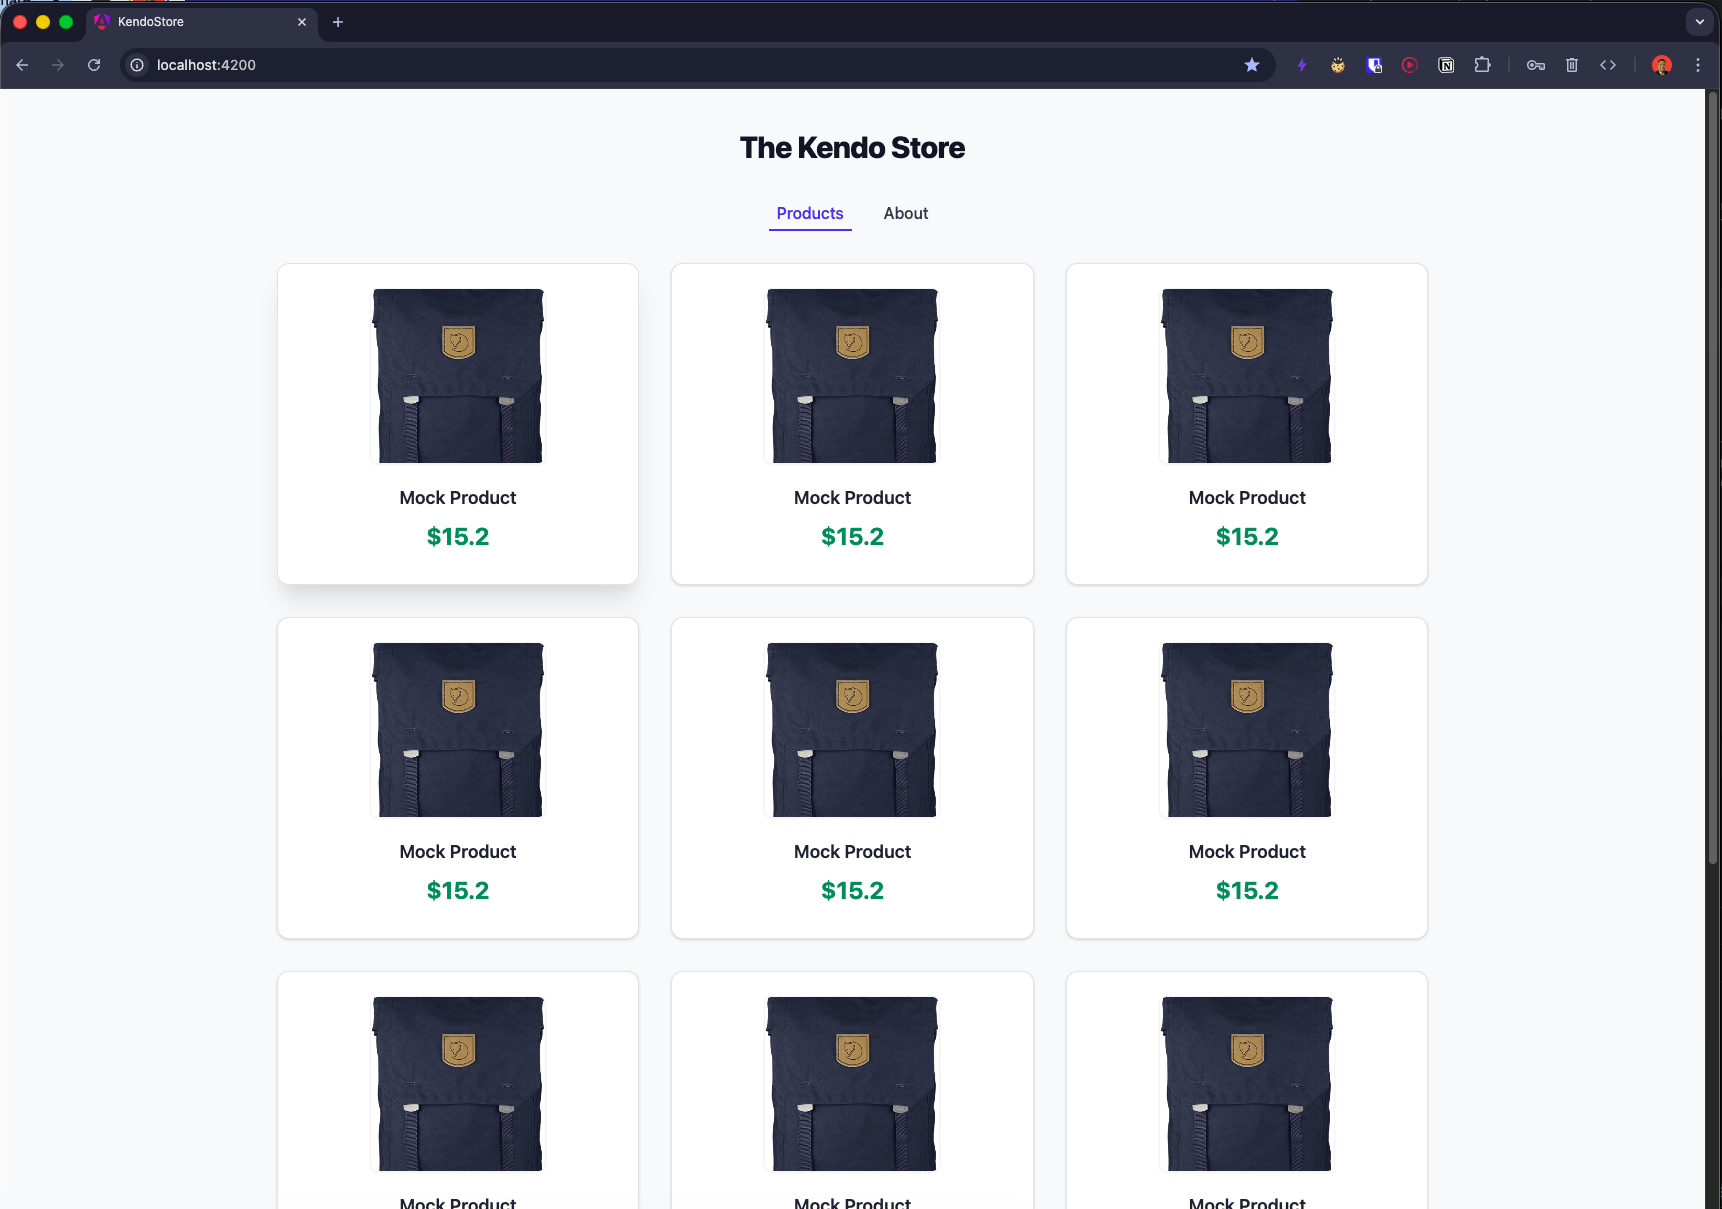
Save changes in the schema-mocks.ts, stop and start the GraphQL server. After that, we can reload the Angular app and now get 15 elements!
One more thing. I want to go a step further. Now we know how to write queries and use mock data, but in the real world you won’t work with only mock data. You must connect a real REST API with GraphQL. Let’s do our final chapter integrating GraphQL with a REST API.
Integrate GraphQL with REST API
When we built our GraphQL server to make our development process easy, we use mocks, server/src/schema-mocks.ts using @graphql-tools/mock. But to query the real data from the REST API, something needs to take the responsibility to get that information in GraphQL and these are resolvers.
The resolvers are functions that tell GraphQL how to fetch the data for a particular field in your schema. When a query is executed, GraphQL walks the query tree and calls resolver functions to produce values for each field.
If you do not provide a resolver for a field, GraphQL uses default resolvers that simply return the property of the same name from the parent object (e.g., for Product.title it returns parent.title). This works well when your data shape already matches your schema.
Create the resolver for our schema; open the file (server/src/schema.ts). Define a resolver object and implement Query.products using the fetch function to request the data from API.
  export const resolvers = {
    Query: {
      products: async () => {
        const url = 'https://fakestoreapi.com/products';
        const res = await fetch(url);
        if (!res.ok) {
          throw new Error(`Failed to fetch products: ${res.status} ${res.statusText}`);
        }
        return await res.json();
      },
    },
  };
Open the server/src/index.ts, it has a schema: schemaWithMocks in the ApolloServer instantiation; we’re going to make a small change to it.
import {ApolloServer} from "@apollo/server";
import {startStandaloneServer} from "@apollo/server/standalone";
import {schemaWithMocks} from "./schema-mock";


async function startApolloServer() {
  const server = new ApolloServer({
    schema: schemaWithMocks
  });
  const {url} = await startStandaloneServer(server);
  console.log(`
    🚀  Server is running at ${url}
  `);
}

startApolloServer();
First, remove the schema: schemaWithMocks and set the typeDef and resolvers from the schema file.
The final version looks like:
import {ApolloServer} from "@apollo/server";
import {startStandaloneServer} from "@apollo/server/standalone";
import {typeDefs, resolvers} from "./schema";

async function startApolloServer() {
 const server = new ApolloServer({
   typeDefs,
   resolvers,
 });
 const {url} = await startStandaloneServer(server);
 console.log(`
   🚀  Server is running at ${url}
 `);
}

startApolloServer();
Save changes and remember to stop and start the GraphQL server. After that, we can reload the Angular app connected with a REST API using GraphQL!!!
Recap
This was a long journey with Angular and GraphQL. It was so fun!
We learned from the beginning why and when to use GraphQL, starting from basic GraphQL setup, mocking the server response, and how to integrate GraphQL with Angular using Apollo to make precise data-fetching, requesting the exact fields needed.
We used the power of the query to clearly show what data the component needs while the backend can evolve without breaking the frontend, as long as it supports the requested fields.
Finally, we connected GraphQL with a REST API to make real-world queries like you will in your job.
Source:
- Start: https://github.com/danywalls/graphql-and-angular/tree/graphql-server-start
- Final: https://github.com/danywalls/graphql-and-angular/tree/graphql-server-end
The Kendo Store was built with ease using Progress Kendo UI for Angular components. Ready to see what you can create with Kendo UI for Angular? It comes with a 30-day free trial.

Dany Paredes
Dany Paredes is a Google Developer Expert on Angular and Progress Champion. He loves sharing content and writing articles about Angular, TypeScript and testing on his blog and on Twitter (@danywalls).
Related Posts
Comments
All articles
Topics
Web MobileMobile
Desktop
Design
Productivity
People
