Angular Basics: How To Best Use Fonts in Angular?

Summarize with AI:
In this article, I will explain how you can easily incorporate fonts into Angular to customize the look of your Angular app.
As a frontend developer, using a custom font can be tricky when building a project in Angular JS. Sometimes if you want to add the font of your choice to your project, you will have to import it into your code (which becomes tedious and messy).
In this article, I will explain how you can easily incorporate fonts into Angular and prove that it’s not as intimidating as it may seem.
Why Do We Need To Import a Font in Angular?
There are a few reasons we might need to import a font in Angular:
- If we’re using a custom font for our UI, we’ll need to import it so the browser can render it correctly.
- If we’re using a font that’s not widely available, we may need to import it to ensure that our users can see the content correctly.
- If we’re using a font not supported by the browser, we’ll need to import it so we can use it in our Angular application.
Let’s see how we can include fonts in our Angular project.
Prerequisites
- Node.js
- Npm
Step 1: Create a Simple Angular Project
First, use the following command in your command prompt to install Angular:
npm install -g @angular/cli

Set-ExecutionPolicy -Scope CurrentUser -ExecutionPolicy RemoteSigned
Then let’s create the new project using the following command:
ng new my-app
To run the application using the following command:
cd my-app
ng serve --open
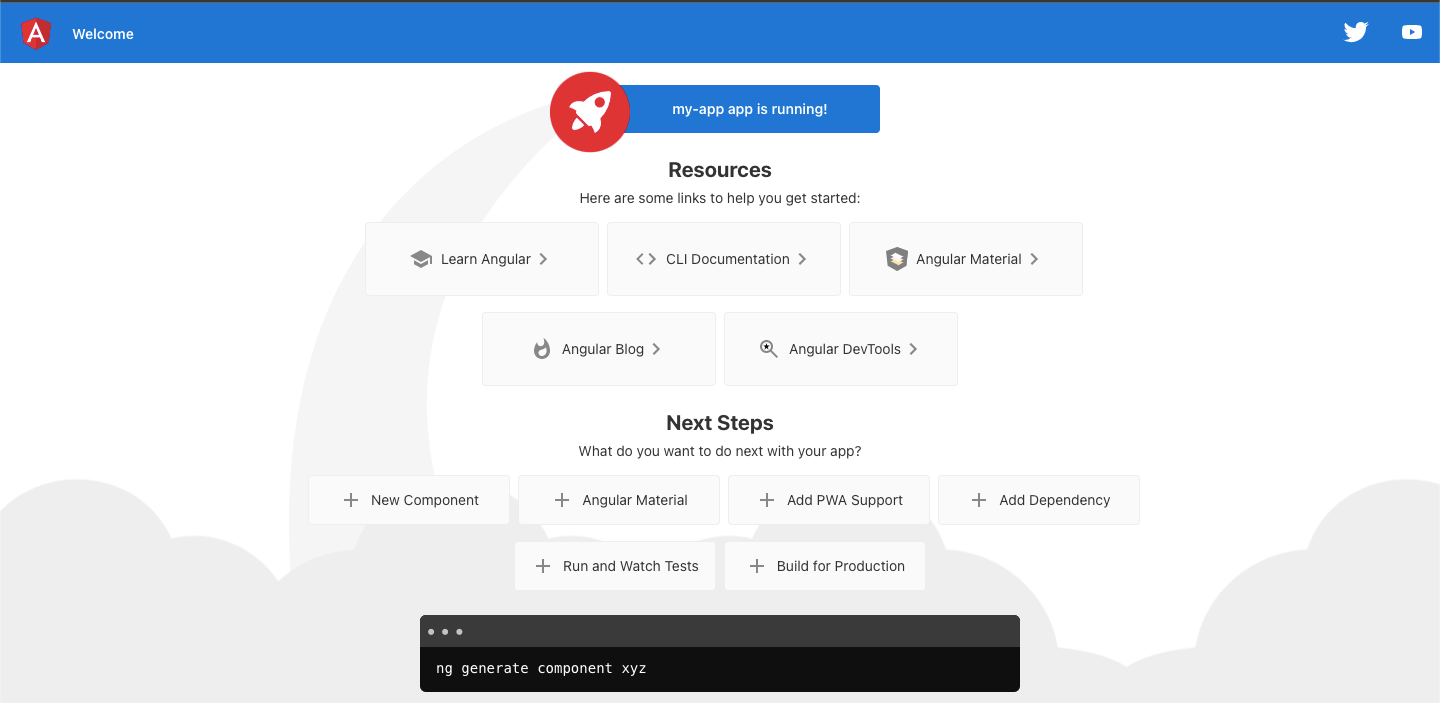
It’s done! Your app should automatically open in the browser on URL: http://localhost:4200/.
It should look like this:

Step 2: Add Custom HTML Code
The homepage of our Angular app is the default one that comes with the app when you install it. To update the HTML code, open the index.html file located in the src folder.
Now, replace the existing code with the below code:
<!doctype html>
<html lang="en">
<head>
  <meta charset="utf-8">
  <title>MyApp</title>
  <base href="/">
  <meta name="viewport" content="width=device-width, initial-scale=1">
  <link rel="icon" type="image/x-icon" href="favicon.ico">
</head>
<body>
  <h1>hello</h1>
  <h2>this is my angular app</h2>
  <p>i need to add some new custom font to the project</p>
</body>
</html>
If you restart your server and go to page http://localhost:4200/, it should show you the below page:

Step 3: Download Free Fonts
To add the custom font, we first need to download it. You can download fonts from anywhere, but we are using Google Fonts because they are free and open source.
We need to download the fonts from Google Fonts in .ttf form, and you can follow the steps given below:
- Go to the Google Fonts website.
- Browse through the different fonts available on the website and click on the one you want to download.
- On the next page, you will see the different styles available for the font. Select the style you want and click on the “Download” button.
- A pop-up window will appear asking you to save the file. Choose where you want to save the file and click on the “Save” button.
- The font will now be downloaded to your computer in zip format, but you can extract it to get the .ttf file to use in the Angular project.
Step 4: Import the Font Into the Angular Project
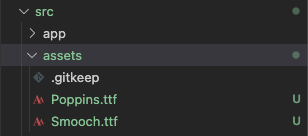
The .ttf file must be placed in the src/assets folder in order to import a font file into an Angular project. Once the file is in the correct location, it can be imported into the project using the following steps:
- In the src/styles.css file, add a new
@font-facerule for the imported font. For example:
Note: Replace “myfont.ttf” with the font file name that you have placed in src/assets.@font-face { font-family: 'MyFont'; src: url('../assets/myfont.ttf'); } - In the component where the font will be used, add the imported font to the component’s stylesheet. For example:
.my-component { font-family: 'MyFont'; } - That’s it! The font will now be used in the component.
Adding More Fonts to the Project
First, we imported and added the font into the source folder.

Now we added the two new @font-face rules to import the font in the src/style.css folder.
@font-face {
    font-family: 'Fontone';
    src: url('src/font/Poppins.ttf');
  }
@font-face {
    font-family: 'Fonttwo';
    src: url('src/font/Smooch.ttf');
  }
Then just changed the font family of the tags h1 and h2 in the src/index.html file:
h1{
    font-family: Fontone;
}

h2{
    font-family: Fonttwo;
}
Now, if you reload the page again, you should see the below output:

Alternative Method: Importing Font Without Using Font File
If you would rather use online fonts rather than font files, you can do that. As in Step 3, you can select the font you want to use. Then follow these alternative steps to use this method:
- Go to the Google Fonts website at https://fonts.google.com.
- Find the font you want to use and click on the plus sign to add it to your “My fonts” list.
- Once you’ve added all the fonts you want to use, click on the “Use” button at the top of the page.
- On the “Use” page, select the “@import” tab.
- Copy the code provided under the “Standard” section and paste it into the
<head>of your HTML document.
Or:
You can remove the style tag from the code and paste it directly into the src/style.css file (using the import rule). - That’s it! Your webpage will now use the fonts you selected from Google Fonts.
Note: It is easy to use the font using the import rule. However, importing a font as a .ttf or .otf file works best. This way, your project will continue working even after your website goes offline.
For example: Paste the below code in the src/style.css file:
@import url('https://fonts.googleapis.com/css2?family=Smooch&display=swap');
h1{
    font-family: Smooch;
}
Now, if you reload the webpage again it’ll show the below page:

Final Words
We hope you enjoyed our article on importing new fonts in Angular. With this knowledge, we know that you can make the most of your Angular project by using the right font in the right place. So what are you waiting for? Start using the right fonts in your Angular project by following the steps above.
Creating every single component for an Angular project can be a lot of work. You can use the Kendo UI for Angular library for your projects as it comes with more than 100 UI pre-built and customizable components. You can tweak and update those little components as per your taste or use them as they are.

Vyom Srivastava
Vyom Srivastava is an enthusiastic full-time coder and also writes at GeekyHumans. With more than four years of experience, he has worked on many technologies like Apache Jmeter, Google Puppeteer, Selenium, etc. He also has experience in web development and has created a bunch of websites as a freelancer.

