Angular Basics: Conditional Statements With NgSwitch

Summarize with AI:
Today we will look at the ngSwitch directive in Angular and how it can be used in your workflow.
Prerequisites
Developers of all levels, from beginners to experts can read this post—it does not matter if you are familiar with beginner concepts in Angular. To be able to follow through in this article’s demonstration, you should have:
- VS Code as your integrated development environment
- Node version 11.0 installed on your machine
- Node Package Manager version 6.7 (it usually ships with Node installation)
- Angular CLI version 8.0 or above
- A recent version of Angular (this post uses Version 12)
Other nice-to-haves include:
- Working knowledge of the Angular framework at a beginner level
More About Conditional Statements
So far we have looked at conditional statements like the ngIf directive in Angular that lets you display an element in the user interface if a set condition is met and how Angular makes it really easy to use.
With the if statement, you can only solve for “or”—the result will always be boolean, either true or false.
Sometimes you want to solve for more than two outcomes. This is why we have the if/else statements in a lot of programming languages. Angular provides an easy way to solve for multiple known outcomes.
What Is NgSwitch?
According to the Angular Docs, the ngSwitch directive on a container specifies an expression to match against. The expressions to match are provided by ngSwitchCase directives on views within the container.
- Every view that matches is rendered.
- If there are no matches, a view with the ngSwitchDefault directive is rendered.
- Elements within the ngSwitch statement but outside of any ngSwitchCase or ngSwitchDefault directive are preserved at the location.
Let’s take a look at this with a project in code.
What We Are Building
We are going to set up an Angular project using the Kendo UI Wizard and then illustrate how ngSwitch works using a lot of if statements joined together.
Project Setup
First, let’s get the project set up. Open your VS Code and navigate to the Extensions tab and search for Kendo UI Template Wizard. Install it and reload your VS Code application. Now, you have the wizard—let’s get to work!
To use the wizard inside the VS Code app, open the Command Palette (press Command + Shift + P on Mac or Control + Shift + P on a PC) and select the Kendo UI Wizard. It will open up a prompt where you will name the project and choose the location on your machine you want it to be located.
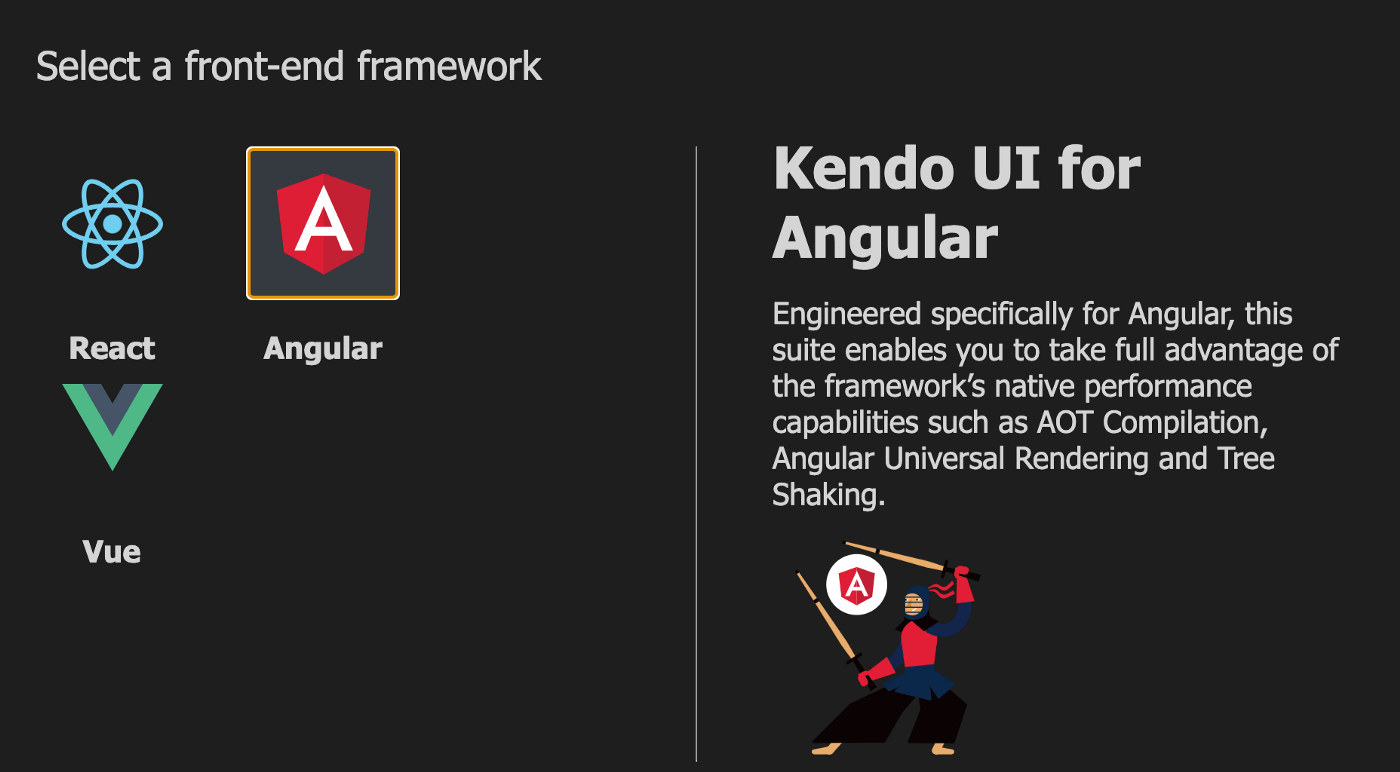
After you specify that, click the next button and you will be brought to a new prompt that asks you what framework you want to build with.

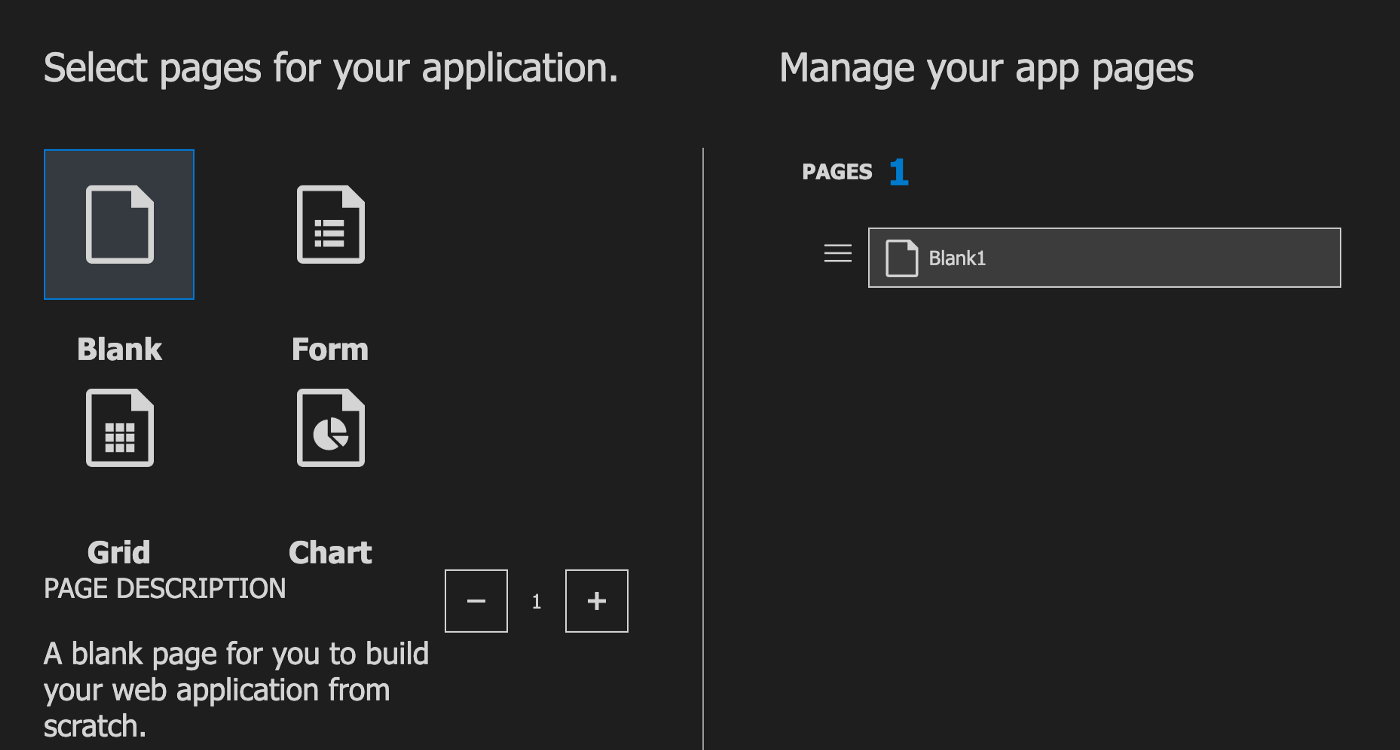
Choose Angular and click Next. The next prompt that shows wants to know the structure you want your app to be in. I want a homepage and another blank page I can route to, so I choose 1 blank page.

You can play around with different structures to see how it is being generated. After you have chosen the structure you want, click the Next button.

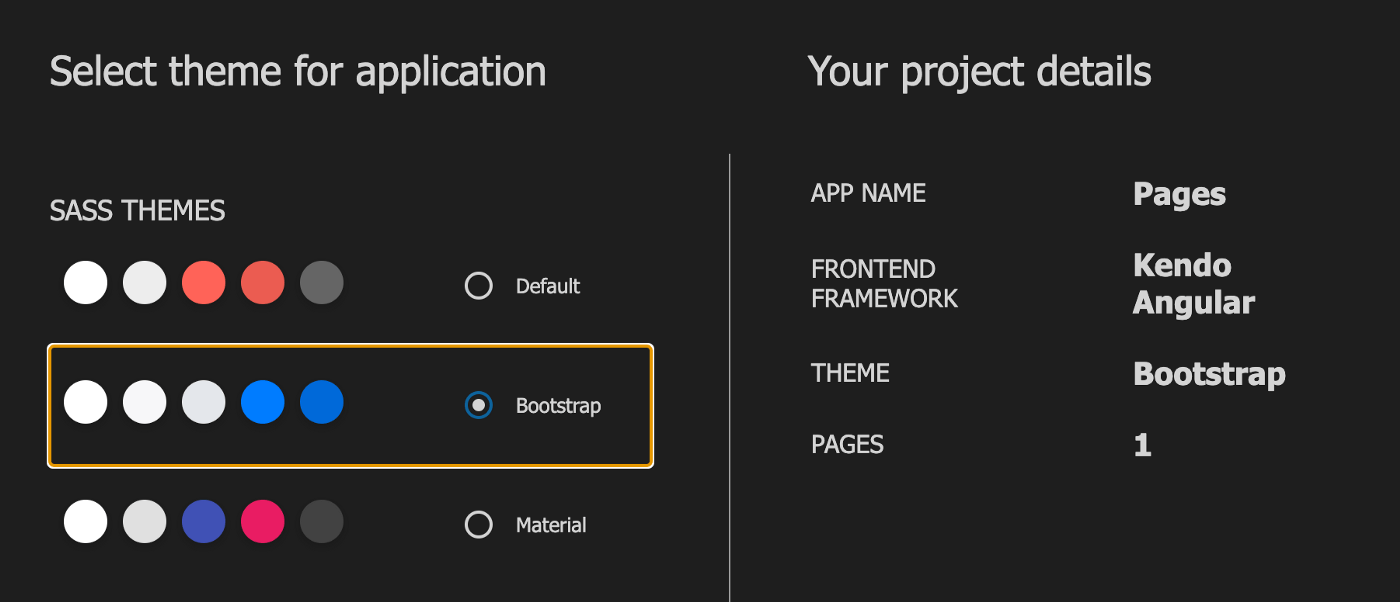
This final prompt asks about styling. So Kendo UI by default can kickstart your project with a basic CSS style or Bootstrap or Material design. I picked Bootstrap, and, on the right, you can see the project details summary.

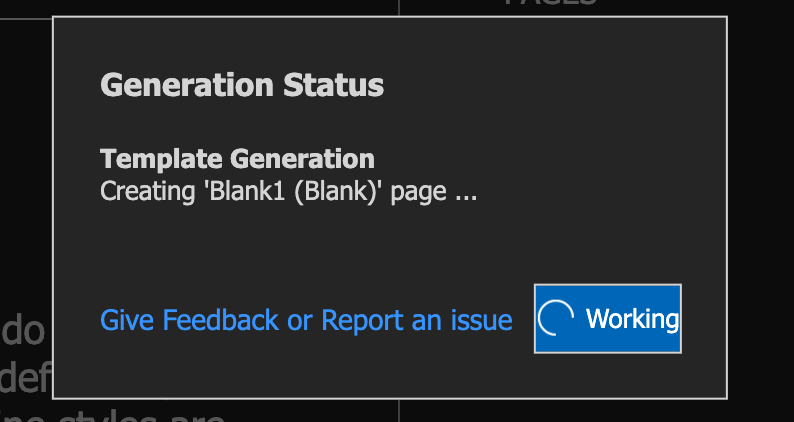
Now your application has been generated, just like that. Open the project in VS Code, open up a new terminal and run the command below to install all the packages with their latest versions.
npm install
After the installation is complete, let us test out if we got everything right. Run the Angular development server with this command:
ng serve
Open your browser to http://localhost:4200/home and it should look like this:

Demonstrating NgSwitch
Let’s assume there are only five car brands in the world: Land Rover, Chery, Benz, Lexus and Tesla, corresponding to 1, 2, 3, 4 and 5. We are going to display the cars in different Bootstrap colors in the UI depending on pre-set conditions.
Copy the code block inside your component.ts file:
import { Component } from '@angular/core';
@Component({
  selector: 'app-home',
  templateUrl: './home.component.html'
})
export class HomeComponent {
  cars: any[] = [
    {
      "name": "Mercedes Benz",
      "number": 1,
      "country": 'Germany'
    },
    {
      "name": "Tesla",
      "number": 2,
      "country": 'United States'
    },
    {
      "name": "Lexus",
      "number": 3,
      "country": 'Japan'
    },
    {
      "name": "Land Rover",
      "number": 4,
      "country": 'England'
    },
    {
      "name": "Chery",
      "number": 5,
      "country": 'China'
    }
  ];
}
This is the component data we will be using today. Navigate into the components folder and copy the code block below into the home component.html file:
<div class="container mt-5">
    <h3>Car Brands and Origins </h3>
    <ul *ngFor="let car of cars">
        <li *ngIf="car.number === 1"
            class="text-success">{{ car.name }} ({{ car.country }})
        </li>
        <li *ngIf="car.number === 2"
            class="text-primary">{{ car.name }} ({{ car.country }})
        </li>
        <li *ngIf="car.number === 3"
            class="text-warning">{{ car.name }} ({{ car.country }})
        </li>
        <li *ngIf="car.number !== 1 && car.number !== 2 && car.number !== 3"
      class="text-danger">{{ car.name }} ({{ car.country }})
  </li>
      </ul>
</div>
This is how we will loop through the array with about four if statements to color three car brands differently and the rest of the brands red. In situations where you know a few possible outcomes but then want to handle the rest a specific way, Angular provides the switch statement to do so easily.
NgSwitch Syntax
The syntax of ngSwitch looks something like this:
<div [ngSwitch]="Expression">
    <div *ngSwitchCase="First matching expression"> One</div>
    <div *ngSwitchCase="Second matching expression"> Two</div>
    <div *ngSwitchCase="Third matching expression"> Three</div>
    <div *ngSwitchDefault="Else expression"> Last</div>
</div>
So you declare the expression and then use the case options, which can include as many as possible to tell Angular the view to display if there is a match. Finally, just like with if/else, you have the switch default act as the else. This means it will be displayed if none of the cases match.
Why NgSwitch?
Firstly the ngSwitch is exactly the same as many other programming languages’ switch statements, so it comes with no new learning curve to using it. It is also a cleaner way to do things so that you do not have a conditional loop hell of if statements scattered around your presentation.
To achieve the same thing with a switch statement in Angular, here is how it would look:
<div class="container mt-5">
    <h3>Car Brands and Origins </h3>
<ul *ngFor="let car of cars"
    [ngSwitch]="car.number">
<li *ngSwitchCase="1"
      class="text-success">{{ car.name }} ({{ car.country }})
  </li>
  <li *ngSwitchCase="2"
      class="text-primary">{{ car.name }} ({{ car.country }})
  </li>
  <li *ngSwitchCase="3"
      class="text-dark">{{ car.name }} ({{ car.country }})
  </li>
  <li *ngSwitchDefault
      class="text-warning">{{ car.name }} ({{ car.country }})
  </li>
</ul>
</div>
This provides the exact same results and is way more concise.
Wrapping Up
In today’s post, we have taken a look at ngSwitch directive to handle conditional rendering with some known outcomes. We looked at how it differs from the ngIf directive and how it can be used to get the best results. Happy hacking!

Nwose Lotanna Victor
Nwose Lotanna Victor is a web technology enthusiast who documents his learning process with technical articles and tutorials. He is a freelance frontend web developer based in Lagos, Nigeria. Passionate about inclusion, community-building and movies in Africa, he enjoys learning new things and traveling.
