
Angular Basics: CLI

Summarize with AI:
Learn the basics of using the Angular Command Line Interface (CLI) and see how it helps make project setup, testing and deployment for Angular applications much easier.
Angular’s Command Line Interface (CLI) is an essential tool in the Angular ecosystem that streamlines the process of quickly creating projects, managing builds, serving and deploying applications.
Setting up frontend frameworks can often be challenging due to intricate configurations, dependency management and maintaining consistent build processes. Framework CLIs (like Angular CLI, Next CLI and Create Vue) help alleviate these challenges by providing standardized commands and automated setups, significantly reducing the complexity of initializing and managing projects.
In today’s article, we’ll cover the basics of using Angular CLI and explore how it helps make project setup, testing and deployment for Angular applications much easier!
Getting Started with Angular CLI
To begin using Angular CLI, we’ll first need to set up our environment by installing Node.js and the Angular CLI globally. Angular CLI requires Node.js to run, and we’ll need an active LTS (Long-Term Support) or maintenance LTS version of Node.js.
To install Node.js, go to nodejs.org and download the latest LTS version, which includes npm (Node Package Manager). Once Node.js is installed, we can install the Angular CLI globally using:
npm install -g @angular/cli
Windows and Unix: For Windows and Unix systems, additional steps may be required for proper installation of the Angular CLI. Refer to the official Angular documentation for some of these instructions.
With Angular CLI installed, we can create a new Angular project with:
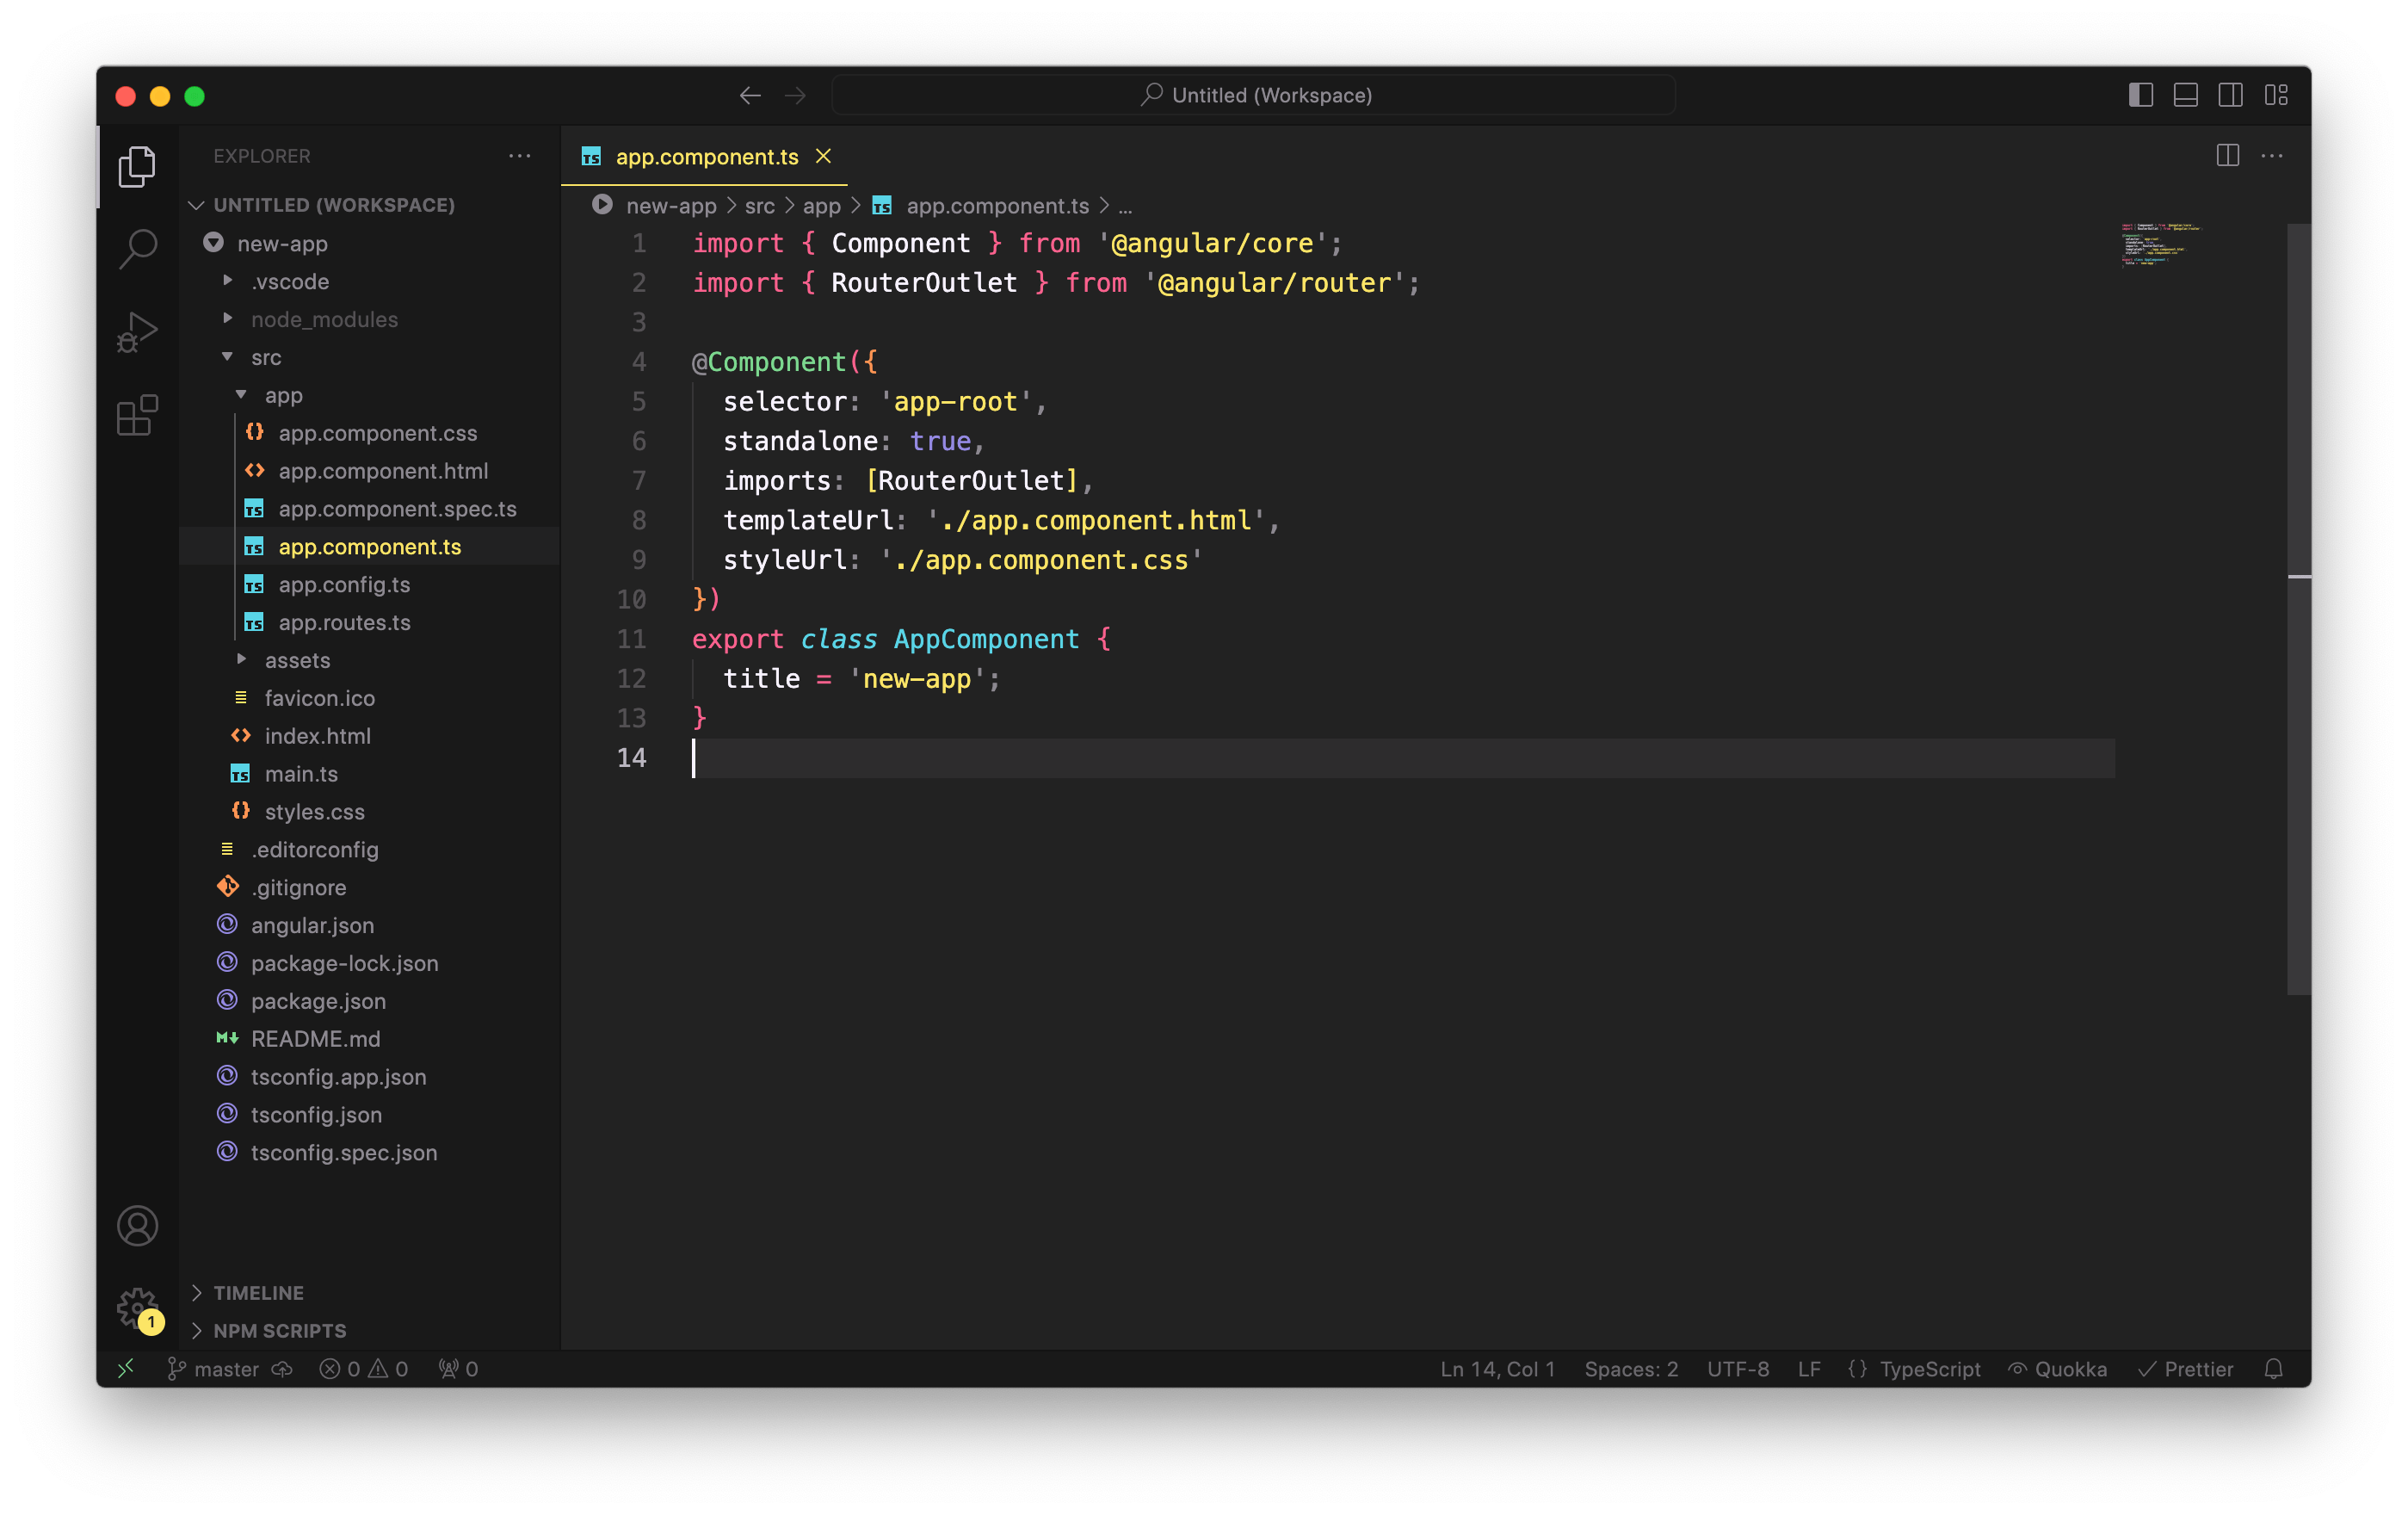
ng new new-app
The above command sets up a new Angular project with the specified name of the app (e.g., new-app). This process creates the basic structure for an Angular application, including various configuration files, a source folder with a basic app component, and dependencies listed in a package.json file. The Angular CLI also automatically configures a build process using webpack and sets up a development server for the application.
To run the newly created Angular application, we can navigate to the project directory and start the development server:
cd new-app
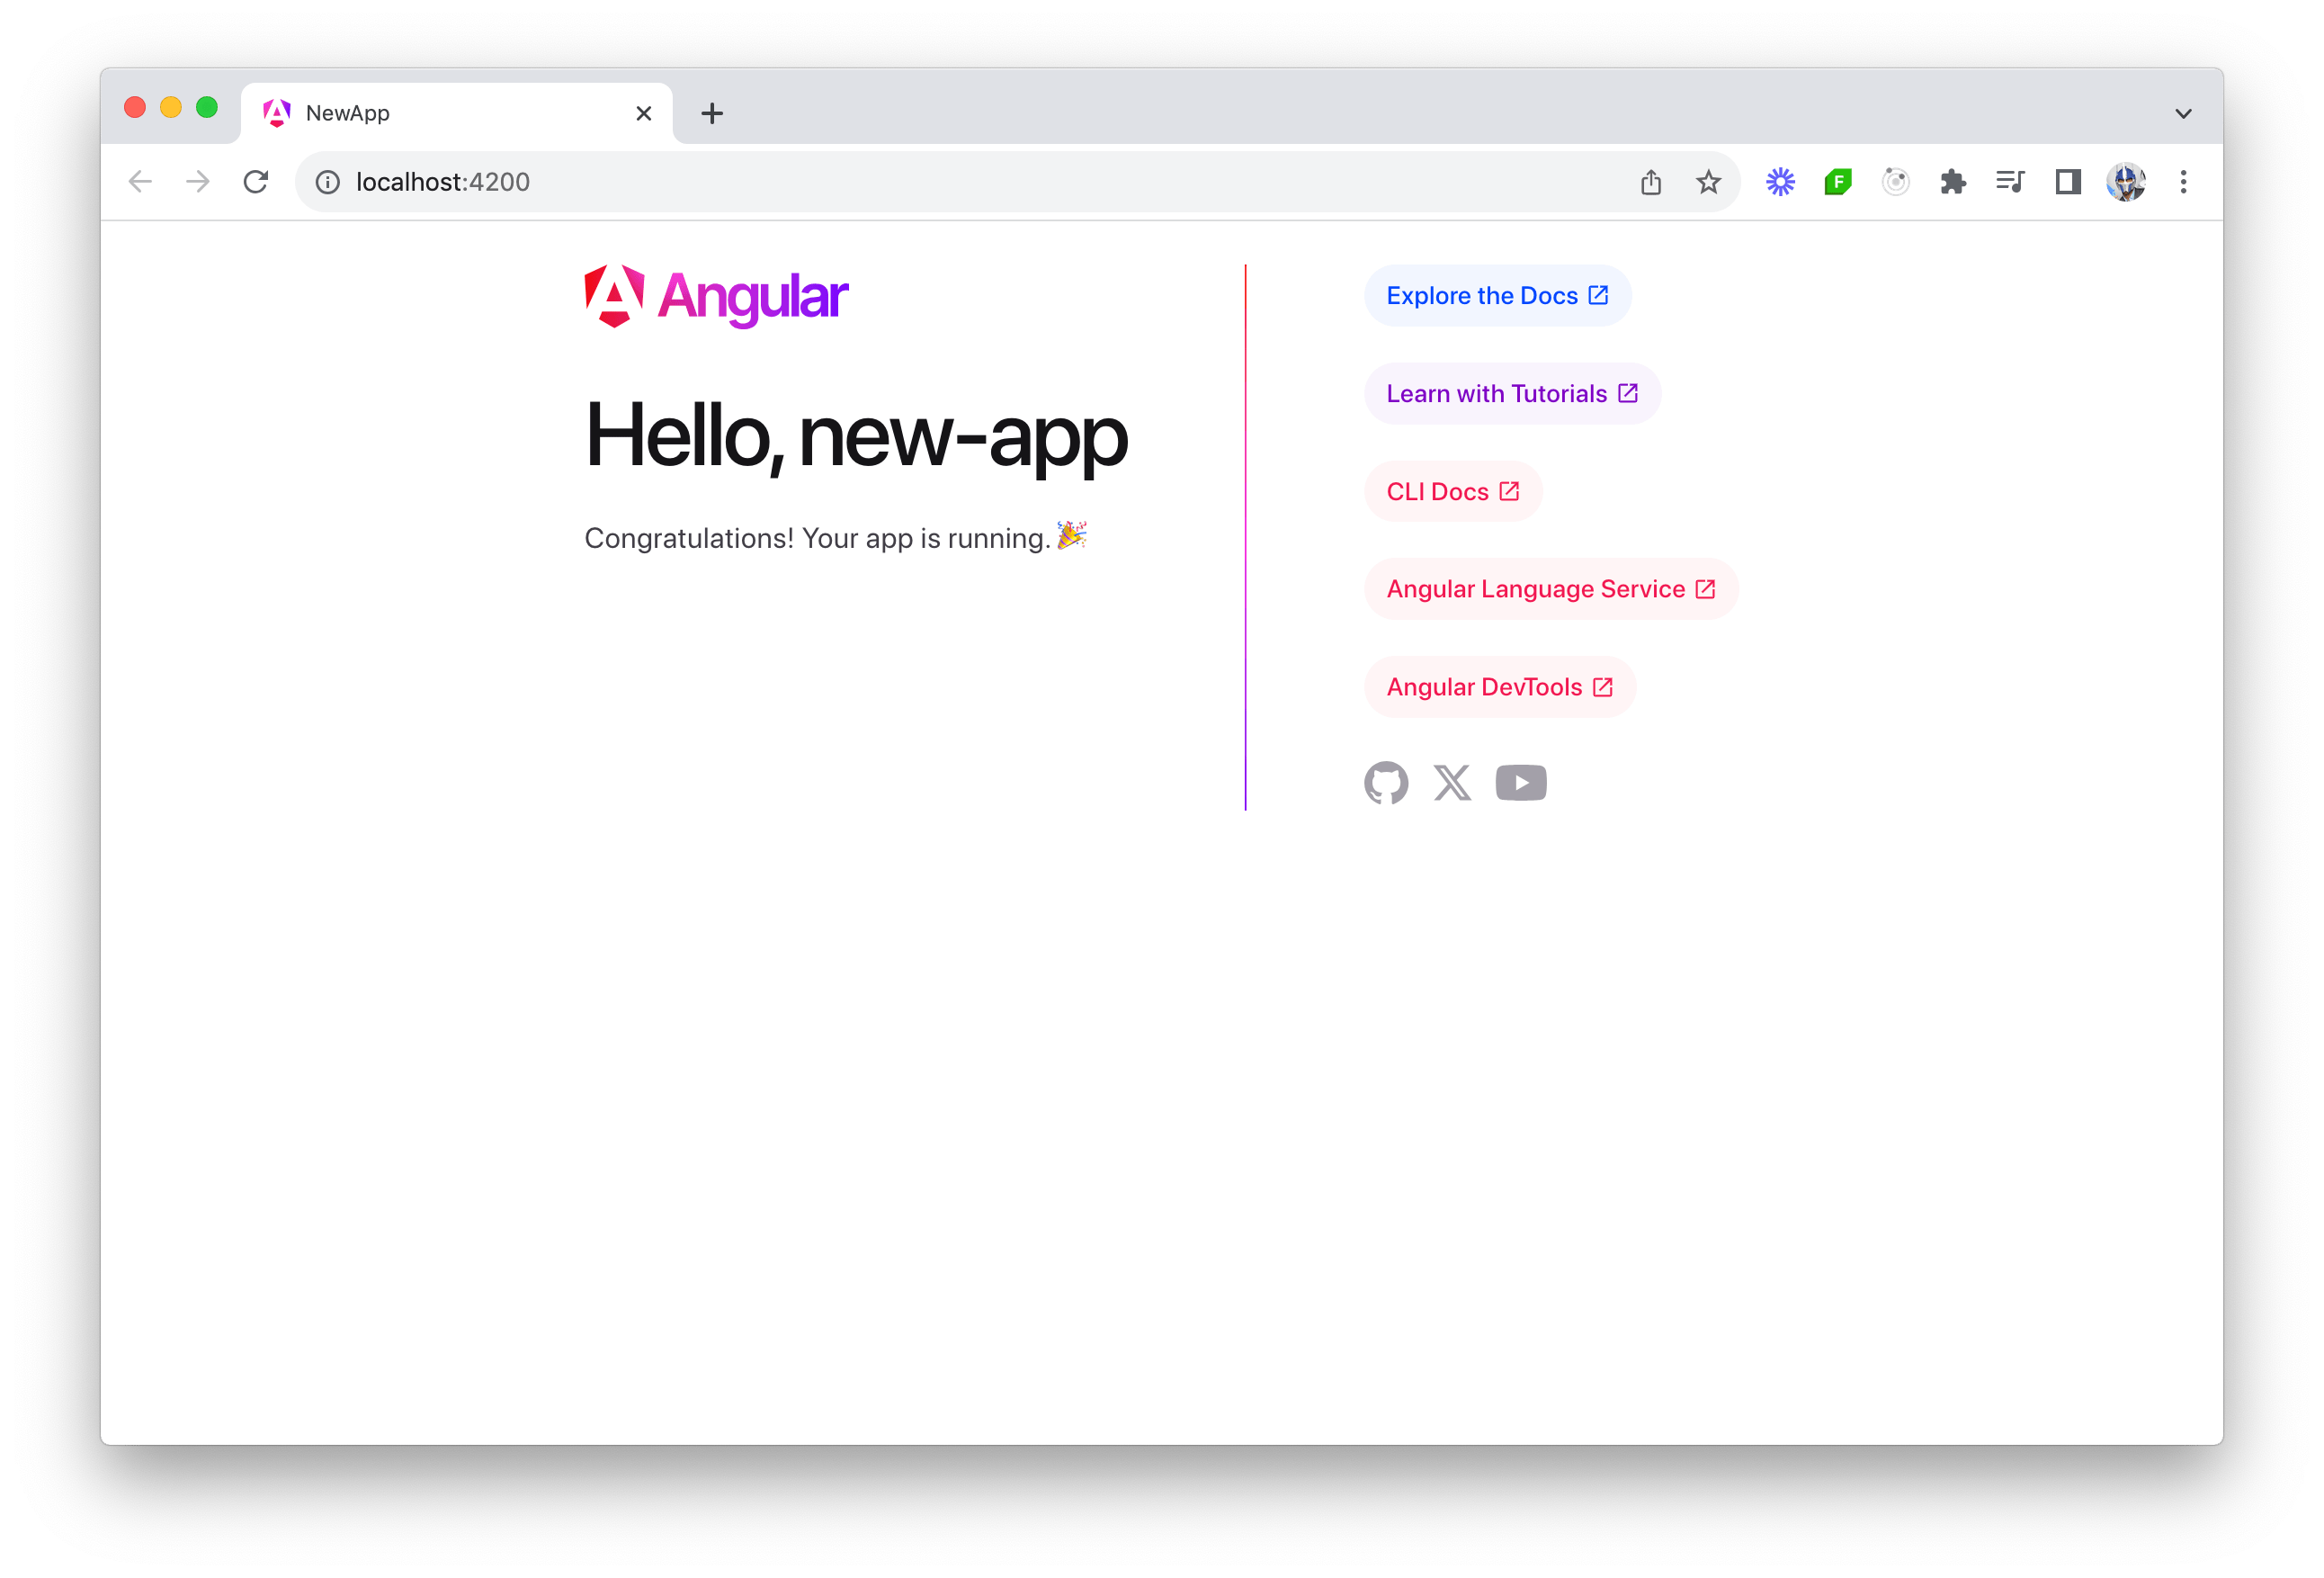
ng serve --open
The above command compiles the application, starts a web server and opens the browser to http://localhost:4200 to view the generated application.
Building Angular Applications
Building an Angular application involves transforming the source code and transforming it into a format that can be efficiently served to users. This process includes compiling, bundling, minifying and optimizing the code, so that it runs smoothly in a production environment. By using Angular CLI, we can simplify this entire process and generate a production-ready build with a single command:
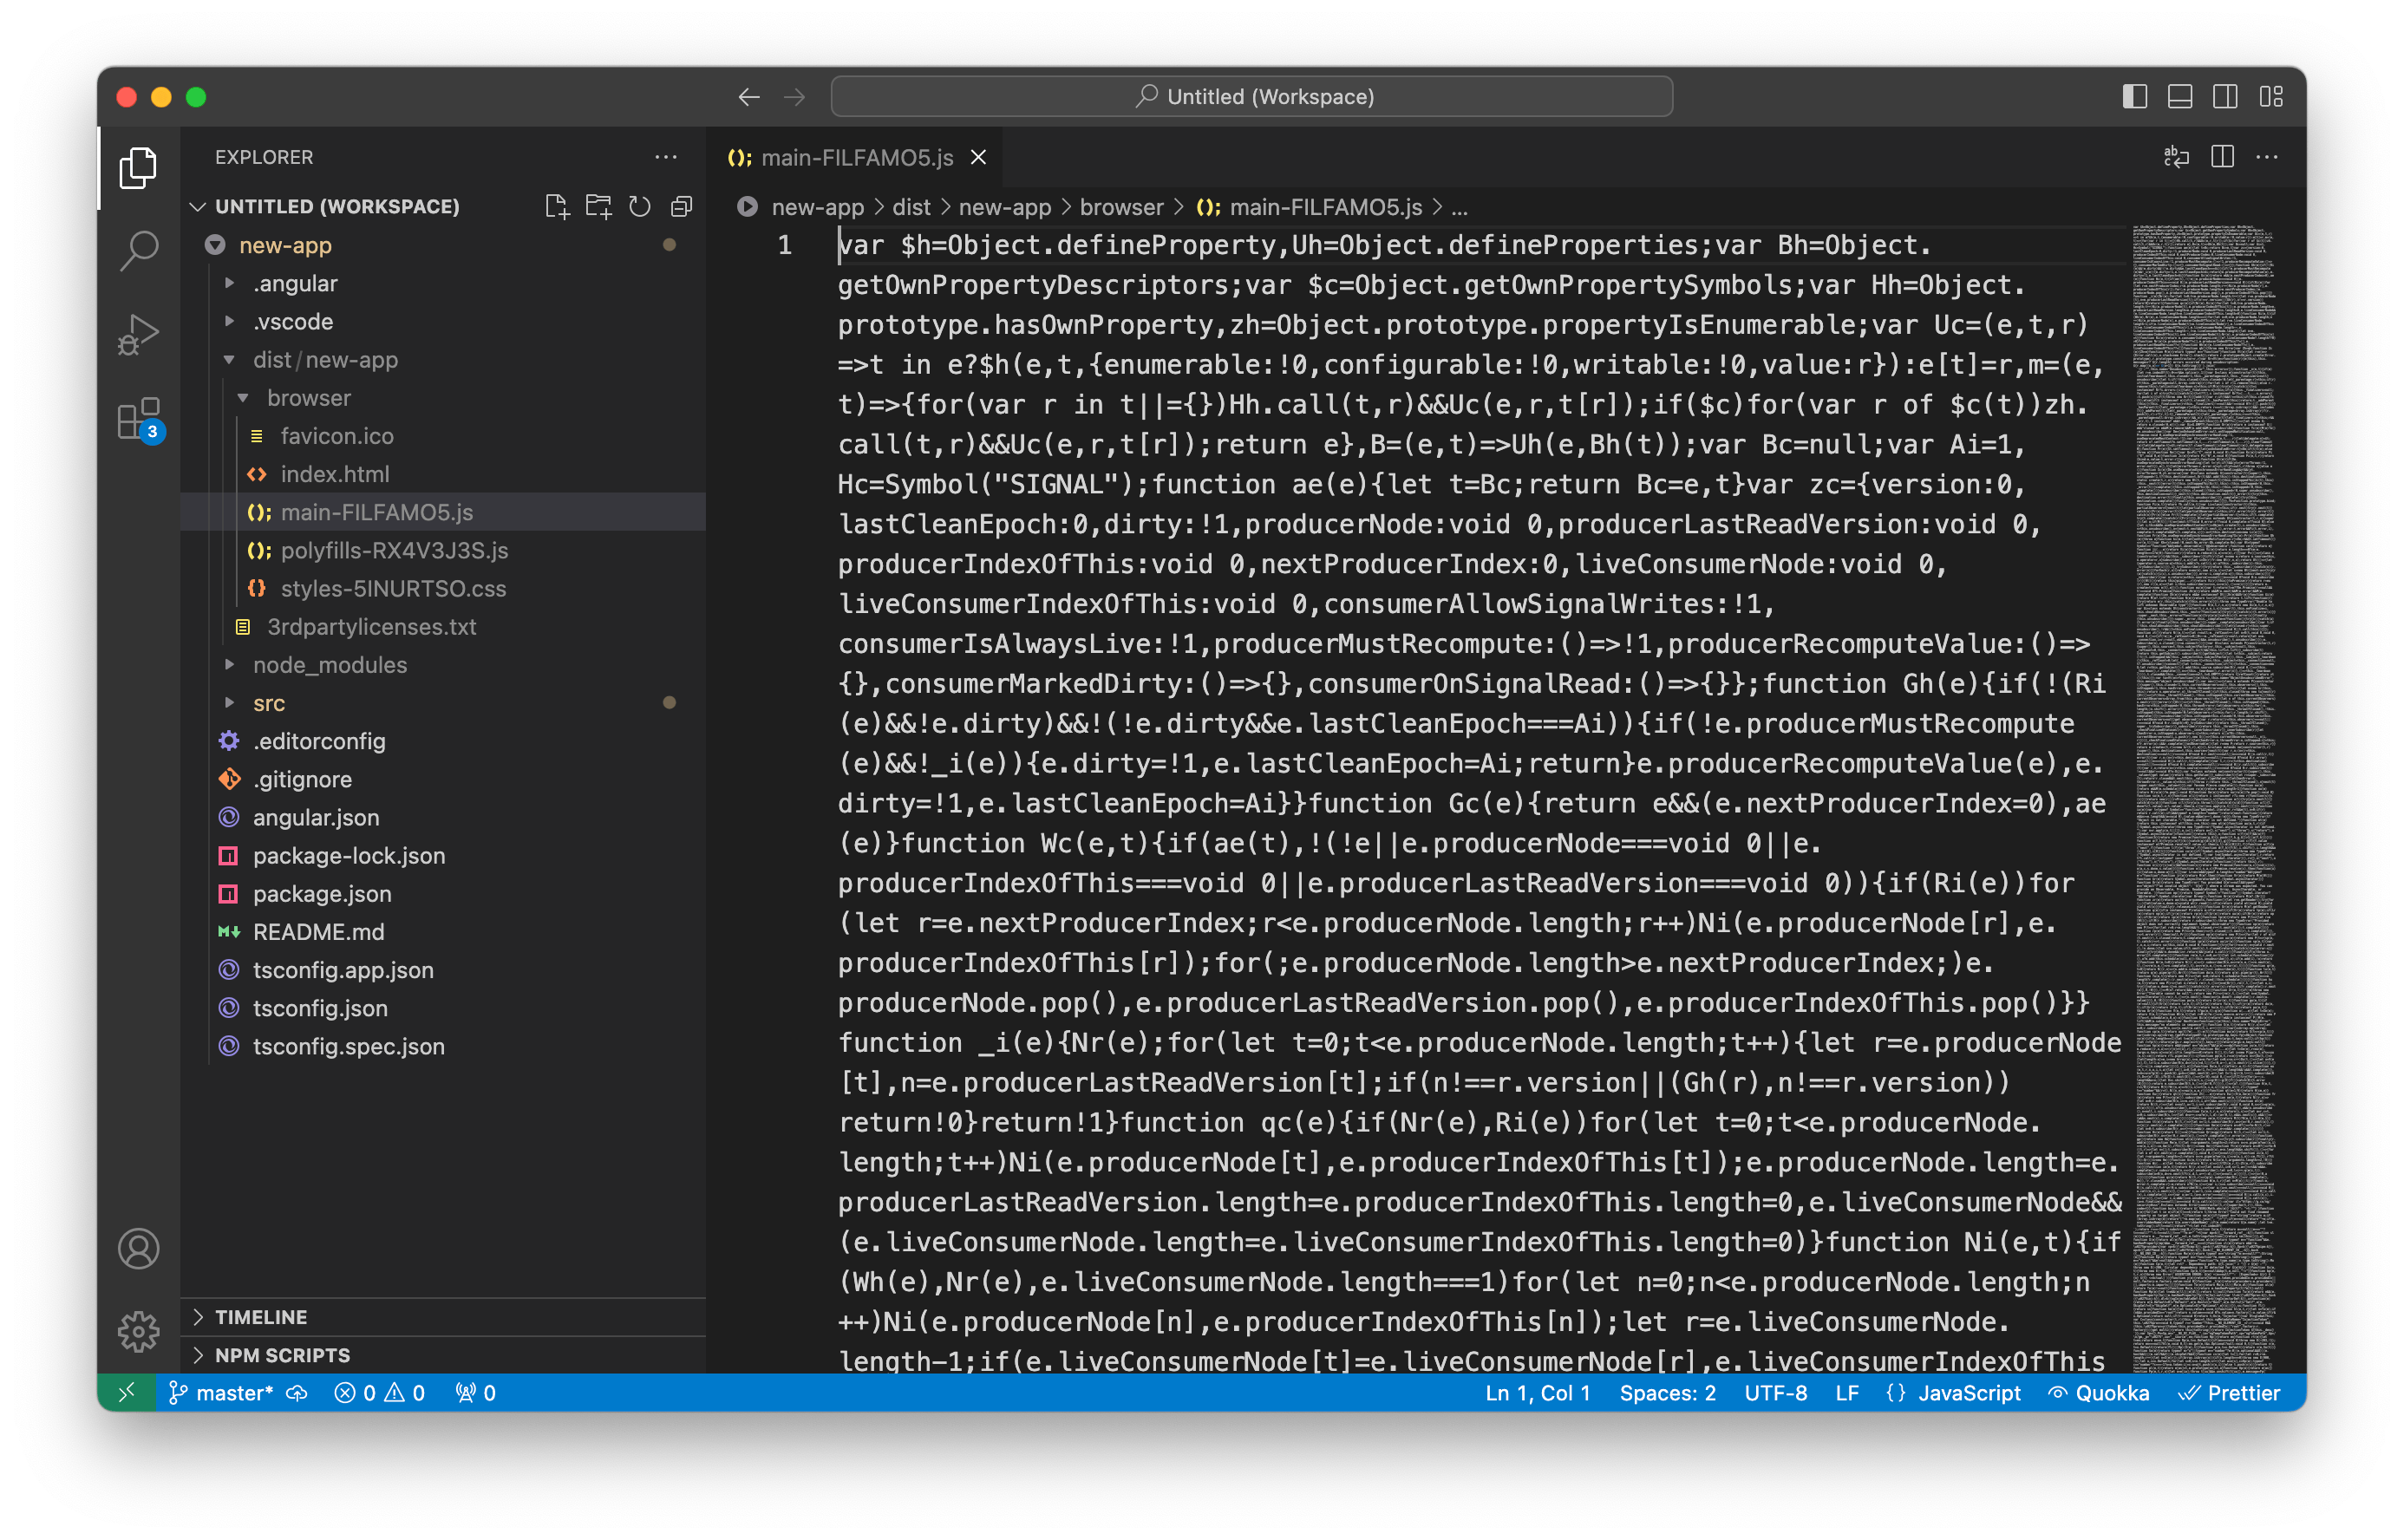
ng build
The above command generates an optimized build in the dist/ folder, ready for deployment.
Deploying Angular Applications
To facilitate easy deployment, Angular CLI supports hosting services like Firebase, Vercel, Netlify and GitHub Pages with the ng deploy command. The ng deploy command initiates the deploy CLI builder associated with an Angular project, which manages the process of deploying to the specified platform.
To add a deployment capability, we can use ng add to integrate a third-party deployment package. For example, to deploy to Firebase, we run the following commands:
ng add @angular/fire
ng deploy
The ng deploy command is interactive, guiding us through selecting the target Firebase project, building our application and uploading production assets. It automatically updates our workspace configuration (angular.json file) with a deploy section for the selected project.
Other popular deployment options include:
- Vercel:
vercel init angular - Netlify:
ng add @netlify-builder/deploy - GitHub Pages:
ng add angular-cli-ghpages - Amazon Cloud S3:
ng add @jefiozie/ngx-aws-deploy
If there’s no builder for a preferred cloud platform or if deploying to a self-managed server, we can create a custom builder or manually upload the contents of the dist/ folder to the server.
Unit Testing Angular Applications
Testing is an essential part of verifying an Angular application works as expected. Unit testing examines individual components, services and functions in isolation to verify they behave correctly. Angular CLI makes unit testing straightforward by providing necessary tools like the Jasmine testing framework and Karma test runner.
To start testing, we can simply run:
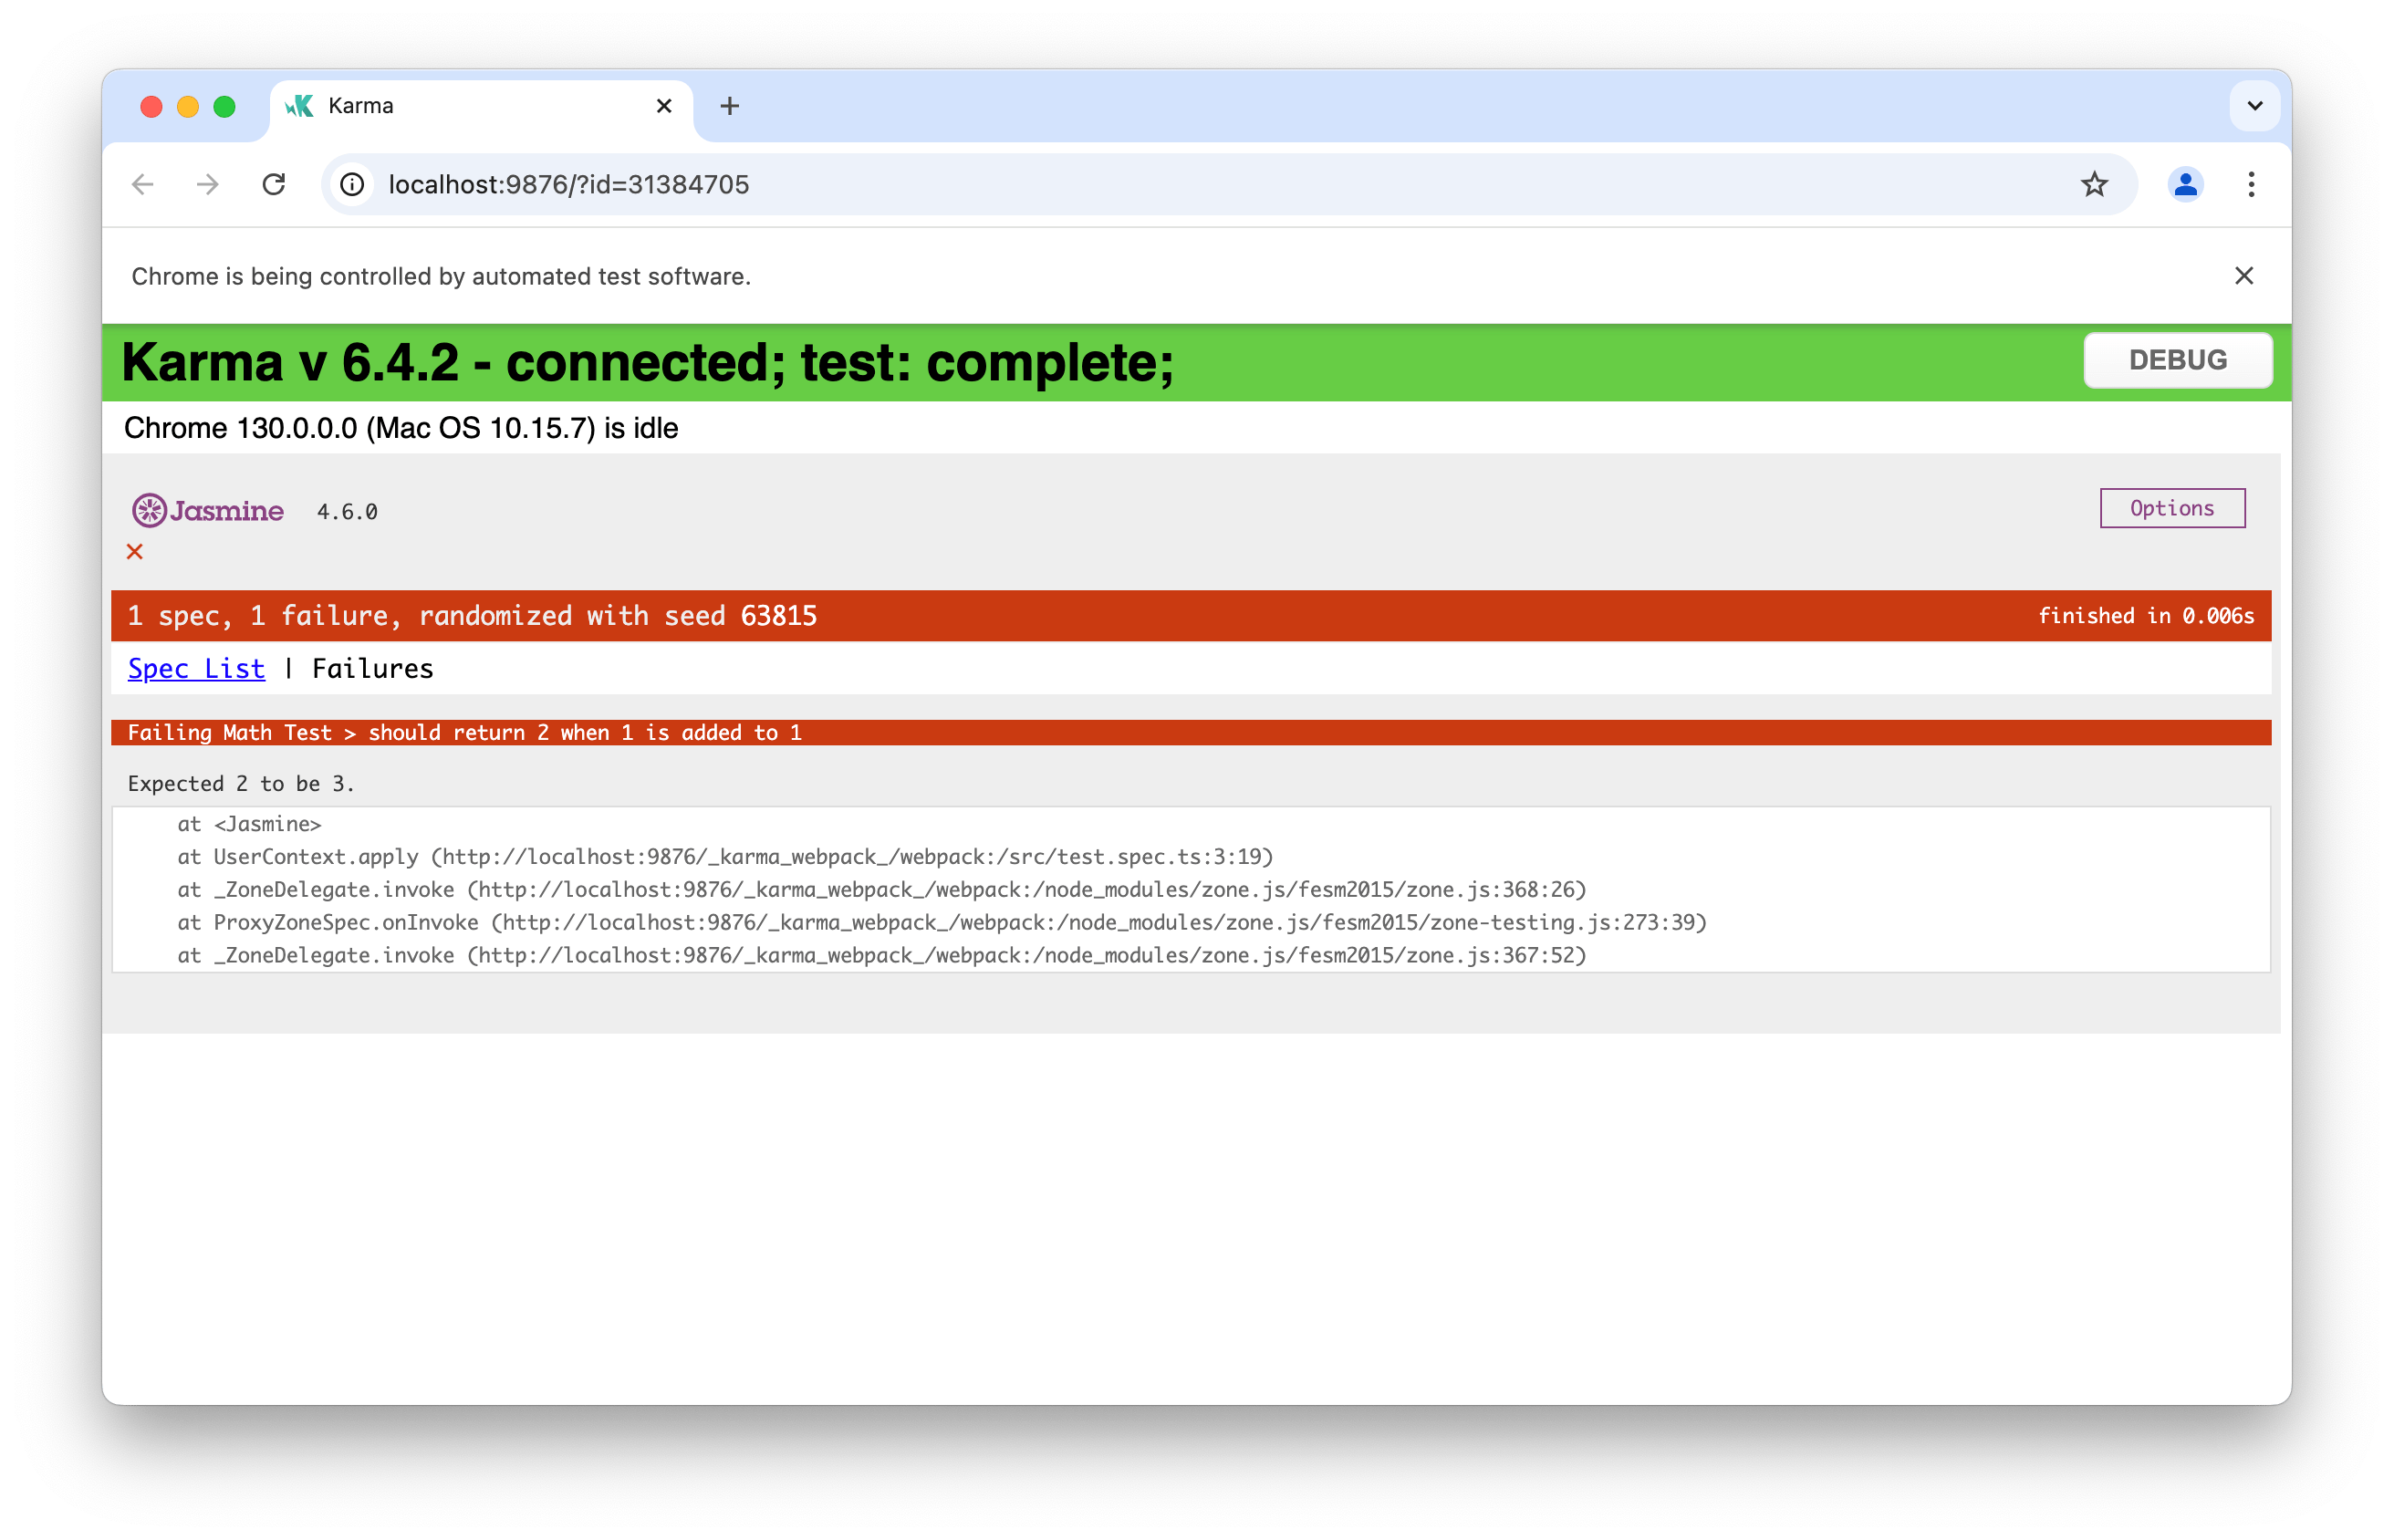
ng test
The above command builds the application in watch mode and launches the Karma test runner. Karma will execute the tests in a browser environment, providing detailed feedback on which tests have passed or failed.
By default, the Angular CLI configures Jasmine and Karma for a project, so everything is ready to go as soon as we create a new project. If desired, we can customize Karma’s configuration using a configuration file generated by running:
ng generate config karma
Angular also supports other testing frameworks, allowing flexibility to choose tools that best fit our preferences.
End-to-End Testing Angular Applications
End-to-end (E2E) testing is a crucial aspect of verifying that an entire application works as intended from start to finish. Unlike unit tests, which test specific parts of code in isolation, E2E tests validate the entire application flow, replicating user interactions to confirm that everything functions as expected. This type of testing is particularly valuable for simulating real user scenarios, checking that all components work together.
The Angular CLI provides everything needed to get started with E2E testing. To set up E2E tests, we can use the following command:
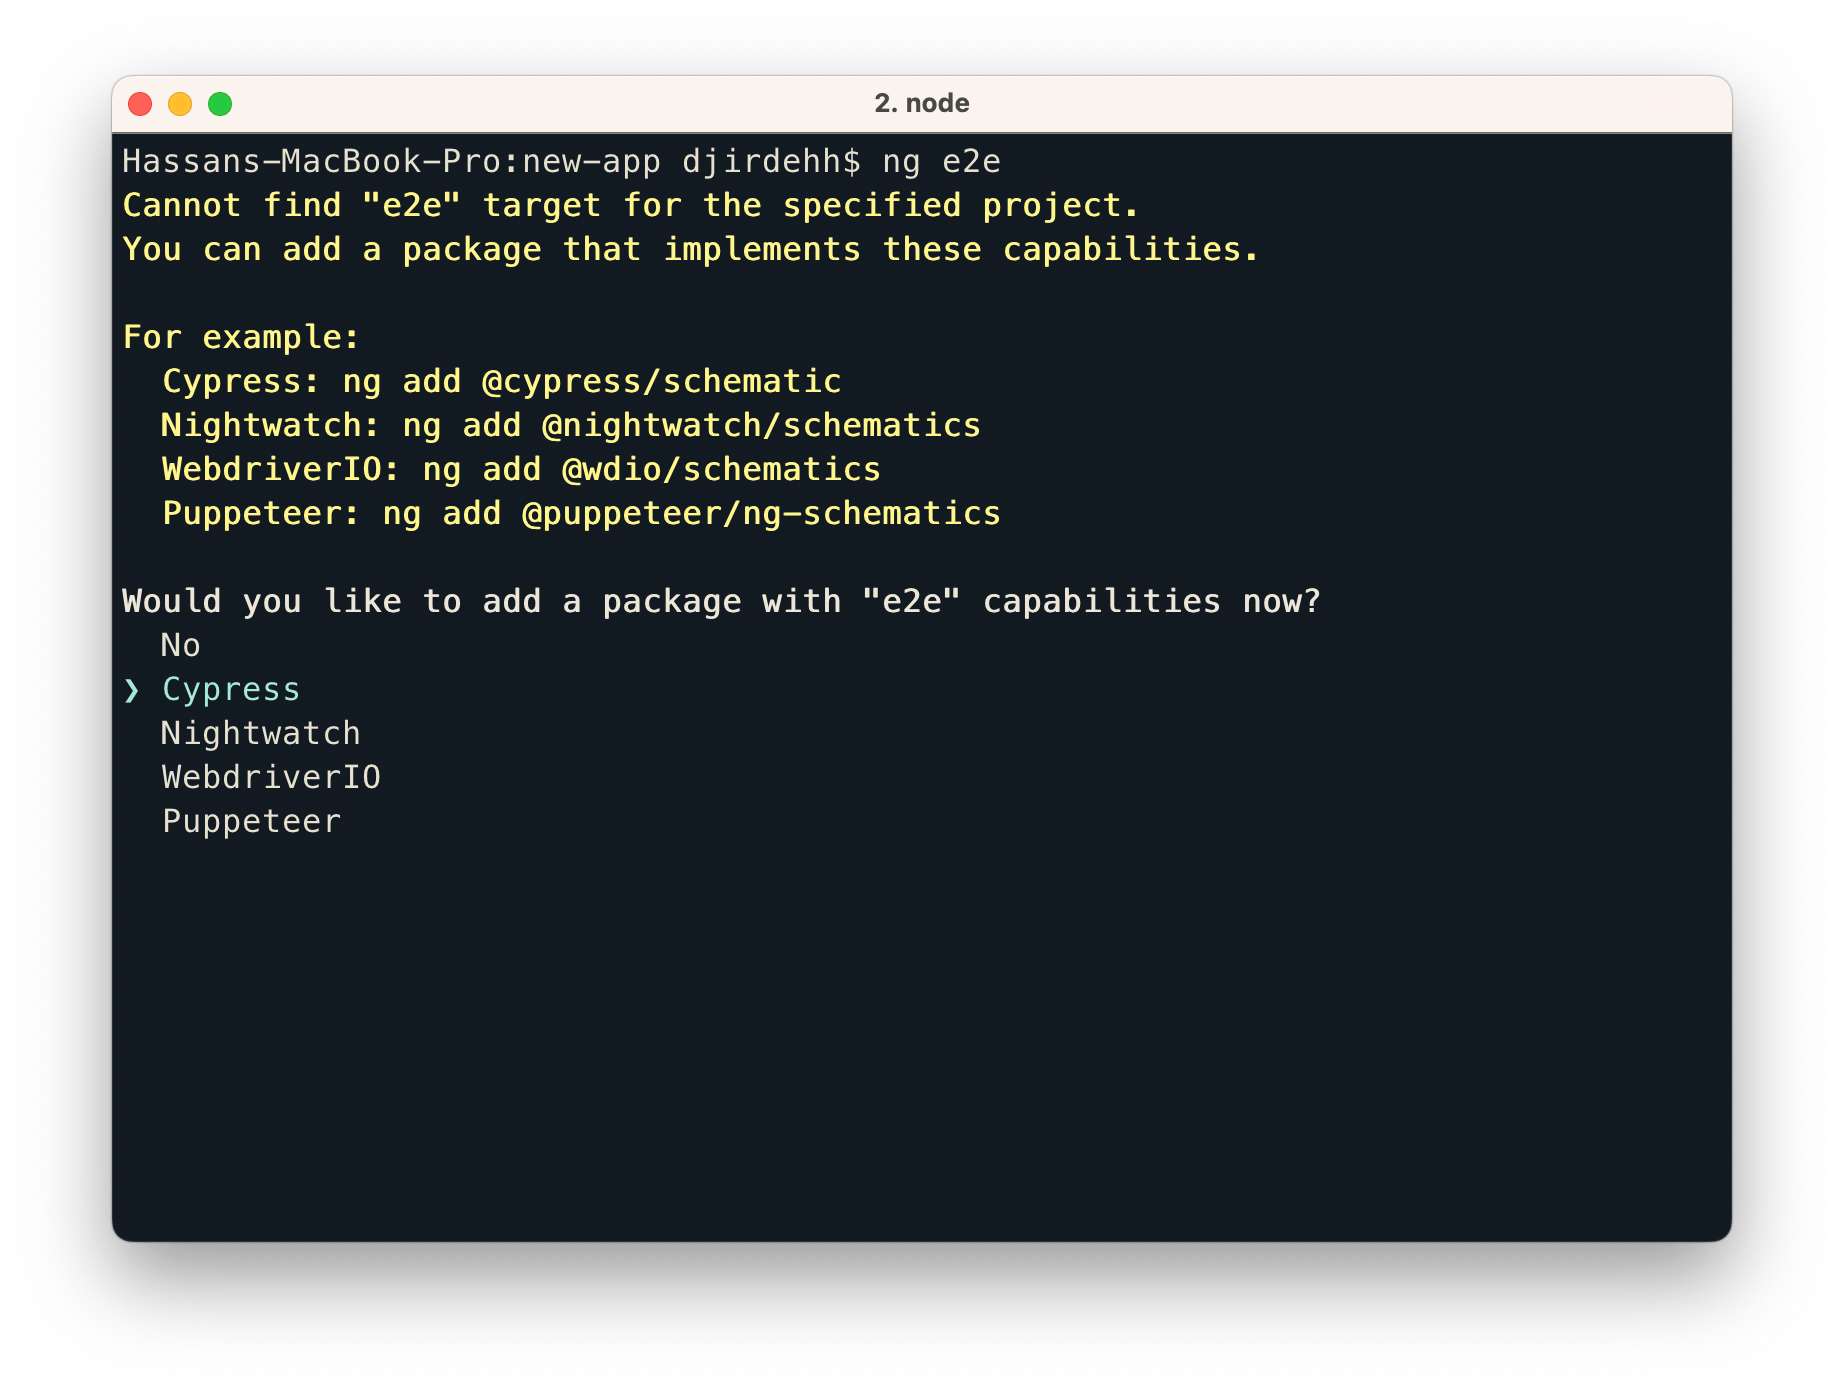
ng e2e
The ng e2e command searches for an “e2e” target in our project. If one isn’t available, the CLI will prompt us to select and install a suitable E2E testing package, such as Cypress, Playwright or Puppeteer.
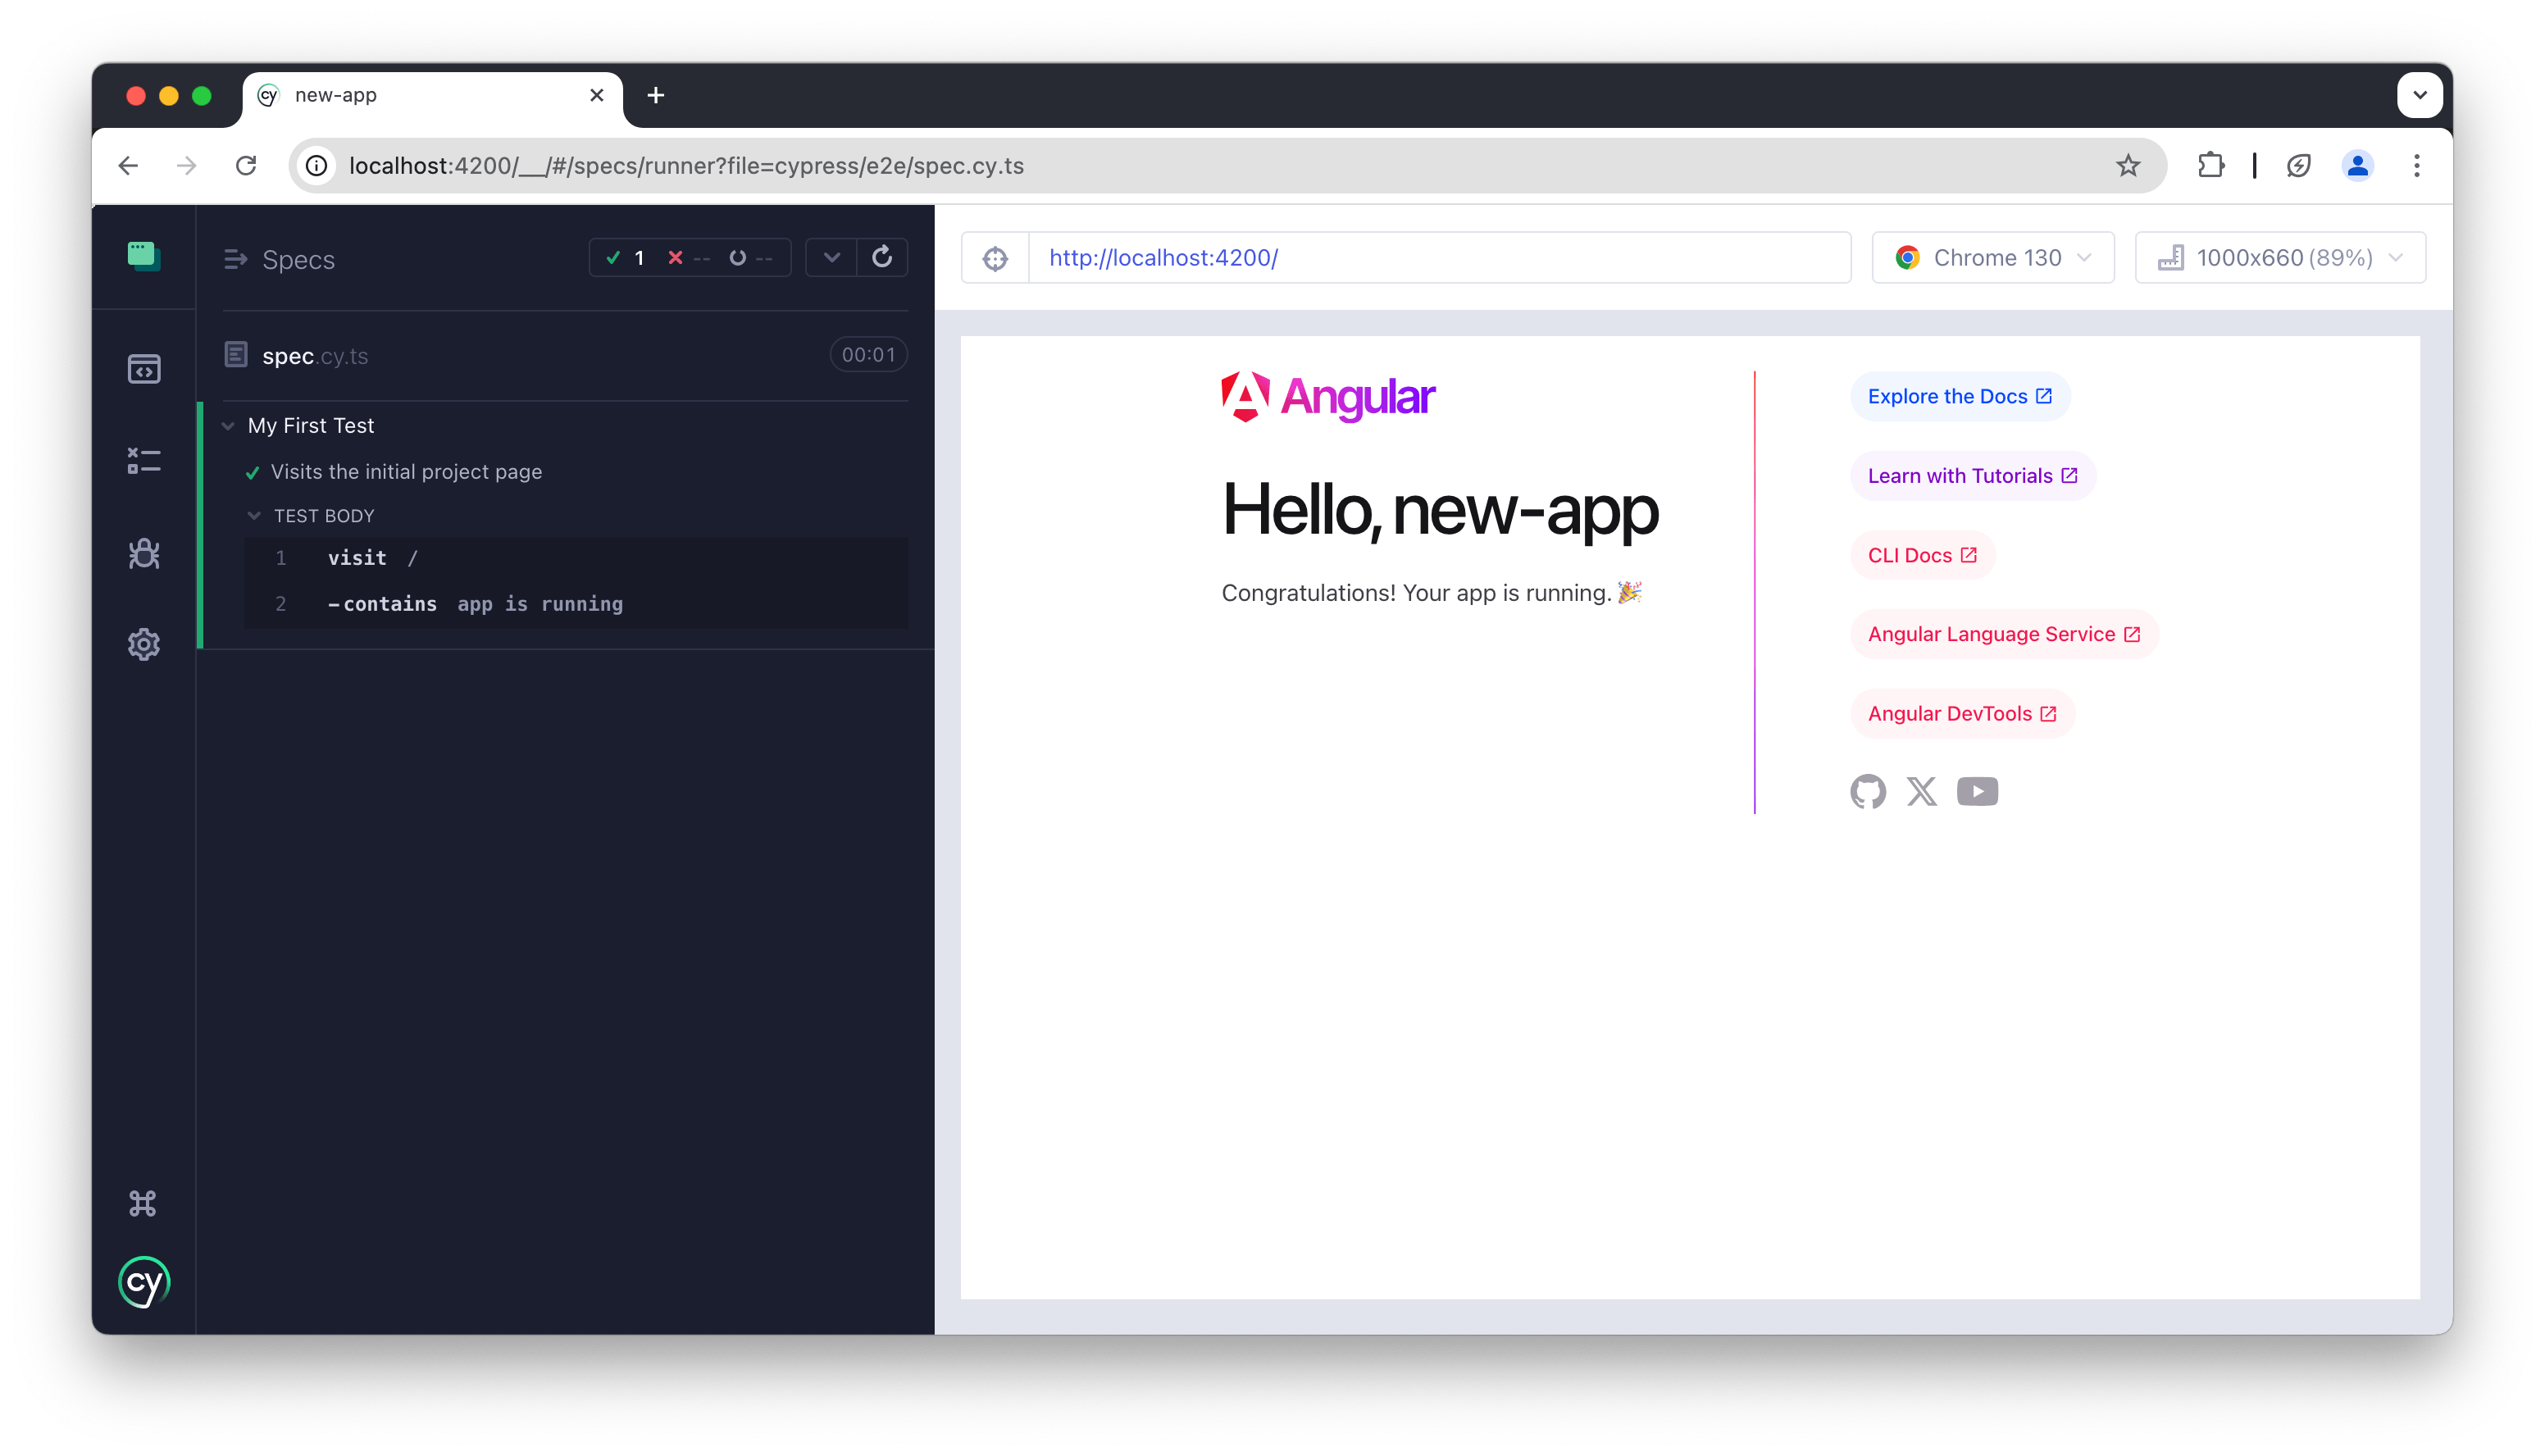
After setting up the appropriate package (e.g., Cypress), we can run our E2E tests with ng e2e. This command executes the E2E builder associated with the project, simulating user actions and verifying that the application behaves as expected.
Wrap-up
Angular CLI simplifies the entire development cycle, from setting up a project to building, serving, testing and deploying it. While this article covers the basics, Angular CLI also provides a wide range of advanced features, including custom builders, advanced deployment configurations and schematics authoring, which can be beneficial for complex projects.
For more in-depth information on Angular CLI’s advanced capabilities, check out the official Angular documentation!

Hassan Djirdeh
Hassan is a senior frontend engineer and has helped build large production applications at-scale at organizations like Doordash, Instacart and Shopify. Hassan is also a published author and course instructor where he’s helped thousands of students learn in-depth frontend engineering skills like React, Vue, TypeScript, and GraphQL.
Related Posts
Comments
All articles
Topics
Web MobileMobile
Desktop
Design
Productivity
People
