Visual Studio Code Integration
The Telerik Reporting Productivity Tools extension provides report-authoring and application-development workflows for Visual Studio Code. Depending on what you want to build, use the following guides to continue.
Designing Reports in VS Code
You can create, edit, preview, and export Telerik reports directly in Visual Studio Code without first creating a Reporting application.
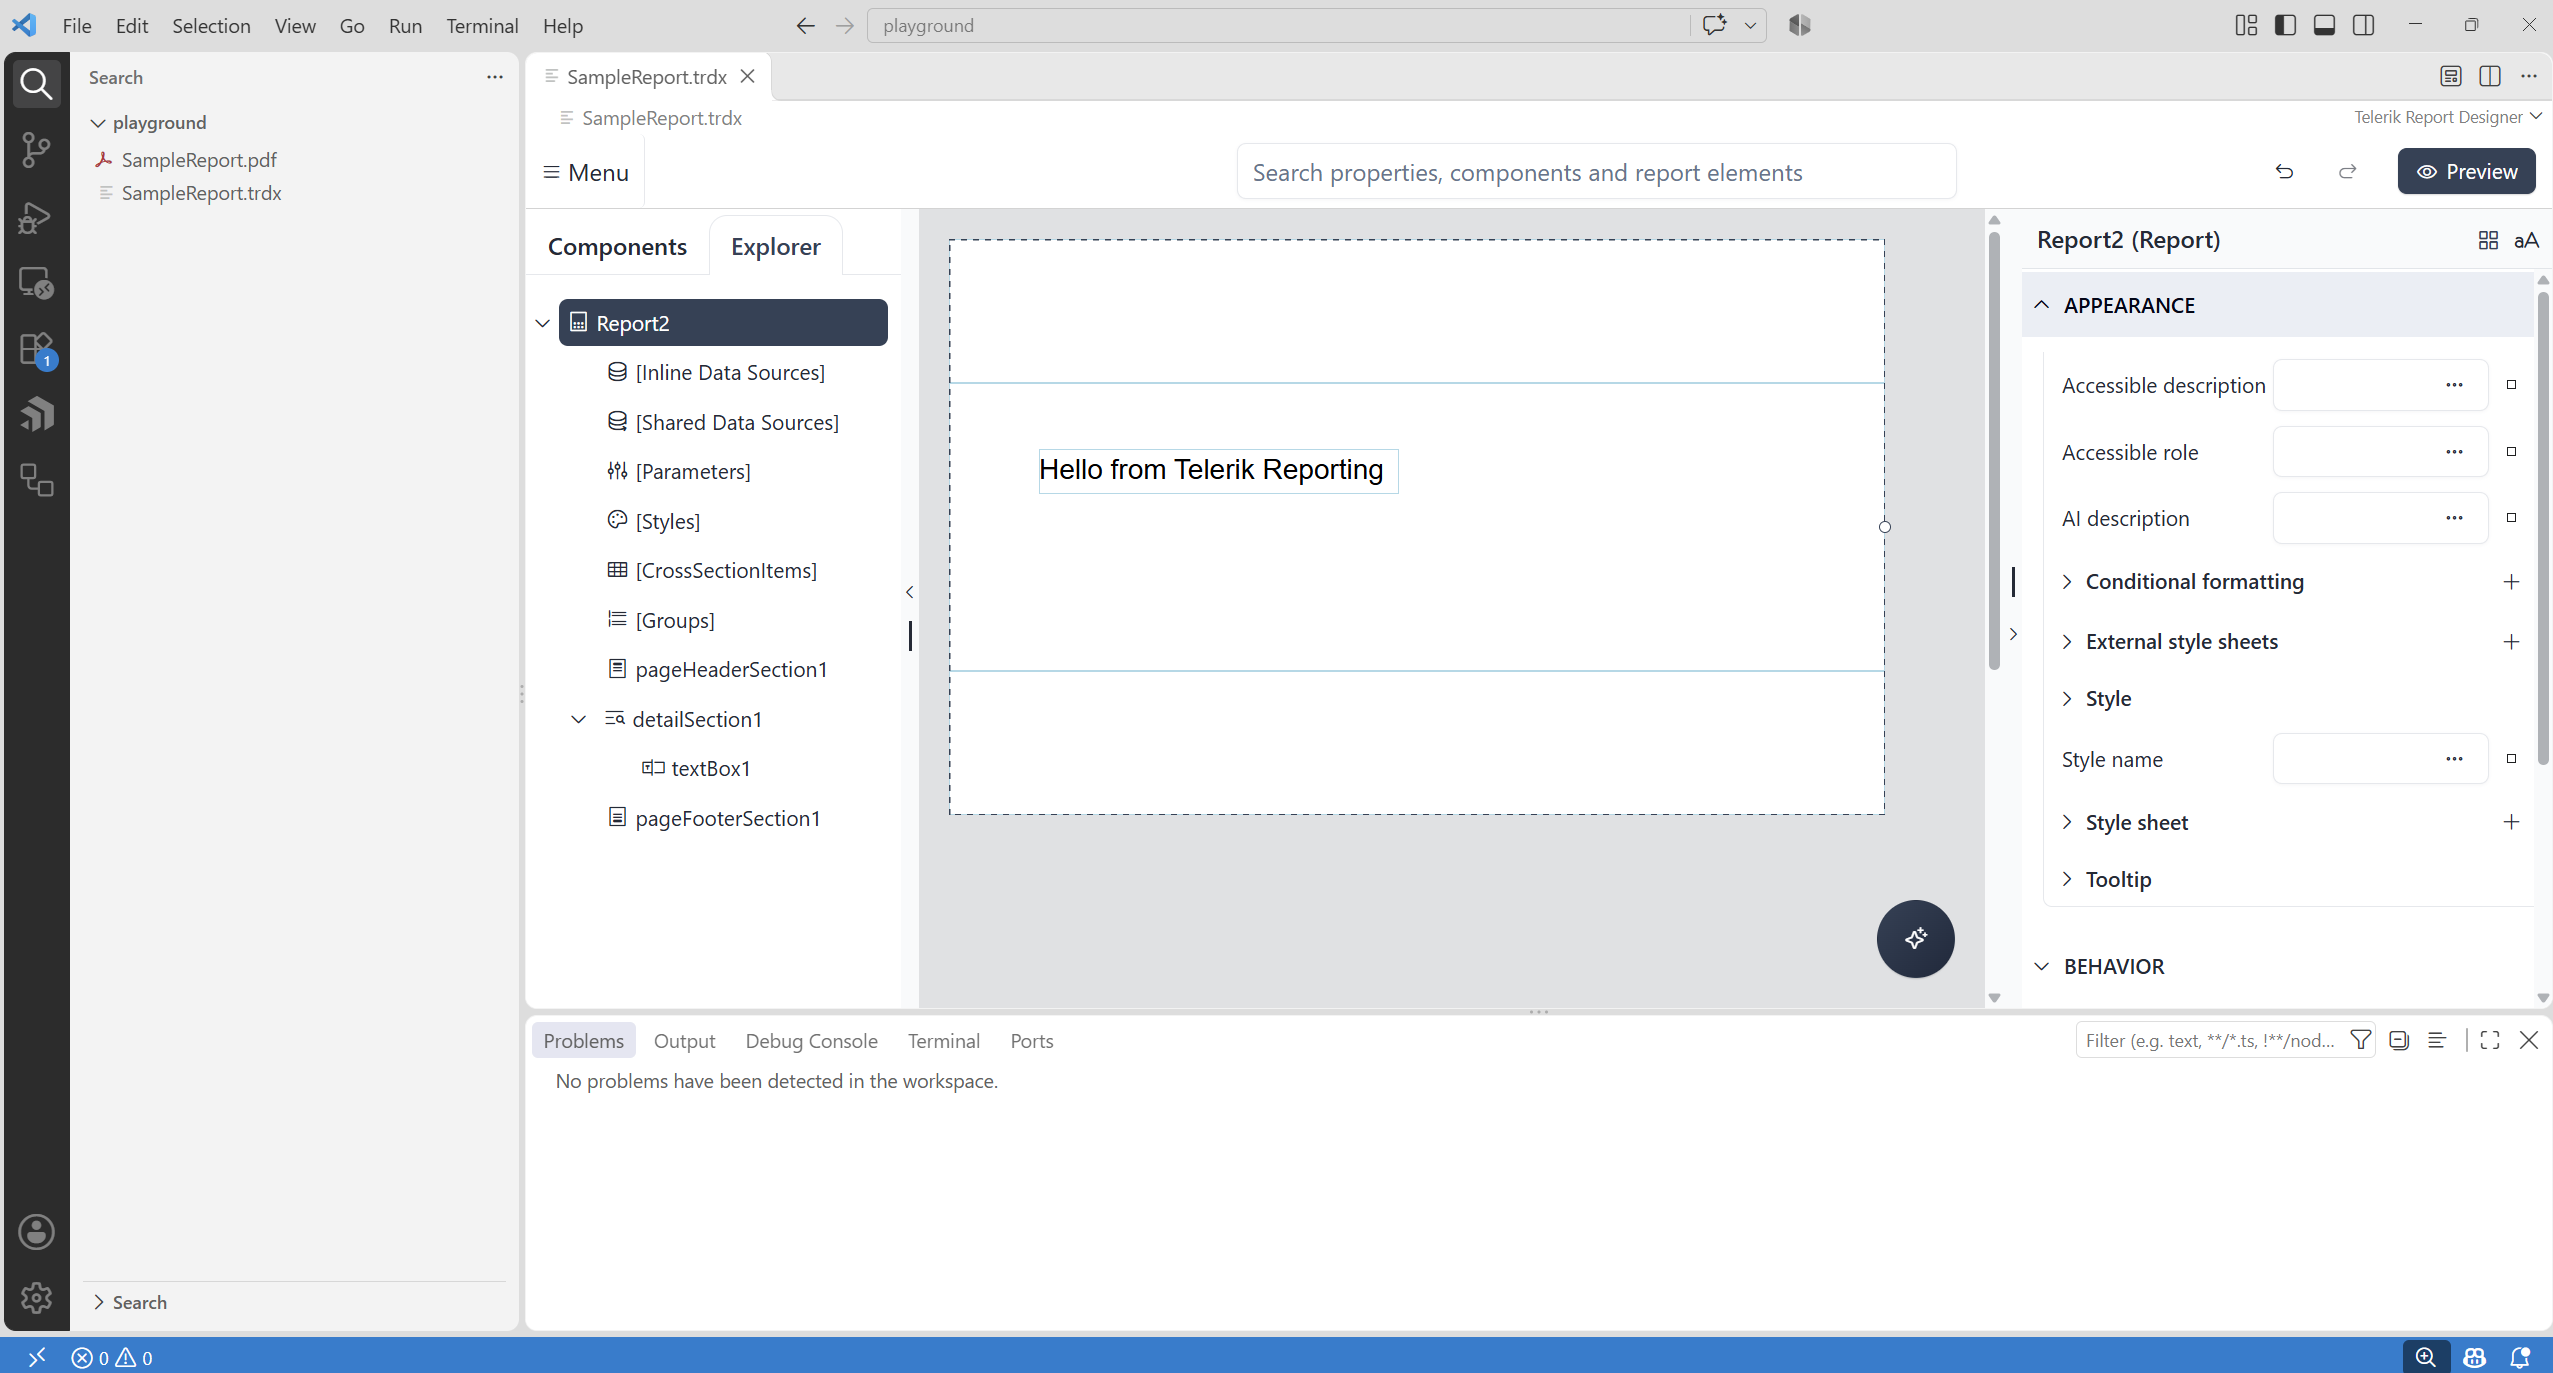
- Start with Telerik Reporting in Visual Studio Code for installation, licensing, and an overview of the available workflows.
- Follow Getting Started with Reports in VS Code to create, preview, and export your first report.
- See Working with Existing Reports in VS Code when you want to edit reports from an existing application or repository.
- Use VS Code Configuration and Reference for named database connections, licensing, commands, and settings.
Adding the Native Angular Report Viewer
The VS Code extension can also add the Native Angular Report Viewer to an Angular application. This workflow is intended for displaying reports in an application and is separate from report authoring with the Web Report Designer.
To create a new test app, you can use the Angular CLI:
ng new ReportingAngularApp
The Telerik CLI includes a complete-app template for the Native Angular Report Viewer, in addition to the component generator described here. See the Telerik CLI article for details.
1. In VS Code, in the Explorer, within your Angular application source folder, right-click where you want to add a reporting component and select New Telerik Reporting Angular Project Item:

2. VS Code will prompt you that @progress/telerik-reporting-schematics is missing. To install it, click npm i ... in the prompt.

3. The Telerik Reporting Angular Scaffolding wizard will open, showing the available Angular component options.

4. Configure your preferred options and click Create. This will generate an Angular component with a pre-configured Telerik Reporting Native Angular report viewer.

5. Include the new component in your project. Add it to your routing or to the HTML of an existing component.