Getting Started with Desktop App
Complete the following Forge Desktop App onboarding steps:
- Install Forge Forge Desktop App: Install Progress Forge together with the Forge Desktop App.
- Configure your first project: Run the project configuration wizard to connect a local repository to Forge.
- Run your first workflow: Start a workflow from an issue and monitor its progress.
After the first run, you can continue with additional workflows, project settings, and team processes. See Update the Forge Desktop App to configure update checks and review release notes.
Prerequisites
Before you begin, prepare the following:
- A local clone of the Git repository you want to work with.
- Git access to the repository and permission to read and modify the local project.
- A supported AI coding agent, installed and authenticated. The project setup flow can detect agents such as
GitHub Copilot,Claude Code, andOpenCode. - Access to the issue tracker used by the project, such as
GitHub Issues,Jira, orAzure DevOps. - A valid Forge or Telerik license when required by the workflow and agent configuration.
- Accurate project information, including the primary language, frameworks, testing framework, and package manager.
Run autonomous coding agents in an isolated development environment. Review generated plans, code, pull requests, and workflow artifacts before accepting or publishing changes.
Step 1: Install Forge Desktop App
Install Progress Forge together with the Forge Desktop App. The desktop application provides the graphical entry point for project configuration and workflow management. Download the installation file for the desktop application that matches your device:



Forge releases are published in the public telerik/forge repository. Installer names carry no version, so every link below always serves the newest stable release.
| Operating System | Architecture | Recommended Installer | Alternative Package(s) |
|---|---|---|---|
| Windows | x86_64 | progress-forge-desktop-x86_64-windows.msi | progress-forge-desktop-x86_64-windows-setup.exe |
| Operating System | Architecture | Recommended Installer | Alternative Package(s) |
|---|---|---|---|
| macOS | Apple Silicon (ARM64) | progress-forge-desktop-aarch64-macos.dmg | progress-forge-desktop-aarch64-macos.app.tar.gz |
| macOS | Intel (x86_64) | progress-forge-desktop-x86_64-macos.dmg | progress-forge-desktop-x86_64-macos.app.tar.gz |
| Operating System | Architecture | Recommended Installer | Alternative Package(s) |
|---|---|---|---|
| Linux | x86_64 (Debian/Ubuntu) | progress-forge-desktop-amd64-linux.deb | progress-forge-desktop-x86_64-linux.AppImage |
| Linux | x86_64 (Generic) | progress-forge-desktop-x86_64-linux.AppImage | - |
releases/latestresolves to the newest stable release. Prerelease (-dev.N) builds are reachable only from their own release page.
Step 2: Configure Your Project
Open the Forge Desktop App and configure your project to connect a local repository to Forge and supplies the context required for workflow execution. The configuration flow records the repository, coding agent, model profile, issue tracker, and project metadata that Forge passes to the agent.
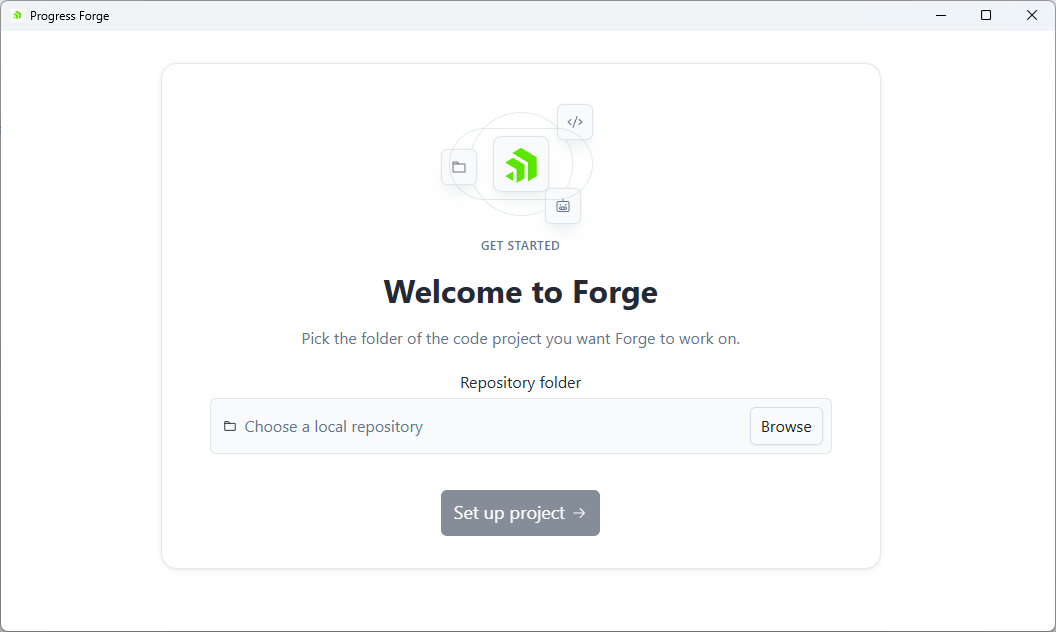
Follow Set Up Project Configuration for the complete wizard procedure.
Install and authenticate your AI coding agent separately before configuring a project. Forge uses the agent to execute the AI-assisted portions of a workflow. It does not provide the provider account, subscription, or credentials.
Step 3: Run Your First Workflow
The Forge Desktop App lets you start a workflow from an issue and monitor its stages without managing each command separately.
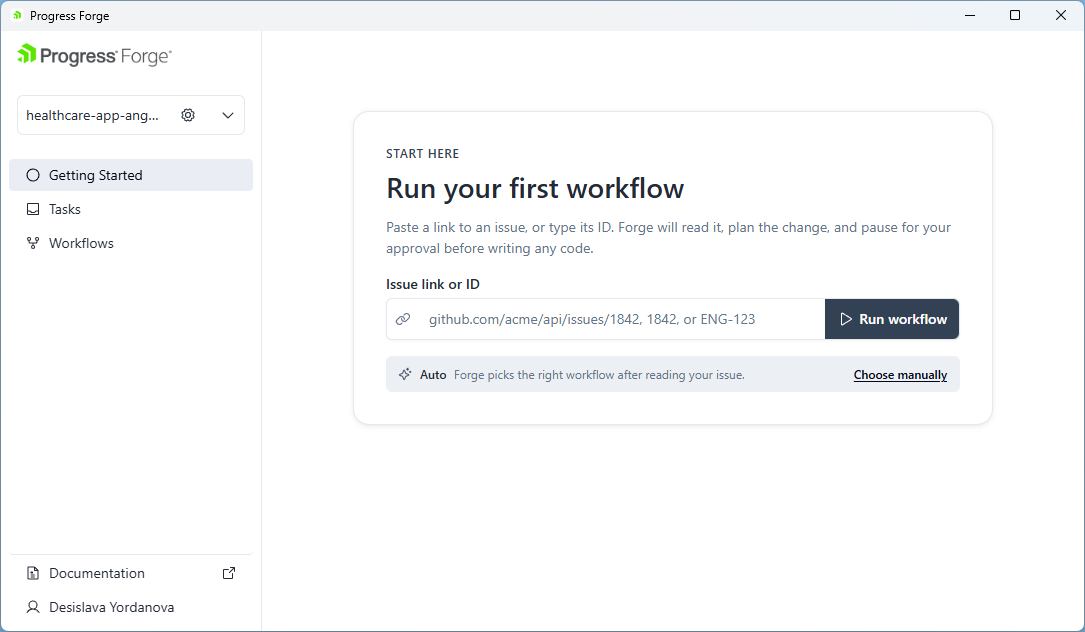
Follow Run Your First Workflow for the complete procedure and UI walkthrough.
After the first run, you can continue with additional workflows, project settings, and team processes.