Quick Angular Hosting with the Angular CLI and GitHub Pages

Summarize with AI:
NOTE: This article was updated to support Angular 5 on December 15th, 2017.
Hosting an AngularJS app is easy; you FTP a handful of files to a static web server and call it a day. But hosting an Angular 2+ app—with its TypeScript code, node_modules dependencies, and “production mode”—is far more complex, and not as simple as a quick upload.
In this article we’ll look at one way you can get an Angular web app out to the world quickly using the Angular CLI and GitHub Pages. We’ll be using a simple Angular web app, Groceries, as an example of how the process works.
// "Quick Angular Hosting with the Angular CLI and GitHub Pages" is one of our top 5 JavaScript articles of 2017. See the full list here.
Step 1 - Create your app with the Angular CLI
At this year’s ng-conf the Angular team unveiled an initial version of the Angular CLI, a command-line interface for building Angular applications. The CLI was built to streamline some of the tedious processes around Angular development, including scaffolding new files, setting up unit testing, and handling app builds.
If you have Node.js installed, installing the CLI is as simple as running npm install.
npm install -g angular-cling new command.
ng new groceries
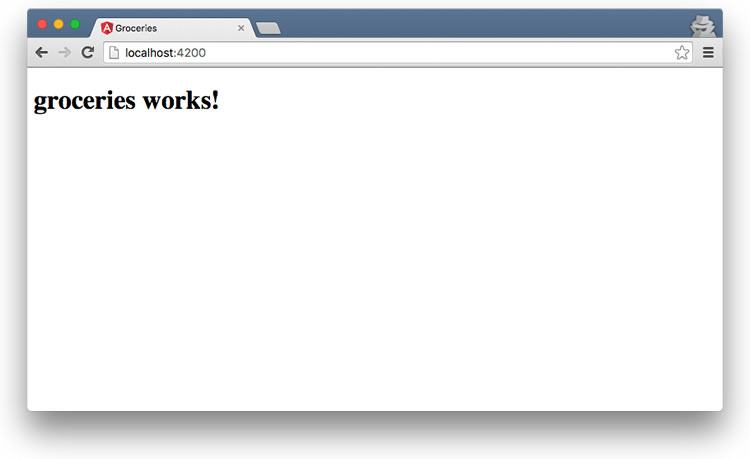
cd groceriesng serve.
ng serve
Even though this app’s output is simple, the Angular CLI setup a lot for you behind the scenes. Normally when building an Angular app you have to configure a number of dependencies, scaffold a series of files, manage TypeScript definition files, and a whole lot more. The Angular CLI does all of this for you and more. In fact, the following tools are already ready to go:
- TypeScript definition files through the Typings project;
- TypeScript linting through the TSLint project;
- A unit testing structure;
- An end-to-end testing structure;
- CSS preprocessor integration, including SASS, LESS, and others.
Overall, the CLI is a convenient way to quickly startup an Angular app. Now that you’re setup you’re ready to start building.
For a more thorough introduction to what the Angular CLI is and how it works, check out Mike Brocchi’s excellent talk on the CLI from ng-conf.
Step 2 - Build your app
Building your app with the Angular CLI is no different than building an Angular app without the CLI. However, the Angular CLI does provide a helpful ng generate command for scaffolding out new files during development.
For instance if you want to create a new Angular component in the current folder, you could use the following command:
ng generate component my-new-componentTIP:
ng gis a shorthand forng generate, in case you get sick of typing out “generate”.
There are a number of other file types you can generate, including directives, pipes, services, and routes. Refer to the Angular CLI docs for details. Once your app is ready to share, let’s look at how you can get your app out to the world.
If you’re new to Angular there are a number of guides that can help you learn the framework and build your application code. I recommend going through the Tour of Heroes guide on angular.io and John Papa’s Pluralsight course.
Step 3 - Deploy your app to GitHub Pages
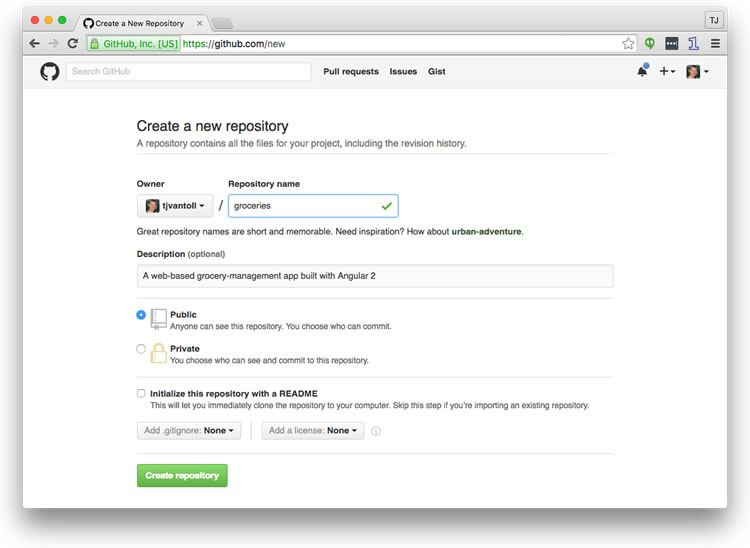
GitHub Pages is a dead simple way to host static web content for free. Your first step is to create a new repository on GitHub. Here’s how I did that with my Angular-built Groceries app.

From there the Angular CLI has already done a lot of the hard work for you. For instance your repo already includes a .gitignore file, which includes a list of files and folders that shouldn’t be included in the repository, such as node_modules. In fact, the Angular CLI also already initialized a git repo, and even committed the initial set of files. Therefore to get your code up on GitHub you need to register that new repo using the git remote command.
git remote add origin https://github.com/USERNAME/PROJECT_NAME.gitgit push command.
git push origin masternpm install -g gh-pagesgh-pages command you can you use to publish your application to GitHub Pages. Before running `gh-pages`, you’ll first need to build a production-ready version of your application. To do that run the following Angular CLI command.
ng build --prod --base-href /PROJECT_NAME/dist folder that contains the production-ready version of your app.
To get that version of your app live on GitHub Pages, go ahead and run the following command.
gh-pages -d dist
While it’s pretty awesome just how easy the CLI makes this deployment process, there is one problem: GitHub Pages was designed to host simple content, and as such, the site is not well equipped to handle JavaScript-based single-page app frameworks. If you have paths in your Angular app, such as https://USERNAME.github.io/PROJECT_NAME/page2 (which you almost certainly will), GitHub Pages will not handle those URLs at all. Instead it will serve a 404 page.
That is, unless you deploy a handy little trick.
Step 4 - Add the GitHub single-page app hack
Earlier this month, Daniel Buchner posted a fun little way he got around the GitHub’s lack of support for SPAs.
GitHub Pages redirects all 404 requests to a 404.html page, which you can configure to handle all 404 requests for your static sites. What Buchner discovered is that if you make your 404.html page redirect to your index.html page using a <meta> tag, and at the same time store off the URL the user was attempting to go to, you can return them to that location with a little snippet of code in your index.html file.
Here’s what that looks like in action. First here’s the 404.html page that you’ll want to use. If you’re using the Angular CLI you’ll want to place this at src/404.html.
<!doctype html>
<html>
  <head>
    <!-- This stores the URL the user was attempting to go to in sessionStorage,
    and then redirects all 404 responses to the app’s index.html page -->
    <!-- See http://www.backalleycoder.com/2016/05/13/sghpa-the-single-page-app-hack-for-github-pages/ -->
    <script>
      sessionStorage.redirect = location.href;
    </script>
    <meta http-equiv="refresh" content="0;URL='https://USERNAME.github.io/PROJECT_NAME'"></meta>
  </head>
  <body>
  </body>
</html><head> of your index.html file, which takes the stored URL from session storage, and uses the browser’s replaceState() API to redirect the user back to the URL they were attempting to go to in the first place.
<script>
  // See http://www.backalleycoder.com/2016/05/13/sghpa-the-single-page-app-hack-for-github-pages/
  (function(){
    var redirect = sessionStorage.redirect;
    delete sessionStorage.redirect;
    if (redirect && redirect != location.href) {
      history.replaceState(null, null, redirect);
    }
  })();
</script>
Wrapping up
Because of GitHub Pages’ lack of true support for single-page apps, hosting Angular apps on GitHub is not the greatest idea for production apps, as <meta> tag based redirects are not the greatest from a usability and performance perspective.
However, if you’re building up a prototype for a client, or a little app to show your friends and coworkers, the Angular CLI and GitHub Pages making getting a new Angular app live amazingly fast and easy. If you’re looking for a reference app feel free to refer to Groceries.
Related Resources

TJ VanToll
TJ VanToll is a frontend developer, author, and a former principal developer advocate for Progress.
