Optimizing Build Times in the Jamstack With Netlify’s DPR and Next.js (and Game of Thrones)

Summarize with AI:
This article will discuss how to reduce build times using Distributed Persistent Rendering, a concept created by the Netlify team. Using this concept, we’ll build a simple blog using Next.js, pre-generating only our most recent post at build time and deferring other posts until the initial request.
In this post, we’ll go through how to optimize build times using a new concept called Distributed Persistent Rendering, introduced by Netlify. This concept addresses some of the issues developers face while building large sites on the Jamstack by reducing build times.
Using this concept, we will build a simple blog using Next.js that displays some of our favorite characters from Game of Thrones.
This article assumes—or hopes is perhaps a better word—that you are familiar with the basics of React and Next.js; however, I’ll go ahead and explain some of the terminologies.
What Is Jamstack?
Jamstack is a way to architect your web projects where the UI is mostly pre-generated, the frontend is decoupled from backend services, and you can pull in data as you need it.
The Jamstack architecture also provides a performance advantage at scale because your content can be pre-generated beforehand and delivered through CDNs, ensuring your pages load fast while delivering exceptional user experiences.
Learn more about Jamstack in this blog post.
What Is Next.js?
Next.js is an open-source framework built on React that enables several extra functionalities, such as extending React’s capability to include applications rendered on the server (server-side rendering) and static website generation. Traditional React apps render all their content in the client-side browser. Next.js follows the fundamental principles of Jamstack, which allows for the efficient use of CDN to serve web applications to consumers, significantly improving applications’ speed.
Distributed Persistent Rendering (DPR)
Distributed persistent rendering is a new concept introduced by the team at Netlify, and it is built on the core principles of Jamstack. Building an ecommerce site or an extremely large site may result in very lengthy build times due to the number of web pages that need to be built.
Netlify’s initial implementation of DPR is called On-demand Builders. This approach allows you to incrementally build your site by dividing your assets into two categories.
- Critical content
- Deferred content
It reduces the time it takes to build really large sites by providing developers with the ability to pre-build certain pages early (the critical content) and defer or postpone others until they are requested for the first time. Deferred pages are built and cached at the edge when requested for the first time.
This concept is designed to work with any framework, and, in this post, we will be testing it out with Next.js.
Next.js Setup
We’ll be using this Next.js Netlify starter created by Cassidy Williams at Netlify. First, head over to the repository and click the Deploy to Netlify button in the README.md file. You’ll be asked to connect Netlify to your GitHub account, where a repository called next-netlify-starter will be created for you. Click the Save and Deploy button, and you’ll be redirected to your site overview screen on your Netlify dashboard.
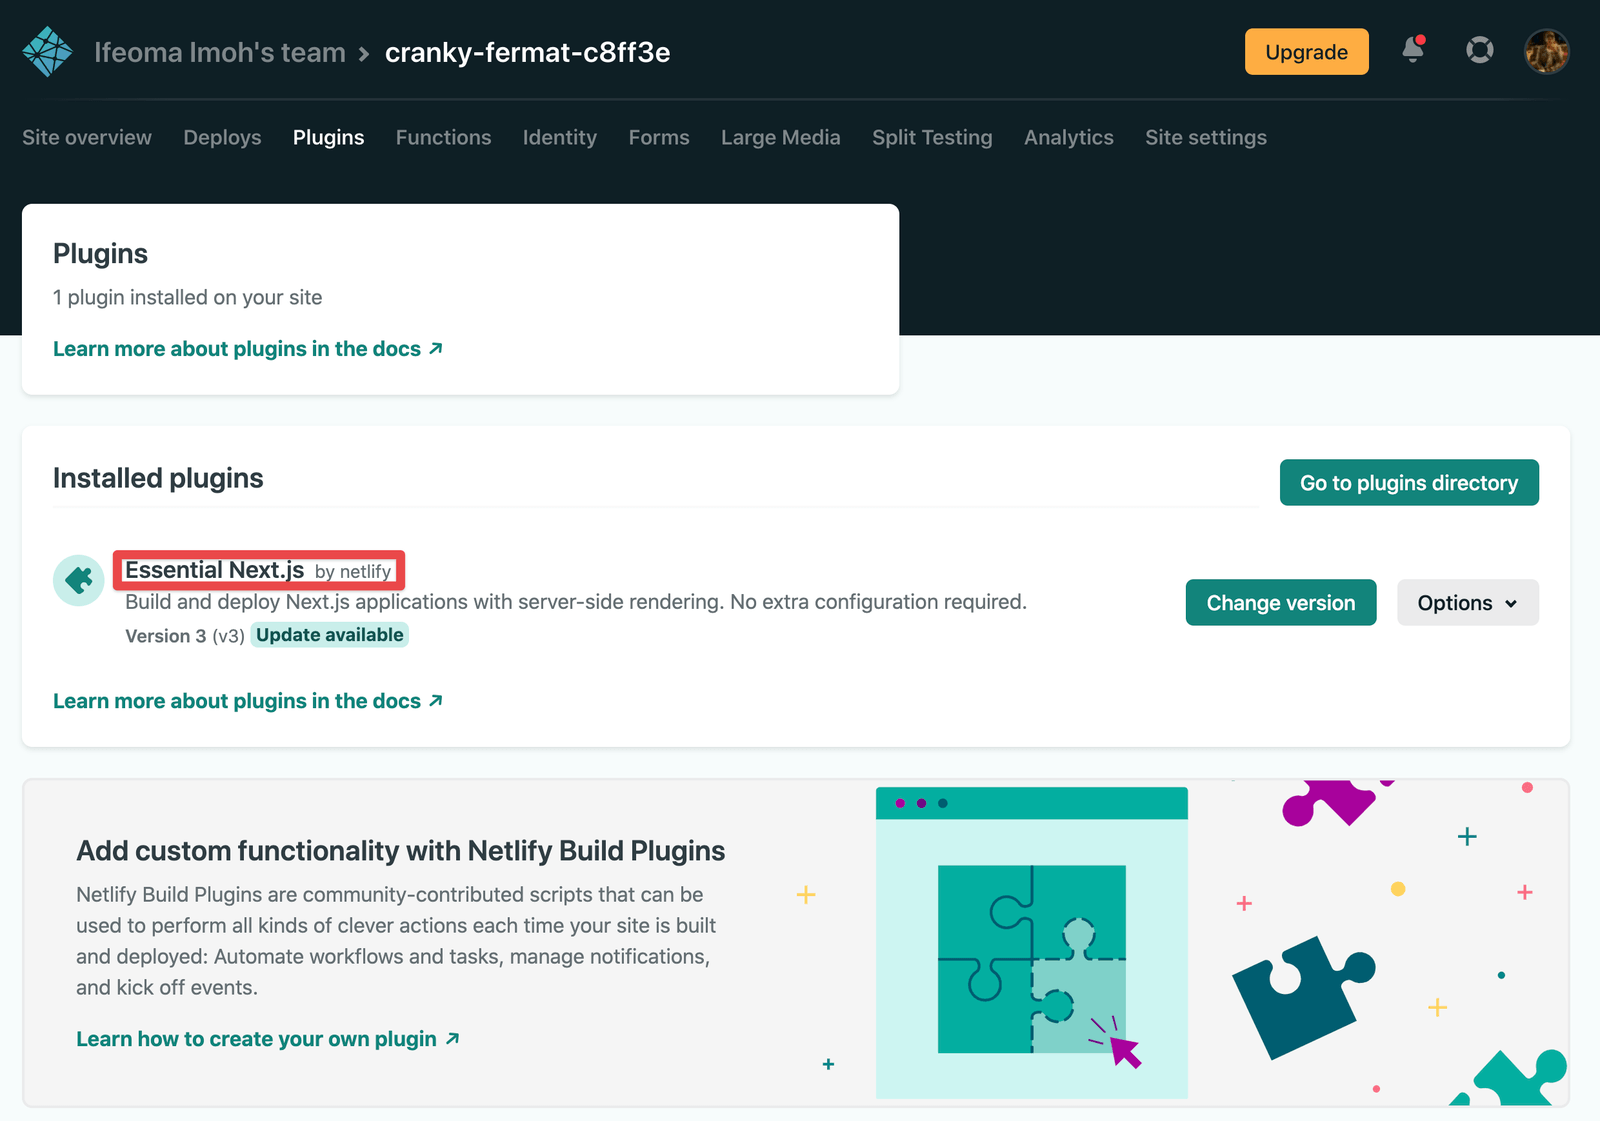
Click on the Plugins link on your Netlify dashboard, and you see that the Essential Next.js plugin has been automatically installed for you. This plugin configures your site on Netlify to enable key Next.js functionality,
and it creates a Netlify function for every Next.js page that needs one. With this plugin installed, we’ll get automatic access to On-demand Builders out of the box when working with Next.js. Cool, isn’t it?!

Now, follow the steps below to clone the project locally:
- Install the project and its dependencies with
npm install. - Start your development server with
npm run dev. - Head over to
localhost:3000on your browser, and you should see a screen that saysWelcome to my app!
We’ll be fetching the data we need from this external API endpoint. Create a posts directory in the pages directory; then
create an index.js file in the posts directory. The file path should look like this: pages/posts/index.js.
Add the following code to the index.js file:
import Link from "next/link";
import Footer from "@components/Footer";
import Image from "next/image";

export default function Home({ characters }) {
  return (
    <div className="container">
      <h1>Game of Thrones Casts</h1>
      <main className="index_post">
        {characters.map((character) => {
          const { id, imageUrl, fullName } = character;
          return (
            <div
              key={id}
              className="post"
              style={{
                display: "flex",
                justifyContent: "center",
                alignItems: "center",
              }}
            >
              <Link href={`/${id}`}>
                <a>
                  <div
                    style={{
                      display: "flex",
                      alignItems: "center",
                      flexDirection: "column",
                    }}
                  >
                    <Image
                      width="300px"
                      height="300px"
                      src={imageUrl}
                      alt="postImage"
                    />
                    <h3>{fullName}</h3>
                  </div>
                </a>
              </Link>
            </div>
          );
        })}
      </main>
      <Footer />
    </div>
  );
}
export async function getStaticProps() {
  const res = await fetch("https://thronesapi.com/api/v2/Characters");
  const characters = await res.json();
  return {
    props: {
      characters,
    },
  };
}
We return our characters inside the props object in the getStaticProps() function. This way, getStaticProps() will fetch our required external data, the list of characters in Game of Thrones, and
they will be passed to the HomePage component as a prop. For each character, we are displaying an image and the character’s name. If you go to http://localhost:3000, you should see a list of all the characters returned from
that API.

Now, let’s create a CharacterDetailPage component that returns paths with dynamic routes to individual pages. Create a page called [id].js under posts. This should be the path for each character /posts/<id>.
In the [id.js] file, add the following:
import Image from "next/image";

export default function CharacterDetailPage({ character }) {
  const { fullName, title, family, imageUrl } = character;

  return (
    <div className="id-post">
      <main>
        <h1>{fullName}</h1>
        <Image width="400px" height="400px" src={imageUrl} alt="postImage" />
        <h2>{title}</h2>
        <h4>{family}</h4>
      </main>
    </div>
  );
}
export async function getStaticPaths() {
  const res = await fetch("https://thronesapi.com/api/v2/Characters");
  const characters = await res.json();
  const stark = characters.filter(
    (character) => character.family === "House Stark"
  );
  const paths = stark.map((person) => ({
    params: { id: person.id.toString() },
  }));
  return { paths, fallback: false };
}
export async function getStaticProps({ params }) {
  const res = await fetch(
    `https://thronesapi.com/api/v2/Characters/${params.id}`
  );
  const character = await res.json();
  return {
    props: {
      character,
    },
  };
}
In the code snippet above, we define the path that we want to be generated at build time in the getStaticPaths() function. We are filtering through all the characters and pre-generating only the paths for characters from the family of
House Stark at build time. The paths for characters from other families will be deferred and generated on the initial request. In our functions return statement, we are passing the paths, and we are also passing false as the value of fallback.
Try to access any of the characters of house Stark (e.g., Arya Stack or Jon Snow). You’ll have access to their details page because we pre-generated their paths in the getStaticPaths() function.
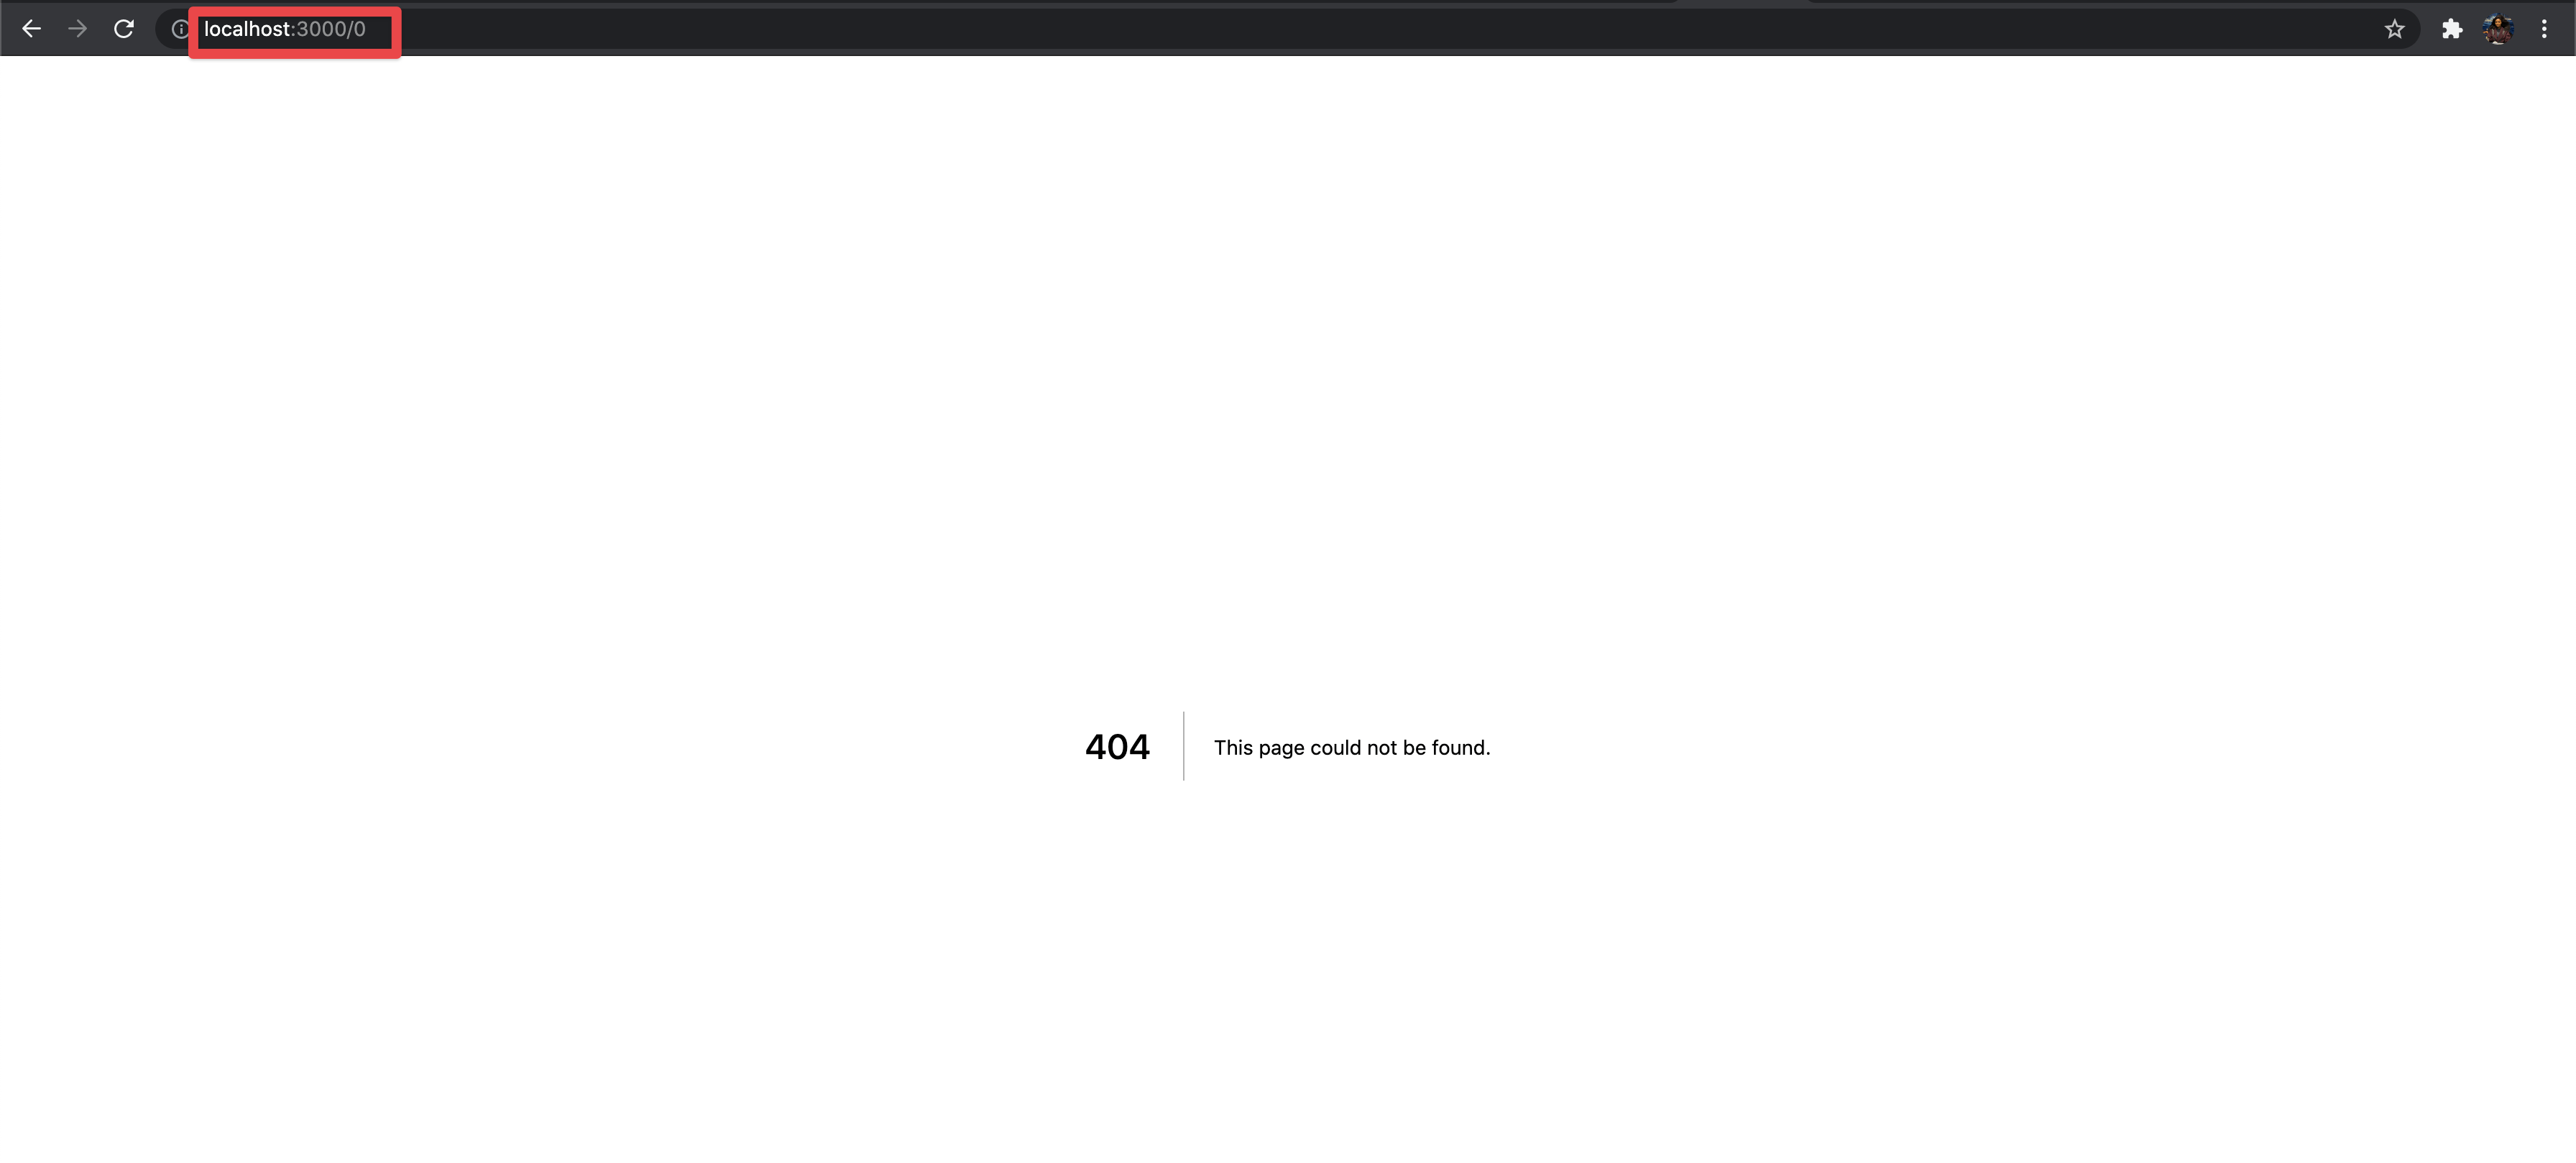
Because we set false as the value of fallback here, if we request for a character whose path hasn’t already been generated or that wasn’t part of what we defined in the getStaticPaths() function to
be generated at build time (e.g., Daenerys Targaryen of House Targaryen), we will get a 404 page.

This is not the behavior we want. We still want to be able to access characters from other families whose paths were not pre-generated. To achieve that, we need to set the value of fallback to true or blocking in the getStaticPaths() function.
return { paths, fallback: true };

When the value of fallback is set to true or blocking, if we try to access a character whose path we didn’t pre-generate, behind the scenes Next.js will generate the path for that character and cache it
automatically on Netlify’s edge CDN. Now the character will be available to us as if it were part of the original build. When someone who visits our site tries to access the details of that same character, it will be provided from the cache
and will not need to be generated again.
Summary
We’ve tested this concept on a simple site, but what if you’re working on a large site that has thousands of pages, as the case may be? Imagine the amount of time you’d spend on every build.
We’ve seen that using Netlify’s On-demand Builders to build only the critical pages and defer other pages that aren’t very important until a user first requests for them can significantly reduce our build times and result in faster development cycles and better productivity.
On-demand Builders are currently in its early access phase, and it is flexible enough to work across multiple frameworks, but I love the ease with which it integrates with Next.js.

