
Managing State Using RxJS Subjects in Angular Applications

Summarize with AI:
In this tutorial, we’ll create a simple note-saving application, and manage the application’s state by using an everyday library like RxJS.
Managing state in an application is a daunting task that sometimes requires the introduction of state management libraries into applications. Well, other times, for the application being built, a state management library might be a bit of overkill, a complication that means introducing a new set of APIs to fully utilize what the library offers.
State can always be managed within components, but a better solution (for me at least) lies within a library that comes with Angular, RxJS.
RxJS is a library for reactive programming using Observables, to make it easier to compose asynchronous or callback-based code.
Within the RxJS library exists a special type of Observable called a Subject. According to the documentation, an RxJS Subject is a special type of Observable that allows values to be multicasted to multiple Observers.
The implementation of the Subject suits our state management needs. Using Subjects, we’ll build a note-saving application for storing ideas and anything that bops into our heads.
To follow this tutorial, a basic understanding of Angular and RxJS is required. Please ensure that you have Node and npm installed before you begin.
If you have no prior knowledge of Angular, kindly follow the tutorial here. If RxJS seems strange to you, you can learn the basics at this website: learnrxjs.io. Come back and finish the tutorial when you’re done.
We’ll be using these tools to build our application:
- Angular
- RxJS/Subject
- Bootstrap - For defining containers and utility classes
- Feather - Icons set
Here’s a final demo of the application.

Initializing Application and Installing Dependencies
To get started, we will use the CLI (command line interface) provided by the Angular team to initialize our project.
First, install the CLI by running npm install -g @angular/cli. npm is a package manager used for installing packages. It will be available on your PC if you have Node installed. If not, download Node here.
To create a new Angular project using the CLI, open a terminal and run:
ng new note-app --style=scssThis command is used to initialize a new Angular project; the project will be using SCSS as the pre-processor.
Next, run the following command in the root folder of the project to install dependencies.
    // front-end dependencies
    npm install uuid
The uuid package will be used to assign random ids to the created notes.
Start the Angular development server by running ng serve in a terminal in the root folder of your project.
Home View
To get started, we’ll define the views for the application, starting from the home page. The home page will house the form for creating notes, the notes grid and the header.
Open the app.component.html file and update it with the content below.
    <!-- /src/app/app.component.html -->
    <main>
      <!-- header component will come here -->
      <div class="container">
        <div>
          <!-- note form here -->
        </div>
        <div class="" id="notes-box">
          <div class="text-center">
            <div class="header text-center">
              <div>
                <!-- notes list here -->
              </div>
            </div>
          </div>
        </div>
      </div>
    </main>
In the snippet above, we’ve defined an area where the header will come in; same for the notes and form for creating notes. We’ll create these later in the tutorial.
Since we’ll be using external assets, we’ll update the src/index.html file to include links to these assets.
    <!-- index.html -->
    <!doctype html>
    <html lang="en">
    <head>
      <meta charset="utf-8">
      <title>Note App</title>
      <base href="/">

      <meta name="viewport" content="width=device-width, initial-scale=1">
      <link rel="stylesheet" href="https://stackpath.bootstrapcdn.com/bootstrap/4.2.1/css/bootstrap.min.css" integrity="sha384-GJzZqFGwb1QTTN6wy59ffF1BuGJpLSa9DkKMp0DgiMDm4iYMj70gZWKYbI706tWS" crossorigin="anonymous">
      <link href="https://fonts.googleapis.com/css?family=Montserrat:600" rel="stylesheet">
      <link rel="icon" type="image/x-icon" href="favicon.ico">
    </head>
    <body>
      <app-root></app-root>
      <script src="https://unpkg.com/feather-icons"></script>
    </body>
    </html>
The index.html file has been updated to include the Feather icon set, Bootstrap and Montserrat font family. We’ll select Montserrat as our default font family. Open the styles.scss file and update it with the following content:
    // styles.scss

    /* You can add global styles to this file, and also import other style files */
    body, html{
      font-family: 'Montserrat', sans-serif;
      background-color: whitesmoke;
    }
Header Component
The header component will display the application logo. The component will be rendered in the root app component.
Run the following command to create the header component:
ng generate component headerNext, open the src/app/header/header.component.html file and update it to look like the code below:
    <!-- src/app/header/header.component.html -->

    <header>
      <div class="brand">
        <img src="/assets/images/document.png" alt="avatar" />
        <h5>For Notes</h5>
      </div>
    </header>
Note: Any image asset used can be found here in the GitHub repository
Next, we’ll style the header. Open the header.component.scss file and update it with the snippet below:
    //header.component.scss
    header {
      display: flex;
      background-color: white;
      margin: 0;
      padding: 16px 5%;
      color: whitesmoke;
      box-shadow: 0 2px 4px 0 rgba(0, 0, 0, 0.1);

      .brand {
        flex: 1;
        display: flex;
        align-items: center;

        img {
          height: 35px;
          border-radius: 50%;
          margin-right: 17px;
        }

        h5 {
          font-size: 18px;
          font-family: 'Montserrat', sans-serif;
          margin: 0;
          text-transform: capitalize;
          color: #20B2AA;
        }
      }
    }
After creating the header component, the next step is to render the component in the root App component. Open the app.component.html file within the src/app/ directory and update it to render the component.
    <!-- app.component.html -->
    <main>
      <app-header></app-header>
      <div class="container">
        <!-- the rest of the file -->
      </div>
    </main>
Start the application server by running the following command: npm start or ng serve.
Then navigate to http://localhost:4200 on your browser. You should see the header in all its greatness:

Make sure to get the image assets from GitHub or use your preferred images.
Introducing RxJS Subjects
According to the documentation, an RxJS Subject is a special type of Observable that allows values to be multicasted to multiple Observers. It differs from plain Observers, which are unicast and are bound to one observer. Subjects are more of EventEmitters than Observables, which is why we’ll be making use of them to manage the data flow in this application. We’ll be using Actions and a reducer that acts on the Actions emitted. This is similar to Redux and NgRx/store.
The first step is to create and assign actions. The actions will be mapped to constants using an enum. Create a folder named store within the src/app directory. This folder will hold everything relating to our application’s state management.
Within the store folder, create a file called actions.ts. Open the file and update it with the code below:
    // src/app/store/actions.ts

    export enum ActionTypes {
      CREATE_NOTE = '[HOME] Create a note',
      DELETE_NOTE = '[HOME] Delete a note',
      GET_NOTES = '[HOME] Get all notes'
    }
The actions will be stored as constants with an enum named ActionTypes. This will be used to tell our makeshift reducer how to act on the data coming through.
After creating the action types, the next step is to create a reducer that handles transitions of state from the initial to the next based on the action dispatched. Create a file named index.ts in the src/app/store directory. Open the file and update it with the code below:
    // src/app/store/index.ts

    import {Subject} from 'rxjs';
    import {ActionTypes} from './actions';
    import {Note} from '../note-card/note-card.component';

    interface InitialState {
      notes: Array<Object>;
    }

    let state: InitialState = {
      notes: [],
    };

    interface Event {
      type: String;
      payload?: Object;
    }

    export const store = new Subject<InitialState>();
    export const eventDispatcher = new Subject<Event>();

    eventDispatcher.subscribe((data: Event) => {
      switch (data.type) {
        case ActionTypes.GET_NOTES:
          store.next(state);
          break;

        case ActionTypes.CREATE_NOTE:
          state = {
            notes: [...state.notes, data.payload],
          };
          store.next(state);
          break;

        case ActionTypes.DELETE_NOTE:
          const {notes} = state;
          const id = data.payload;
          const updatedNotes = notes.filter((note: Note) => note.id !== id);
          state = {
            notes: updatedNotes
          };
          store.next(state);
          break;
        default:
          break;
      }
    });
A reducer is simple pure function that transitions your application’s state from one state to the next. A reducer doesn’t handle side effects — it is a pure function because it returns an expected output for a given input.
First, we have to define the initial state of the application. Our application will display a list of notes and also allow a user to add and remove notes. So the initialState of our application will feature an empty array of notes.
After defining the initial state of the application, we’ll define the event type. The event is typically used to describe events in the application. When an event is triggered, a corresponding action type is dispatched with data to handle the triggered events. The Event features a simple interface with properties type and payload — the type property is a unique identifier for the action, and thepayload contains the data sent through the event.
For the state management, we’ll be using two Subjects. The store will hold the state of the application at all times; components in the application will subscribe to this Observable to get the latest updates in the application state. The next subject, the eventDispatcher, will be used to dispatch events in the application.
Basically, this is how it works. The eventDispatcher is subscribed and will listen for events in the application. Within it is a reducer function of some sort that transitions the state of the application based on the type of event dispatched. The makeshift reducer features a switch statement that acts on the type of action dispatched.
- The first action type is the
GET_NOTESaction, which is called when a component wants to get the latest state of the application. - The next action type is
CREATE_NOTE. This action is dispatched when a user wishes to add a new note. The action features apayloadproperty containing details of the note. The reducer takes the item and appends it to the notes array and dispatches the updated state. - The final case is the
DELETE_NOTEaction. This is an event telling the reducer to remove a note from the array. The notes array is filtered using theidin the payload dispatched, and the item is left out of the next state.
The eventDispatcher is used to dispatch events, and, within the eventDispatcher observer, changes are made to the state and dispatched through the store observable.
Notes List View
Run the following commands to generate components for the note item and notes list:
ng generate component note-card
And for the note list run:
ng generate component note-list
Open the note-card.component.html file in the src/app/note-card directory and update with the code below:
    // src/app/note-card/note-card.component.html

    <div class="note-card">
      <div class="card text-white bg-card mb-3">
        <div class="card-header">
          <button (click)="deleteNote(note.id)">
            <i data-feather="trash-2" id="trash-note"></i>
          </button>
        </div>
        <div class="card-body">
          <h4 class="card-title note-title">{{
            note.title
            }}</h4>
          <p class="card-text note-text"> {{
            note.note
            }}</p>
        </div>
      </div>
    </div>
The note card component will have a simple interface for displaying the note title and the note text.
The header section will house the delete button for removing an item from the list. The delete button will be represented by an icon from the Feather icon set.
Let’s style the component by updating the note-card.component.scss file with the styles below:
    // note-card.component.scss

    .bg-card {
      background: #ffc30b;
      height: 230px;
      border-radius: 12px;
      border: none;
    }

    .note-card {
      width: 250px;
      margin-left: 20px;

      .card-header {
        display: flex;
        justify-content: flex-end;
        padding: 0.55rem 1.25rem;

        button {
          background: transparent;
          border: none;

          #trash-note {
            width: 21px;
            height: 21px;
            color: rgba(0, 0, 0, 0.7);
            cursor: pointer;
          }
        }
      }

      .note-title {
        font-size: 16px;
        font-weight: bold;
        text-transform: uppercase;
        text-align: left;
        opacity: 0.8;
        color: black;
        letter-spacing: -.4px;
      }

      .note-text {
        font-size: 15px;
        font-weight: 500;
        text-align: left;
        opacity: 0.6;
        color: black;
        letter-spacing: -.2px;
      }
    }
Open the note-card.component.ts file and update it with the variables and methods used in the HTML file.
    // src/app/note-card/note-card.component.ts

    import {Component, Input, OnInit} from '@angular/core';
    import {eventDispatcher} from '../store';
    import {ActionTypes} from '../store/actions';

    declare const feather;

    export interface Note {
      id: string;
      title: string;
      note: string;
    }

    @Component({
      selector: 'app-note-card',
      templateUrl: './note-card.component.html',
      styleUrls: ['./note-card.component.scss']
    })
    export class NoteCardComponent implements OnInit {
      @Input() note: Note;

      constructor() {
      }

      ngOnInit() {
        feather.replace();
      }

      deleteNote(id) {
        const shouldDelete = confirm('Are you sure you want to delete this note?');

        if (shouldDelete) {
          eventDispatcher.next({type: ActionTypes.DELETE_NOTE, payload: id});
        }
      }

    }
First we import the eventDispatcher observable from the store. The eventDispatcher will be used to dispatch actions.
The component takes one input note. The type definition of the note is declared using an interface called Note; this interface is exported to be used application-wide.
The deleteNote method takes one parameter (id). The method dispatches an action to remove an item from the list. The method first shows a confirm dialog, and, if the user confirms the action, the method dispatches an action to delete the note. The event payload is the id of the note.
Meanwhile, at the top of the file, a variable feather is declared. This variable represents the Feather library loaded in the application. In the ngOnInit lifecycle, feather.replace() is called to initialize the icons used in the component.
Next we’ll render the NoteCard component in the NoteList component. Open the note-list.component.html file and render the NoteCard component, similar to the snippet below:
    <!-- note-list.component.html -->
    <div class="note-list">
      <app-note-card *ngFor="let note of notes" [note]="note"></app-note-card>
    </div>
We’ll add some styles to the component’s stylesheet. Open the note-list.component.scss file and add the styles below:
    .note-list{
      margin-top: 16px;
      display: flex;
      flex-direction: row;
      flex-wrap: wrap;
    }
The note list component will receive an Input from the Home component. Update the component to take an Input of an array of notes:
    import {Component, Input, OnInit} from '@angular/core';
    import {Note} from '../note-card/note-card.component';

    @Component({
      selector: 'app-note-list',
      templateUrl: './note-list.component.html',
      styleUrls: ['./note-list.component.scss']
    })
    export class NoteListComponent implements OnInit {
      @Input() notes: Array<Note>;

      constructor() {
      }

      ngOnInit() {

       }
    }
After making this change, the next step is to render the note list component in the app.component.html.
Open the file and include the note list component within the element with the notes-box id attribute:
    <main>
      <app-header></app-header>
      <div class="container">
        <div>
          <!--note form here-->
        </div>
        <div class="" id="notes-box">
          <div class="text-center">
            <div class="header text-center">
              <div>
                <app-note-list [notes]="notes"></app-note-list>
              </div>
            </div>
          </div>
        </div>
      </div>
    </main>
Then update the home component to subscribe to the store and fetch the initial state of the store:
    import {Component, OnInit} from '@angular/core';
    import {eventDispatcher, store} from './store';
    import {ActionTypes} from './store/actions';

    @Component({
      selector: 'app-root',
      templateUrl: './app.component.html',
      styleUrls: ['./app.component.scss'],
    })
    export class AppComponent implements OnInit {
      constructor() {
        store.subscribe((state) => {
          const {notes} = state;
          this.notes = notes;
        });
      }

      notes = [];

      ngOnInit() {
        eventDispatcher.next({type: ActionTypes.GET_NOTES});
      }
    }
When subscribed to the store, the data returned is the current state of our store. The initial state of the store had a notes array property. We’ll get the current notes from the state.
In the ngOnInit lifecycle, an event is dispatched to get the initial state of the application.
Note Creation Component
After creating the display components for the notes, we’ll need to create a component that will handle creation of new notes. Run the following command to create the form component.
ng generate component note-form
After the command has run successfully, open the note-form.component.html file within the newly created note-form folder. Update the content of the file to be similar to the snippet below:
    <form class="note-form" (ngSubmit)="completeStep()" #noteForm="ngForm">
      <div class="inputs-holder">
        <div class="form-group" *ngIf="step === 1 else noteText">
          <input class="form-control app-input" id="title" name="title" placeholder="The post title" [(ngModel)]="note.title"/>
        </div>

        <ng-template #noteText>
          <div class="form-group">
          <textarea class="form-control app-input" id="note-text" rows="4" placeholder="Create a note for future use" [(ngModel)]="note.note"
                    name="text"></textarea>
          </div>
        </ng-template>

      </div>
      <button class="prev-button" id="prev" type="button" [hidden]="step === 1" (click)="prevStep()">Prev</button>
      <button class="submit-button" id="stepper" type="submit"><span
        *ngIf="step === 1 else submit">Next</span>
        <ng-template #submit>Submit</ng-template>
      </button>
    </form>
The form will hold an input element for the title of the note and the textarea for the body of the note. Since each input will be filled sequentially, an *ngIf directive is used to display either one based on the current step. The textarea is surrounded by an ng-template with a template variable (noteText). This variable is featured in the else block of the ngIf expression.
The actions area features two buttons — one shown if the step is greater than 1 and vice versa.
Next, let’s update the component stylesheet with additional styles:
    %button{
      border-radius: 25px;
      padding: 7px 20px;
      font-weight: 500;
      border: none;
      font-size: 12px;
      text-transform: uppercase;
      cursor: pointer;

      &:focus{
        outline: none;
        transform: scale(1.1);
        box-shadow: 0 1px 2px 0 rgba(0,0,0,0.2);
      }
    }

    %input{
      &:focus{
        outline: none;
        box-shadow: none;
      }

      border: none;
      border-bottom: 2px solid lightseagreen;
      border-radius: 0;
      padding: 14px 10px;
    }

    .note-form{
      width: 50%;
      margin: 3% auto;
      background: white;
      box-shadow: 0 1px 3px 1px rgba(0,0,0,0.3);
      border-radius: 20px;
      padding: 20px 16px 35px;

      #title{
        @extend %input;
        height: 50px;
      }

      #note-text{
        @extend %input;
      }

      .submit-button{
        @extend %button;
        background: lightseagreen;
        color: white;
      }

      .prev-button{
        @extend %button;
        border: 1px solid indianred;
        color: indianred;
        margin-right: 10px;
      }

    }
Finally, the component will be updated to allow the creation of notes. The variables and methods are used in the component’s view template.
Open the note-form.component.ts file and update it with the code below:
    import {Component, OnInit} from '@angular/core';
    import {v4} from 'uuid';
    import {Note} from '../note-card/note-card.component';
    import {eventDispatcher} from '../store';
    import {ActionTypes} from '../store/actions';

    @Component({
      selector: 'subject-note-form',
      templateUrl: './note-form.component.html',
      styleUrls: ['./note-form.component.scss']
    })
    export class NoteFormComponent implements OnInit {

      constructor() {
      }

      note: Note = {
        id: '',
        title: '',
        note: ''
      };

      step = 1;

      isStepComplete(step: number): boolean {
        switch (step) {
          case 1:
            return !!this.note.title;
          case 2:
            return !!this.note.note;
        }
      }

      completeStep() {
        if (this.step === 1) {
          const stepComplete = this.isStepComplete(this.step);
          if (stepComplete) {
            this.step += 1;
            return;
          }
        }

        const formComplete = this.isStepComplete(this.step);
        if (formComplete) {
          this.submit(this.note);
        }
      }

      prevStep() {
        if (this.step > 1) {
          this.step -= 1;
        }
      }

      resetState() {
        this.note = {
          id: '',
          title: '',
          note: ''
        };
        this.step = 1;
      }

      submit(note: Note) {
        const noteWithId: Note = {
          ...note,
          id: v4(),
        };
        eventDispatcher.next({type: ActionTypes.CREATE_NOTE, payload: noteWithId});
        this.resetState();
      }

      ngOnInit() {
      }

    }
There are quite a few methods and properties defined here, so we’ll go through them one by one:
First, a note object is created to hold the inputted values by the user. Next is the step property, which defines the current step the user is on.
isStepComplete: this method takes step as the parameter and checks that the required values of the step have been filled. If the step is 1, then the note’s title should be filled, if step is 2, then note’s text should be filled.
completeStep: for each step, this method confirms its completion using the isStepComplete method. If the step is 1, move to step 2 and then call the submit method if the step is 2.
prevStep: simple method that decrements the step by 1.
resetState: returns the state of the component to its original state.
submit: this method takes a note object; it updates the object with an id generated using uuid. The new note is dispatched using the CREATE_NOTE event type, and, finally, resetState is called to return the state to its initial phase.
Next, update the app.component.html file to render the note-form component. Open the file and include this where you have the comment:
    <main>
      <app-header></app-header>
      <div class="container">
        <div>
          <app-note-form></app-note-form>
        </div>
        <div class="" id="notes-box">
          <div class="text-center">
            <div class="header text-center">
              <div>
                <app-note-list [notes]="notes"></app-note-list>
              </div>
            </div>
          </div>
        </div>
      </div>
    </main>
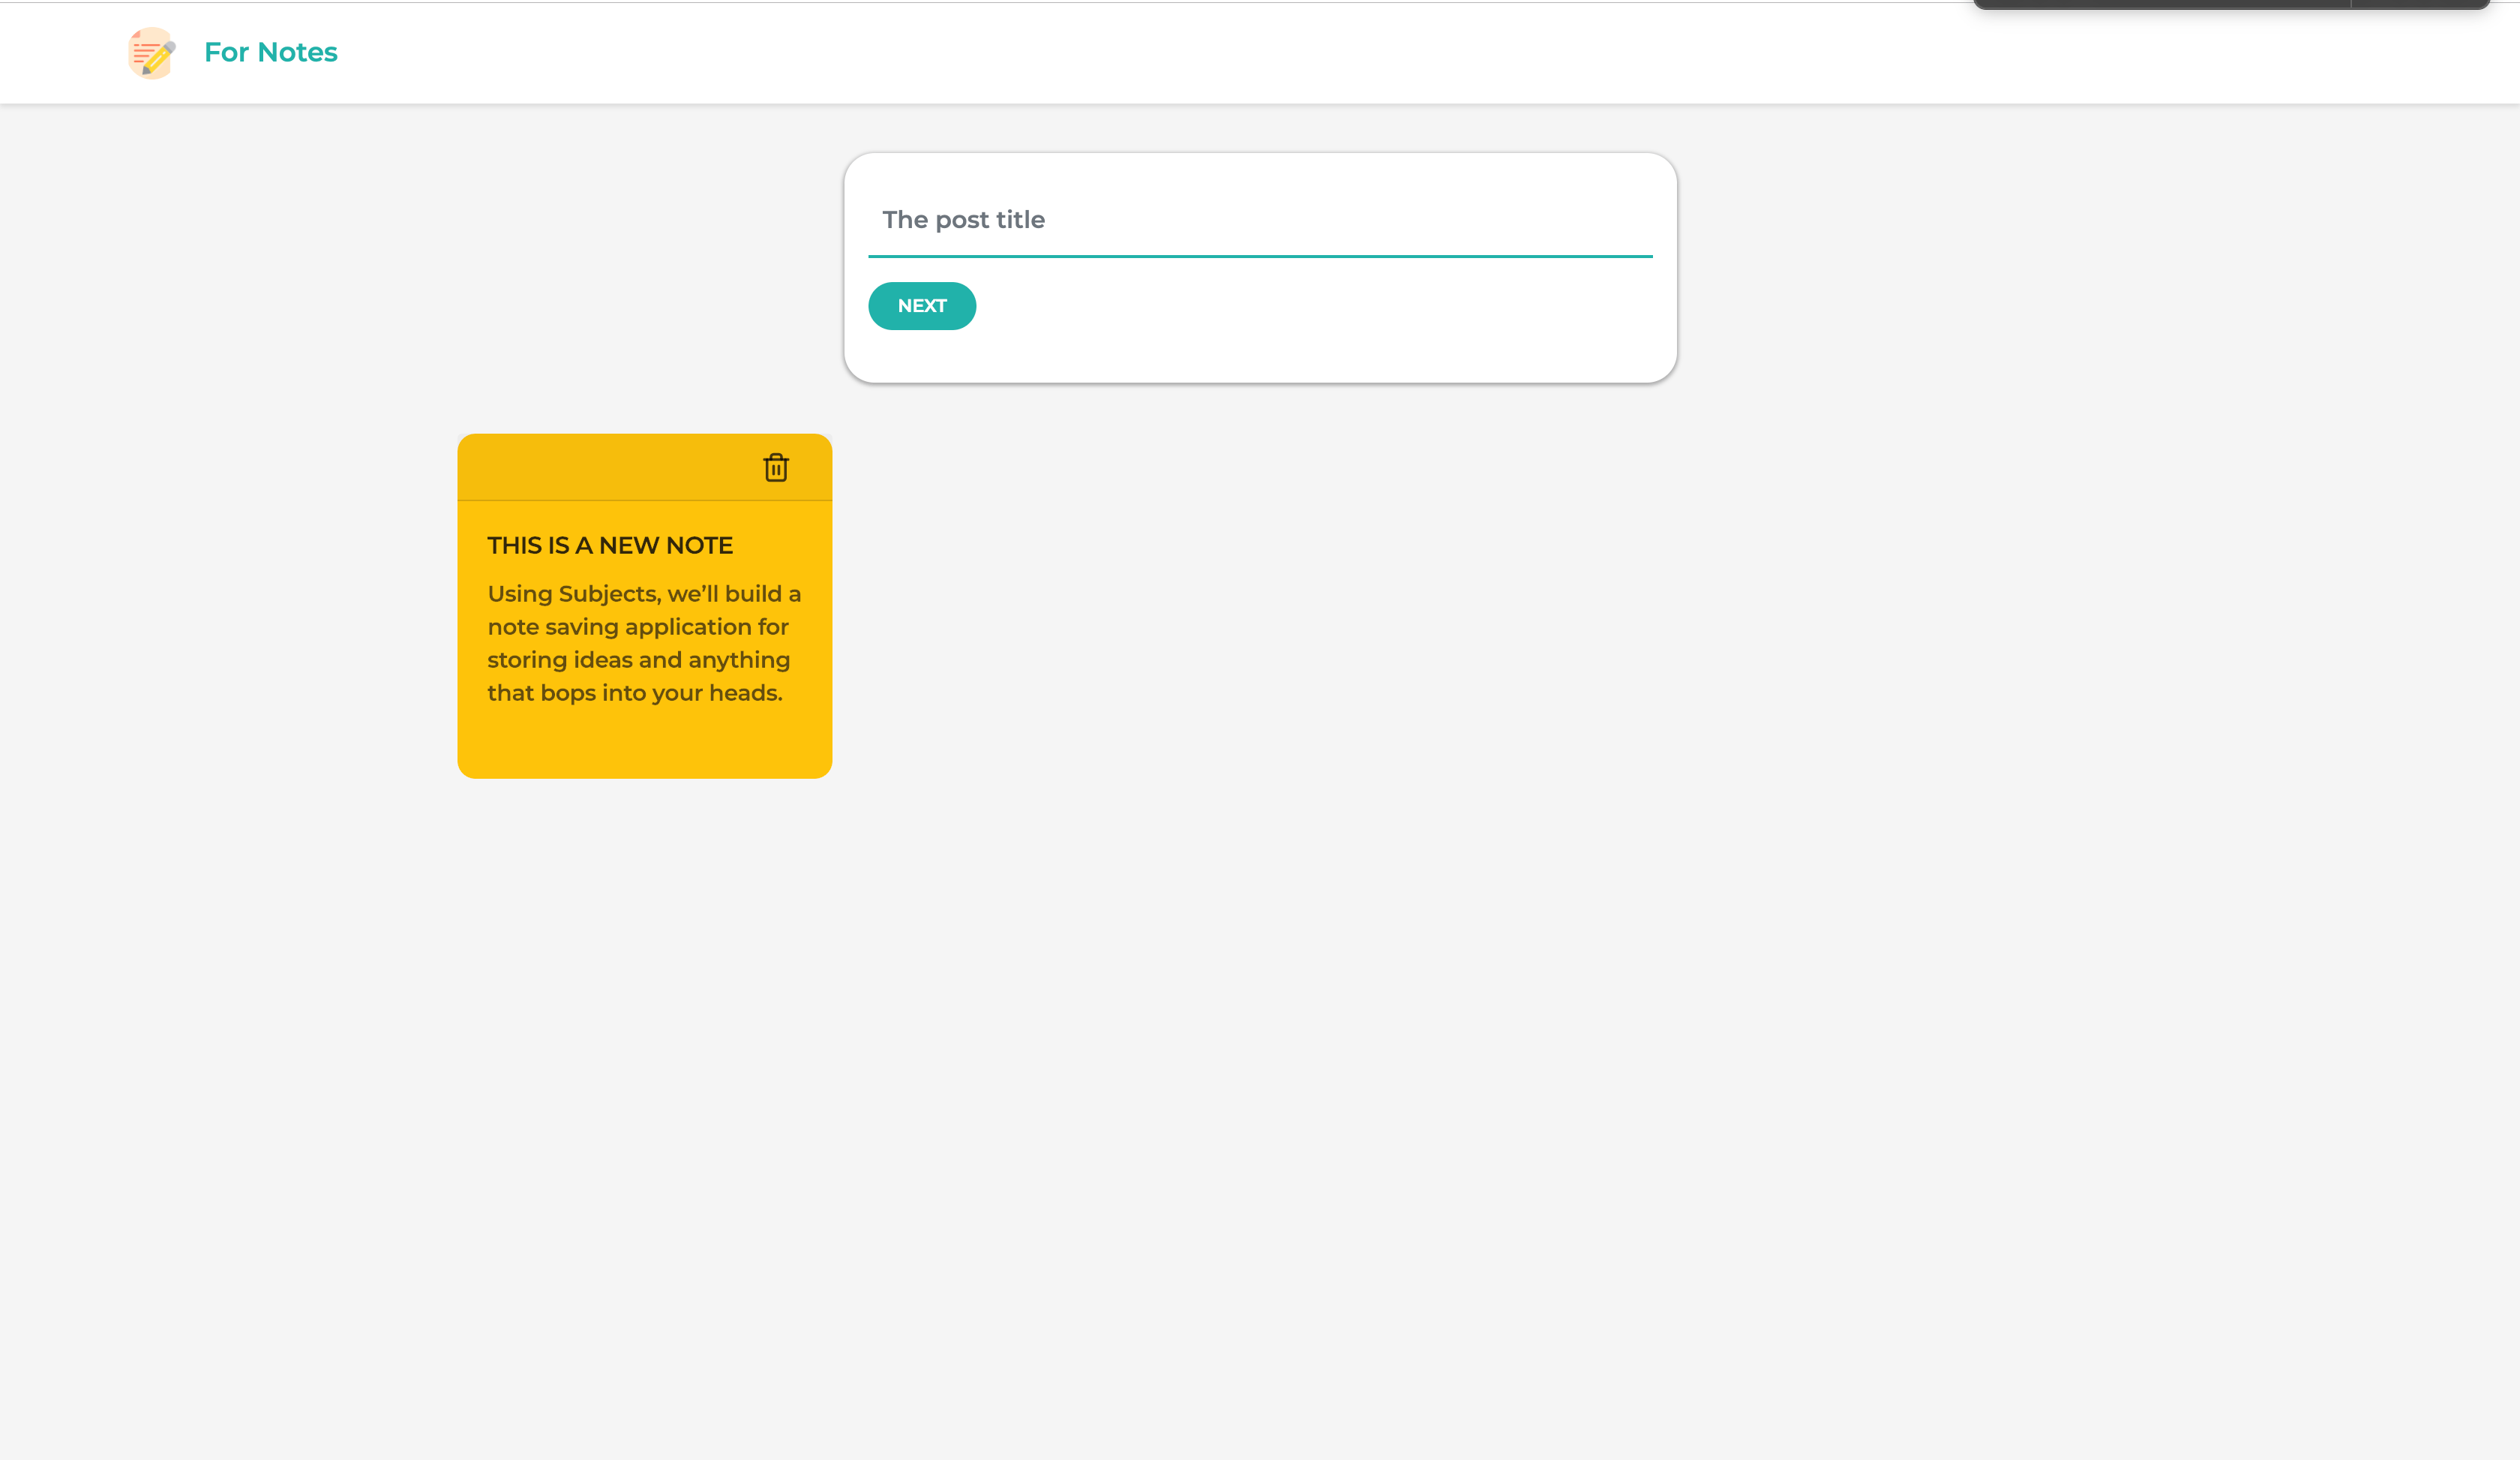
After this change, if you visit http://localhost:4200, you should see all the latest changes we’ve made, including the ability to create a note and delete a note:

After creating a note:
Note: Ensure the Angular dev server is running on port 4200
Conclusion
In this tutorial, we’ve created a simple note-saving application where notes can be added and removed. We’ve been able to manage the application’s state by using Subjects only. State management can be done in easier ways using an everyday library like RxJS. It is easier to manage data flow in the application when side effects and data flow are abstracted from components. That being said, if you need to manage state in bigger applications, you should look to well-built libraries like ngrx/store and Redux, as this implementation is suited to small and medium sized applications. You can get the source code of the demo here.
For More Info on Building Apps with Angular:
Check out our All Things Angular page that has a wide range of info and pointers to Angular information – from hot topics and up-to-date info to how to get started and creating a compelling UI.

Christian Nwamba
Chris Nwamba is a Senior Developer Advocate at AWS focusing on AWS Amplify. He is also a teacher with years of experience building products and communities.