Implementing Chat Interactions in Vue Applications with the Kendo UI Chat Component

Summarize with AI:
In this post, we demonstrate how to easily get started implementing chat interactions in your Vue applications using the Kendo UI Chat component.
The need for chat functionalities in modern day web applications has grown from friends talking to each other to more useful features that power real-time collaboration platforms for individuals and teams. One out of every five websites today has a chat feature that allows visitors speak with admins to convey their concerns and get direct feedback from the site owners.
Over time, this has improved the communication loop between service providers and consumers. Kendo UI provides a chat component that makes it possible to implement chat functionalities in your Vue.js application in a matter of minutes. In this post, we are going to demonstrate the steps involved in setting it up.
Create a Vue Project
First we have to create a Vue.js project with which we can demonstrate the implementation of our task scheduler. Without further ado, open a terminal window on your preferred directory and run the command below:
vue create chat-demo
If you don’t have Vue CLI installed globally, please follow this guide to do so and come back to continue with this lesson afterward.
When you’re done bootstrapping your Vue application, change into the new Vue application directory and start the development server.
cd chat-demo
npm run serve
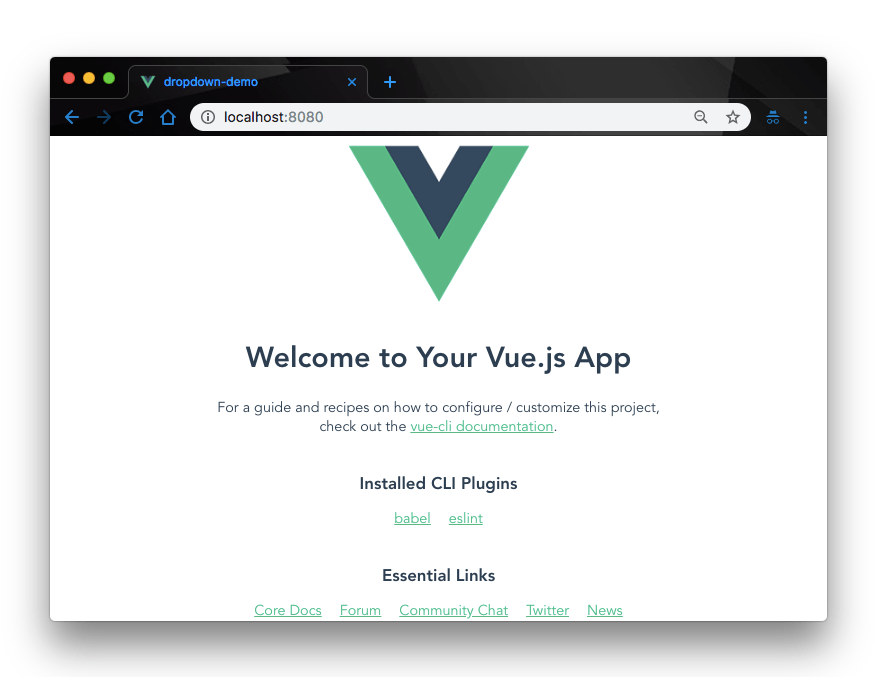
This will serve your Vue application on localhost:8080. Navigate to it on your browser and you will see your Vue application live:

Add Kendo UI to Project
Next let’s add Kendo UI to our new Vue project. For the scope of this demonstration, we’ll need:
- The Kendo UI package
- The Kendo UI default theme package
- The Kendo UI chat wrapper for Vue
To add those three items, open a terminal window in the project’s root directory and run the commands below:
// Install kendo ui vue package
npm install --save @progress/kendo-ui
// Install kendo ui chat wrapper for vue
npm install --save @progress/kendo-chat-vue-wrapper
// Install kendo ui default theme package
npm install --save @progress/kendo-theme-default
- Finally, we add the necessary Kendo UI packages from the CDN service. Open the
index.htmlfile in thepublicdirectory and add this snippet within the<head>tag:
<!-- public/index.html -->

<!--Load Kendo styles from the Kendo CDN service-->
<link rel="stylesheet" href="https://kendo.cdn.telerik.com/2017.3.913/styles/kendo.common.min.css"/>
<link rel="stylesheet" href="https://kendo.cdn.telerik.com/2017.3.913/styles/kendo.default.min.css"/>
<!--Load the required libraries - jQuery, Kendo, Babel and Vue-->
<script src="https://code.jquery.com/jquery-1.12.4.min.js"></script>
<script src="https://kendo.cdn.telerik.com/2017.3.913/js/kendo.all.min.js"></script>
<script src="https://cdnjs.cloudflare.com/ajax/libs/babel-core/5.6.15/browser-polyfill.min.js"></script>
<script src="https://unpkg.com/vue/dist/vue.min.js"></script>
<!--Load the required Kendo Vue package(s)-->
<script src="https://unpkg.com/@progress/kendo-dateinputs-vue-wrapper/dist/cdn/kendo-dateinputs-vue-wrapper.min.js"></script>
<script src="https://unpkg.com/@progress/kendo-chat-vue-wrapper@2018.3.911/dist/cdn/kendo-chat-vue-wrapper.min.js" ></script>
Create the Chat Template
In the src folder of your Vue project, open the App.vue file and update the template section with the Kendo UI chat widget like so:
<!-- App.vue -->
<template>
  <div id="app">
    <img alt="Vue logo" src="./assets/logo.png">
    <div id="vueapp">
      <h3>Kendo Chat Demo </h3>
    <kendo-chat ref="chat"
                @post="post"
                @sendmessage="sendMessage"
                :messages-placeholder="'... Type your message ...'"
                :user-name="'MyName'">
    </kendo-chat>
    <div><p id="typing"></p></div>
  </div>
  </div>
</template>
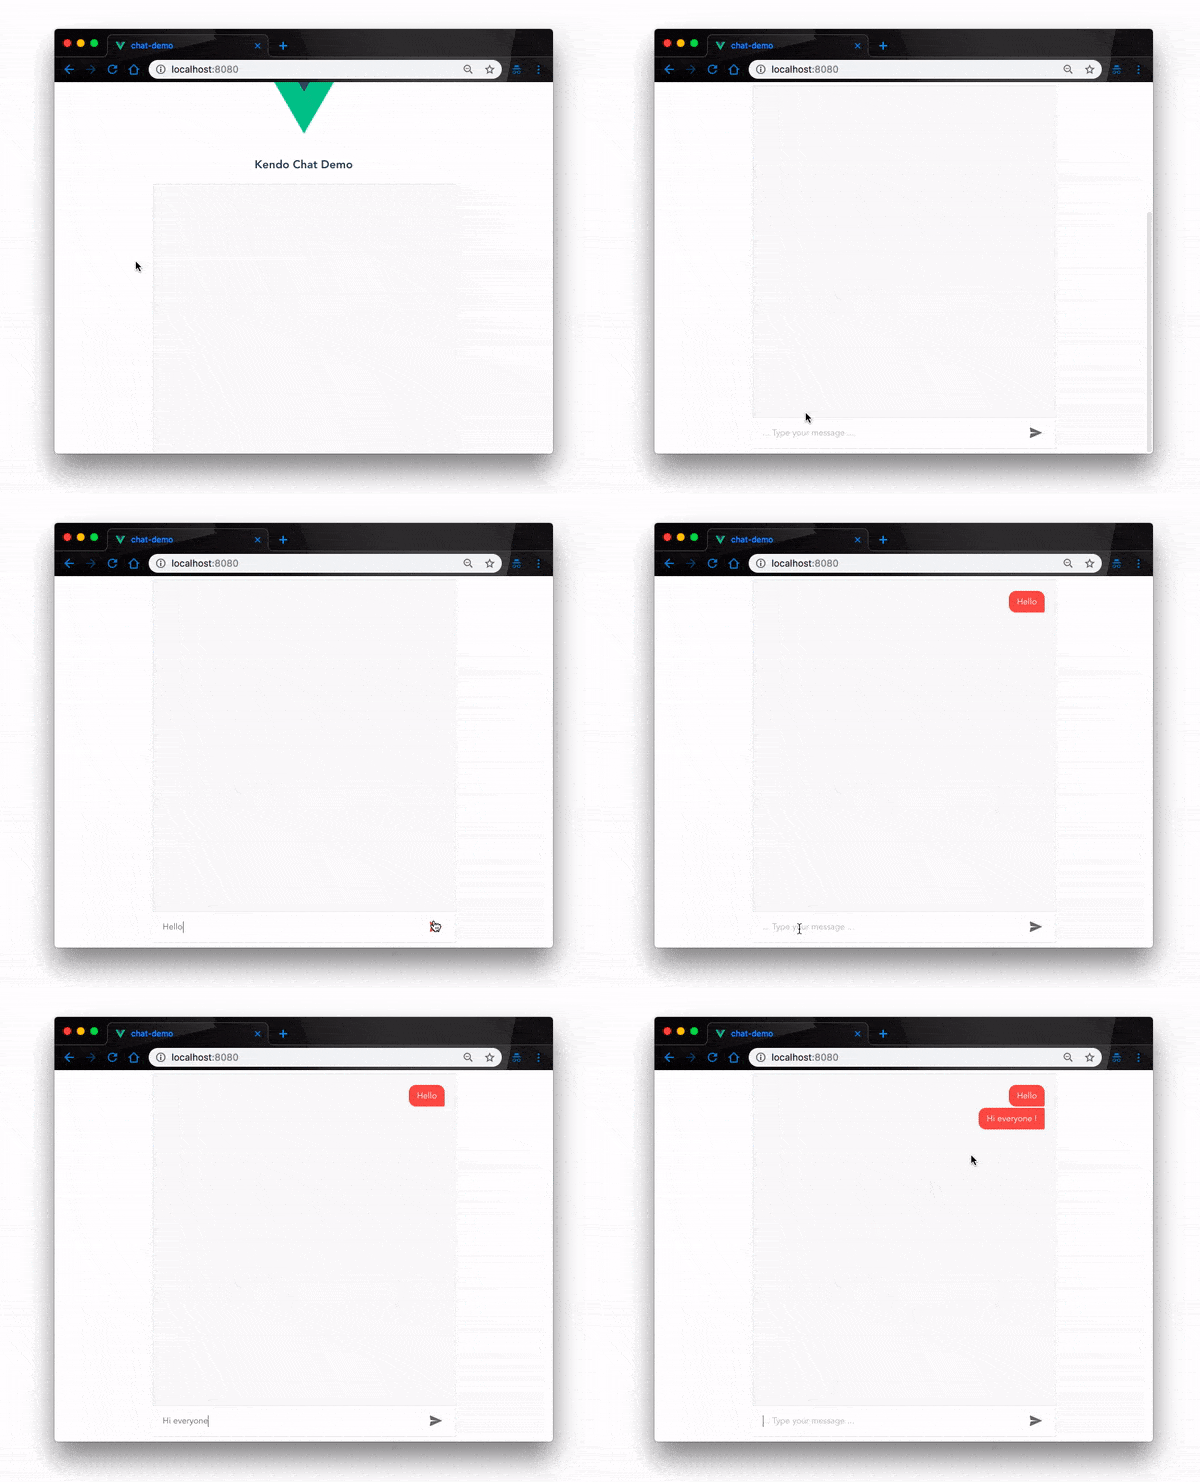
Here, we are rendering the Kendo UI chat widget that gives us a simple chat layout. It provides a text input field for users to type their chat messages and a display field to view sent messages. We have also defined some message events to post our sent messages.
Create the Chat Logic
Next, update the script section of the App.vue file with the code below.
<!-- App.vue -->
<script>
export default {
  name: 'app',
  methods: {
  post: function (ev) {
      console.log("A message has been posted to the Chat widget! " );
  },
  sendMessage: function (ev) {
      console.log("A message has been posted to the Chat widget using the message box!");
  },
  onActionClick: function (ev) {
      console.log("The user clicked an action button in attachment template, or selected a suggestedAction!");
  },
  onTypingStart: function (ev) {
    console.log("User started typing...")  },
  onTypingEnd: function (ev) {
      console.log("The user cleared the Chat message box!");
  }
}
}
</script>
Here, we have defined the functions that will fire when user operations happen on the chat widget we rendered. If the user types and sends a message, the post function is called and it logs a message to the console.

Events
Other than the post events, the kendo-chat widget lets you define other chat events to customize your chat features and improve user experience. Here are a few of the available chat events you can subscribe to:
<div id="vueapp" class="vue-app">
    <kendo-chat ref="chat"
                v-on:post="onPost"
                v-on:sendmessage="onSendMessage"
                v-on:actionclick="onActionClick"
                v-on:typingstart="onTypingStart"
                v-on:toolClick="onToolClick"
                v-on:typingend="onTypingEnd">
    </kendo-chat>
</div>
You can subscribe to all these events by their handler names in the script section like so:
export default {
  name: 'app',
        methods: {
        post: function (ev) {
            console.log("A message has been posted to the Chat widget! ");
        },
        sendMessage: function (ev) {
            console.log("A message has been posted to the Chat widget using the message box!");
        },
        onActionClick: function (ev) {
            console.log("The user clicked an action button in attachment template, or selected a suggestedAction!");
        },
        onTypingStart: function (ev) {
          console.log("User started typing ...");
        },
        onTypingEnd: function (ev) {
            console.log("The user cleared the Chat message box!");
        },
        onToolClick: function(ev){
            console.log("User clicked a tool")
        }
    }
}
Conclusion
The need for chat functionalities cannot be overemphasized. In this post we have demonstrated how to quickly add a chat feature to your Vue.js applications using Kendo UI’s chat component. This does not scratch the surface of what this component does. It can be scaled up to perform more extended functions like integration with Tensorflow for AI and chatbot development. To learn more about this component, check out the official documentation.
Great Apps Start with a Great UI
Want to learn more about creating great web apps? It all starts out with Kendo UI - the complete UI component library that allows you to quickly build high-quality, responsive apps. It includes everything you need, from grids and charts to dropdowns and gauges.

Christian Nwamba
Chris Nwamba is a Senior Developer Advocate at AWS focusing on AWS Amplify. He is also a teacher with years of experience building products and communities.

