
Deploying Angular Apps with NGINX and Docker

Summarize with AI:
Learn about containerizing and how to deploy Angular applications using NGINX and Docker for an efficient and scalable approach.
Modern web application deployment requires efficient, reproducible and scalable approaches. Whether you’re working on a side project or maintaining a large-scale production app, having a streamlined deployment process is essential.
In this introductory article, we’ll focus on the serving part of deployment—specifically, how to deploy and serve Angular applications using NGINX as the web server, all neatly packaged in Docker. This guide will walk you through the process of setting up, configuring and running an Angular app in a Docker container with NGINX handling the serving of static assets and client-side routing.
Introduction
Before diving into deployment specifics, let’s briefly discuss the key technologies involved in our deployment stack.
Angular
Angular is a platform and framework for building single-page client applications using HTML and TypeScript. Developed by Google, Angular provides a comprehensive solution for frontend development with features like two-way data binding, dependency injection and a component-based architecture.
New to Angular? Explore the Angular Basics series to get up to speed with the fundamentals and start building confidently.
The Angular CLI (Command Line Interface) is an essential tool that streamlines development workflow by automating common tasks like project initialization, code generation, testing and building for production. We’ll be using the Angular CLI shortly to set up and build an example Angular project for this article.
NGINX
NGINX (pronounced “engine-x”) is a lightweight, high-performance web server designed for modern web applications. It excels at serving static content, handling high traffic loads and acting as a reverse proxy to backend services.
NGINX is well-suited for serving Angular applications because it efficiently delivers static assets (HTML, CSS, JavaScript files) and can be configured to handle client-side routing properly—a common requirement in single-page applications.
Docker
Docker is a platform that enables developers to package applications and their dependencies into standardized units called containers. These containers encapsulate everything an application needs to run, including the code, runtime, system tools and libraries.
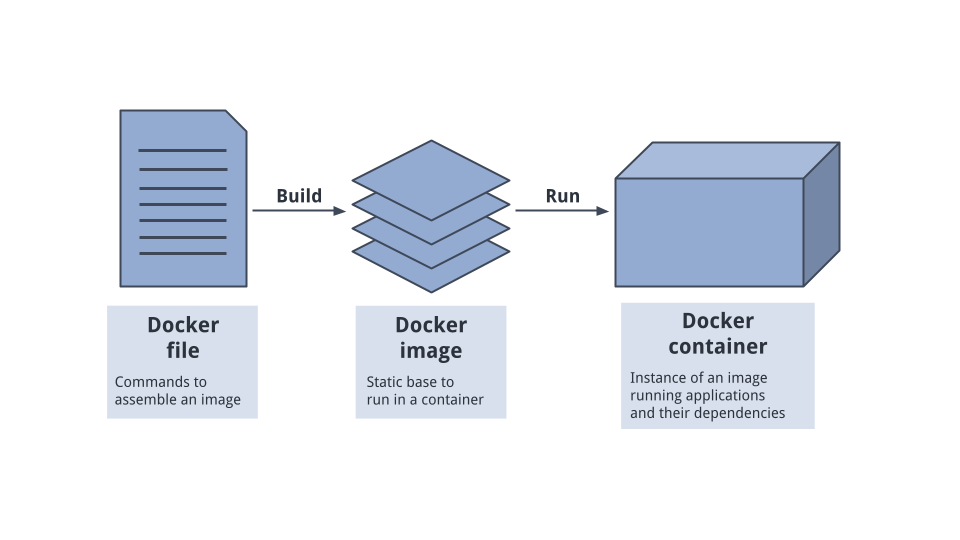
Using Docker for deployment offers several key benefits:
- Environment consistency – Applications run the same regardless of the underlying environment (development, staging or production).
- Simplified deployment – Streamlines the process of building, shipping and running applications.
- Improved scalability and portability – Containers can be easily moved and scaled across cloud providers or on-prem infrastructure.
- Application isolation – Enhances security and resource efficiency by isolating apps and their dependencies.
Setting Up an Angular Project with Angular CLI
To demonstrate our deployment approach, we’ll first need an Angular application. The Angular CLI provides a straightforward way to set up a new project.
First, with Node.js and npm installed, we’ll install the Angular CLI globally:
npm install -g @angular/cli
Windows and Unix: For Windows and Unix systems, additional steps may be required for proper installation of the Angular CLI. Refer to the official Angular documentation for some of these instructions.
With Angular CLI installed, we can create a new Angular project with:
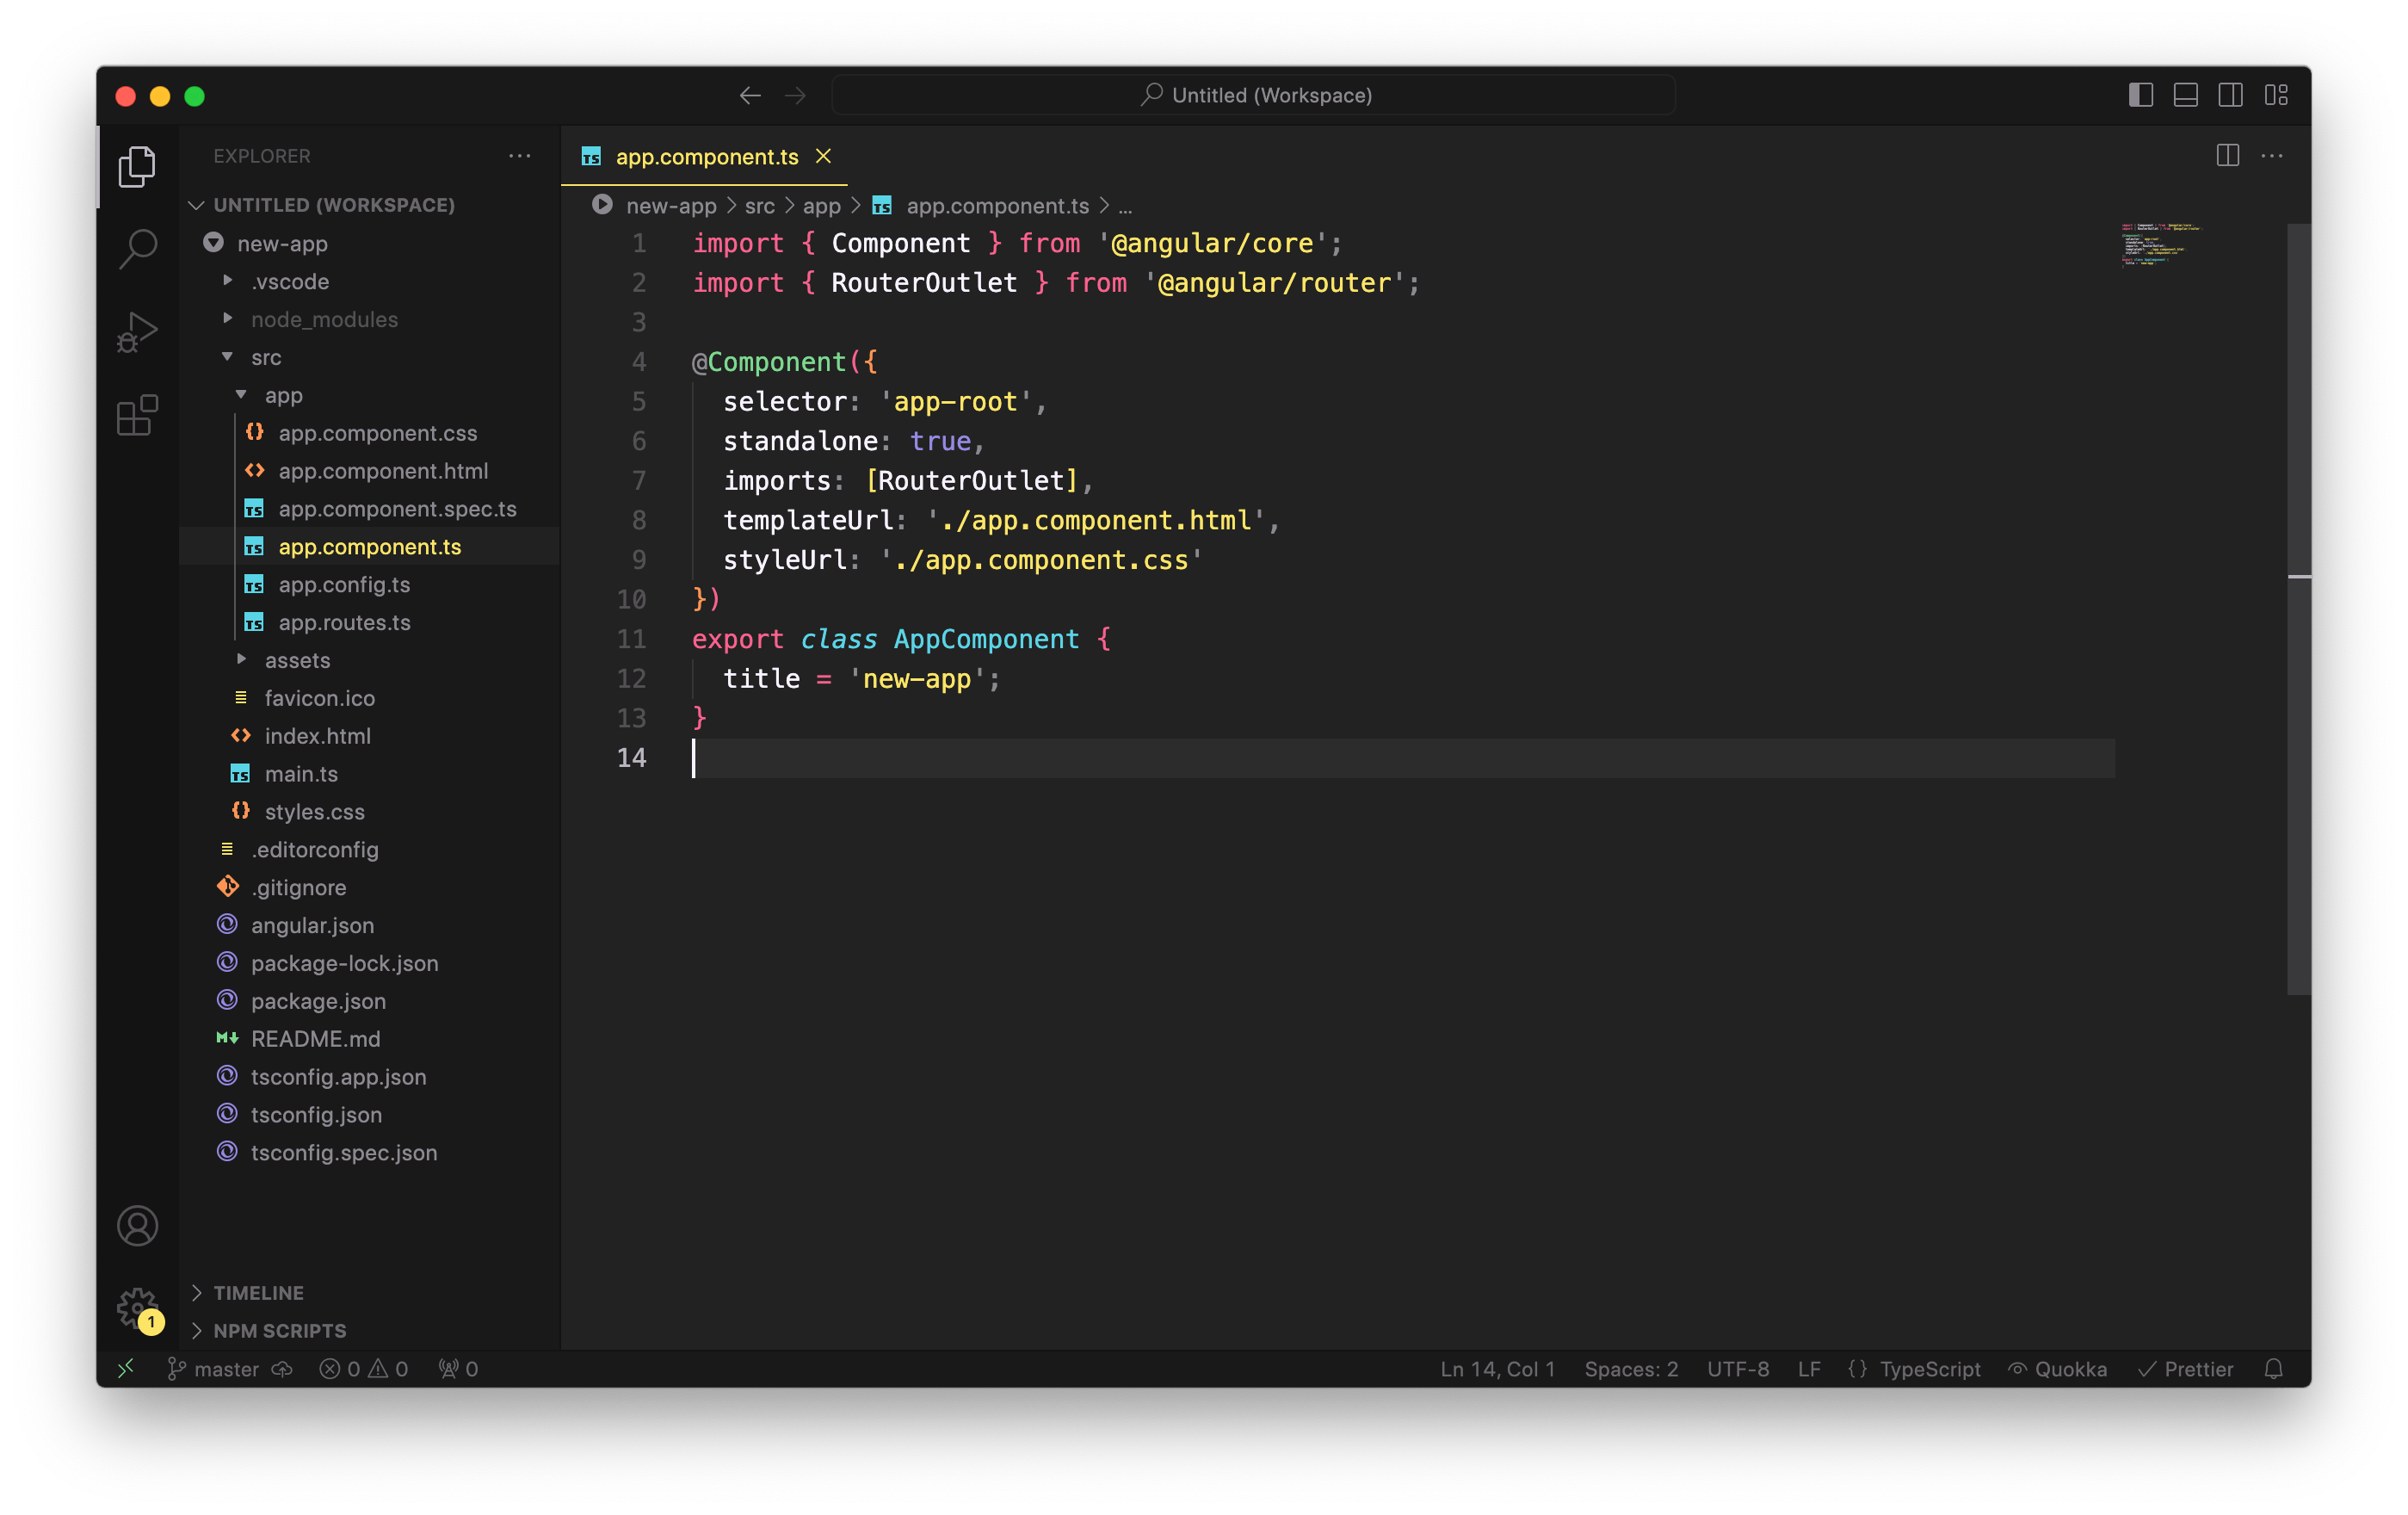
ng new new-app
The above command sets up a new Angular project with the specified name of the app (e.g., new-app). This process creates the basic structure for an Angular application, including various configuration files, a source folder with a basic app component and dependencies listed in a package.json file. The Angular CLI also automatically configures a build process using webpack and sets up a development server for the application.
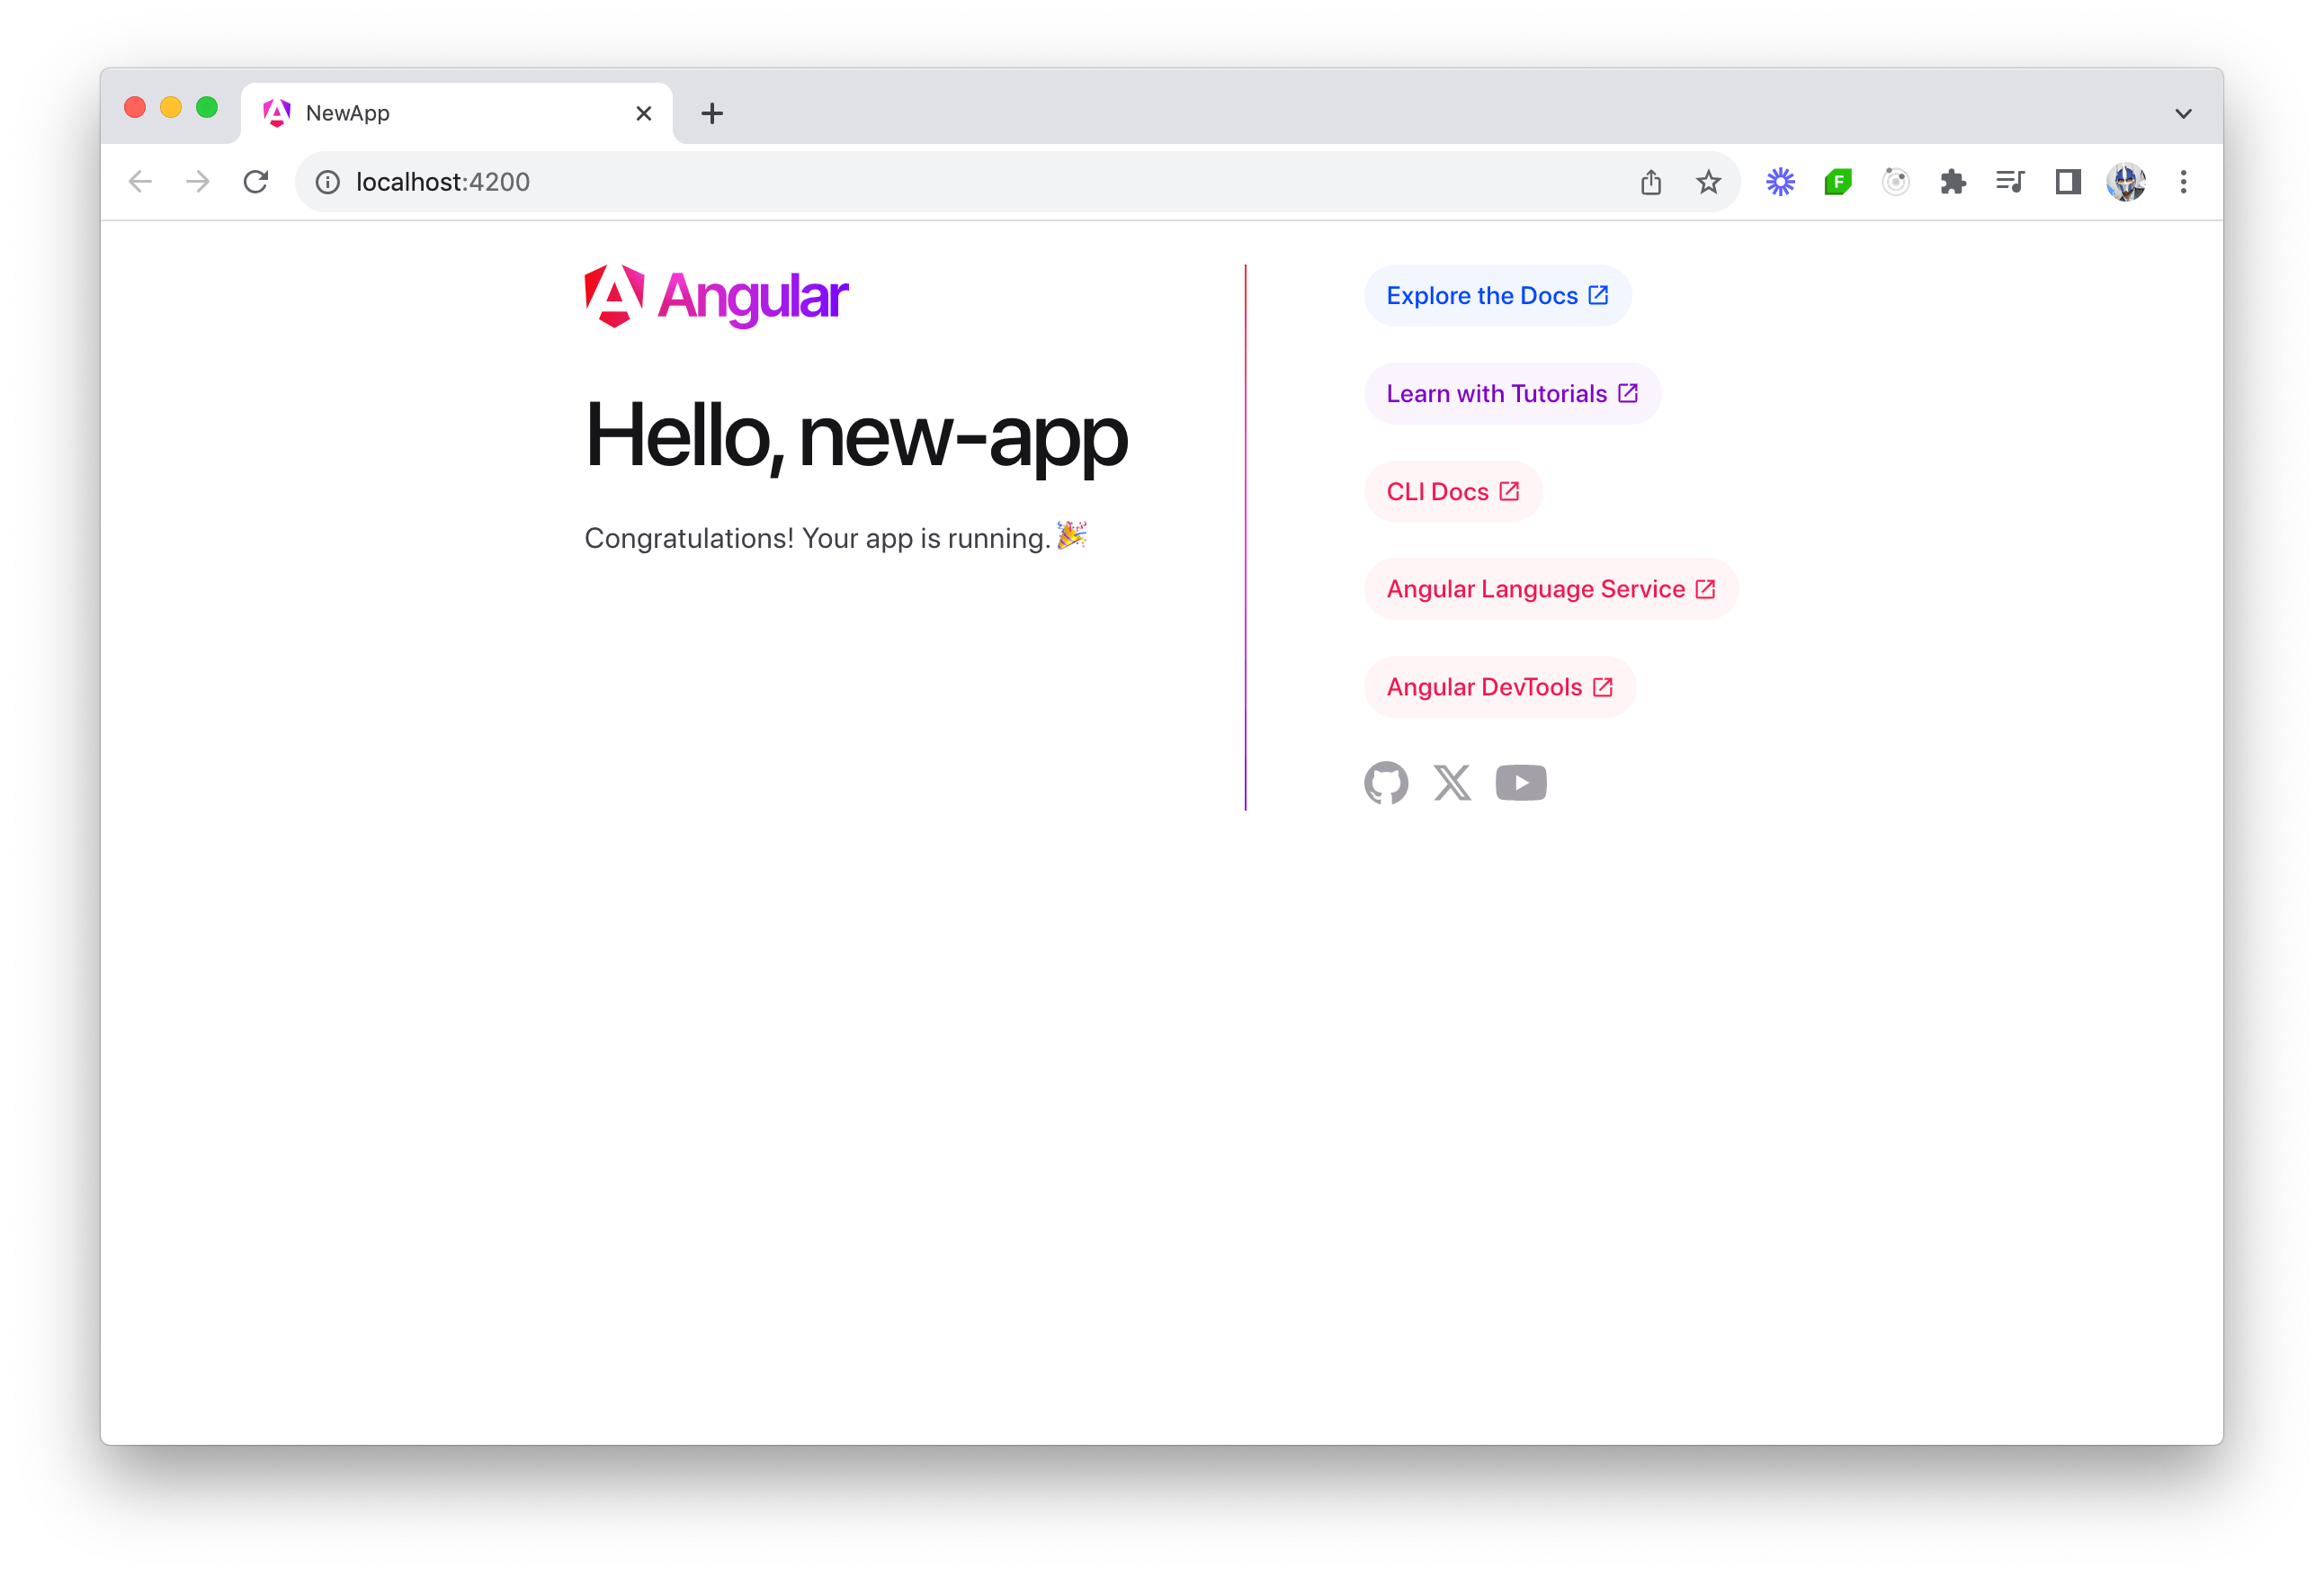
To run the newly created Angular application, we can navigate to the project directory and start the development server:
cd new-app
ng serve --open
The above command compiles the application, starts a web server and opens the browser to http://localhost:4200 to view the generated application.
Building for Production
Before deploying our Angular application, we need to build it for production. Building an Angular application involves transforming the source code and transforming it into a format that can be efficiently served to users. This process includes compiling, bundling, minifying and optimizing the code so that it runs smoothly in a production environment. By using Angular CLI, we can simplify this entire process and generate a production-ready build with a single command:
ng build
The above command generates an optimized build in the dist/ folder, ready for deployment.
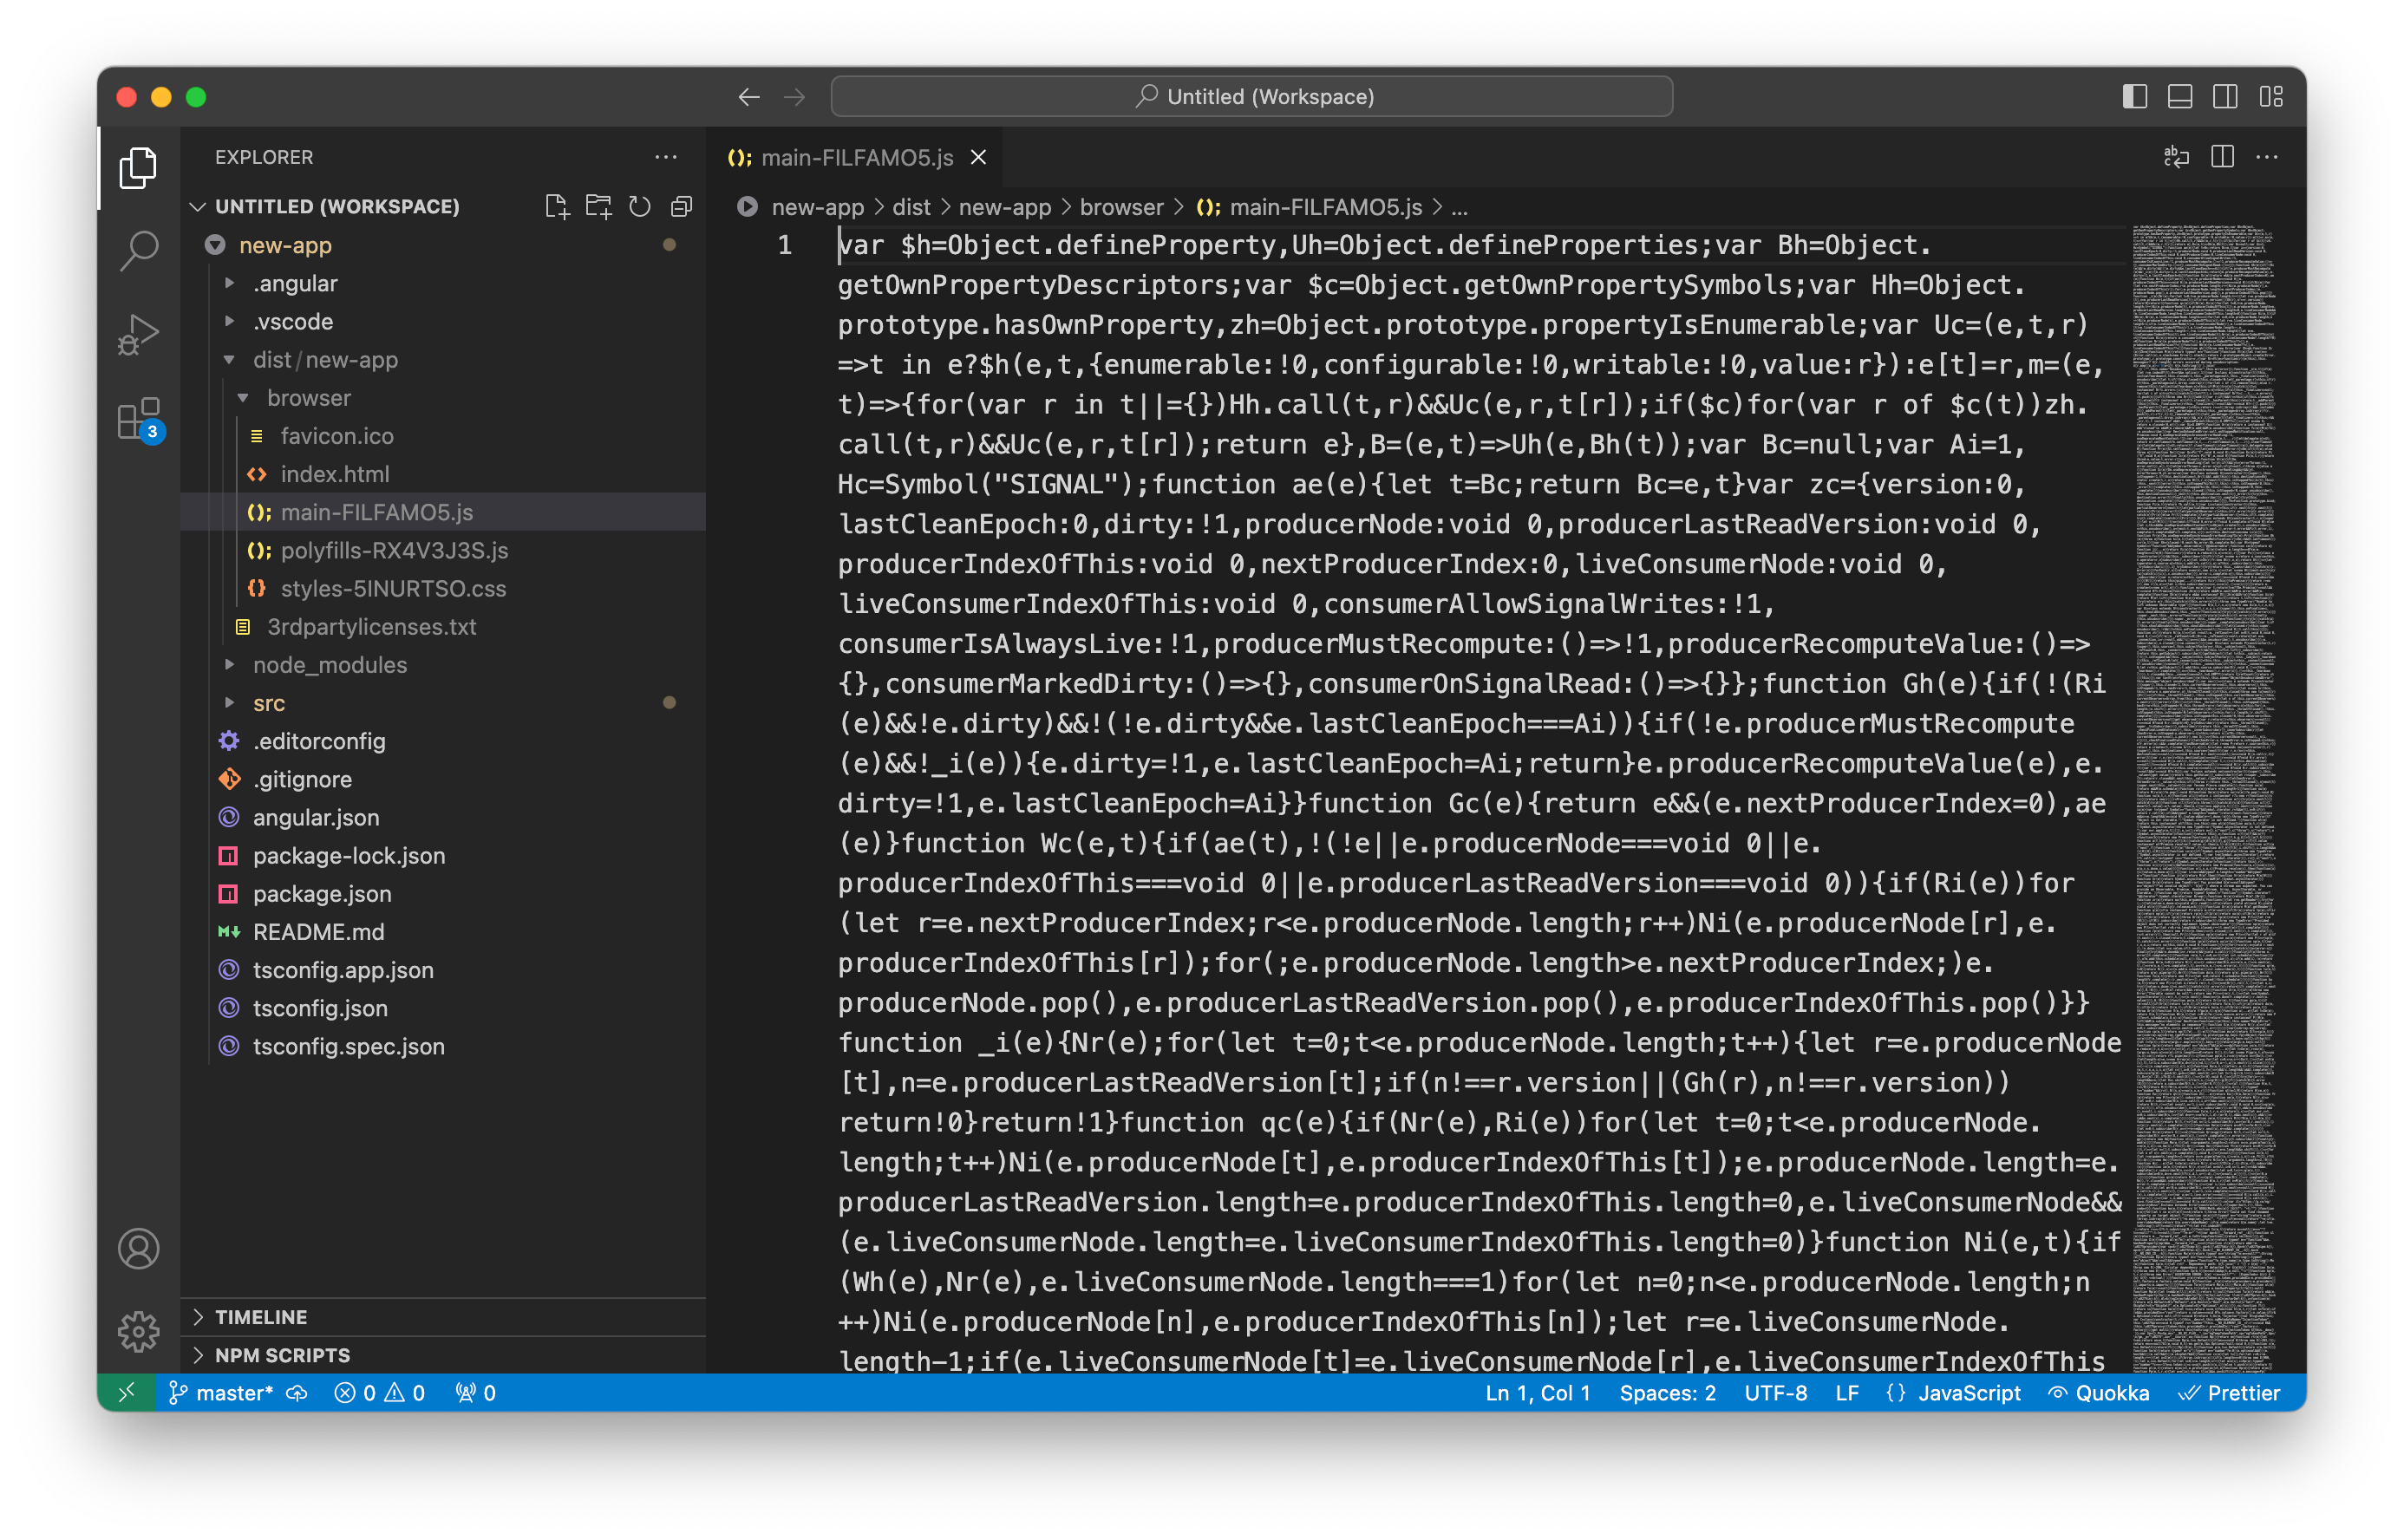
These optimized files are what we’ll serve using NGINX.
Setting Up NGINX
With our Angular app built using the ng build command, we now have a production-ready version of our app inside the dist/new-app/ directory. The next step is to configure NGINX to serve these static files and correctly handle client-side routing.
NGINX is a high-performance web server that’s well-suited for serving Angular applications. It can efficiently deliver static files, handle route fallback for single-page apps and configure caching and security headers to optimize performance.
Let’s walk through a basic NGINX configuration to serve our Angular app. In the root of our project (i.e., inside new-app/), we’ll create a new folder called nginx/. Inside it, we’ll create a file named default.conf with the following contents:
# new-app/nginx/default.conf
server {
  listen 80;
  server_name localhost;
  root /usr/share/nginx/html;
  index index.html;
  # Redirect all routes to index.html for Angular's client-side routing
  location / {
    try_files $uri $uri/ /index.html;
  }
  # Configure caching for static assets
  location ~* \.(js|css|png|jpg|jpeg|gif|ico)$ {
    expires 1y;
    add_header Cache-Control "public, max-age=31536000";
  }
}
The above configuration tells NGINX to:
- Serve files from
/usr/share/nginx/html(where we’ll copy the Angular build) - Fallback to
index.htmlfor any unmatched routes (enabling Angular’s router to work) - Cache static assets like CSS and JS for improved load times
Containerizing with Docker
Now that we have our Angular application built and our NGINX configuration ready, let’s create a Docker container that will package everything together.
Creating a Dockerfile
A Dockerfile is a text document containing a series of instructions that Docker uses to build an image. We’ll create a Dockerfile in the root of our project with the following content:
# new-app/Dockerfile
# Stage 1: Build the Angular application
FROM node:alpine AS build
WORKDIR /app
COPY package.json package-lock.json ./
RUN npm install
COPY . .
RUN npm run build

# Stage 2: Serve the application with Nginx
FROM nginx:alpine
COPY --from=build /app/dist/new-app/browser /usr/share/nginx/html
COPY nginx/default.conf /etc/nginx/conf.d/default.conf
EXPOSE 80
CMD ["nginx", "-g", "daemon off;"]
This Dockerfile implements a multi-stage build process. In Stage 1, we start with a Node.js Alpine image (which is lightweight), set /app as our working directory, copy package files and install dependencies, copy the rest of our application code and build the application for production.
In Stage 2, we start with an NGINX Alpine image, copy only the built application files from the previous stage, copy our custom NGINX configuration, expose port 80 and configure the container to run NGINX when started.
This multi-stage approach creates a smaller final image by discarding the Node.js environment and build artifacts, keeping only what’s necessary to run the application.
Building the Docker Image
With our Dockerfile in place, we can now build the Docker image.
To proceed with this step, you’ll need Docker installed on your machine. If you haven’t installed it yet, you can download Docker Desktop from the official Docker website for your operating system.
From the root of our project, we can run:
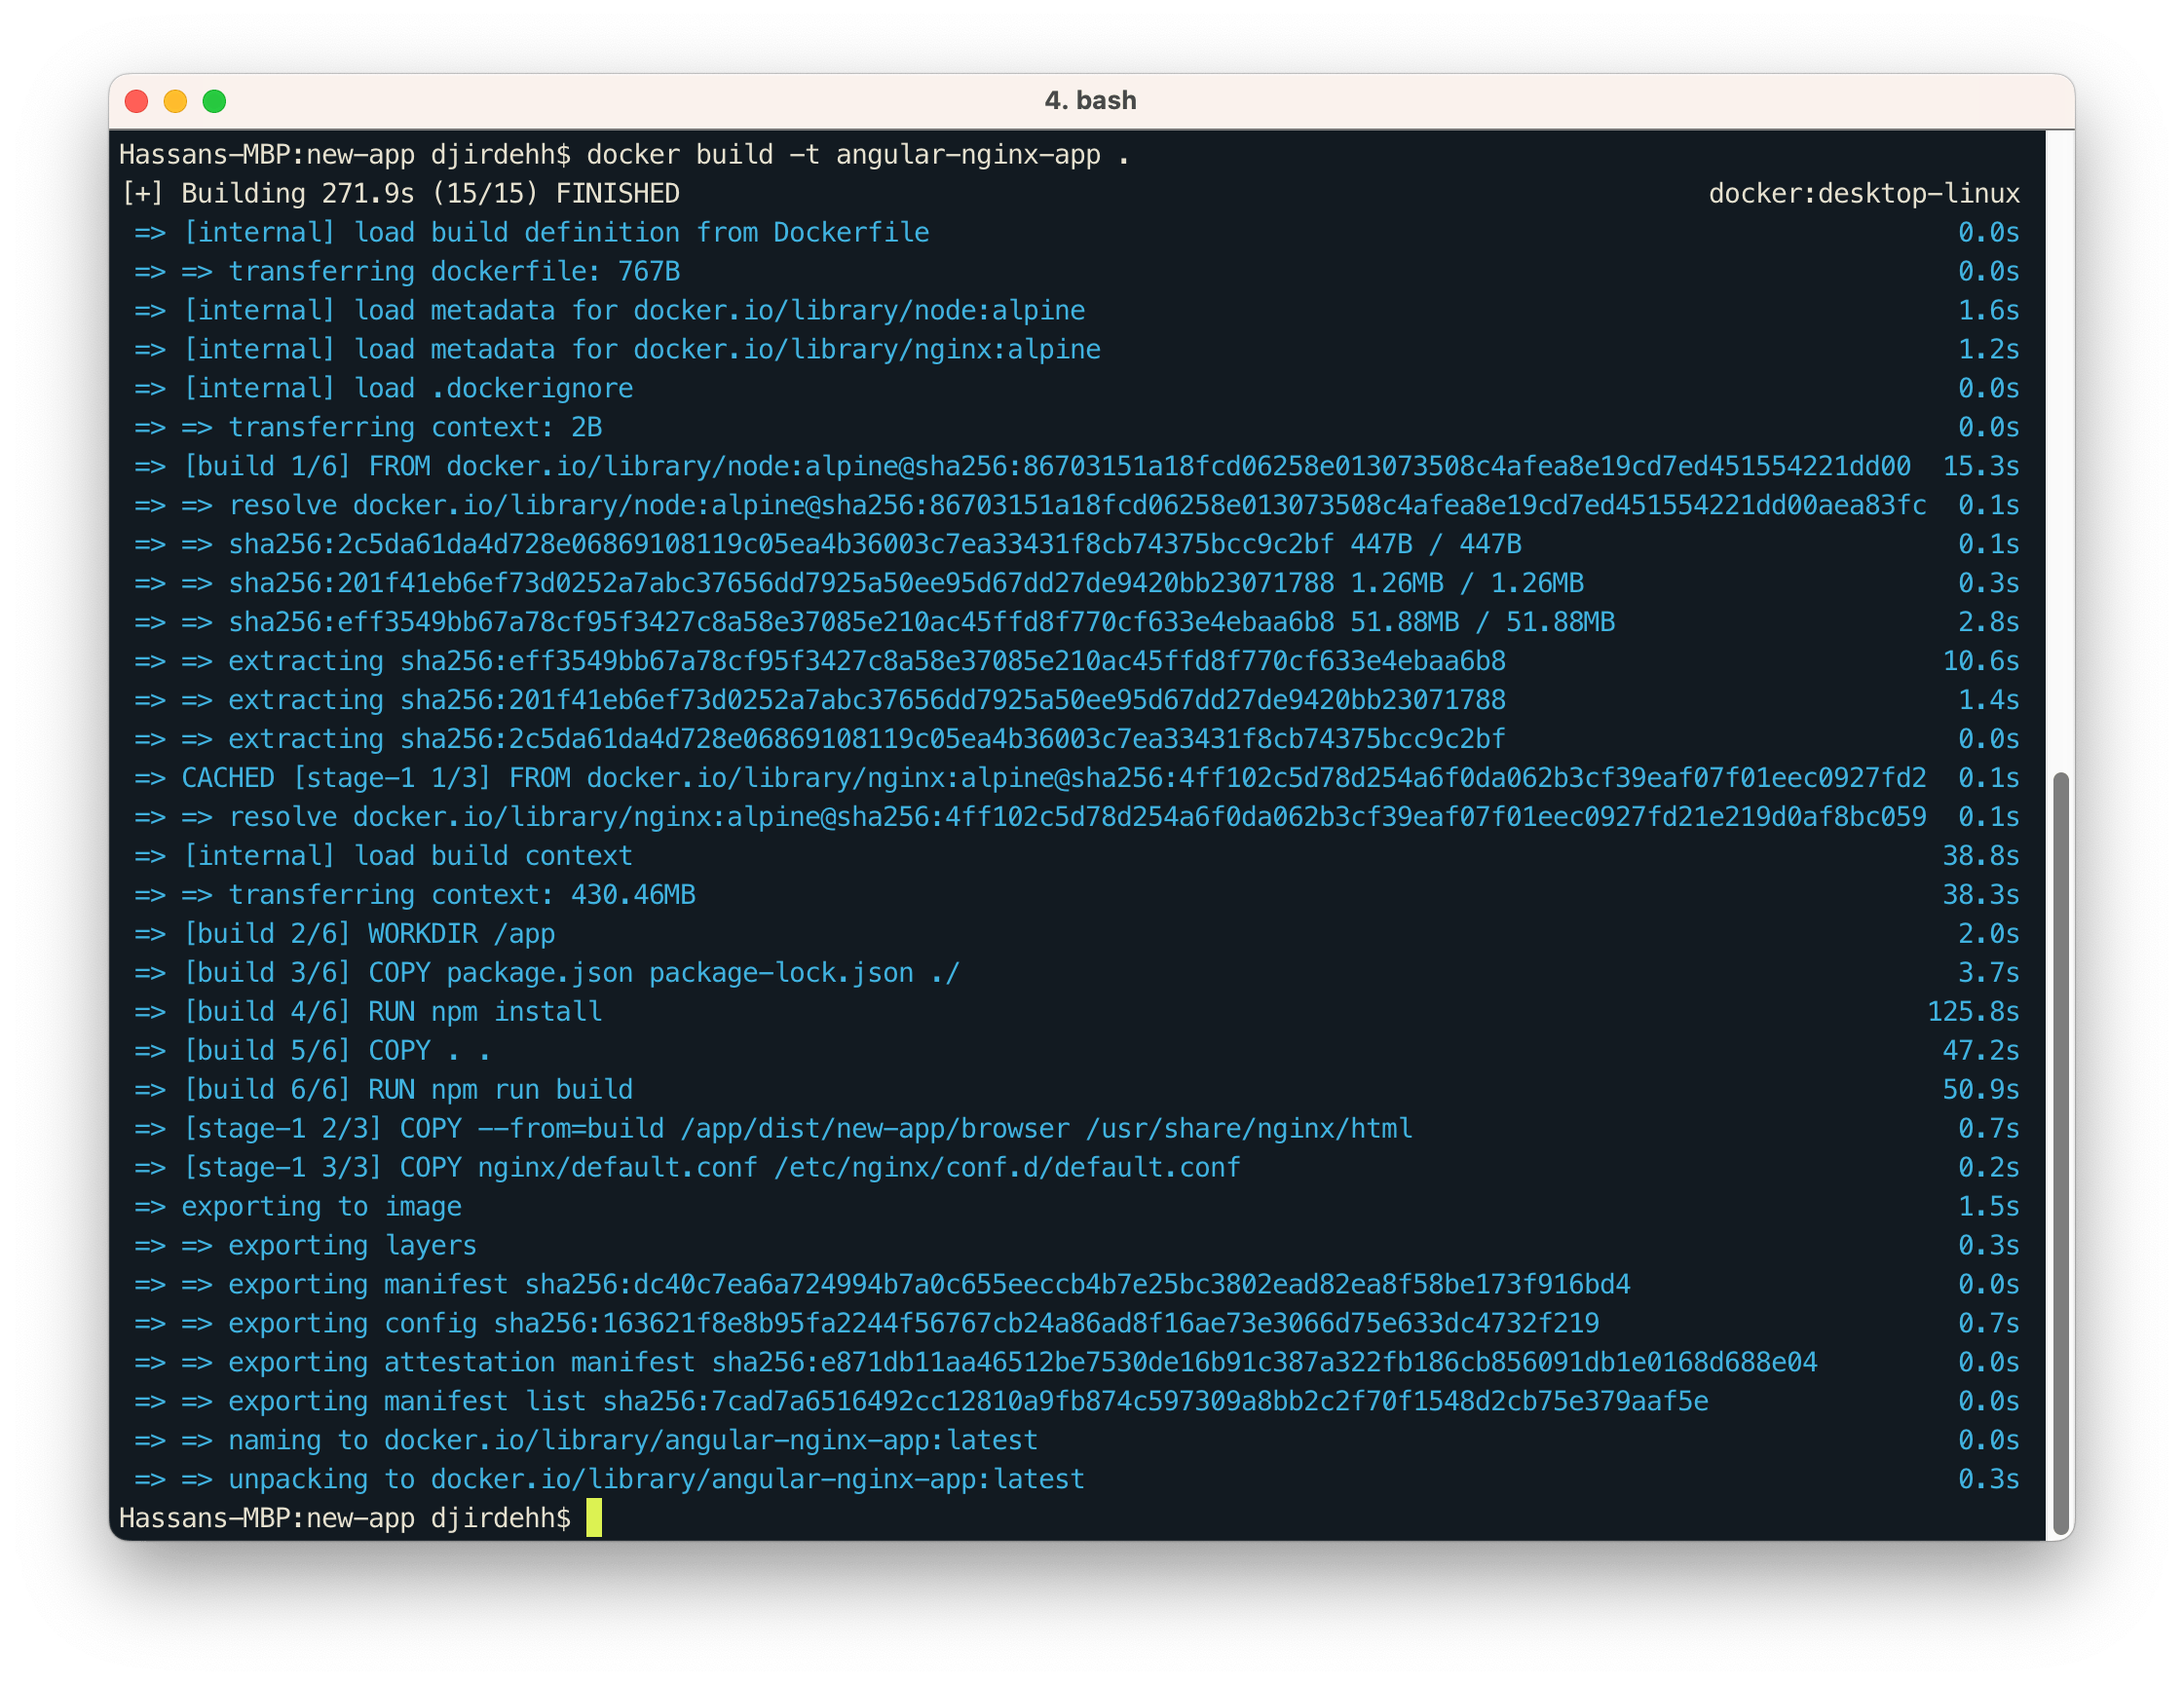
docker build -t angular-nginx-app .
The -t flag tags our image with the name angular-nginx-app, making it easier to reference later. The . at the end tells Docker to use the Dockerfile in the current directory. When the build is successful, we’ll see output similar to the following:
Running the Docker Container
Now that we’ve built our Docker image, we can run it as a container:
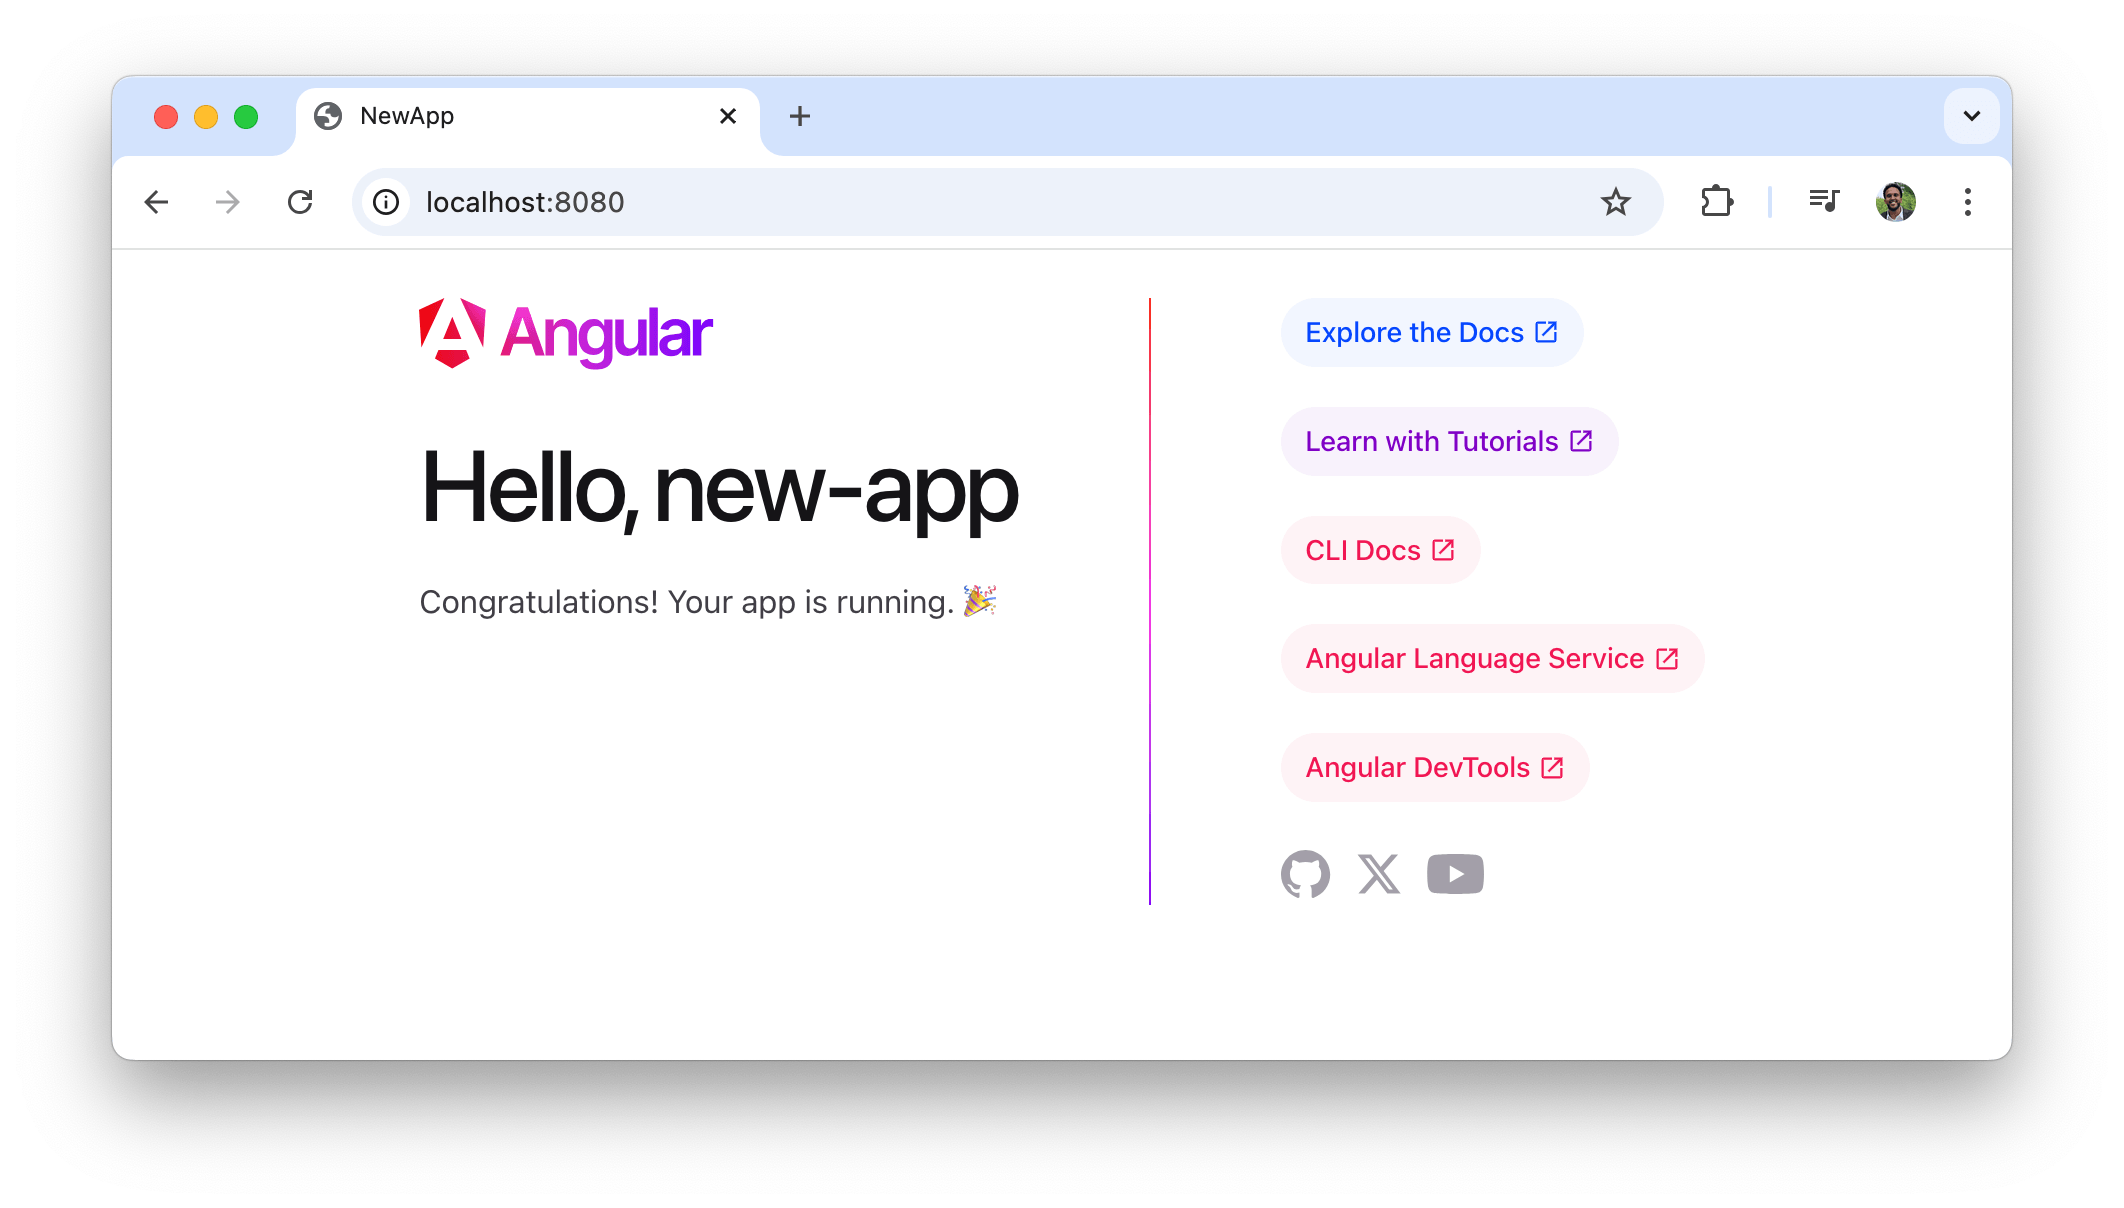
docker run -d -p 8080:80 --name my-angular-app angular-nginx-app
Let’s break down what this command does:
-druns the container in detached mode (in the background).-p 8080:80maps port8080on your local machine to port80inside the container, which is where NGINX serves the app.--name my-angular-appassigns a human-readable name to your container (in this case,my-angular-app). You can use this name later to stop, restart or inspect the container more easily.angular-nginx-appis the name of the Docker image we built in the previous step.
After running the above command, our Angular application will now be accessible at http://localhost:8080!
From Local to Production Deployment
What we’ve accomplished so far represents an important step toward deploying our Angular application, but it’s important to understand the differences between our local Docker setup and a full production deployment.
What We’ve Achieved
We’ve successfully built an optimized version of our Angular application, created a Docker image that serves our application using NGINX and run our containerized application locally. This setup is fully functional and demonstrates the core principles of containerizing an Angular application with NGINX.
The resulting Docker image can be shared with team members, for consistent development environments regardless of the underlying operating system.
Moving to Production
For a complete production deployment, several additional steps would typically be required. First, we would need to push our Docker image to a container registry like Docker Hub, AWS ECR or Google Artifact Registry. This makes our image available for deployment to different environments.
docker tag angular-nginx-app username/angular-nginx-app:latest
docker push username/angular-nginx-app:latest
Next, we’ll need to configure environment-specific settings and add HTTPS support by configuring SSL certificates in NGINX. Setting up DNS records is essential to point a domain to the server hosting our container.
For larger applications, container orchestration systems like Kubernetes or Docker Swarm provide tools for scaling and automated deployment. Implementing a CI/CD pipeline streamlines the build and deployment process while monitoring solutions help track application health and performance.
These additional steps transform our local containerized application into a more robust, production-ready deployment capable of handling real-world traffic and scaling to meet demand.
Wrap-up
In this article, we’ve explored containerizing and deploying Angular applications using NGINX and Docker. This approach leverages Angular’s powerful framework, NGINX’s efficiency in serving static content and Docker’s ability to package everything into a portable container.
The strategy we’ve seen in this article works consistently across all environments in the application lifecycle and can be deployed anywhere Docker is supported. For teams new to containerization, this provides a foundation for efficiently managing and deploying Angular apps in a scalable and reproducible manner.

Hassan Djirdeh
Hassan is a senior frontend engineer and has helped build large production applications at-scale at organizations like Doordash, Instacart and Shopify. Hassan is also a published author and course instructor where he’s helped thousands of students learn in-depth frontend engineering skills like React, Vue, TypeScript, and GraphQL.
Related Posts
Comments
All articles
Topics
Web MobileMobile
Desktop
Design
Productivity
People
