Building Design Systems for Apps: How and Why You Should Create a Design System for Your Apps

Summarize with AI:
When you’re building a complex digital product and plan for long-term maintenance of that product, a design system is a must. In this post, we’ll look at five things you’ll need to do to put together effective design systems for any project.
App design and development is a lengthy and complex process. Even when you have a fully formed product ready for release, the work still isn’t done. You always need to be iterating, always trying to create the best version of the app for your users.
But the longer you work on an app, and the more people that get involved, the more complicated the whole thing becomes and it can be really difficult to manage the product, let alone scale it.
Without a strict set of guidelines and resources to work from, your project is at risk for delays, inconsistencies, errors and more. But that’s why we have design systems.
In this post, we’re going to break down everything you need to know to create an effective design system for your product and brand.
What is a Design System?
A design system is the visual design language for a brand and its digital products. In addition to depicting each of the elements used in the brand’s unique language, guidelines dictate how and when those elements are to be used. Design systems also include a collection of reusable components and resources that simplify the product development process.
What is a Design System Made of?
The complexity of the digital product determines what a design system will consist of. However, these are the basic building blocks which exist in most design systems:
- Design principles
- Foundational style guide
- UI component library
- Pattern library
Design systems may also include tools, UI kits, themes and other resources. These additional references are especially handy for onboarding new team members. With a complete design system, they’ll have a single resource containing everything they need to build new products with ease and confidence.
Why Use a Design System?
By creating a design system before a project begins, you set the rules for the product’s design and development and ensure that best practices are adhered to from start to finish. But that’s not all.
Design systems are beneficial for numerous reasons:
Greater Cohesion & Consistency
A design system is an online resource that centralizes everything you need to know about how to create the digital product and what to use to do it. This ensures that everyone is referencing the same guidelines and libraries at any given time.
Better Product Quality
Design systems remove a lot of the guesswork from product design and development. They can also spare product teams the trouble of doing everything from scratch. This means they’ll have more time to devote to creating a truly superior product and experience for their users.
Simplified Product Management
Design and development are never done. However, there’s a big difference between reworking a product in order to improve the user experience vs. reworking a product because it’s riddled with errors and inconsistencies. The product lifecycle is much easier to manage when it’s not filled with issues and emergencies that need cleaning up, which a design system can help prevent from occurring.
Improved Collaboration
It doesn’t matter if your designers and engineers speak different “languages” or have differing approaches and responsibilities when it comes to your product. The design system bridges the gap between the different teams, enabling everyone to approach the project with the same understanding of the product and how to build it.
Business Scalability
A brand is difficult to scale when you’re stuck trying to get new products onto the market and repairing existing ones. Design systems are a great way to create a more efficient product development workflow, so you can keep pushing ahead.
How to Create Your Own Design System
A design system becomes more useful the more clarity it brings to a product team. That said, not every design system is going to look alike or contain the same elements. So as you look at the tips below, take the time to consider how best to implement each for your own design system objectives.
1. Assign Ownership
When creating a design system, you need it to be the go-to resource for your product team. And although the primary focus is on the UI, ownership needs to go beyond the designer. You need buy-in and support from other teams.
You also need people who can keep the design system updated. From brand redesigns to adding guidelines around changing priorities like accessibility or inclusivity, someone needs to be in charge of it all. And there’s no one better to do it than someone who benefits from the design system on a regular basis.
The number of owners depends on the size of your team as well as the complexity of your project.
For example, let’s say you’re building a design system for a small mobile app that’s slated to take four months to build. The lead designer and frontend developer on the job might pull double-duty as the makers of the app as well as the managers of the design system.
On the other hand, let’s say you’re working on an enterprise web app that will take about nine months to build and then you’re responsible for ongoing support. Something that massive would best be handled by a cross-disciplinary team consisting of:
- UI designer
- UX designer
- Frontend developer
- Backend developer
- Content strategist
- Project manager
There are other key stakeholders you might want assistance or input from. Just be careful about having too many cooks in the kitchen. The more people who contribute to the design system, the more likely you are to run into a conflict that holds things up.
2. Look at Other Design Systems for Inspiration
There’s no reason to recreate the wheel as you build your design system. There are tons of great examples online to check out.
Apple
Human Interface Guidelines, for instance, is a good one to look at if you’re planning to build an omnichannel product.
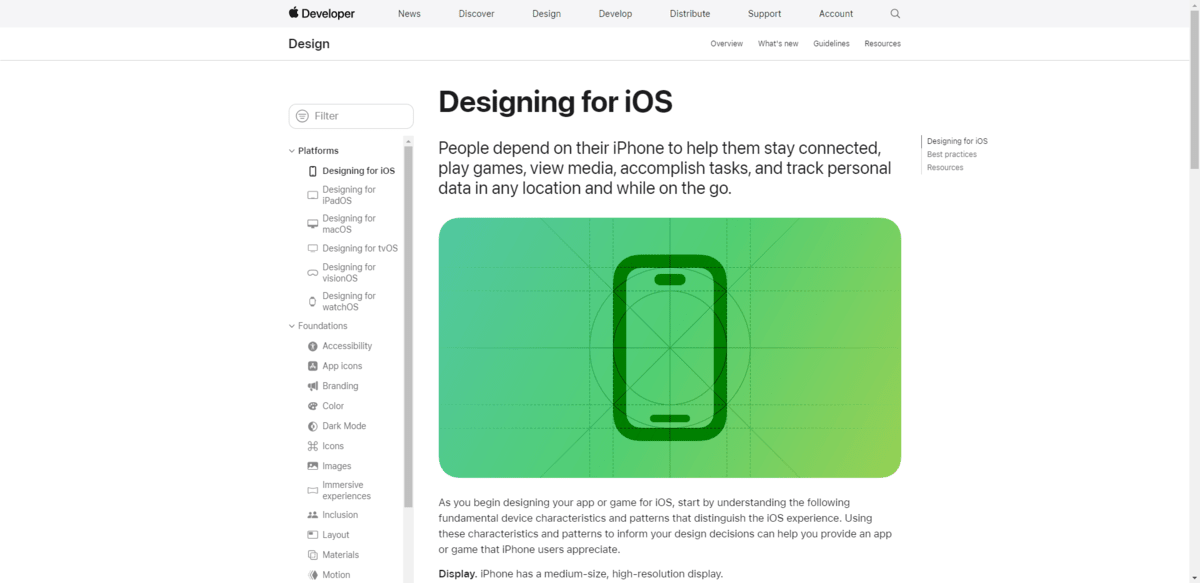
On top of the typical design system details, Apple goes into detail about how to design for different platforms as well as technologies.
Atlassian
The Atlassian Design System is a good one to follow if you want to provide more robust guidelines around all of your branding.
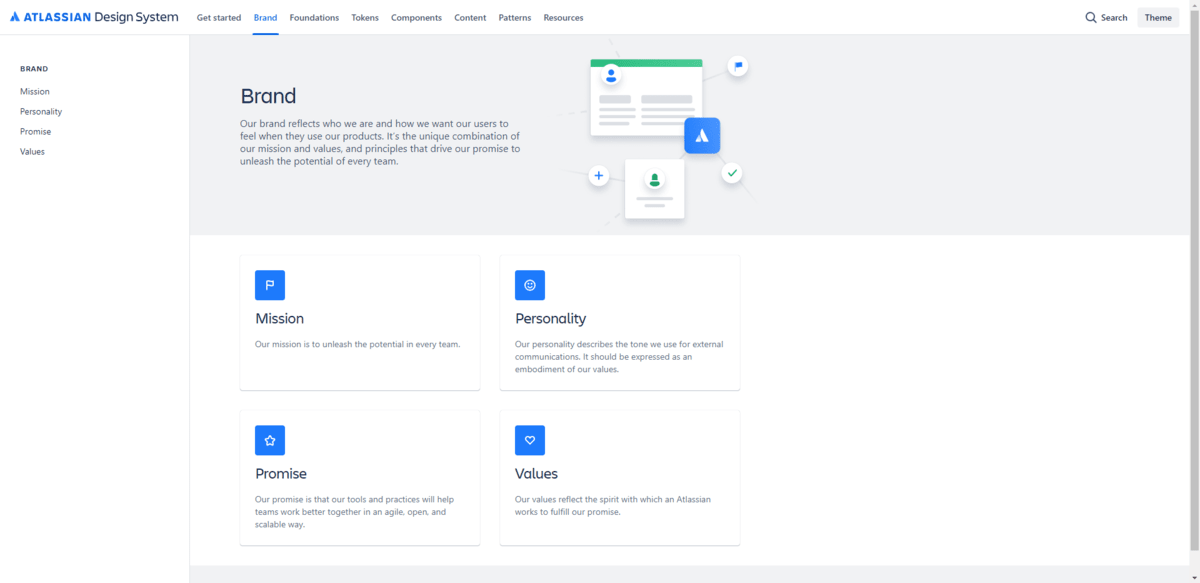
Atlassian’s design system covers the essentials for both visual design and written content. In addition, it provides a comprehensive look at the brand, its goals and ultimately what drives the decision-making process when developing products for it.
Salesforce
The Lightning Design System provides a complete breakdown of all the elements found within its product
design. What makes this one stand out is its emphasis on accessibility.
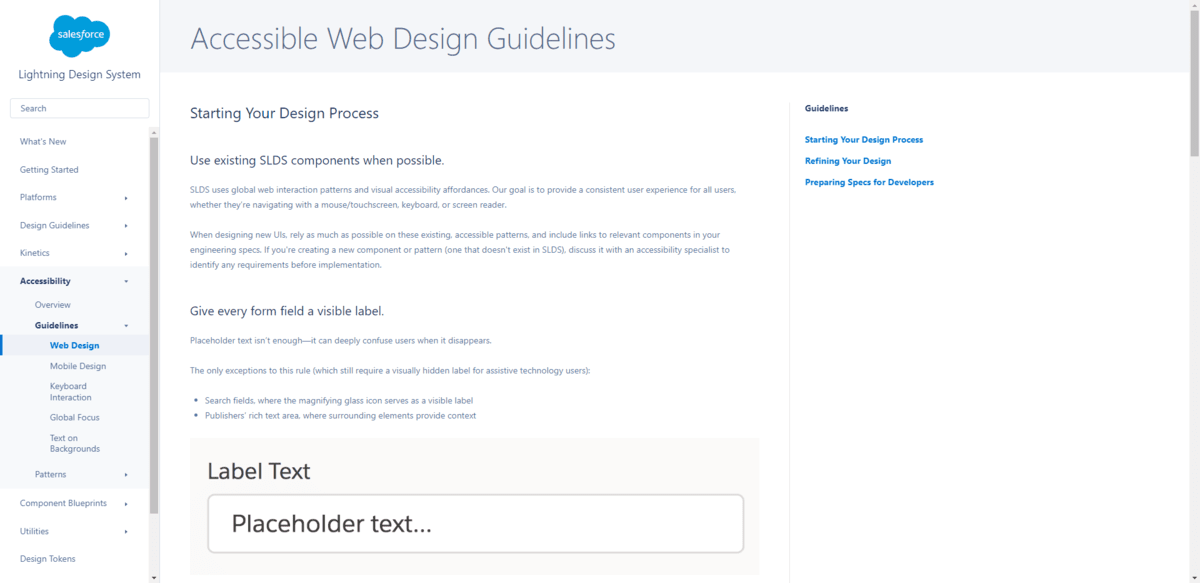
You’ll find an entire section devoted to product accessibility, guidelines for adding ARIA markup, pre-approved accessible patterns to use, as well as tips on how to validate your work.
Progress
One other design system I want to mention is the Progress Design System. This is a good one to look at if you are creating a design system
for the first time and want it to be easy to manage and scale going forward.
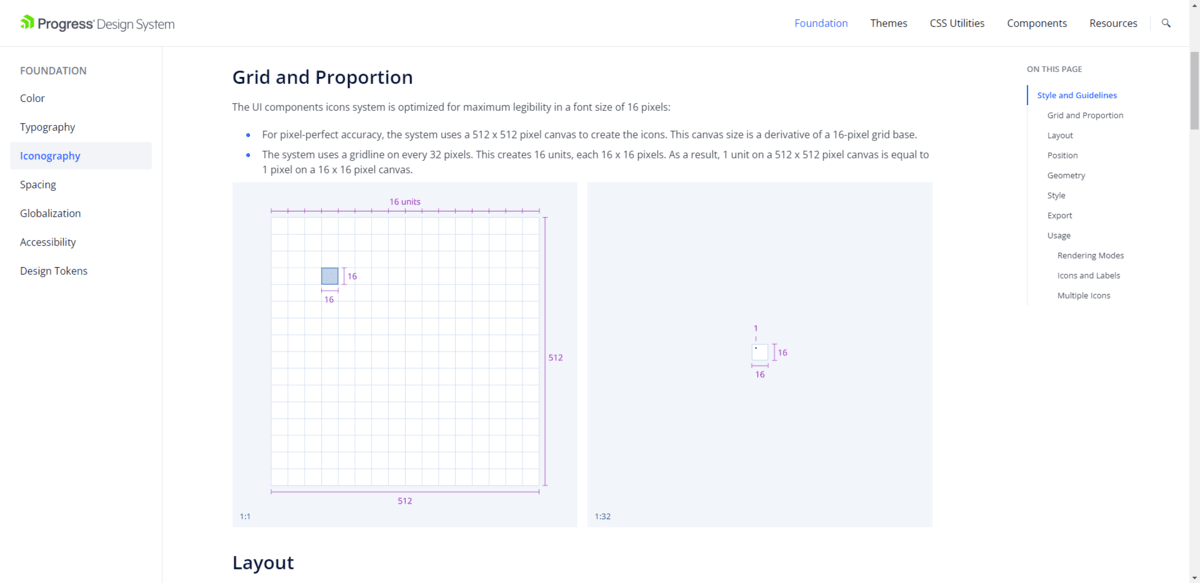
The design system includes all of the essential guidelines and components, and organizes them into an easy-to-follow format. What’s more, it includes various themes, CSS utilities and resources, which give you flexibility in terms of how you create and customize your own design system.
3. Create the Visual Foundations for Your Product
Design systems are typically created using an atomic design framework. The basic idea is that you start with the smallest elements and then work your way out from there.
When it comes to design systems, the tiniest elements are referred to as “foundations” or “styles.” This is where you’ll break down the basic styles used in your product design.
It’s common to include the following in this section:
- Color palettes
- Typography
- Iconography
- Imagery
- Spacing
- Logos
- Animation
- Interaction
- Motion/gestures
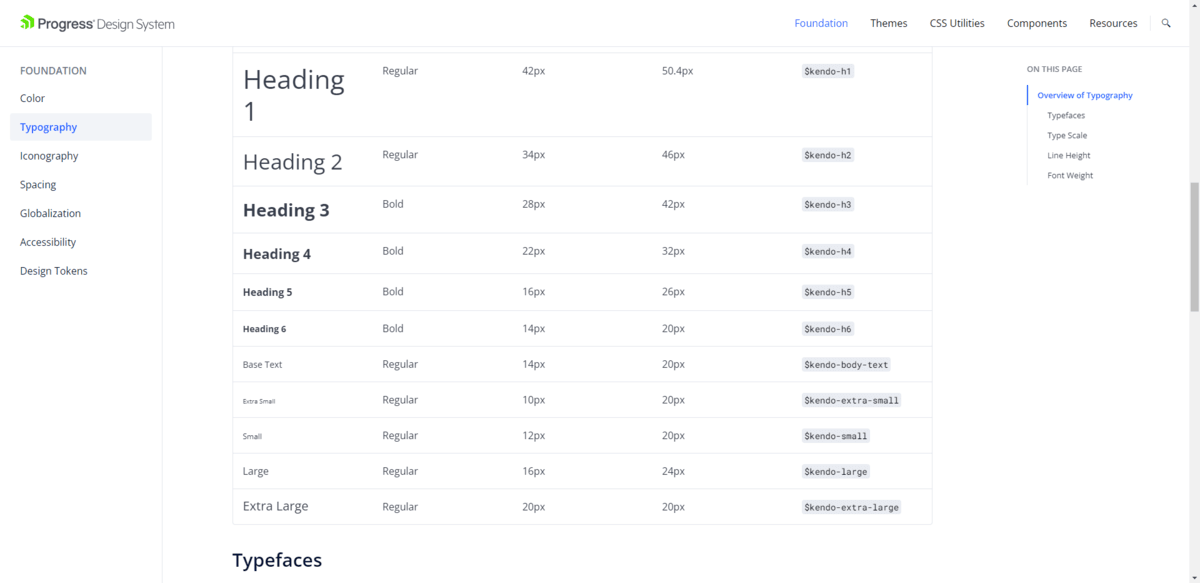
In addition to listing the specific styles used for each element, the design system should provide context for when each is used and offer alternatives based on the situation. You can also add “Do’s” and “Don’ts” to clarify the best practices for implementing each.
If you’re going to explain the basic principles around things like content design, accessibility and inclusivity, this is a good section to put them in as well.
A note about design tokens
If foundations are the smallest visual element in a design, the design token is the constructive counterpart. It gives a distinct name to each of the visual attributes you’ve established in the
style guide section of your design system.
What’s more, design tokens make a product—or various products for a single brand—easier to scale. Rather than use static values, you use design tokens. When updated, all components containing the design tokens automatically reflect the change.
Now, design tokens are a relatively new addition to design systems. Some brands use this section to describe the purpose and value of design tokens, but don’t provide a library of tokens to use.
Lightning Design System, however, has published a robust design token library.
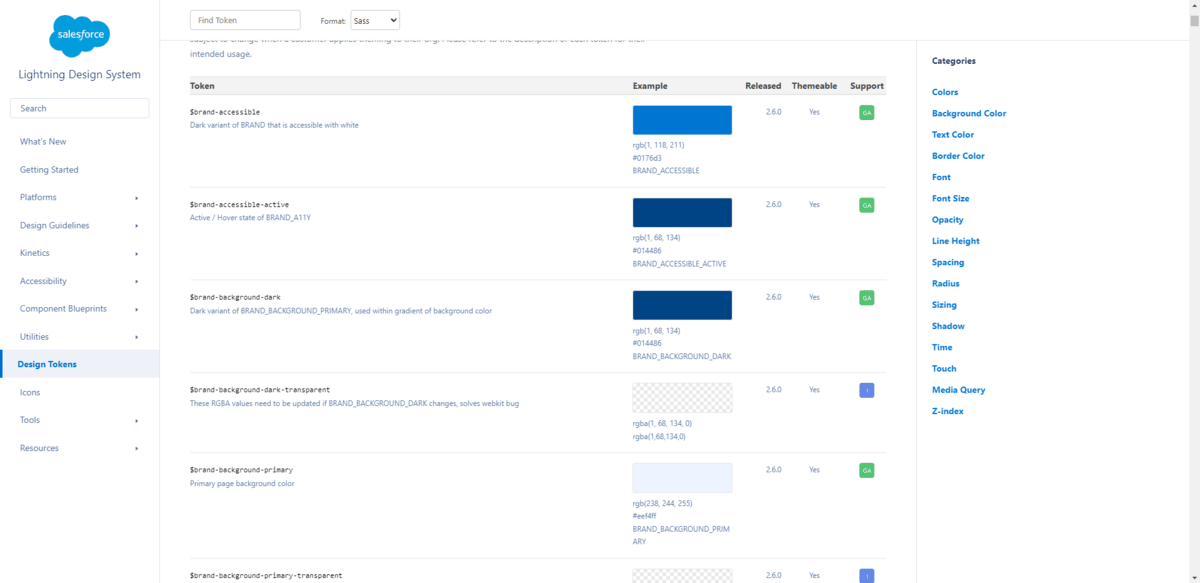
Each token has a token name and corresponding description. There is a visual example along with details on how to create the style. Plus, details on when the token was released, its themeability and support.
Like I said, this is a relatively new feature in design systems. If you feel that it would be beneficial to your team to include in, then by all means build it out. However, if you have other collaborative tools that simplify this process, you might want to go with that option instead.
For instance, Progress ThemeBuilder works in a similar fashion.
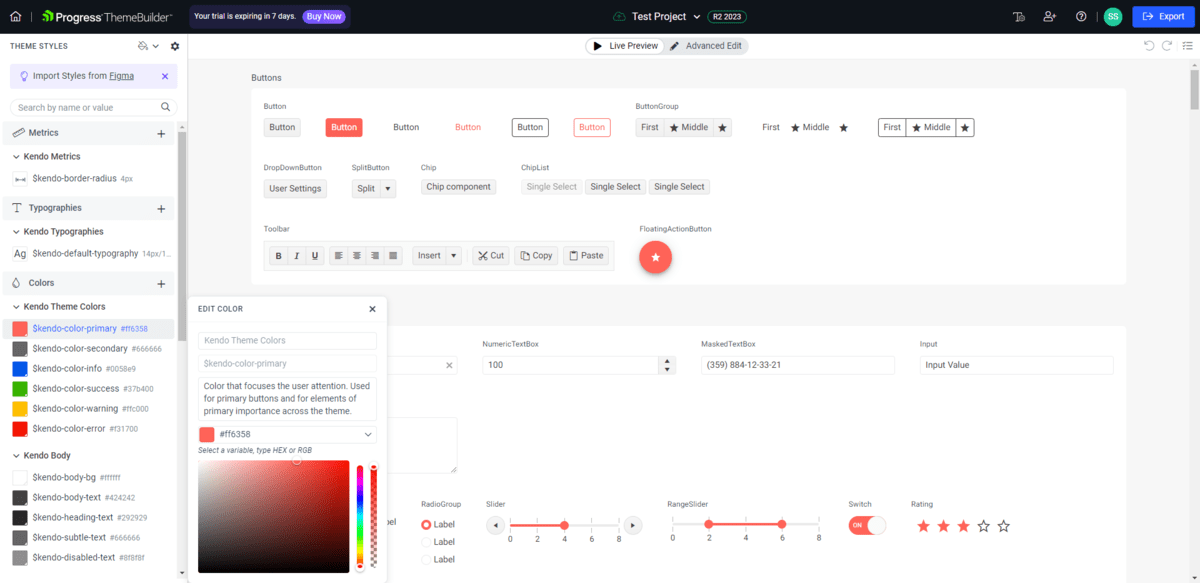
However, a lot of the work will be done for you already. Before you create a new project, you’ll be asked to choose a theme. The theme’s styles will automatically be imported into the app with all of the details that a design system like Lightning has broken down. Only these design values/tokens appear within the context of your product and its components.
4. Develop a Component Library
Components refer to the building blocks of your product. Technically, there are two types of components you’re going to include in your reusable component library.
“Components” are individual user interface elements. “Patterns,” on the other hand, are the common structures or layouts used in design that contain various components.
For instance, the subscriber form on the sidebar of the Telerik blog is a pattern. It is a reusable content structure that appears throughout the blog.
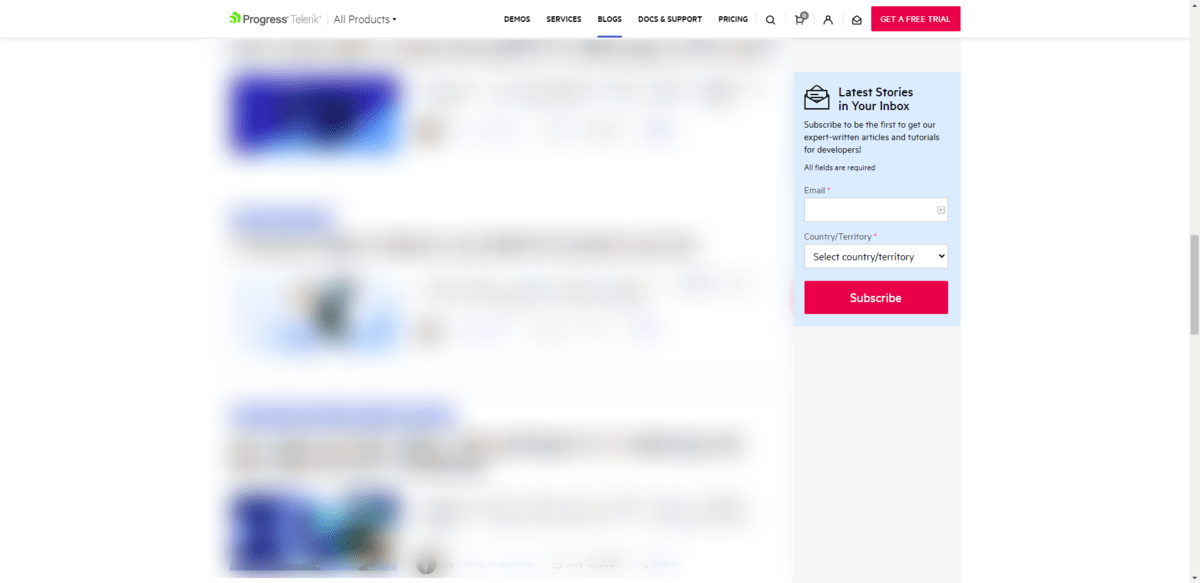
The subscriber form is made up of pre-defined components like:
- Sidebar container
- Form fields
- Form labels
- Form dropdown
- Textbox
- Button
The foundations defined in the style guide portion of the design system help us fill in the rest of the pieces—like the icon and text styling.
You can create a separate component library and pattern library in your design system if you’d like. It depends on how many items are in each and the easiest way to keep them all organized.
Keep in mind that your component library should cover all relevant use cases as well as states for each element.
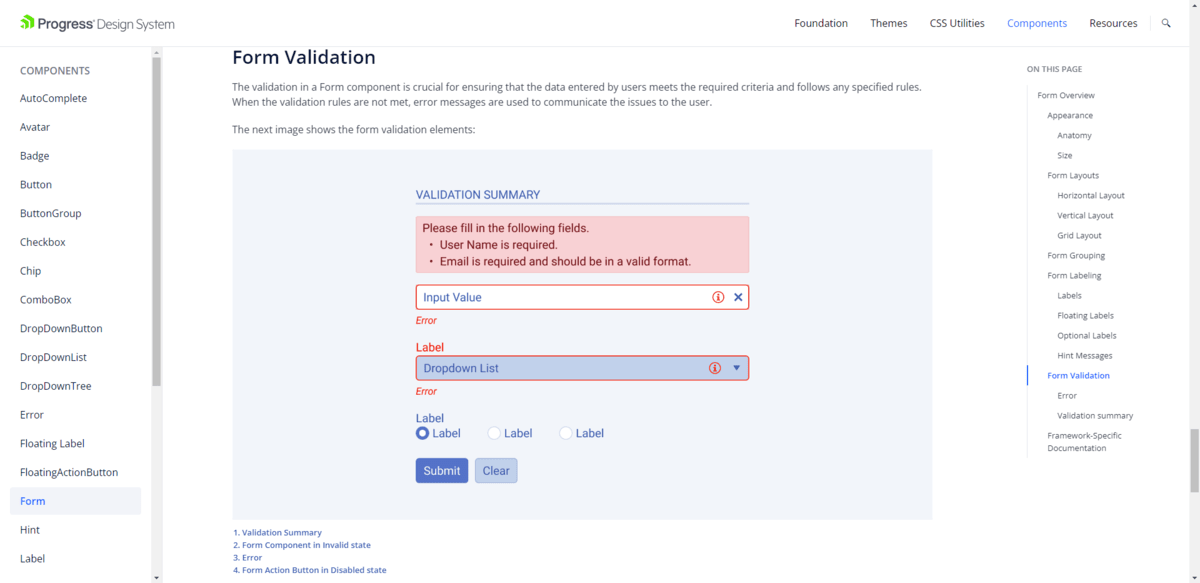
For example, when it comes to the form component, your design system should address different layouts as well as validation. So if an error occurs, everyone knows exactly how it should be presented in the UI.
5. Write Down the Design Principles That Guide Your Design System
Although you won’t always find a section dedicated to a brand’s unique design principles on public-facing design systems, they are a critical component of them internally.
There are a number of ways to explain the driving principles in your design system.
One option is to discuss them from the brand perspective—i.e., what your brand is all about and how it informs the product you’re designing. If you want to see a good example of this, go to the Brand section in the Atlassian Design System.
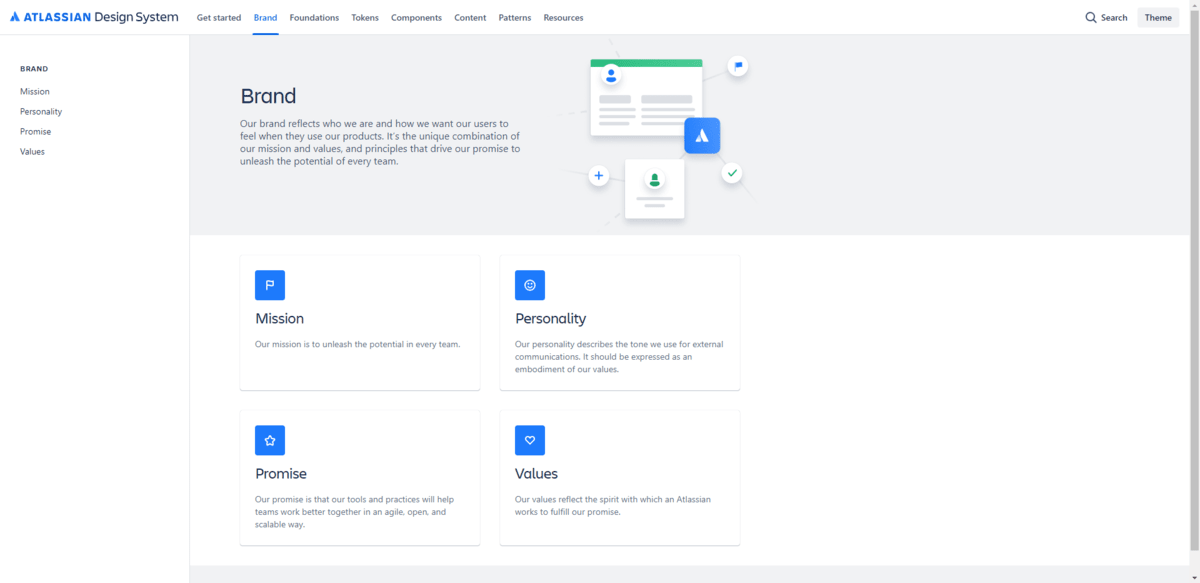
There are sections that relate to the brand’s Mission, Personality, Promise and Values. Click on any of the sections and you’ll learn more about each as well as how to apply these characteristics in your product design.
Another option is to focus on classic design principles the way that the Lightning Design System does.
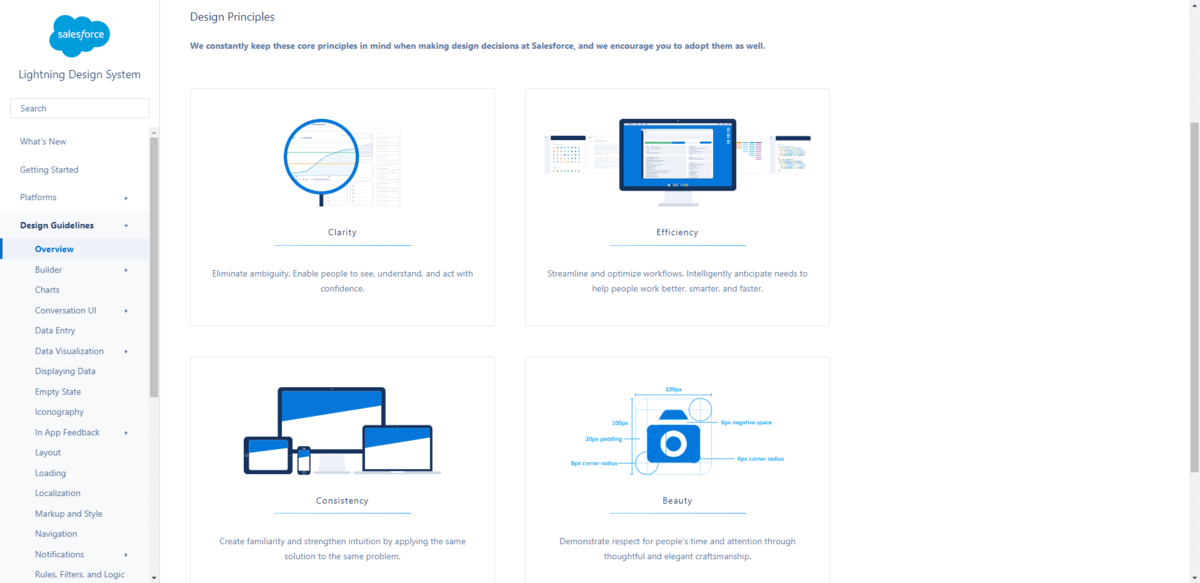
These are the four core principles that Salesforce’s product team adheres to throughout the process: Clarity, Efficiency, Consistency and Beauty.
A design principles section might seem like overkill for your app. It very well could be, depending on the scope of the job.
However, for longer projects, you never know when a new designer, developer or other team member might enter the job and wonder why the heck you’re doing what you do. Or someone might simply need it there as a refresher when it comes time to update the design system.
Regardless, it’s a good idea to state clearly up front what drives your design decision-making process. If you can get clear on that, it’ll be much easier to create and maintain your design system and the products associated with it going forward.
Wrap-up
Design systems are a single source of truth for product development teams. They provide the building blocks and rules for implementation that ensure that a brand’s visual language is consistently and effectively implemented when building digital products. And that the brand’s driving principles guide every decision made when creating that design system.
While it can take some time to create a brand new design system, you don’t have to build all of it from scratch. The Progress Design System Kit is based on Progress’s own design system. It comes with:
- Design system documentation
- ThemeBuilder
- UI component libraries
- Figma UI kits
- Professionally designed themes
Take this design system kit and use it to quickly get your own effective design system started.

Suzanne Scacca
A former project manager and web design agency manager, Suzanne Scacca now writes about the changing landscape of design, development and software.

