Beyond the Basics: Getting Started with the Media Picker in .NET MAUI

Summarize with AI:
Empower your users to upload photos and videos to your iOS or Android application with the Media Picker in .NET MAUI.
Nowadays, it’s common to allow users to upload photos or videos to your apps. For example, banking applications let users upload essential documents for processing, saving them the time of going to a physical office. Providing this kind of experience to your apps adds a lot of value to the user experience. In this article, we’ll show you how to implement Media Picker with .NET MAUI in a straightforward way.
Prerequisites
First, you’ll need to add some platform settings.
 On Android
To make sure that your app runs smoothly on different versions of Android, you need to implement some general permissions as well as version-specific ones.
You have two ways to do that:
1. Assembly-Based Permissions
Go to Platform > Android > AndroidApplication.cs and set the following permissions:
- You need
CAMERAas general permission.
[assembly: UsesPermission(Android.Manifest.Permission.Camera)]
- If your app targets Android 12 or lower, add the
READ_EXTERNAL_STORAGEandWRITE_EXTERNAL_STORAGEpermissions.
[assembly: UsesPermission(Android.Manifest.Permission.ReadExternalStorage, MaxSdkVersion = 32)]

[assembly: UsesPermission(Android.Manifest.Permission.WriteExternalStorage, MaxSdkVersion = 32)]
- If your app targets Android 13 or higher, add the
READ_MEDIA_IMAGES,READ_MEDIA_VIDEOandREAD_MEDIA_AUDIOpermissions.
[assembly: UsesPermission(Android.Manifest.Permission.ReadMediaAudio)]

[assembly: UsesPermission(Android.Manifest.Permission.ReadMediaImages)]

[assembly: UsesPermission(Android.Manifest.Permission.ReadMediaVideo)]
- Additionally, you can include the following properties to filter out devices without cameras. If necessary, set them to False to make them optional.
[assembly: UsesFeature("android.hardware.camera", Required = true)]

[assembly: UsesFeature("android.hardware.camera.autofocus", Required = true)]
2. Updating the Android Manifest
Go to Platform > Android > Android Manifest.cs and set the following permissions:
<uses-permission android:name="android.permission.CAMERA" />

<uses-permission android:name="android.permission.READ_EXTERNAL_STORAGE" android:maxSdkVersion="32" />

<uses-permission android:name="android.permission.WRITE_EXTERNAL_STORAGE" android:maxSdkVersion="32" />

<!-- Required only if your app needs to access images or photos that other apps created -->

<uses-permission android:name="android.permission.READ_MEDIA_IMAGES" />

<!-- Required only if your app needs to access videos that other apps created -->

<uses-permission android:name="android.permission.READ_MEDIA_VIDEO" />

<!-- Required only if your app needs to access audio files that other apps created -->

<uses-permission android:name="android.permission.READ_MEDIA_AUDIO" />
⚠ Note that these permissions comply with the same conditions explained in the first form, depending on the Android version.
- If your project targets Android 11 (R API 30) or higher, add the following query/intent nodes in the manifest node to update the manifest queries that use the Android package visibility requirements:
<queries>
  <intent>
    <action android:name="android.media.action.IMAGE_CAPTURE" />
  </intent>
</queries>
 On iOS
On iOS/Mac Catalyst, go to Platform > iOS or MacCatalyst > Info.plist and set the following permissions:
<key>NSCameraUsageDescription</key>
<string>This app needs access to the camera to take photos.</string>

<key>NSMicrophoneUsageDescription</key>
<string>This app needs access to microphone for taking videos.</string>

<key>NSPhotoLibraryAddUsageDescription</key>
<string>This app needs access to the photo gallery for picking photos and videos.</string>

<key>NSPhotoLibraryUsageDescription</key>
<string>This app needs access to photos gallery for picking photos and videos.</string>
✍️ To request permissions, it’s vital to consider the description attached to each one. These descriptions will be presented to the user during the request process.
🚧 For Windows, you don’t need any additional configuration.
How Does Media Picker Work?
Media Picker’s capabilities are made possible by the IMediaPicker interface, which enables users to capture or select photos and videos on their devices. The Microsoft.Maui.Media namespace contains the default implementation of the IMediaPicker interface, which you can access through the MediaPicker.Default property.
IMediaPicker includes a set of methods that return a FileResult. These include the following:
📷 For photos
PickPhotoAsync: Allows users to open the media browser and select a photo from the available options.CapturePhotoAsync: Responsible for opening the camera to take a photo.
🎥 For videos
PickVideoAsync: Allows users to open the media browser to select a video.CaptureVideoAsync: Responsible for opening the camera to take a video.
⚠ To ensure that permission checks and requests are handled automatically by .NET MAUI, all methods should be called on the UI thread.
📝 Optionally, all of the aforementioned methods receive a MediaPickerOptions parameter that allows you to add a title to the dialog to be displayed. Note that this only works on some operating systems.
Now Let’s Code
It’s time to translate everything you’ve learned so far into code. The following graphic demonstrates the structure you’ll use to organize each detail in the code.

⭐ Now let’s implement the code, which allows you to open the Media Picker. This example uses the PickPhotoAsync() method.
Working with XAML
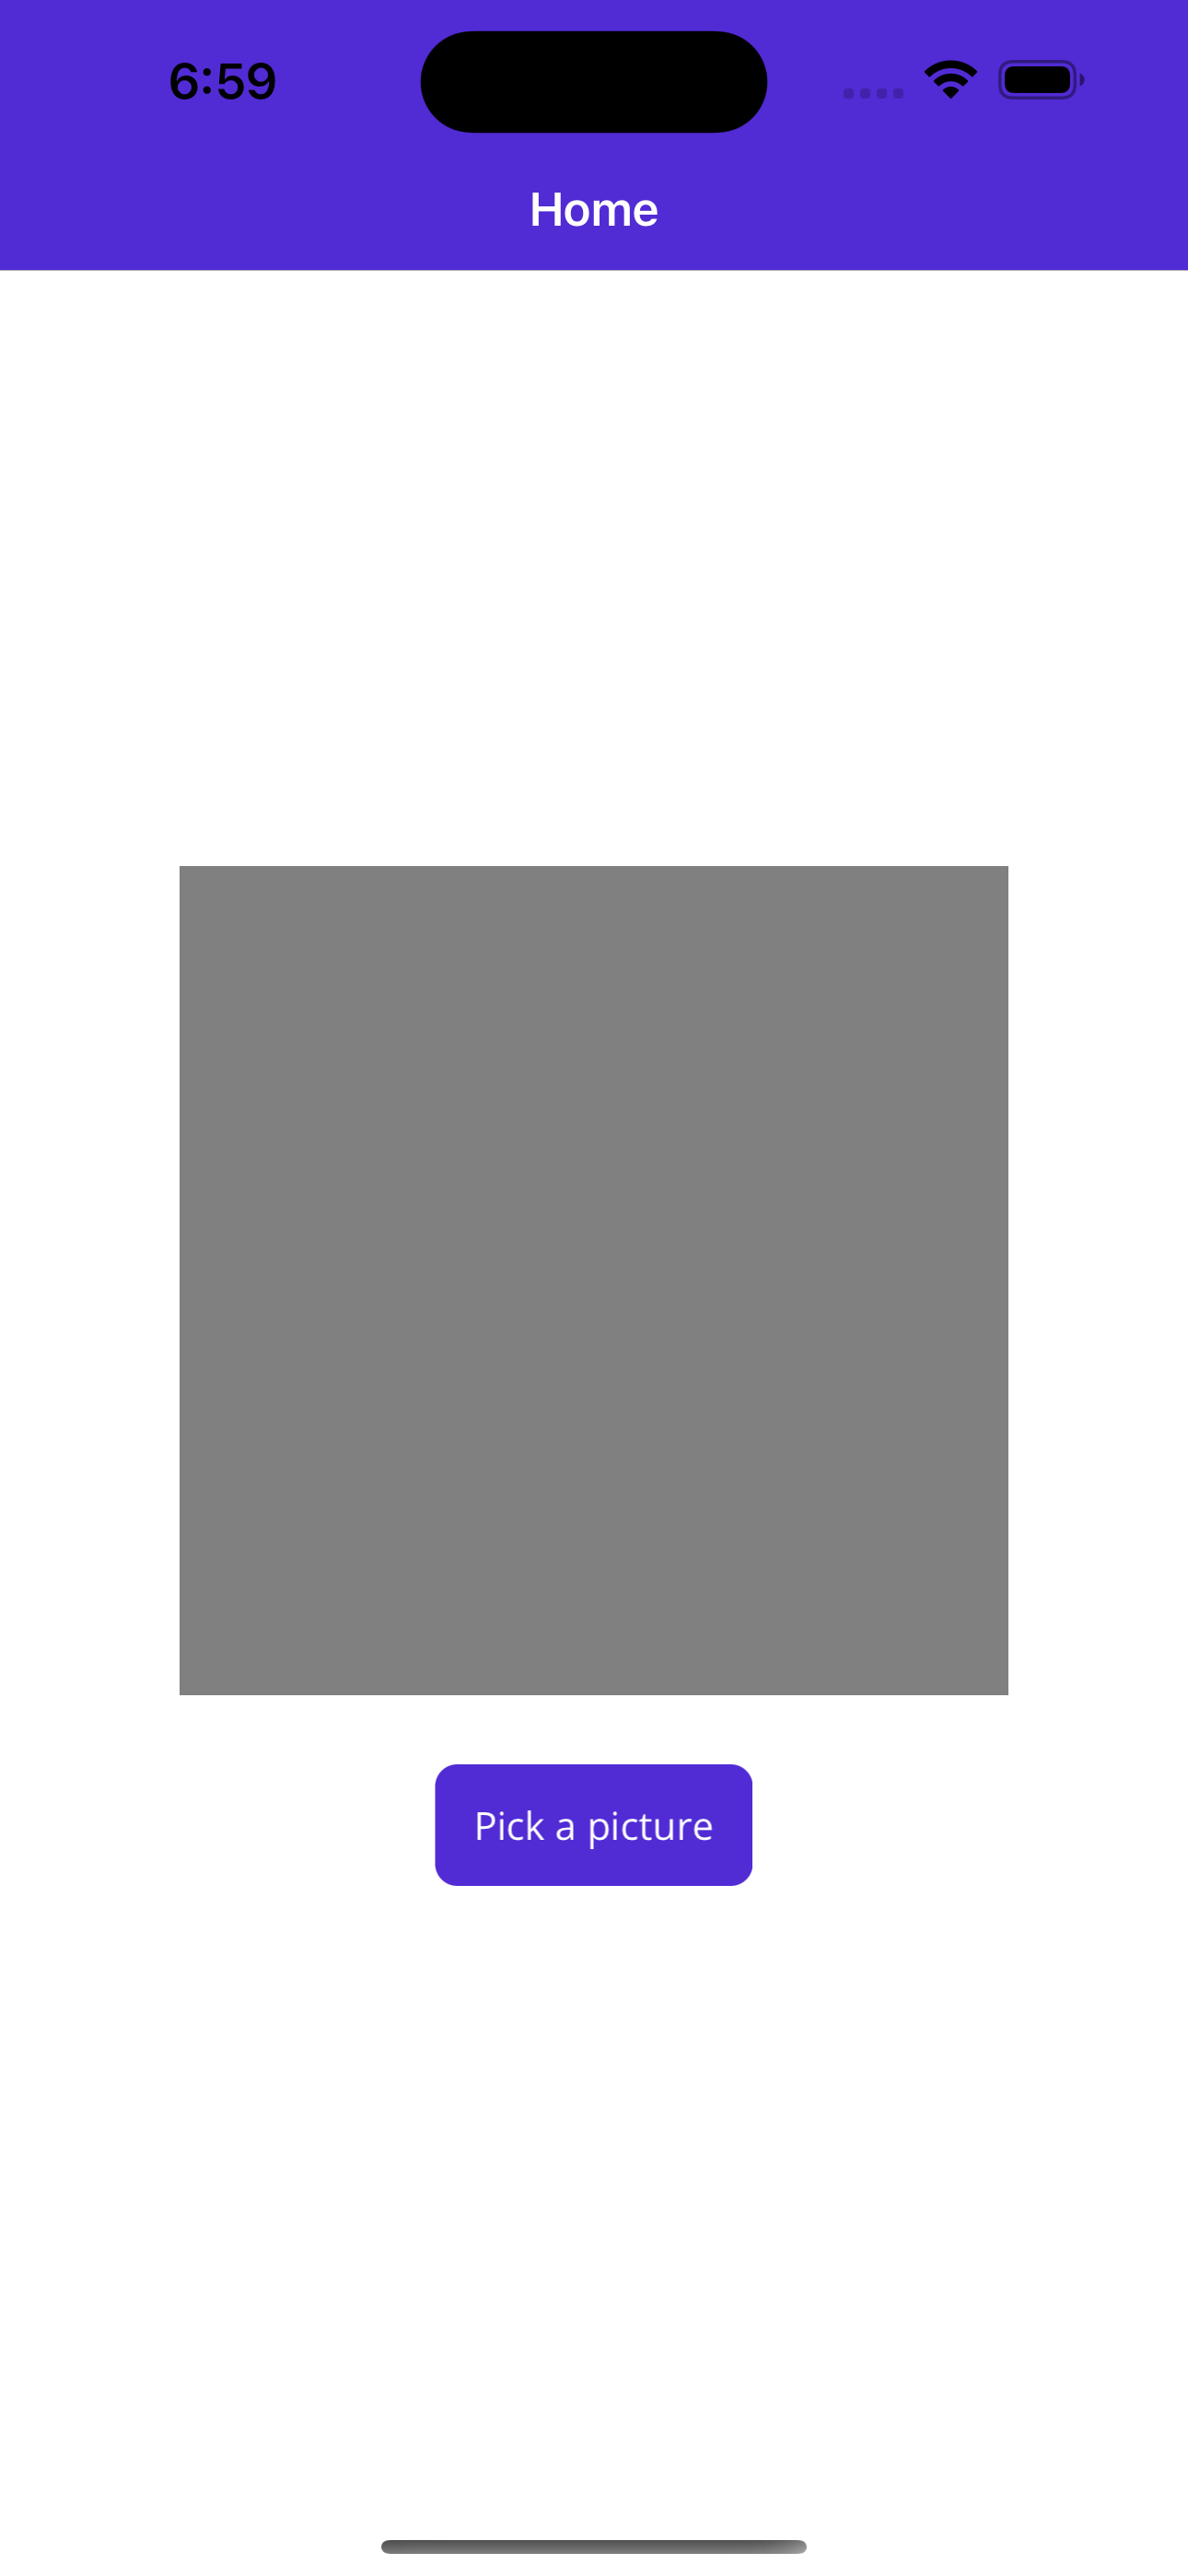
Let’s create a button and add an image control to display the selected photo.

<VerticalStackLayout Spacing="25" Padding="30,0" VerticalOptions="Center">

  <Image x:Name="myImage"
  BackgroundColor="Gray"
  WidthRequest="300"
  HeightRequest="300"
  HorizontalOptions="Center" />

  <Button
  Text="Pick a picture"
  Clicked="TakePhoto"
  HorizontalOptions="Center" />

</VerticalStackLayout>
Creating the Method
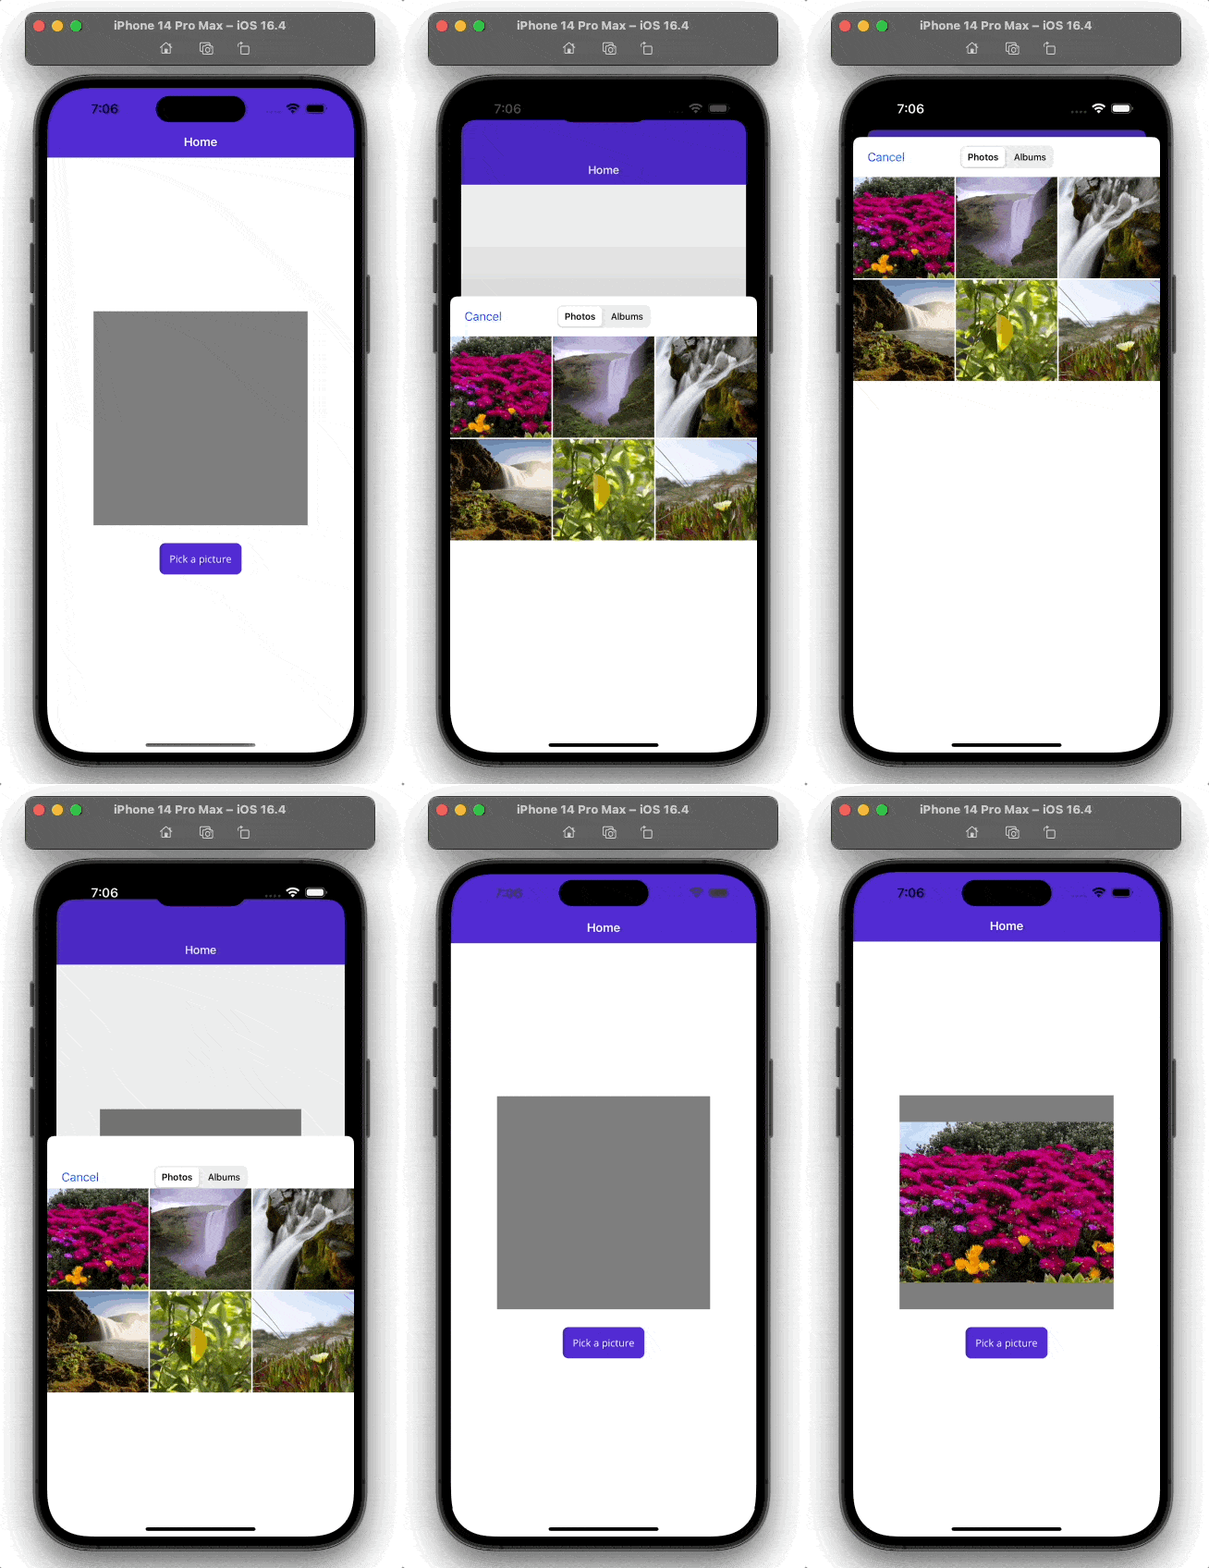
Let’s create an asynchronous method called TakePhoto for this example. The following code allows the user to tap a button and select a photo from a dialog. You’ll achieve this with the PickPhotoAsync method.
✍️ Note that all of this will be saved in the
Photovariable, which is aFileResult. Later, you’ll use this variable to obtain information about the selected image (which you can see in the next step).
private async void TakePhoto(object sender, EventArgs e)
{
  FileResult photo = await MediaPicker.Default.PickPhotoAsync(new MediaPickerOptions
  {
    Title = "Select your photo"
  });

  // Here, add the code that is being explained in the next step.

}
Please keep in mind that adding the title with MediaPickerOptions is not mandatory.
Showing the Image
As mentioned previously, the photo variable provides access to information such as the file name or full path among other details. This example uses the OpenReadAsync method to retrieve the image.
In the previous blog section’s code, where it says // Here, add the code that is being explained in the next step, insert the following code:
if (photo != null)
{
  var stream = await photo.OpenReadAsync();
  myImage.Source = ImageSource.FromStream(() => stream);
}
And that’s all! 😍 Let’s see the result!

Want to take a new photo instead of selecting an existing one? Add the code presented below. This example uses the CapturePhotoAsync method to capture the photo.
private async void TakePhoto(object sender, EventArgs e)
{

FileResult photo = await MediaPicker.Default.CapturePhotoAsync();

  if (photo != null)
  {
    // Getting the file result information
    using Stream sourceStream = await photo.OpenReadAsync();

    // Saving the file in your local storage
    string localFilePath = Path.Combine(FileSystem.CacheDirectory, photo.FileName);

  await sourceStream.CopyToAsync(File.OpenWrite(localFilePath));

  }
}
Conclusion
I hope this article about using Media Picker to enable your users to upload photos and videos to your app was beneficial to you! I encourage you to implement these tips into your next project. 💚💕
This article was based on Microsoft’s official documentation.
See you next time! 💁♀️
Use a component library in sync with .NET MAUI’s release cadence. Telerik UI for .NET MAUI comes with a free 30-day trial.

Leomaris Reyes
Leomaris Reyes is a Software Engineer from the Dominican Republic, with more than 5 years of experience. A Xamarin Certified Mobile Developer, she is also the founder of Stemelle, an entity that works with software developers, training and mentoring with a main goal of including women in Tech. Leomaris really loves learning new things! 💚💕 You can follow her: Twitter, LinkedIn , AskXammy and Medium.

