Angular Basics: Multi-Slot Content Projection

Summarize with AI:
Today we will look at the content projection concept in Angular and how to get started using it with multi sources.
Implementing Content Projection
We have looked into an introduction to content projection in an earlier post and there are three ways to implement content projection in Angular, according to the Docs:
- Single-slot content projection. With this type of content projection, a component accepts content from a single source.
- Multi-slot content projection. In this scenario, a component accepts content from multiple sources.
- Conditional content projection. Components that use conditional content projection render content only when specific conditions are met.
In today’s post, we will be looking at multi-slot content projection in Angular.
Prerequisites
Developers of all levels, from beginners to experts can read this post—it does not matter if you are familiar with beginner concepts in Angular. Here are a few things you should have to be able to follow through this article’s demonstration:
- An integrated development environment like VS Code
- Node version 11.0 installed on your machine
- Node Package Manager version 6.7 (it usually ships with Node installation)
- Angular CLI version 8.0 or above
- Angular version 12 or above
Other nice-to-have’s include:
- Working knowledge of the Angular framework at a beginner level
Getting Started
We are going to set up an Angular project using the Kendo UI wizard and then illustrate how ng-content works with the single slot implementation.
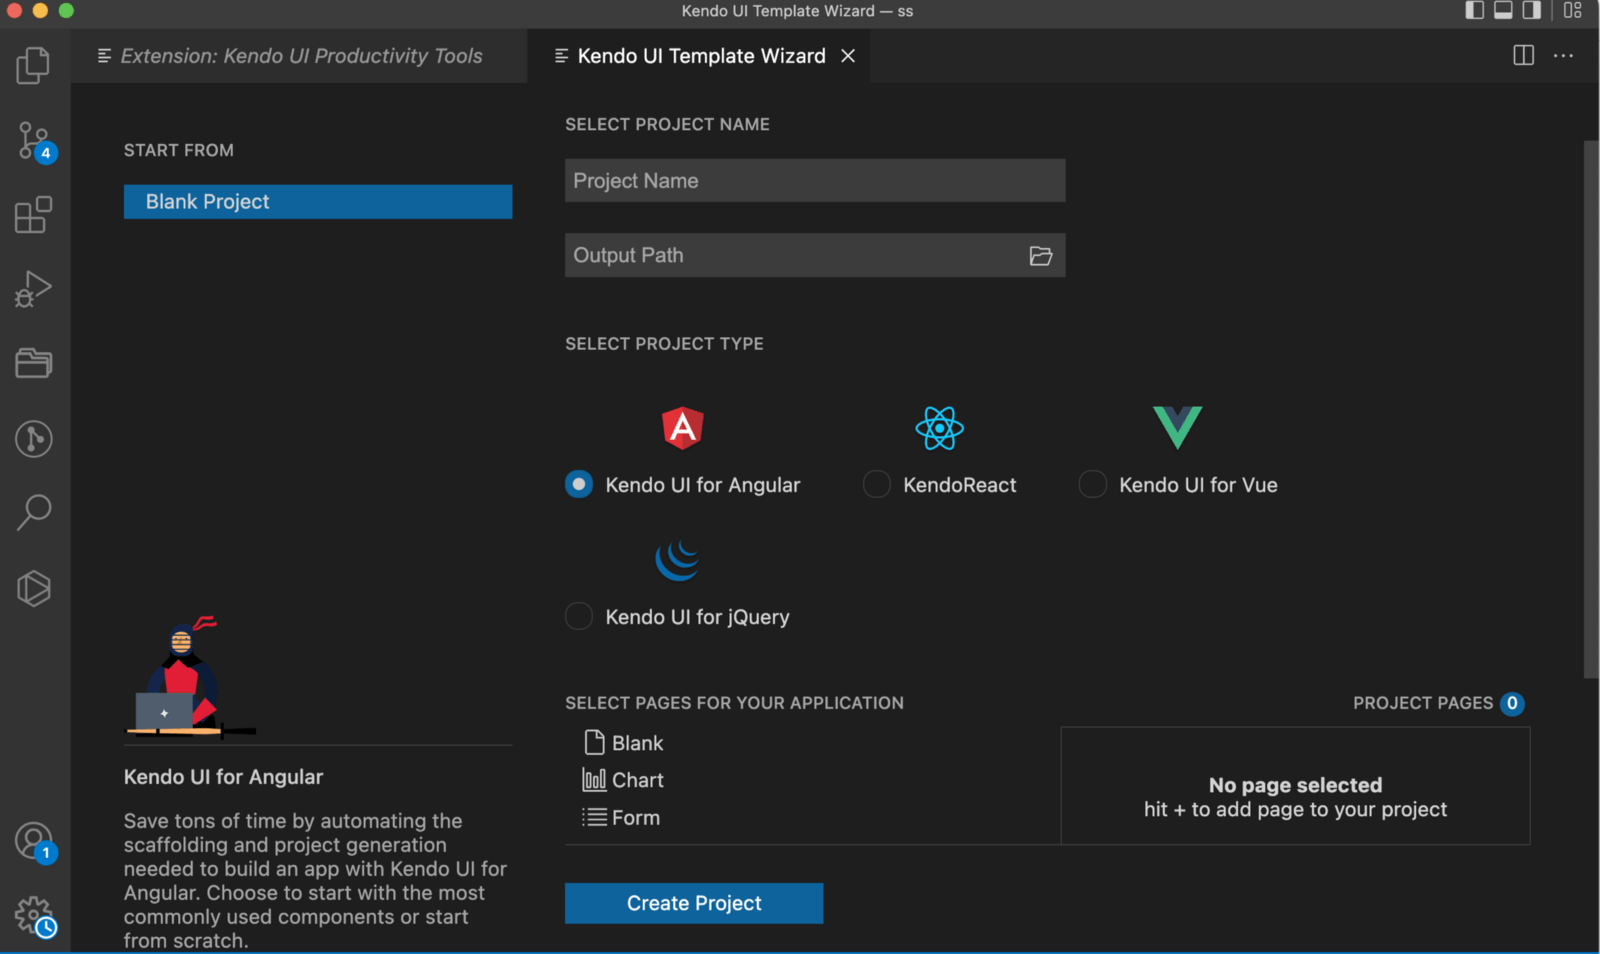
Open your VS Code and navigate to the Extensions tab and search for Kendo UI Template Wizard. Install it and reload your VS Code application. Now, you have the wizard. Let’s get to work!
To use the wizard inside the VS Code app, go to the Command Palette (press Command/Control + Shift + P) and select the Kendo UI Wizard and it will open up a prompt where you can name the project and choose the location on your machine where you want it to be located.

After you specify that, click the next button and you’ll be brought to a new prompt that asks you what framework you want to build with.

Now your application has been generated, just like that. Open the project in VS Code and open up a new terminal and run the command below to install all the packages with their latest versions.
npm install
After the installation is complete, let us test out if we got everything right. Run the Angular development server with this command:
ng serve
Open your browser to http://localhost:4200/home and you should see it look like this:

Multi-Slot Implementation
Angular lets you project content from multiple sources. This means you can have more than one ng-content tag in your component and still project content exactly as you please. Let’s start with a little refresher!
First, let us create a new component:
ng generate component components/projected
Now let’s start with a single content projection. In your app component.html file replace the content with this code block:
<!--The content below is only a placeholder and can be replaced.-->
<div class="content">
    <app-header>
        Hello world, I am projected!
    </app-header>
    <router-outlet></router-outlet>
</div>
<div class="footer">
    <app-footer></app-footer>
</div>
You can see the hello message we have inside the app header tag. Now to make it show up in our view, add the ng-content to the header component HTML file like this:
<div class='container-fluid'>
<div class="d-flex border-bottom py-2">
    <div class="d-flex">
        <div class='project-name d-flex'>
            <ng-content></ng-content>
        </div>
    </div>
    <div class='d-flex ml-auto nav'>
    </div>
</div>
</div>
Now when you save all files and run the dev server command, you should see it show like this:

Projecting More Content
Now let’s try to project the same content and more content from another component. Inside the app component, bring in the projected component like this:
<div class="content">
    <app-header>
        Hello world, I am projected!
        <app-projected></app-projected>
    </app-header>
    <router-outlet></router-outlet>
</div>
<div class="footer">
    <app-footer></app-footer>
</div>
Now we have both the plain text and another component inside the header tag. How do you think it would all show up in the view?

You can see Angular projects both content in the same place. Now what if we added a new ng-content tag inside the header component?
<div class='container-fluid'>
<div class="d-flex border-bottom py-2">
    <div class="d-flex">
        <div class='project-name d-flex'>
            <ng-content></ng-content>
        </div>
    </div>
    <div class='d-flex ml-auto nav'>
            <ng-content></ng-content>
    </div>
</div>
</div>
Angular does something interesting here—it forgets about the first ng-content entirely and acts on the second.

How To Direct the Content Projection
We see a new challenge has emerged—how can we tell Angular to project different content at different parts of the component?
Using Component Name
You can specify the component name so that Angular knows exactly what content to project where.
<div class='container-fluid'>
<div class="d-flex border-bottom py-2">
    <div class="d-flex">
        <div class='project-name d-flex'>
            <ng-content></ng-content>
        </div>
    </div>
    <div class='d-flex ml-auto nav'>
            <ng-content select="app-projected"></ng-content>
    </div>
</div>
</div>
Now you can see that we explicitly tell Angular to use the first ng-content as default but use the second one only for component name app-projected.

This works as expected.
Using CSS Classes and Ids
You can also use CSS classes and IDs to achieve the same result.
<div class="content">
    <app-header>
        <div id="cars">
            Hello world, I am projected!
        </div>
        <app-projected class="books"></app-projected>
    </app-header>
    <router-outlet></router-outlet>
</div>
<div class="footer">
    <app-footer></app-footer>
</div>
We added an ID for the text and a class for the component. Now let’s try to get the same result above with this new setup.
<div class='container-fluid'>
<div class="d-flex border-bottom py-2">
    <div class="d-flex">
        <div class='project-name d-flex'>
            <ng-content select="#cars"></ng-content>
        </div>
    </div>
    <div class='d-flex ml-auto nav'>
            <ng-content select=".books"></ng-content>
    </div>
</div>
</div>
You can save all files and see that we got the expected outcome.
This is how to use multi-slot content projection in Angular.
Wrapping Up
We looked at the multi-slot content projection in this post and why it can be necessary. We also took a look at how to implement it with various examples and different ways to specify which content to project. I hope you start to use this in your workflow going forward. Happy hacking!
Next, you may want to read about single-slot content projection or conditional content projection.

Nwose Lotanna Victor
Nwose Lotanna Victor is a web technology enthusiast who documents his learning process with technical articles and tutorials. He is a freelance frontend web developer based in Lagos, Nigeria. Passionate about inclusion, community-building and movies in Africa, he enjoys learning new things and traveling.

