Drag and Drop
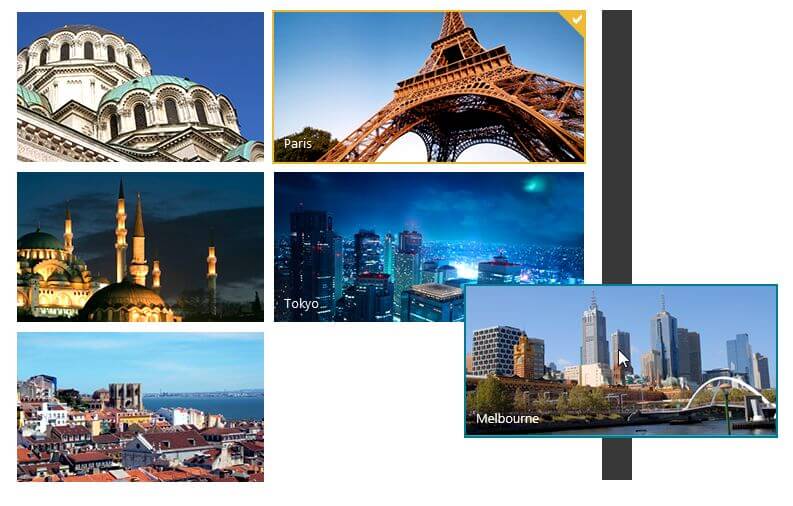
RadTileList supports drag-and-drop for reordering of the tiles and for moving tiles from one group to another. This includes creating a new group. The tiles are reordered in realtime around the tile that is being dragged.
The drag-and-drop functionality is enabled by setting the TileList's EnableDragAndDrop property to true. Its default value is false.
If the end user reorders the tiles this new order will be persisted across postbacks.
For desktop devices the left mouse button is pressed and held down over the tile to start dragging it.
For mobile devices press and hold over the tile for a second and an indicator will appear that shows the tile can be selected and if it is not dragged only a little upward or downward to trigger selection, dragging will be initiated (i.e., when the selection threshold is exceeded).
To create a new tile group drag the tile to the gap between two existing groups or to the end of the control. When the mouse pointer or finger is above the gap large border will appear that indicates a new group will be created there:
Figure 1: Creating a new group by dragging a tile over the gap between the existing groups.

You can use RadPersistenceFramework to store and load the order and selected state of tiles for your end users, so they can customize the appearance of their TileList.
If you want to capture certain events in the tiles' content (e.g., input elements in a RadContentTemplateTile), you need to prevent the mousedown event bubbling for these elements because otherwise it will initiate a tile drag and get cancelled. You can find examples in the Drag and Drop with ContentTemplateTile that has input elements KB article.