New to Telerik UI for ASP.NET AJAX? Start a free 30-day trial
Getting Started with the Telerik WebForms Drawer
Updated on Aug 24, 2026
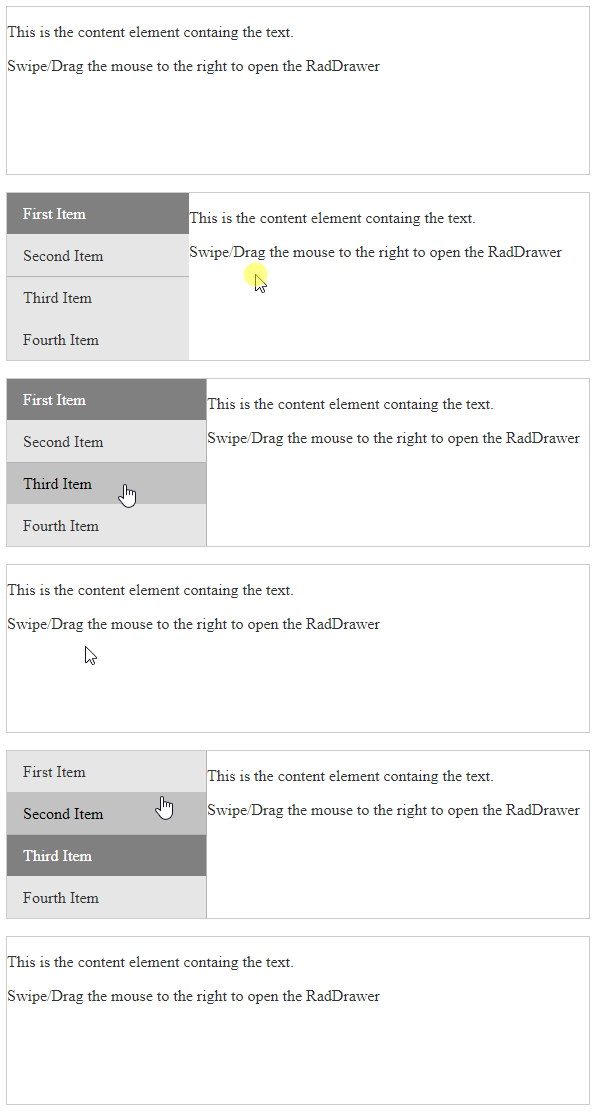
The following tutorial demonstrates how you can add the RadDrawer control. The end result will be similar to Figure 1:
Figure 1: RadDrawer
-
Add a ScriptManager control on a Web Form.
-
Add a RadDrawer control to the page, and set its properties:
Mode- sets the mode of the RadDrawer to Push/Overlay.SwipeToOpen- enables/disables the swipe gestures for toggling the RadDrawer.DrawerWidth- sets the width of the RadDrawer items container.ContentTemplate- sets the content of the RadDrawer.ItemsTemplate- gets a hierarchical HTML structure that would represent the RadDrawer items.
The end result should be similar to the following:
ASP.NET
<telerik:RadDrawer runat="server" ID="RadDrawer1" Mode="push" DrawerWidth="200" SwipeToOpen="true">
    <ContentTemplate>
        <p style="user-select: none">
            This is the content element containg the text.
        </p>
        <p style="user-select: none">
            Swipe/Drag the mouse to the right to open the RadDrawer
        </p>
    </ContentTemplate>
    <ItemsTemplate>
        <ul>
            <li data-role='drawer-item' class='k-state-selected'>
                <span class='k-item-text'>First Item</span>
            </li>
            <li data-role='drawer-item'>
                <span class='k-item-text'>Second Item</span>
            </li>
            <li data-role='drawer-separator'></li>
            <li data-role='drawer-item'>
                <span class='k-item-text'>Third Item</span>
            </li>
            <li data-role='drawer-item'>
                <span class='k-item-text'>Fourth Item</span>
            </li>
        </ul>
    </ItemsTemplate>
</telerik:RadDrawer>
Next, you can check the Functionality of the RadDrawer and how to handle the RadDrawer interactions.